How to Convert a Lovable AI Site into a WordPress Theme?
I will show you how to convert a site you created with Lovable AI into a fully working WordPress theme.
No coding required.
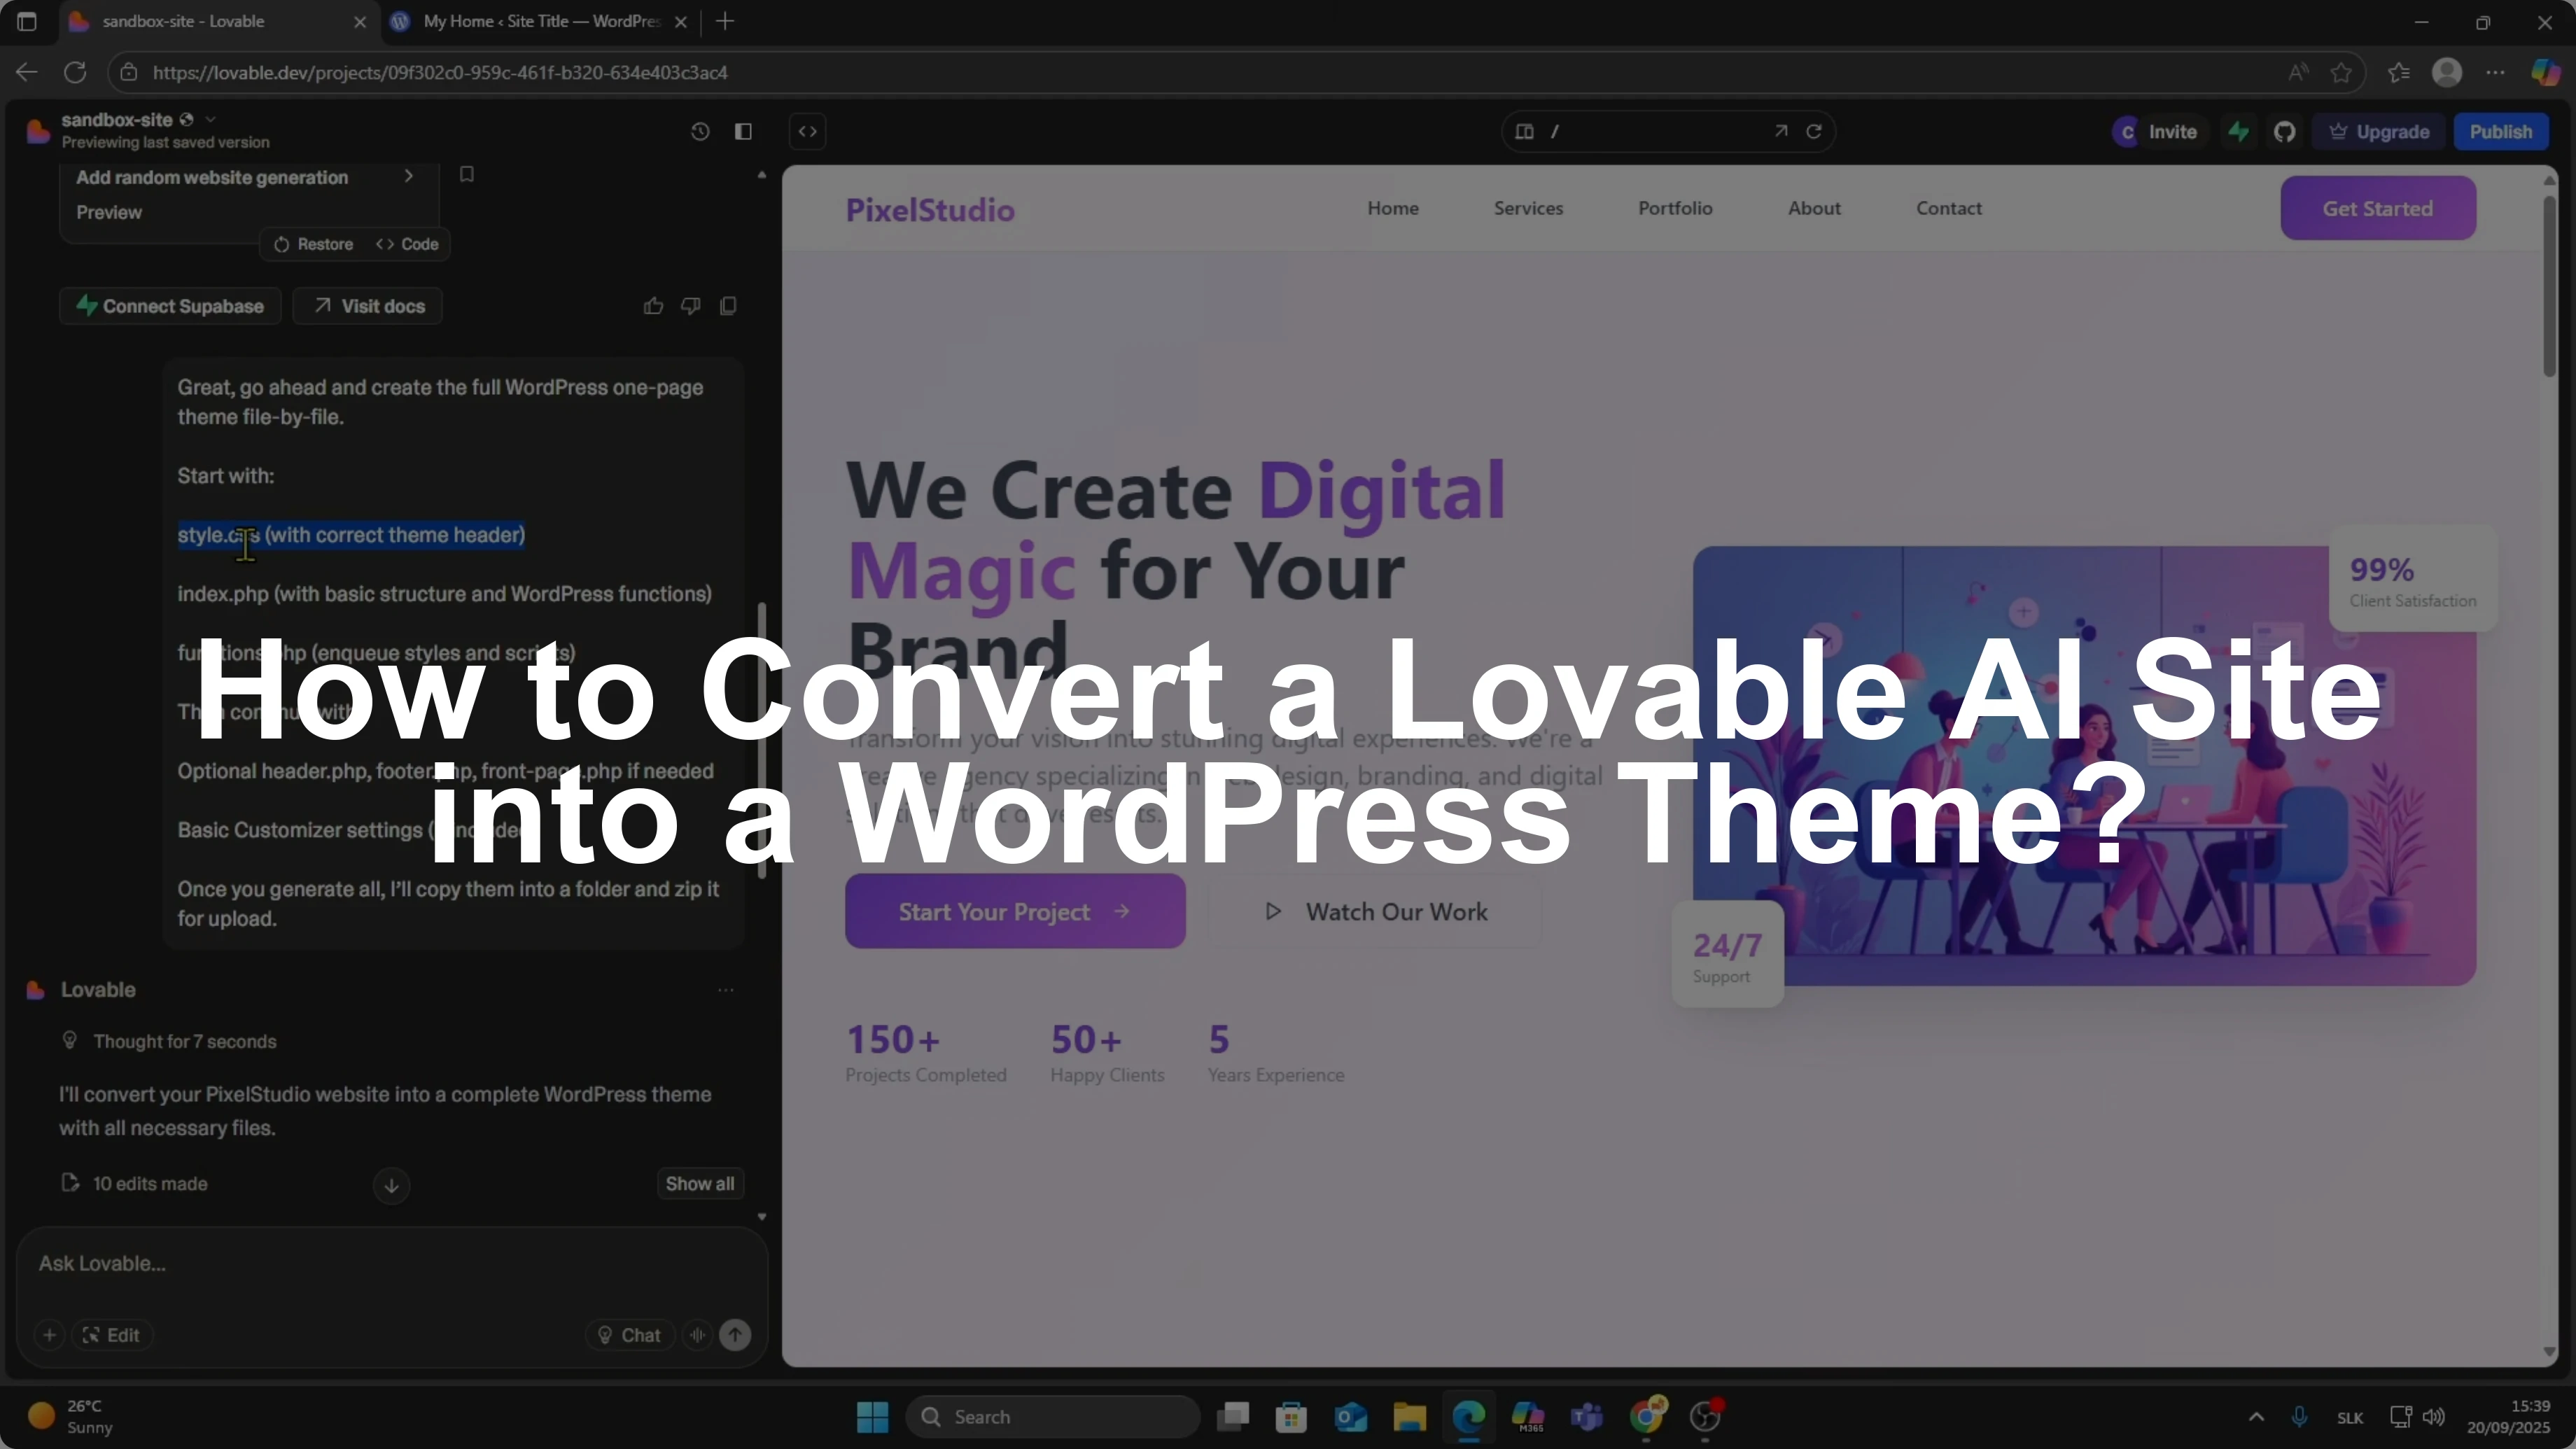
I created my site inside Lovable.dev.
For this example, I asked Lovable to generate a sample website that I can turn into a WordPress template.
Generate the theme
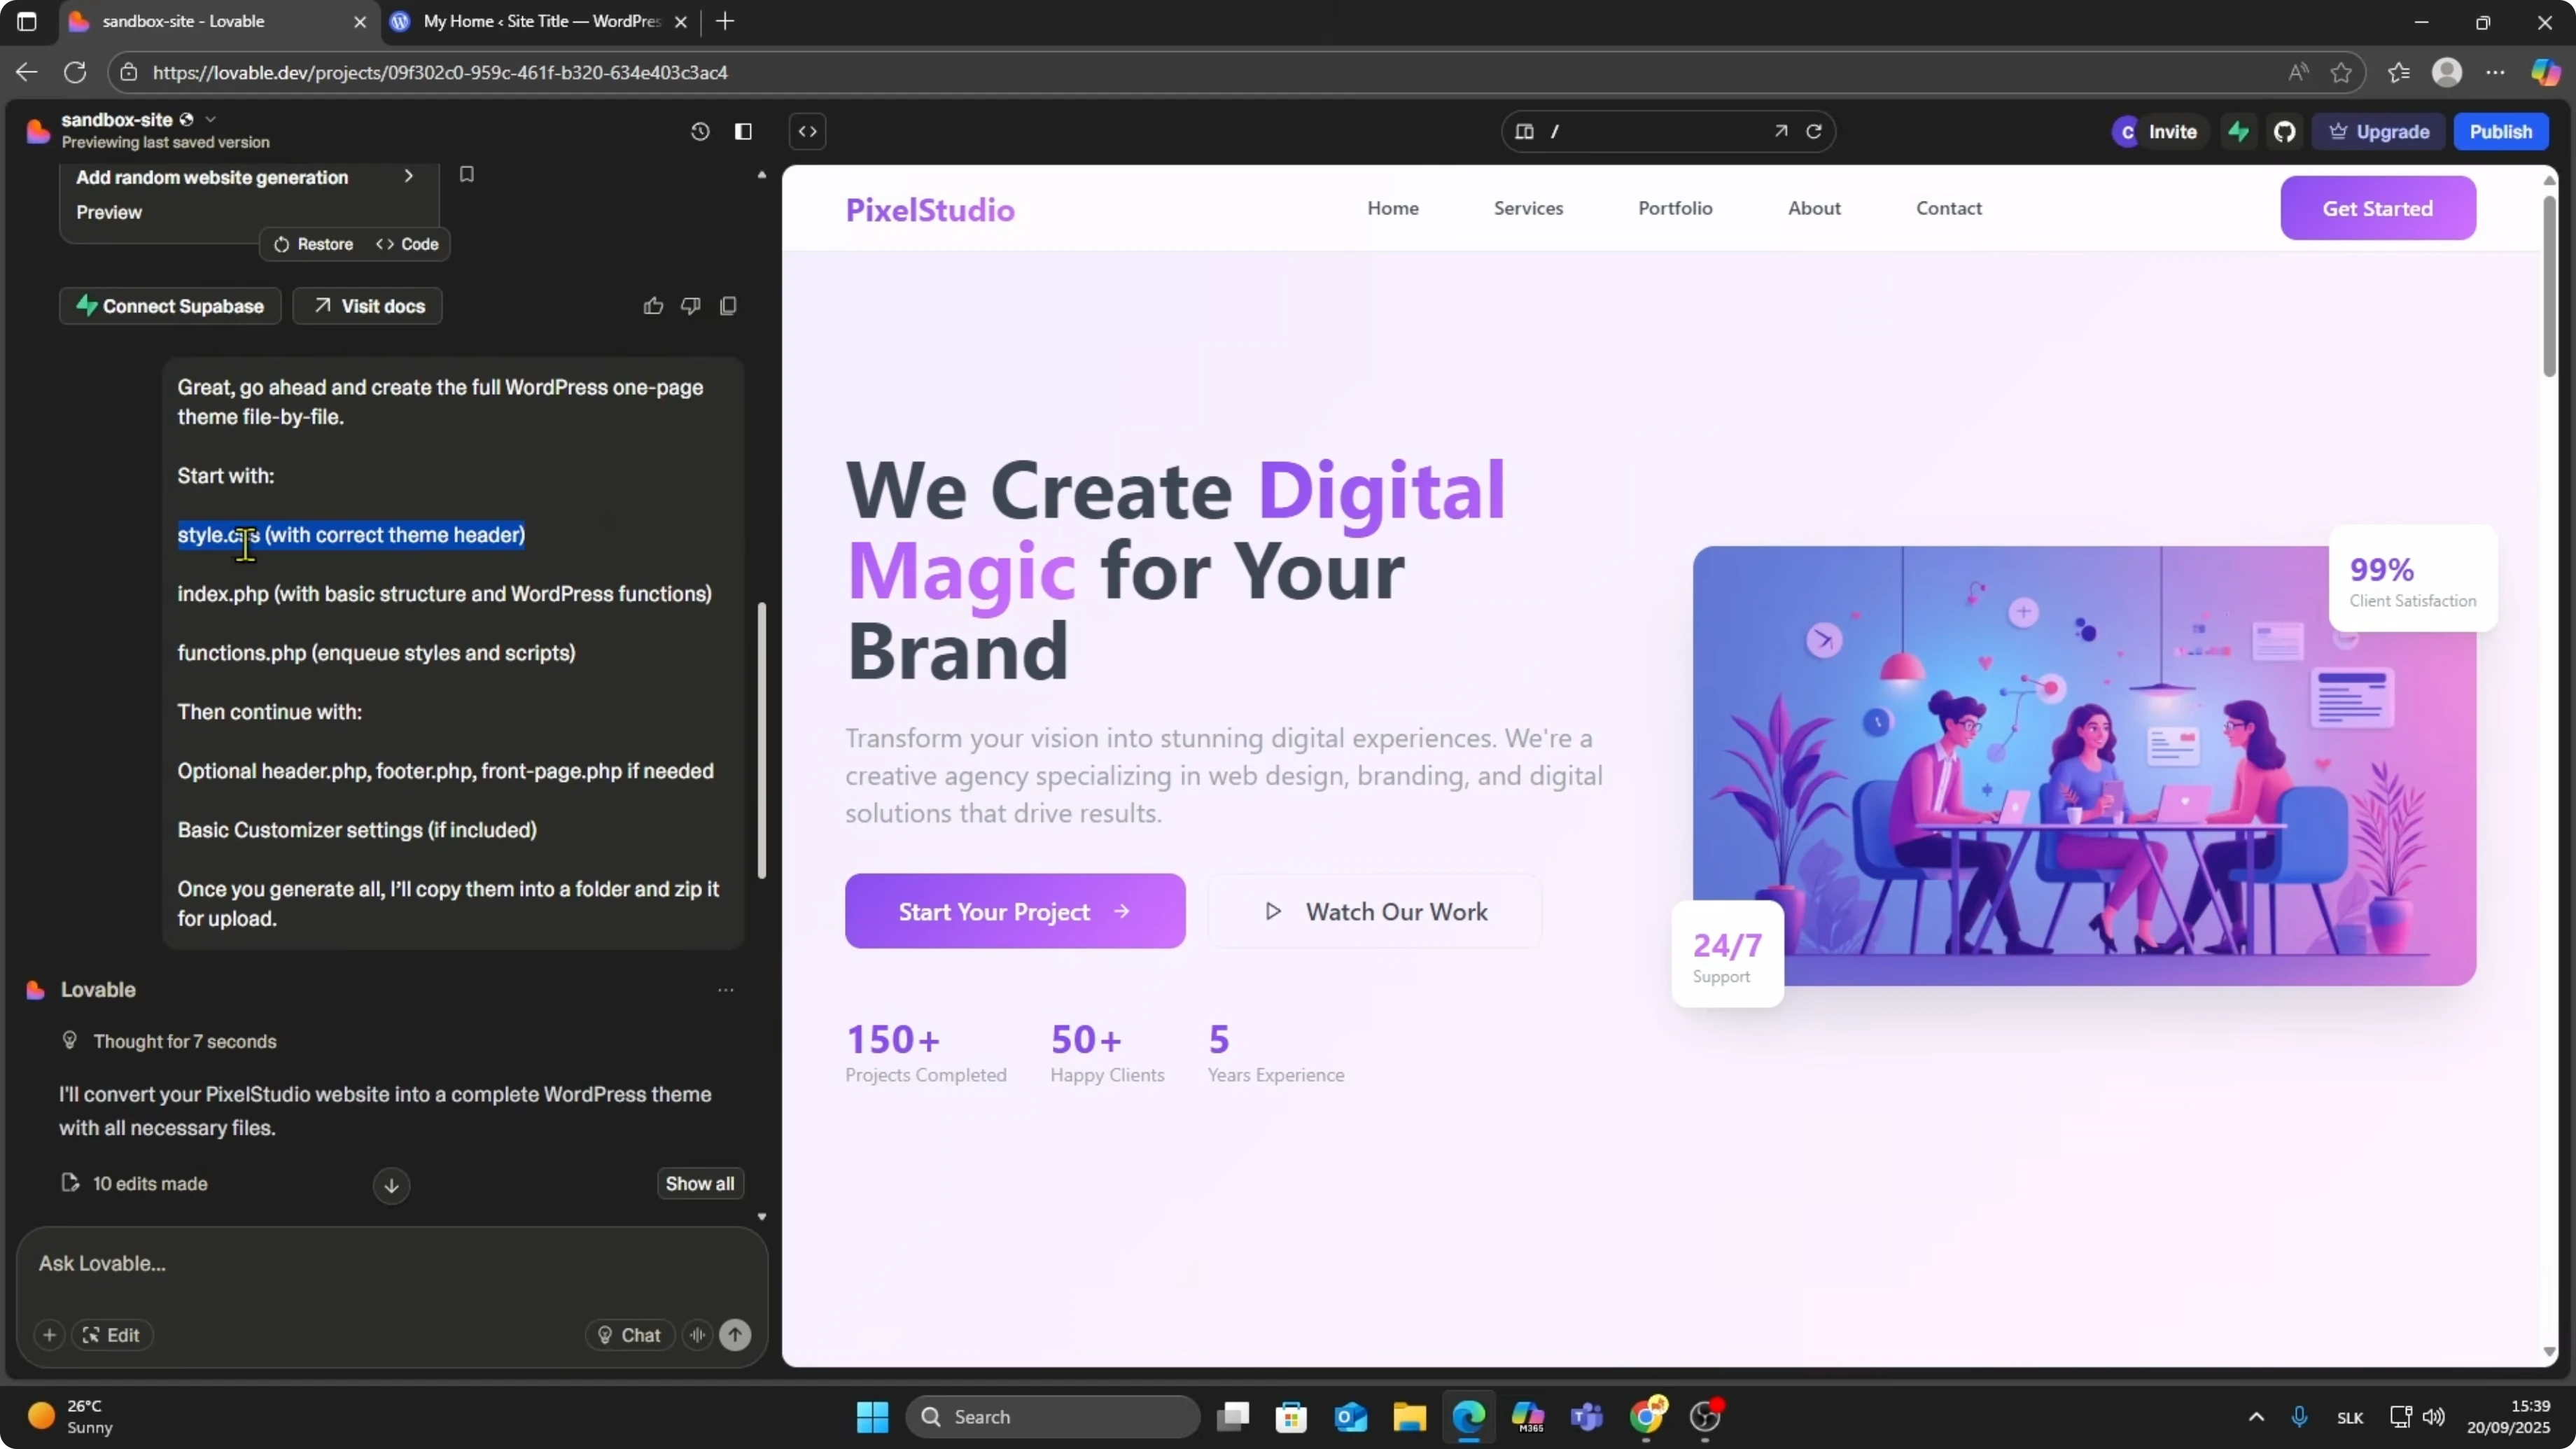
Add a prompt that tells Lovable to create a WordPress compatible theme.
Copy this prompt.
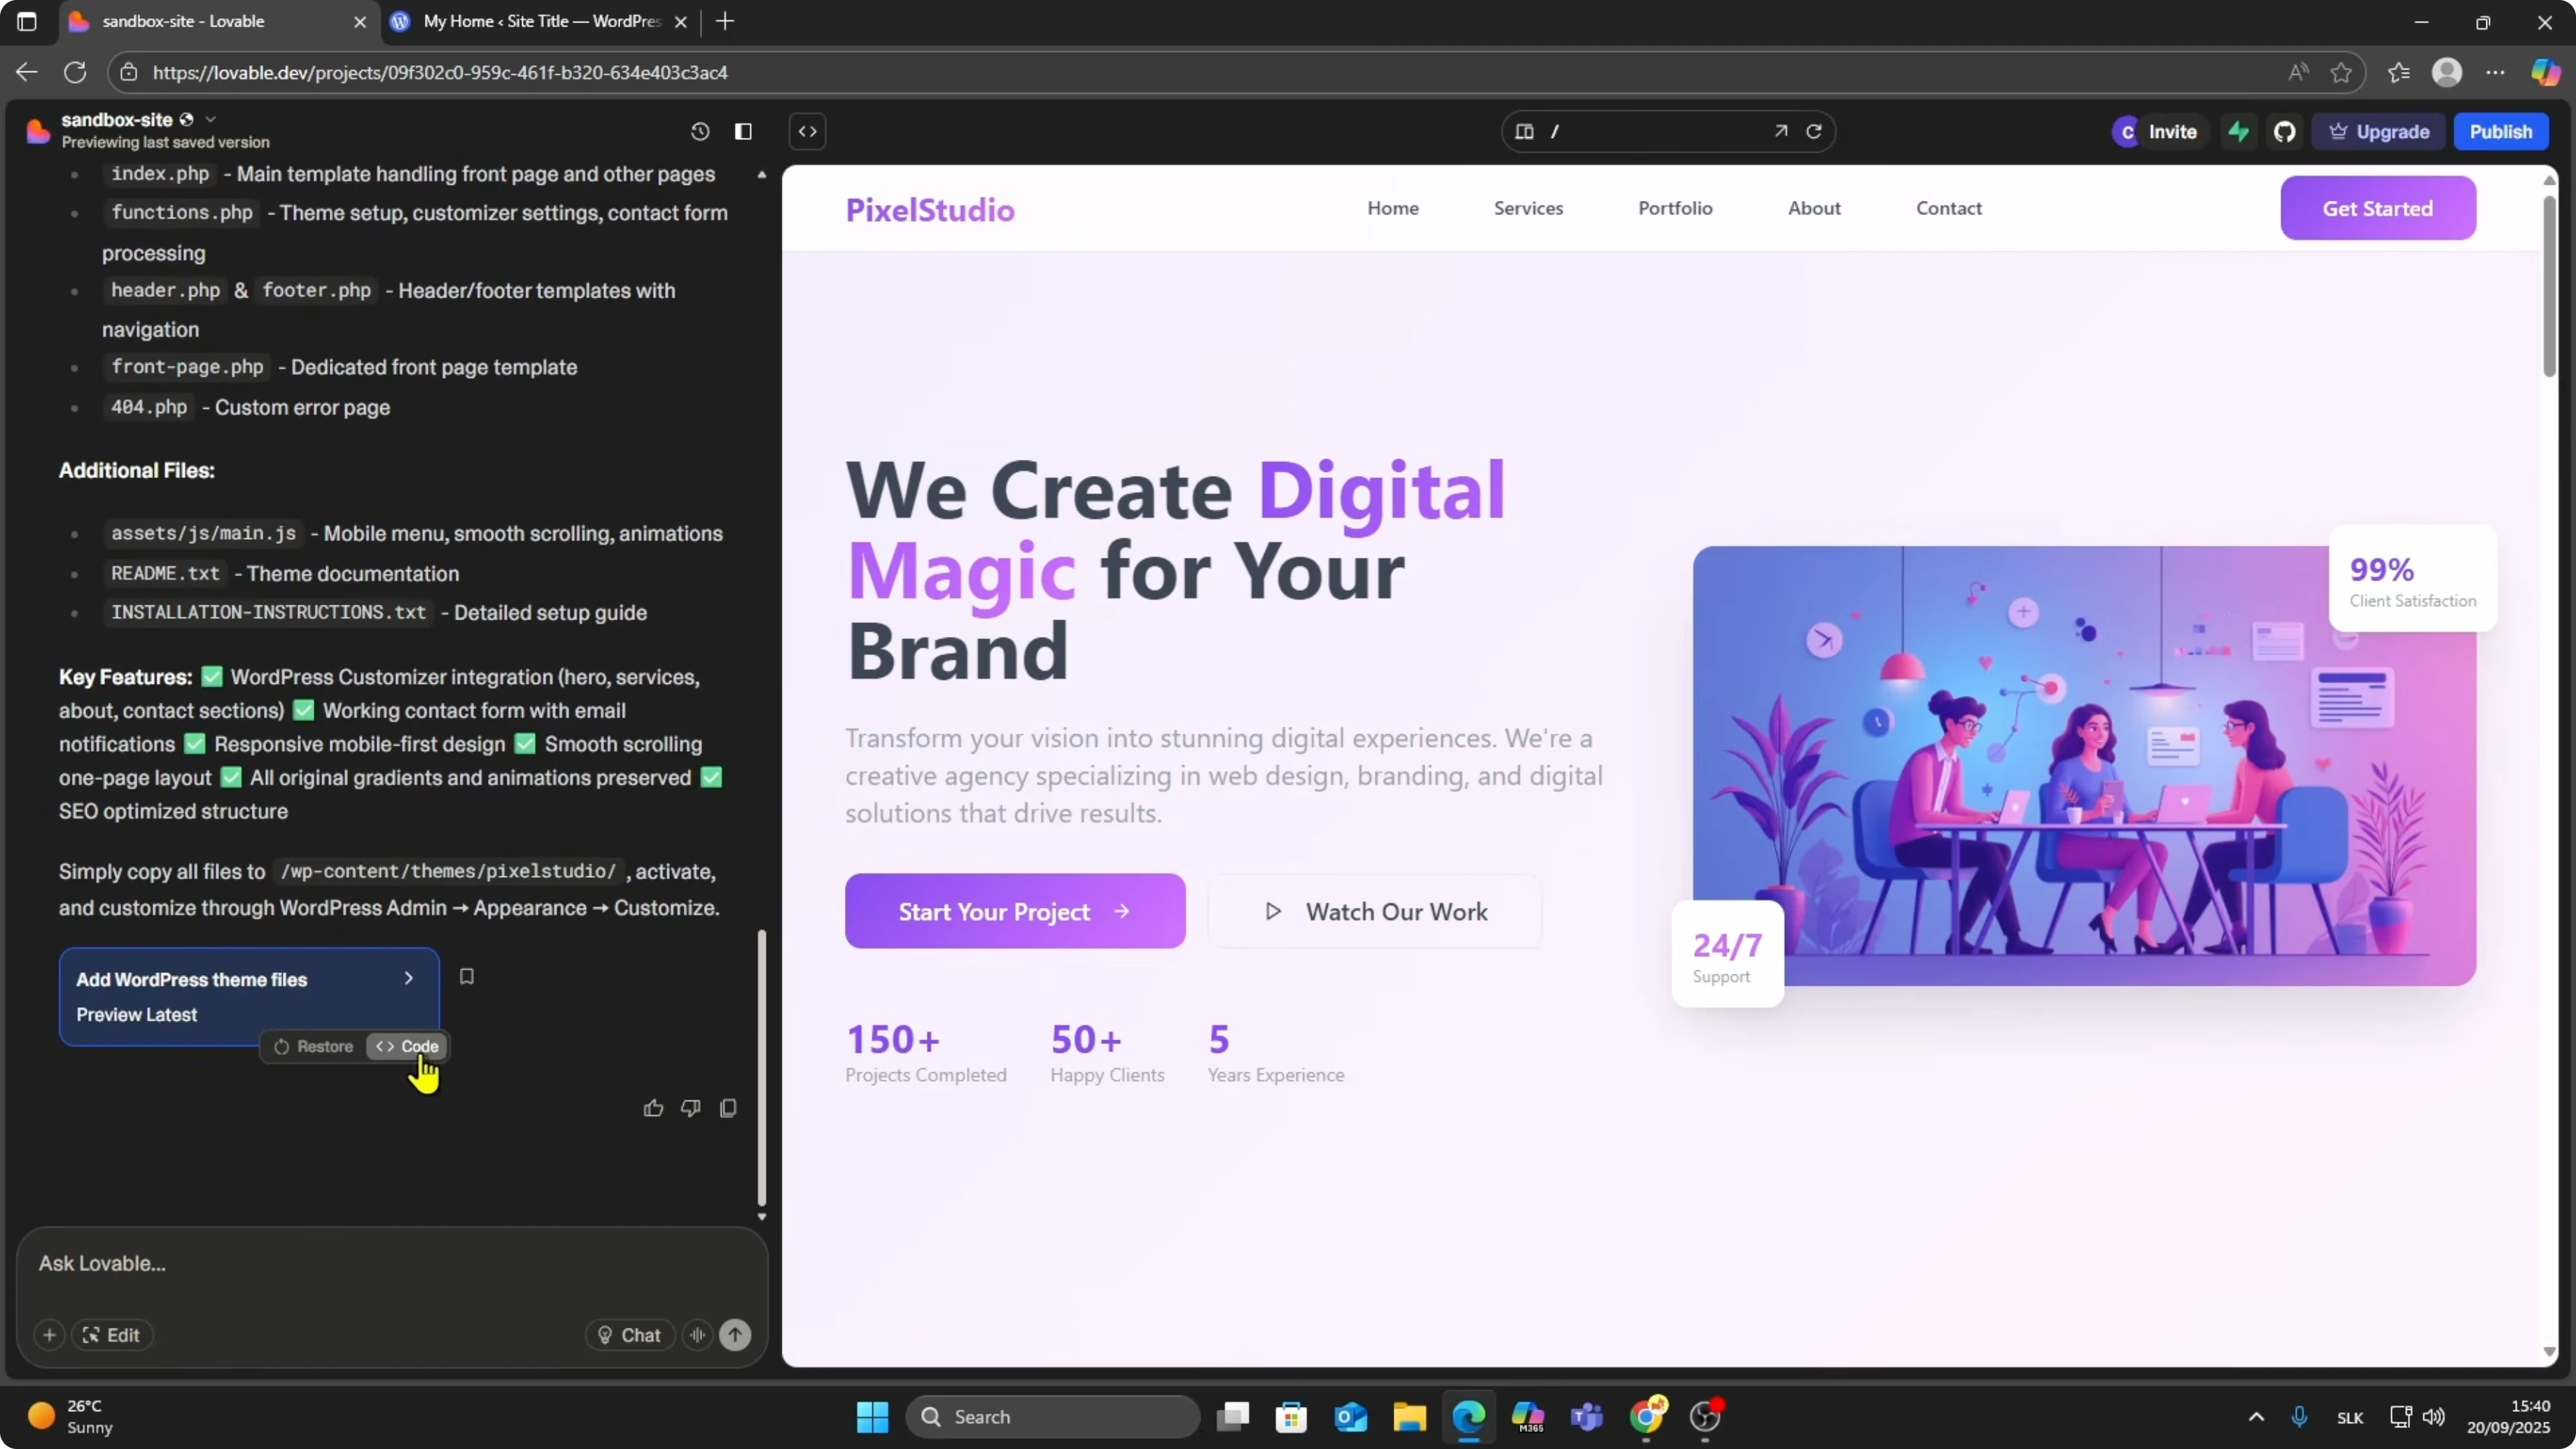
This will generate the necessary PHP and styling files like style.css, index.php, and functions.php.

Theme files
Here is a minimal style.css header that WordPress expects.
Place this at the top of style.css.
Update the values to match your project.
/*
 Theme Name: Lovable Theme
 Theme URI: https://example.com
 Author: Your Name
 Author URI: https://example.com
 Description: Theme generated from Lovable AI project
 Version: 1.0.0
 License: GNU General Public License v2 or later
 License URI: https://www.gnu.org/licenses/gpl-2.0.html
 Text Domain: lovable-theme
 Tags: custom
*/
A basic index.php to render your pages.
This file ensures WordPress can display content from the loop.
Keep it simple at first.
<?php get_header(); ?>
<main id="site-content">
  <?php if ( have_posts() ) : ?>
    <?php while ( have_posts() ) : the_post(); ?>
      <article id="post-<?php the_ID(); ?>" <?php post_class(); ?>>
        <h1><?php the_title(); ?></h1>
        <div class="entry-content">
          <?php the_content(); ?>
        </div>
      </article>
    <?php endwhile; ?>
  <?php else : ?>
    <p>No content found.</p>
  <?php endif; ?>
</main>
<?php get_footer(); ?>
A minimal functions.php to enqueue styles and set core supports.
These lines help load your stylesheet and basic theme features.
You can expand as needed.
<?php
function lovable_theme_setup() {
  add_theme_support( 'title-tag' );
  add_theme_support( 'post-thumbnails' );
}
add_action( 'after_setup_theme', 'lovable_theme_setup' );

function lovable_theme_assets() {
  wp_enqueue_style( 'lovable-style', get_stylesheet_uri(), array(), wp_get_theme()->get( 'Version' ) );
}
add_action( 'wp_enqueue_scripts', 'lovable_theme_assets' );
Get the files from GitHub
Scroll to the bottom of the Lovable chat where it shows code.
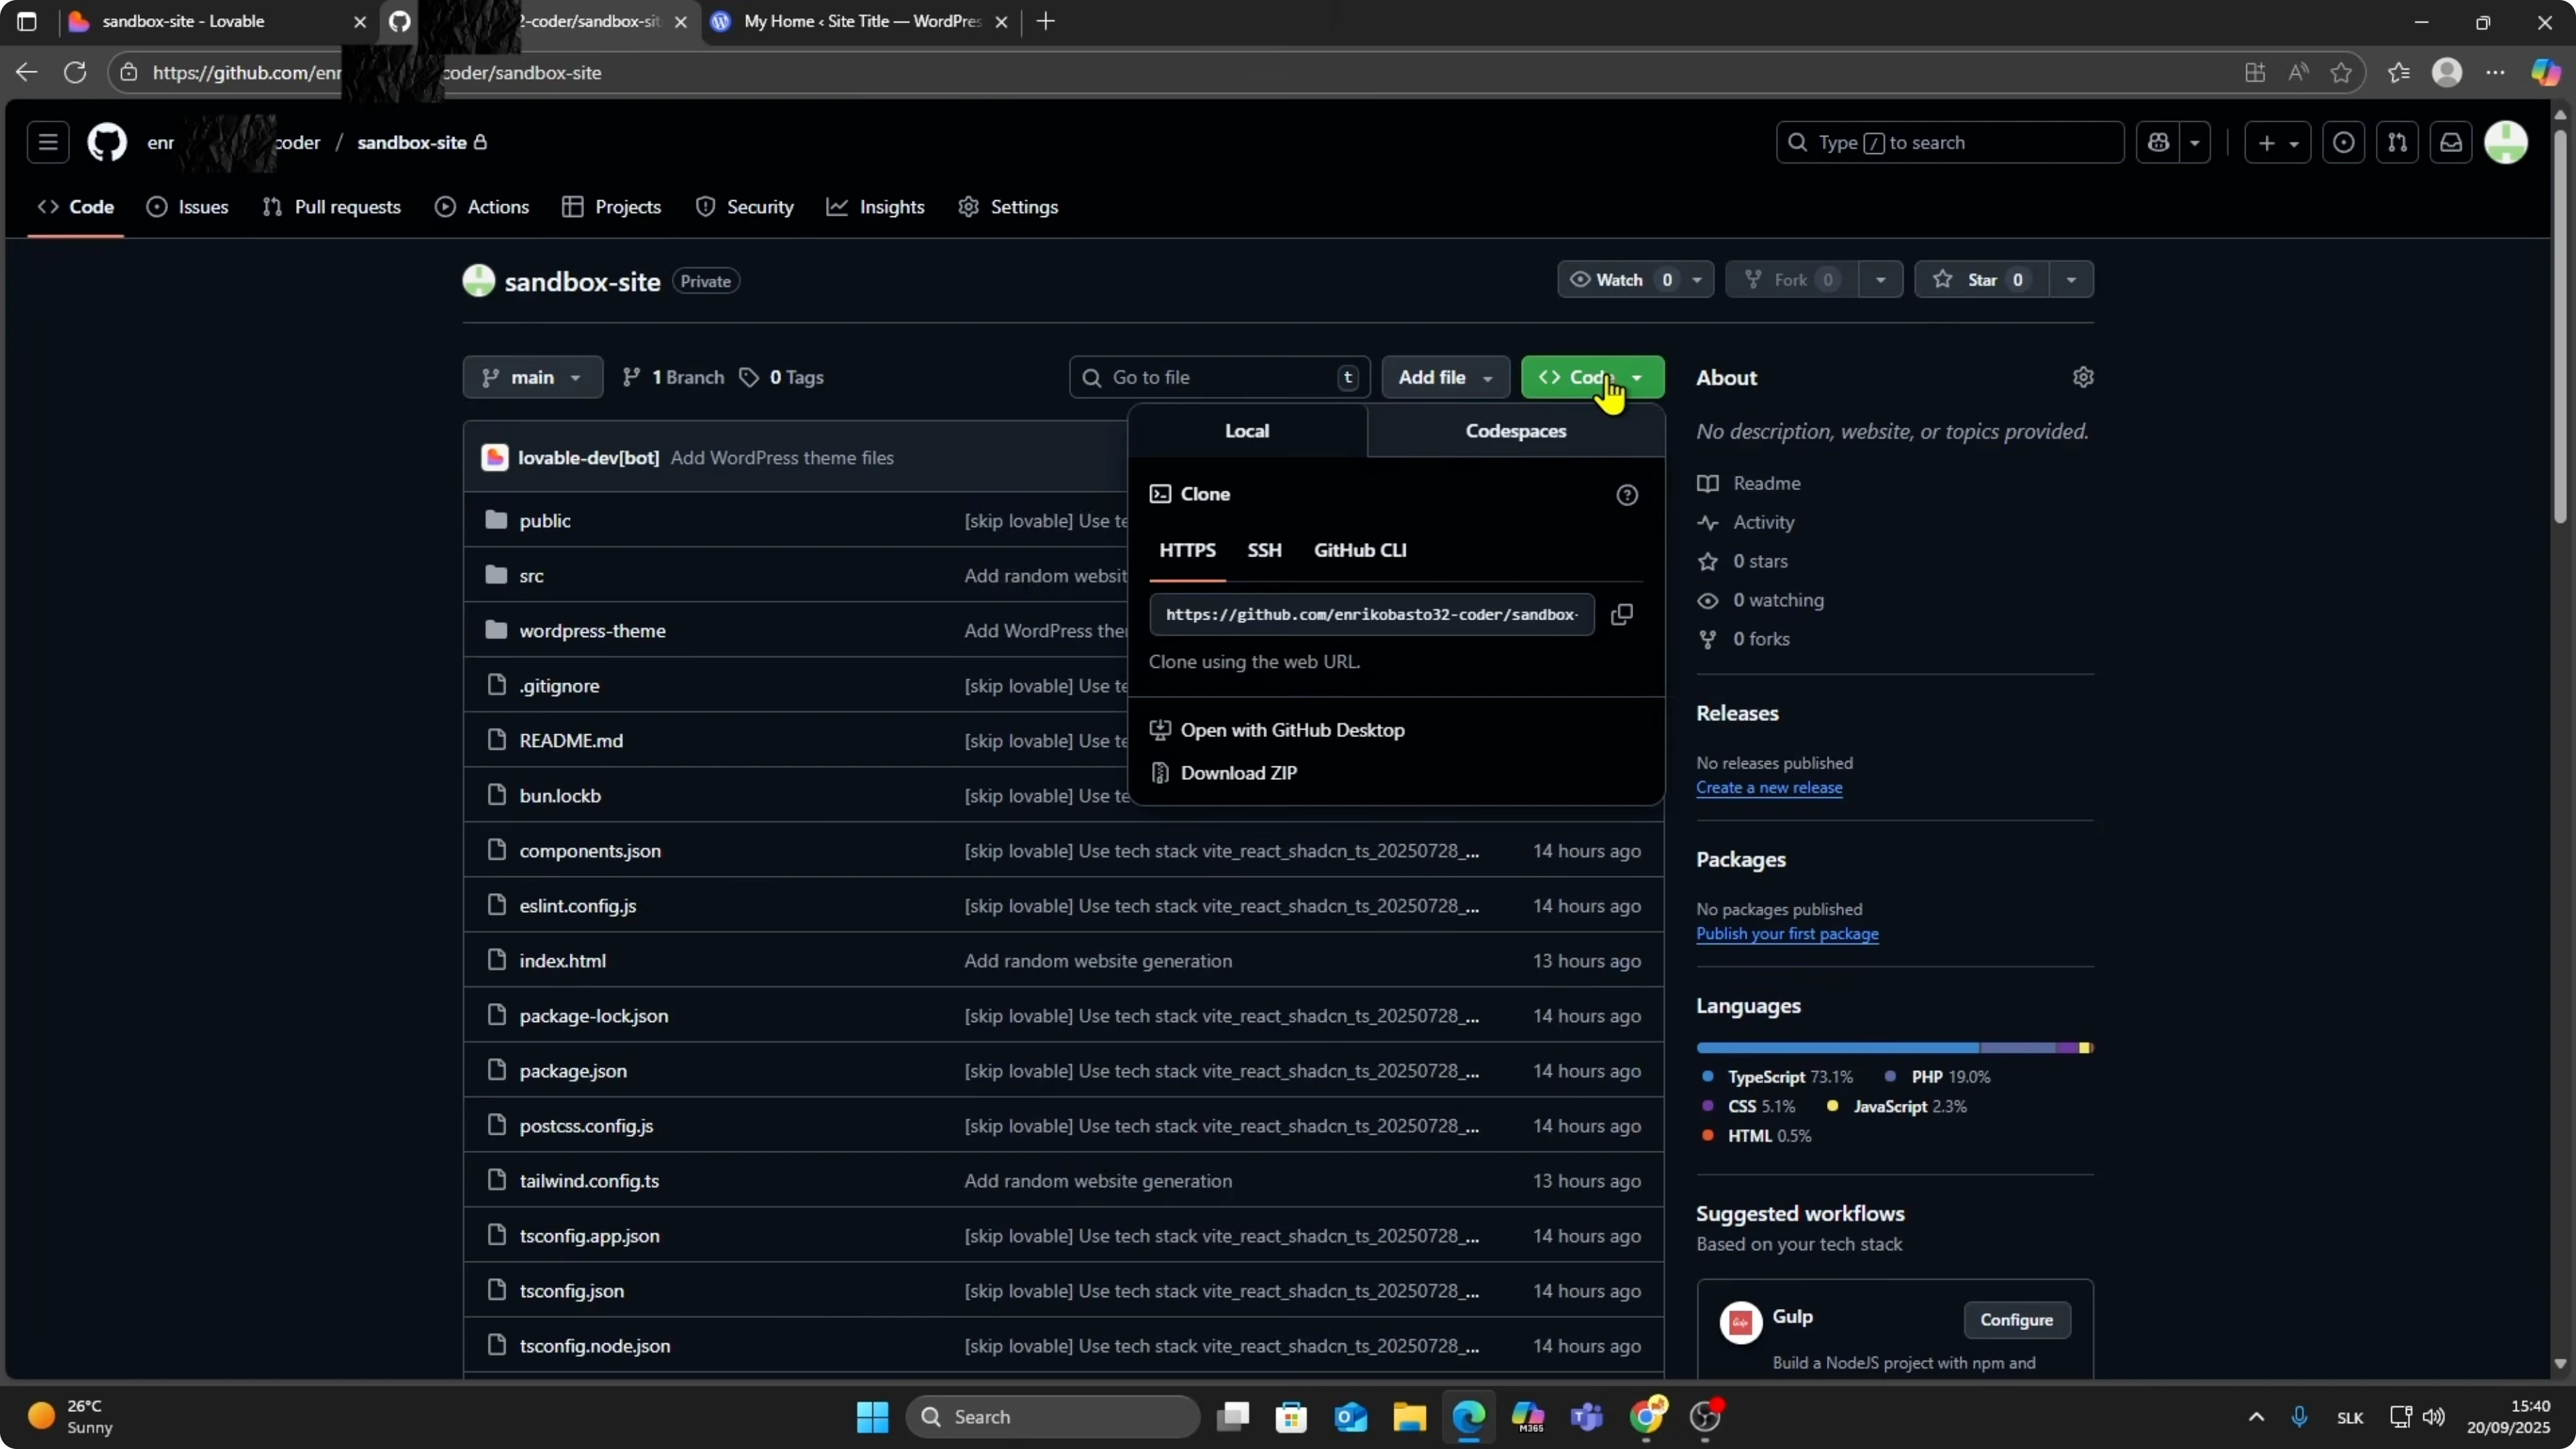
Click Code, then select View on GitHub.
If this is your first time, you will be asked to connect and authorize GitHub.
It only takes a couple of clicks.
After that, you can view your files directly in a GitHub repository.
On GitHub, click the green Code button and choose Download ZIP.
If you need a focused walkthrough on exporting your project files, see this guide to download code from Lovable AI.
It pairs well with the steps here.
Prepare the theme zip
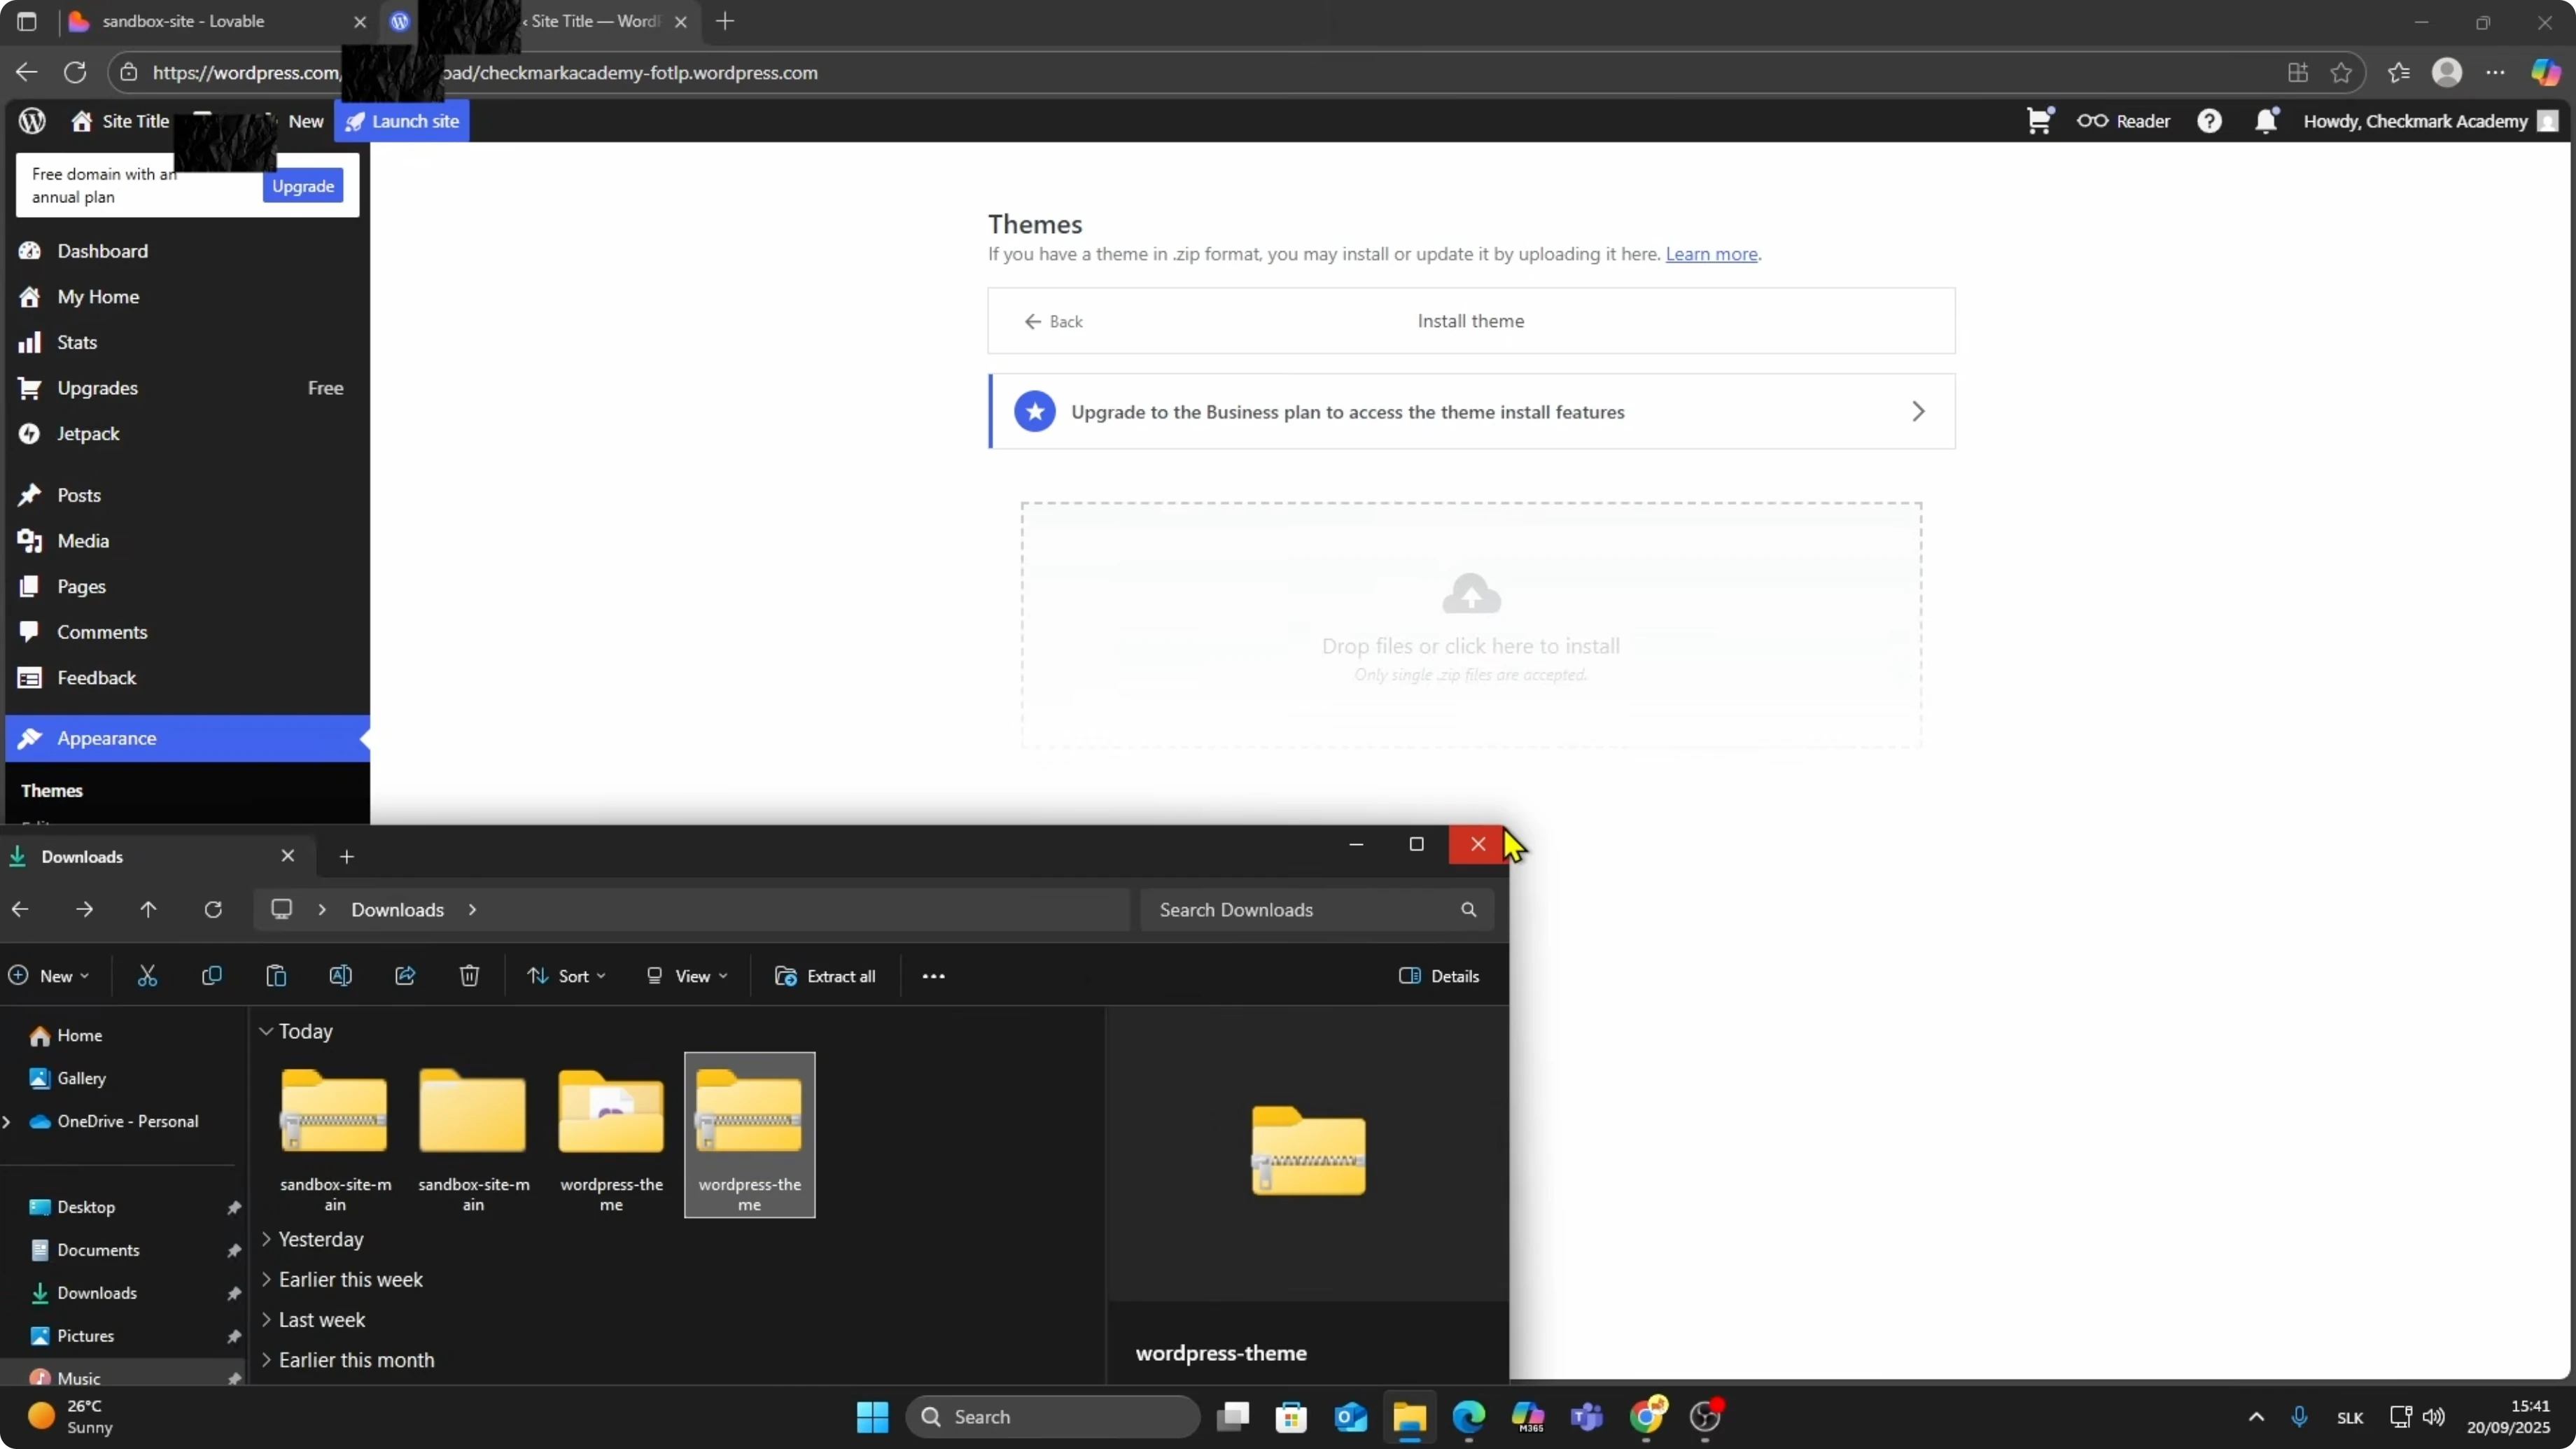
After downloading, unzip the file.
Inside the folder, look for the theme files, usually labeled as a WordPress theme folder.
Copy that folder.
Compress the theme folder back into a zip.
Name it clearly so you can find it during upload.
Keep this zip ready for WordPress.
Read More: How To Convert Lovable App To Apk
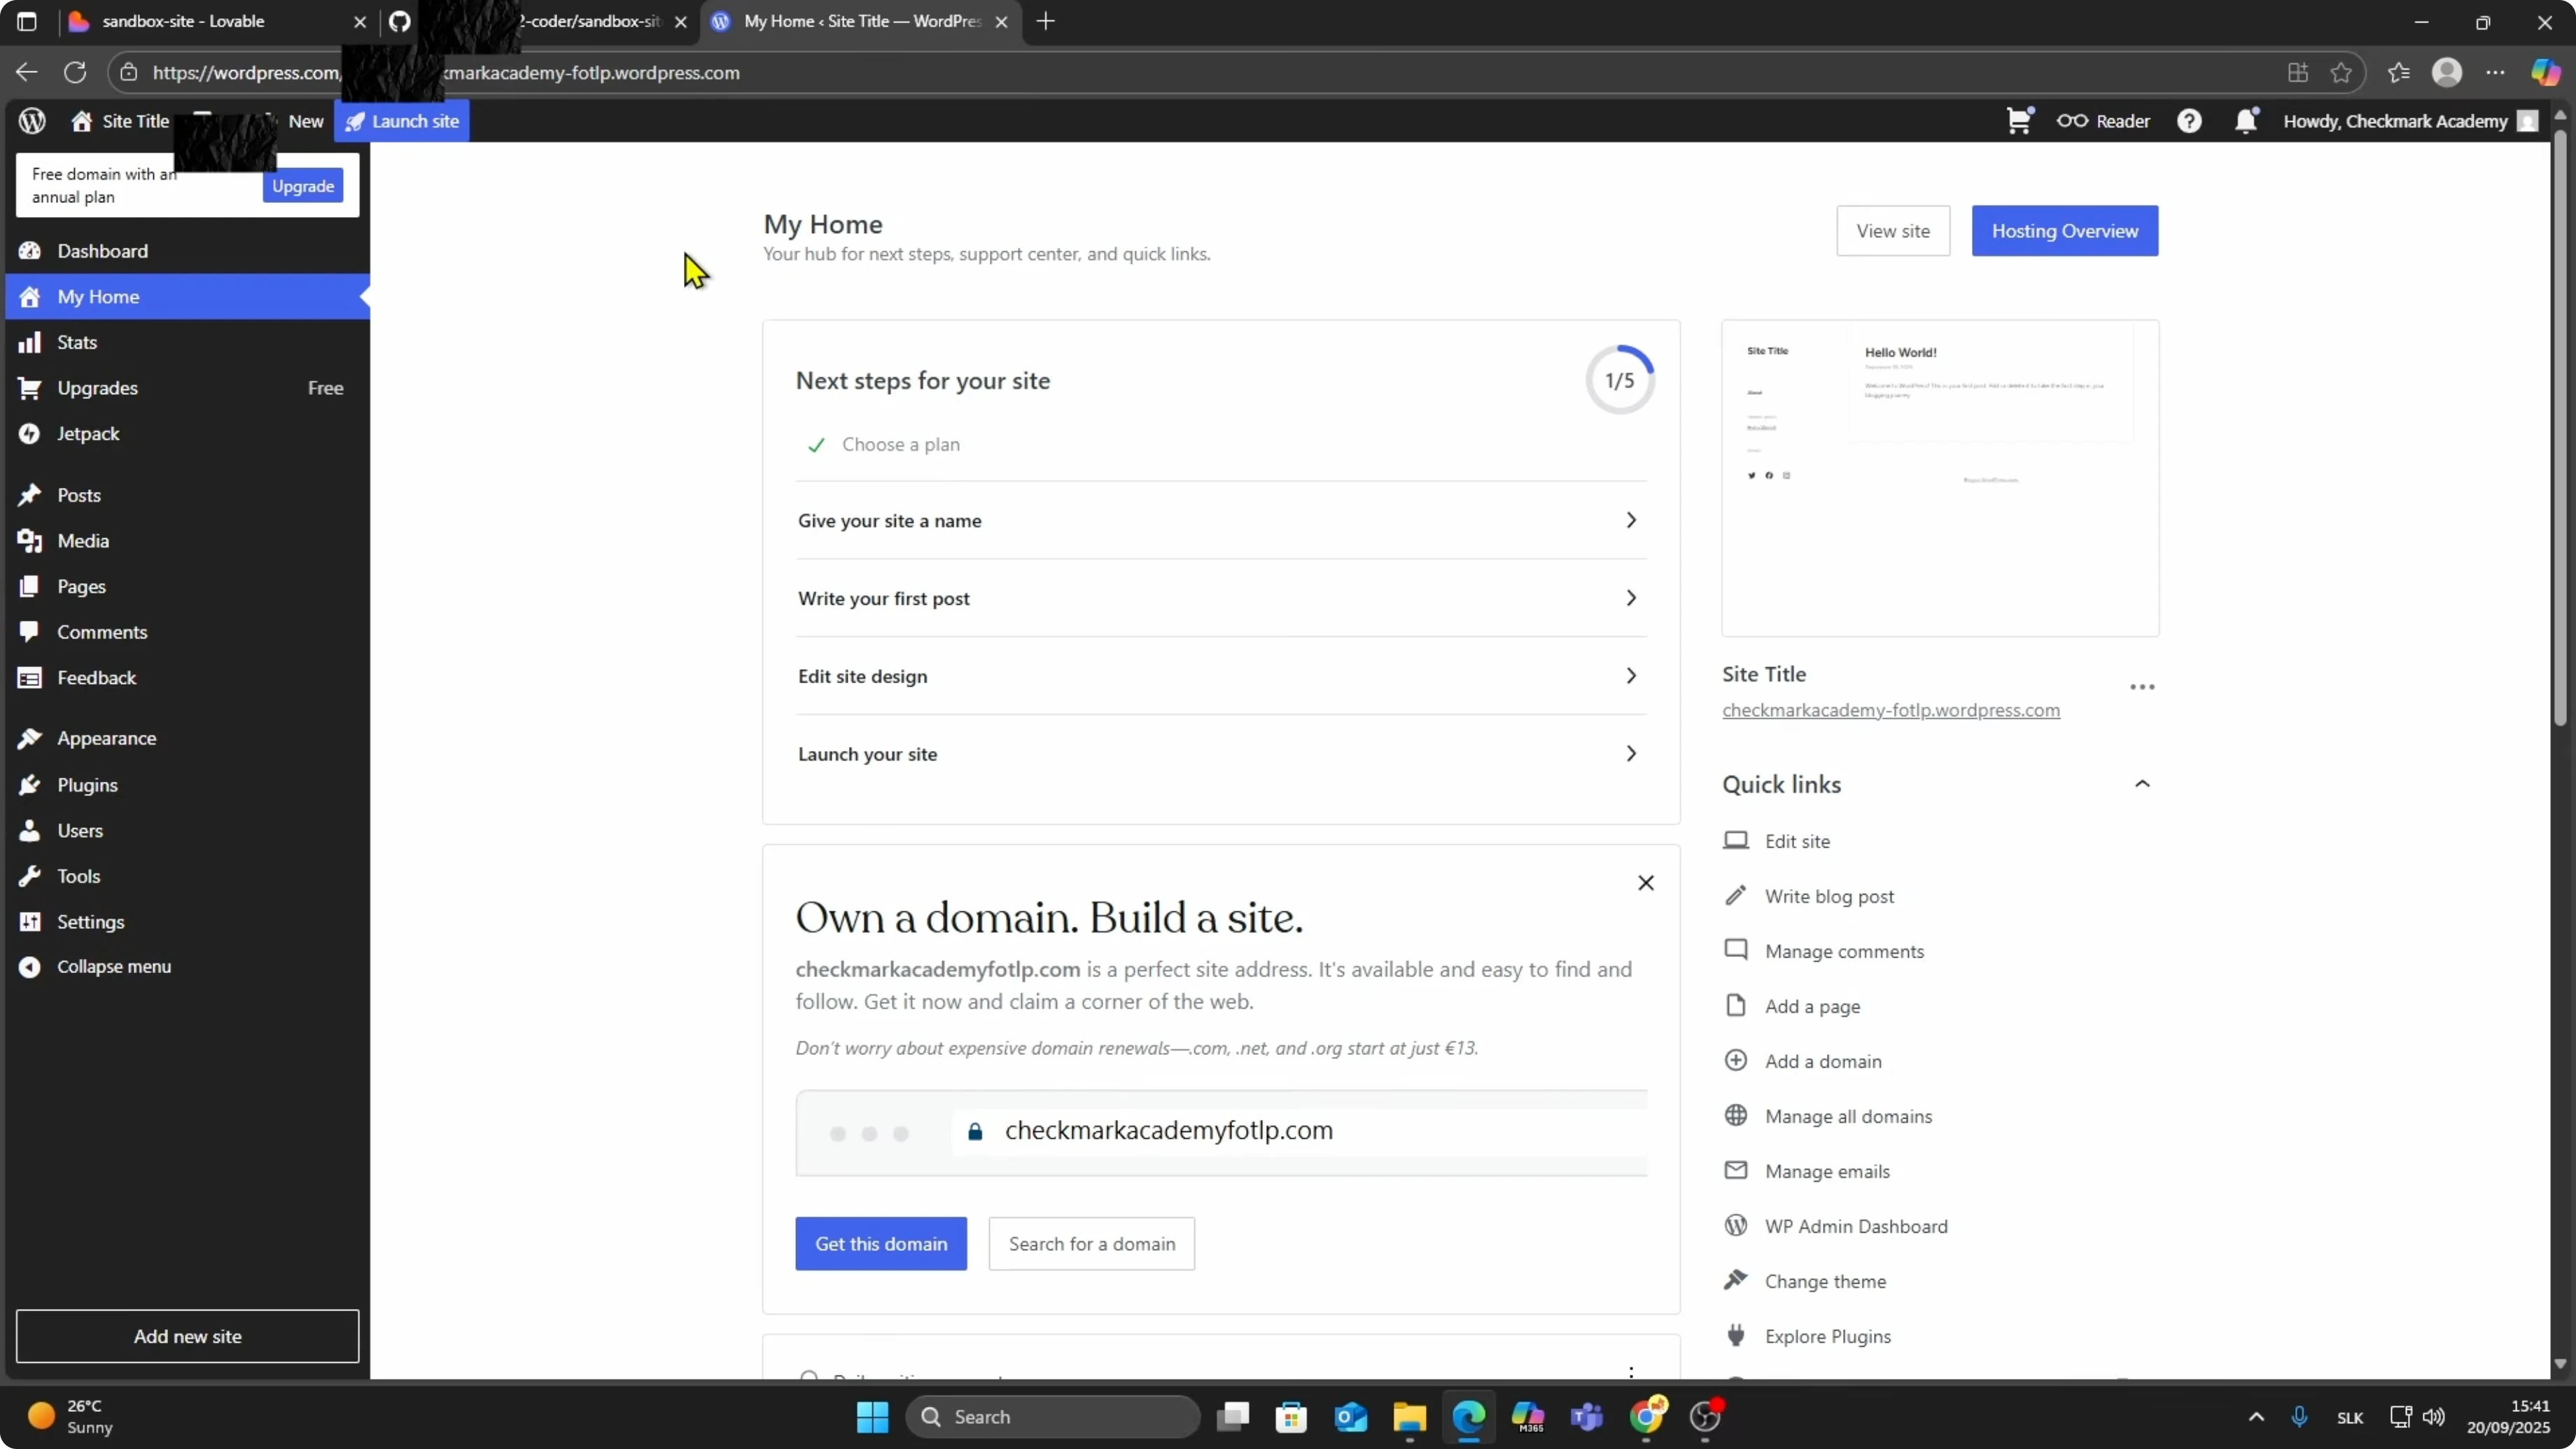
Install on WordPress
Open your WordPress dashboard.
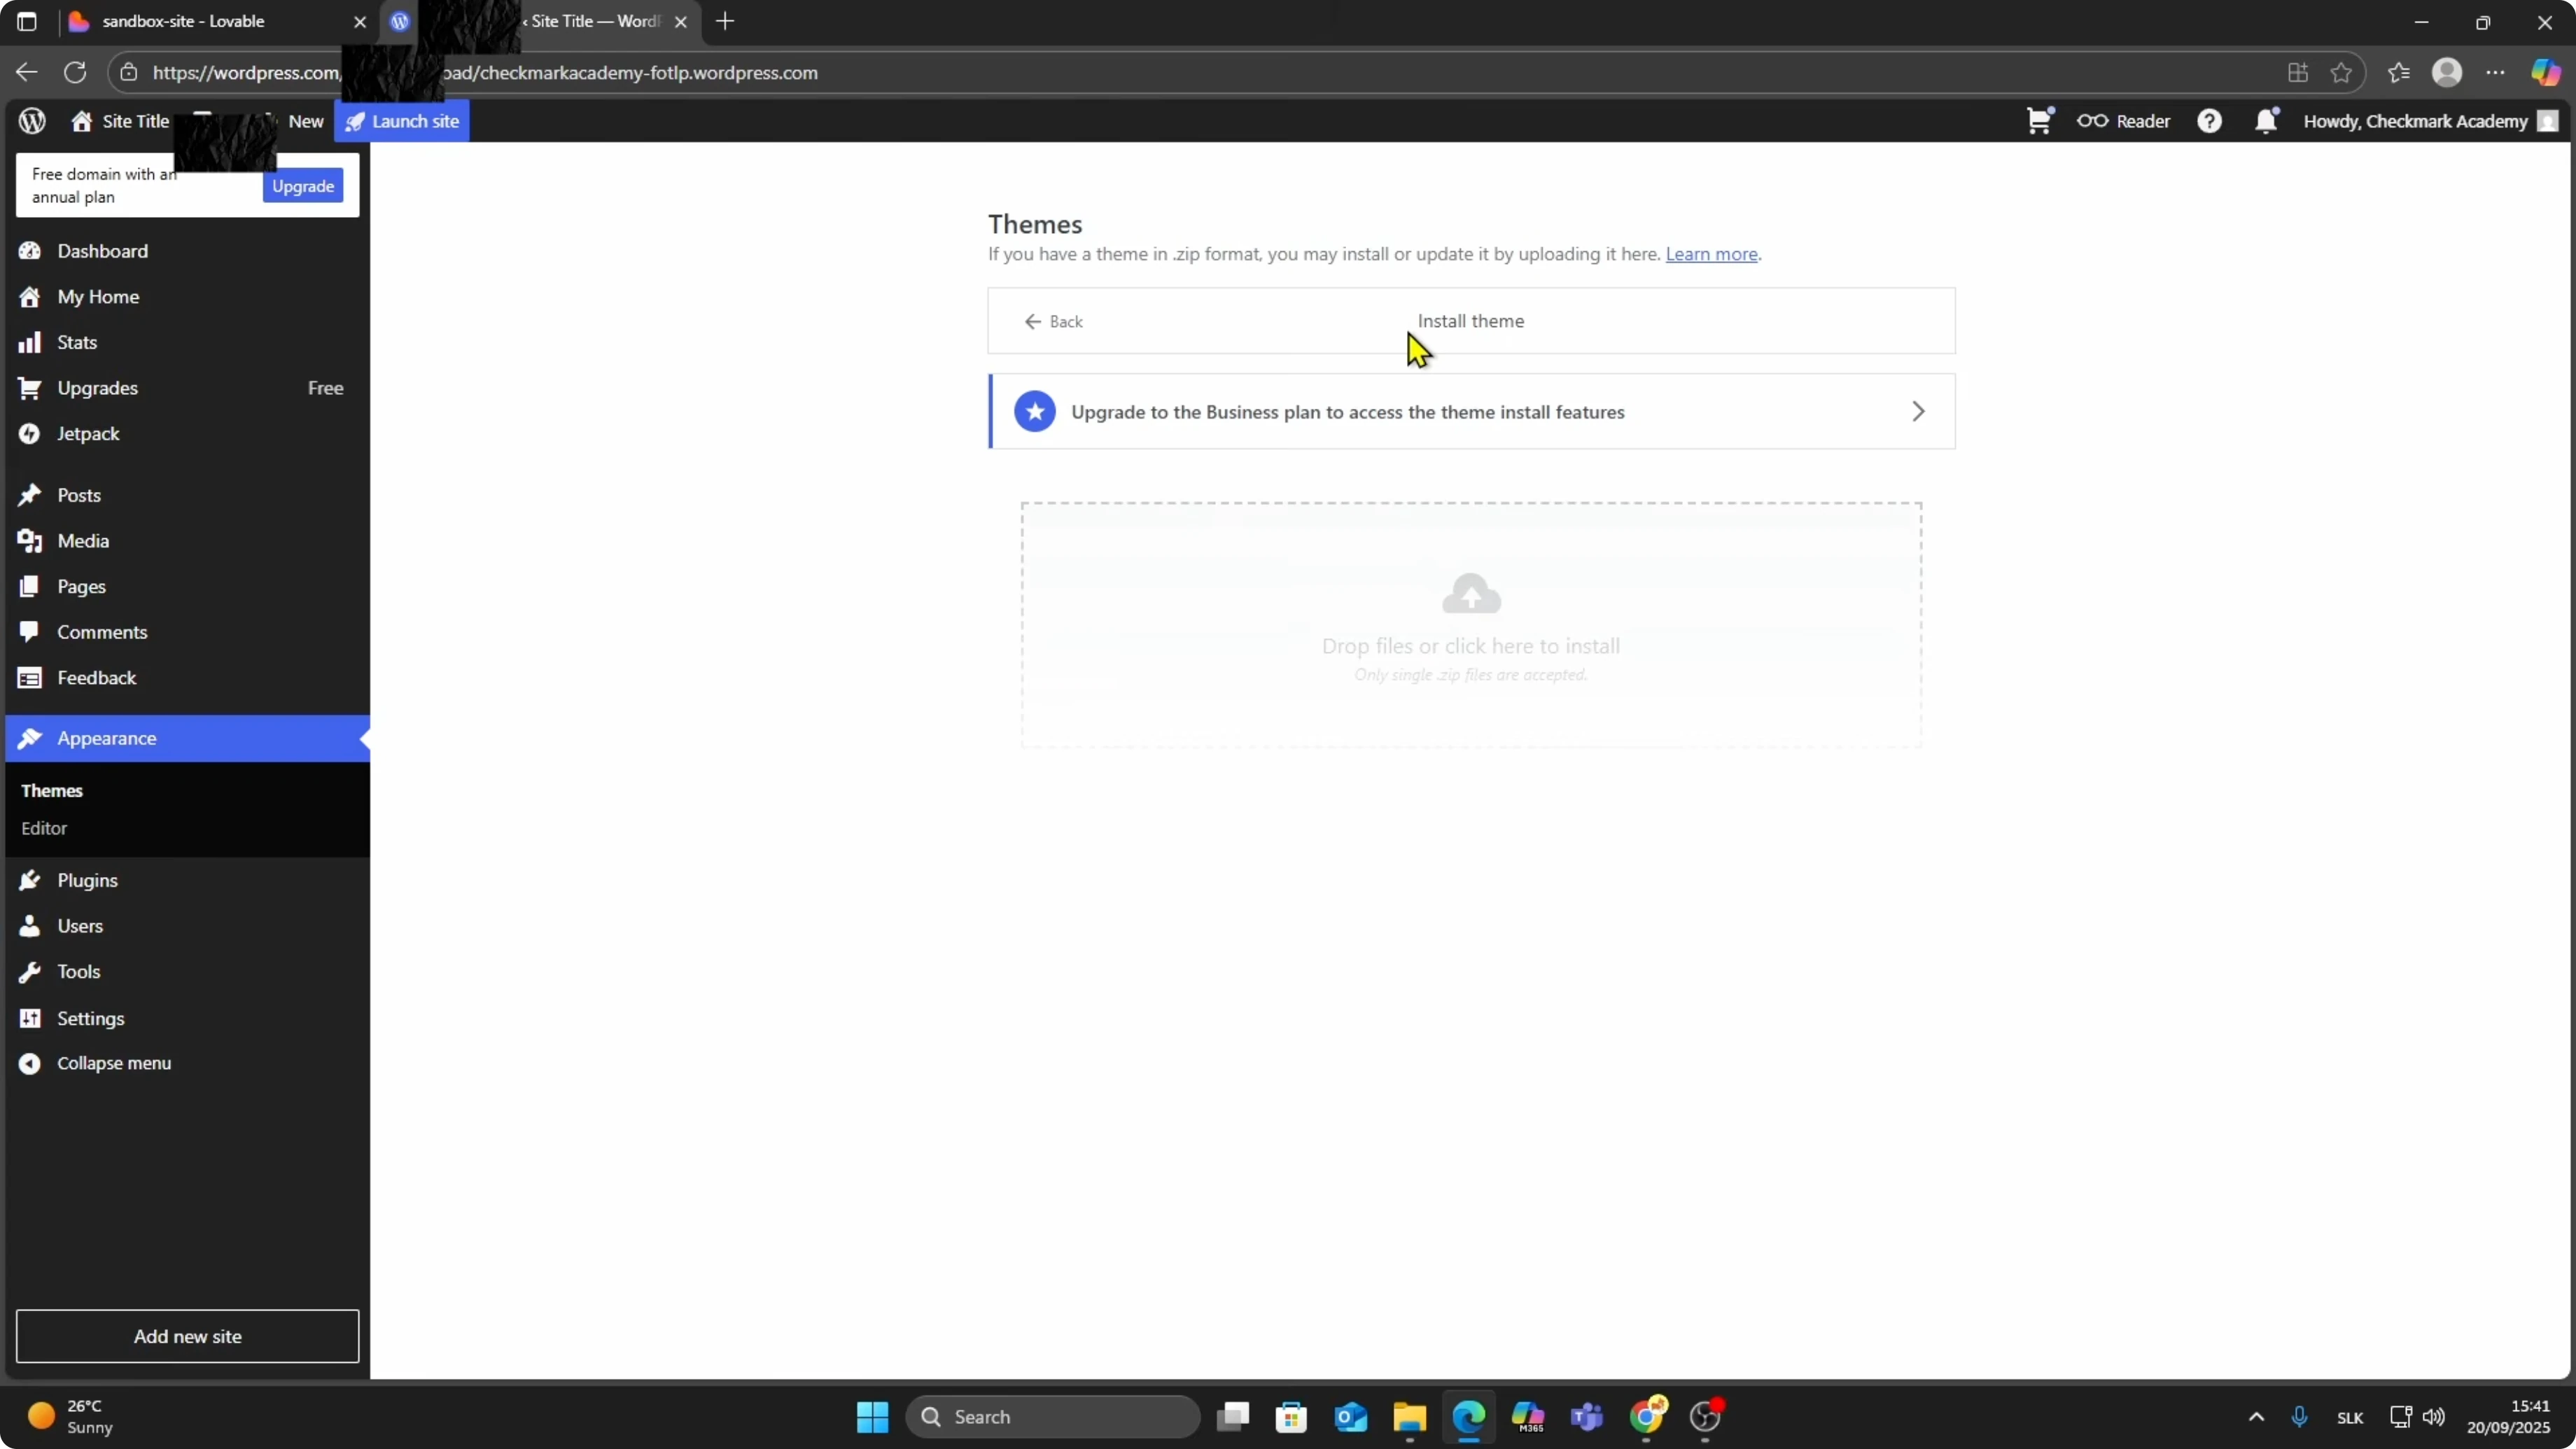
Go to Appearance.
Click Add New Theme.
Upload the WordPress theme zip file.
Once installed, you can activate it.
Upload the theme and activate it to see your site live.

Keep in mind that uploading custom themes requires the WordPress Business plan or higher.
This requirement is important before you proceed.
After activation
After activation, your Lovable site will appear as a WordPress theme.
You may need to make small adjustments, but the main structure will already be in place.
Most of the heavy lifting is already done.
If your project will also target iOS, you can follow a clear path to ship it as a mobile app.
Check this guide to convert a Lovable web app to an iOS build here: convert your Lovable web app to iOS.
Final thoughts
You can turn a Lovable AI project into a working WordPress theme with a few clicks.
Generate the theme files, export from GitHub, prepare the zip, and upload it in WordPress.
Activate the theme and make small tweaks to finish the setup.