How To Connect Stripe To Lovable AI App Full Setup
Here is how I connect Stripe to my Lovable AI web app to accept real payments and set up monthly subscriptions.
I will walk you through the exact process, including where to paste your API key and how to confirm the subscription setup inside Lovable.
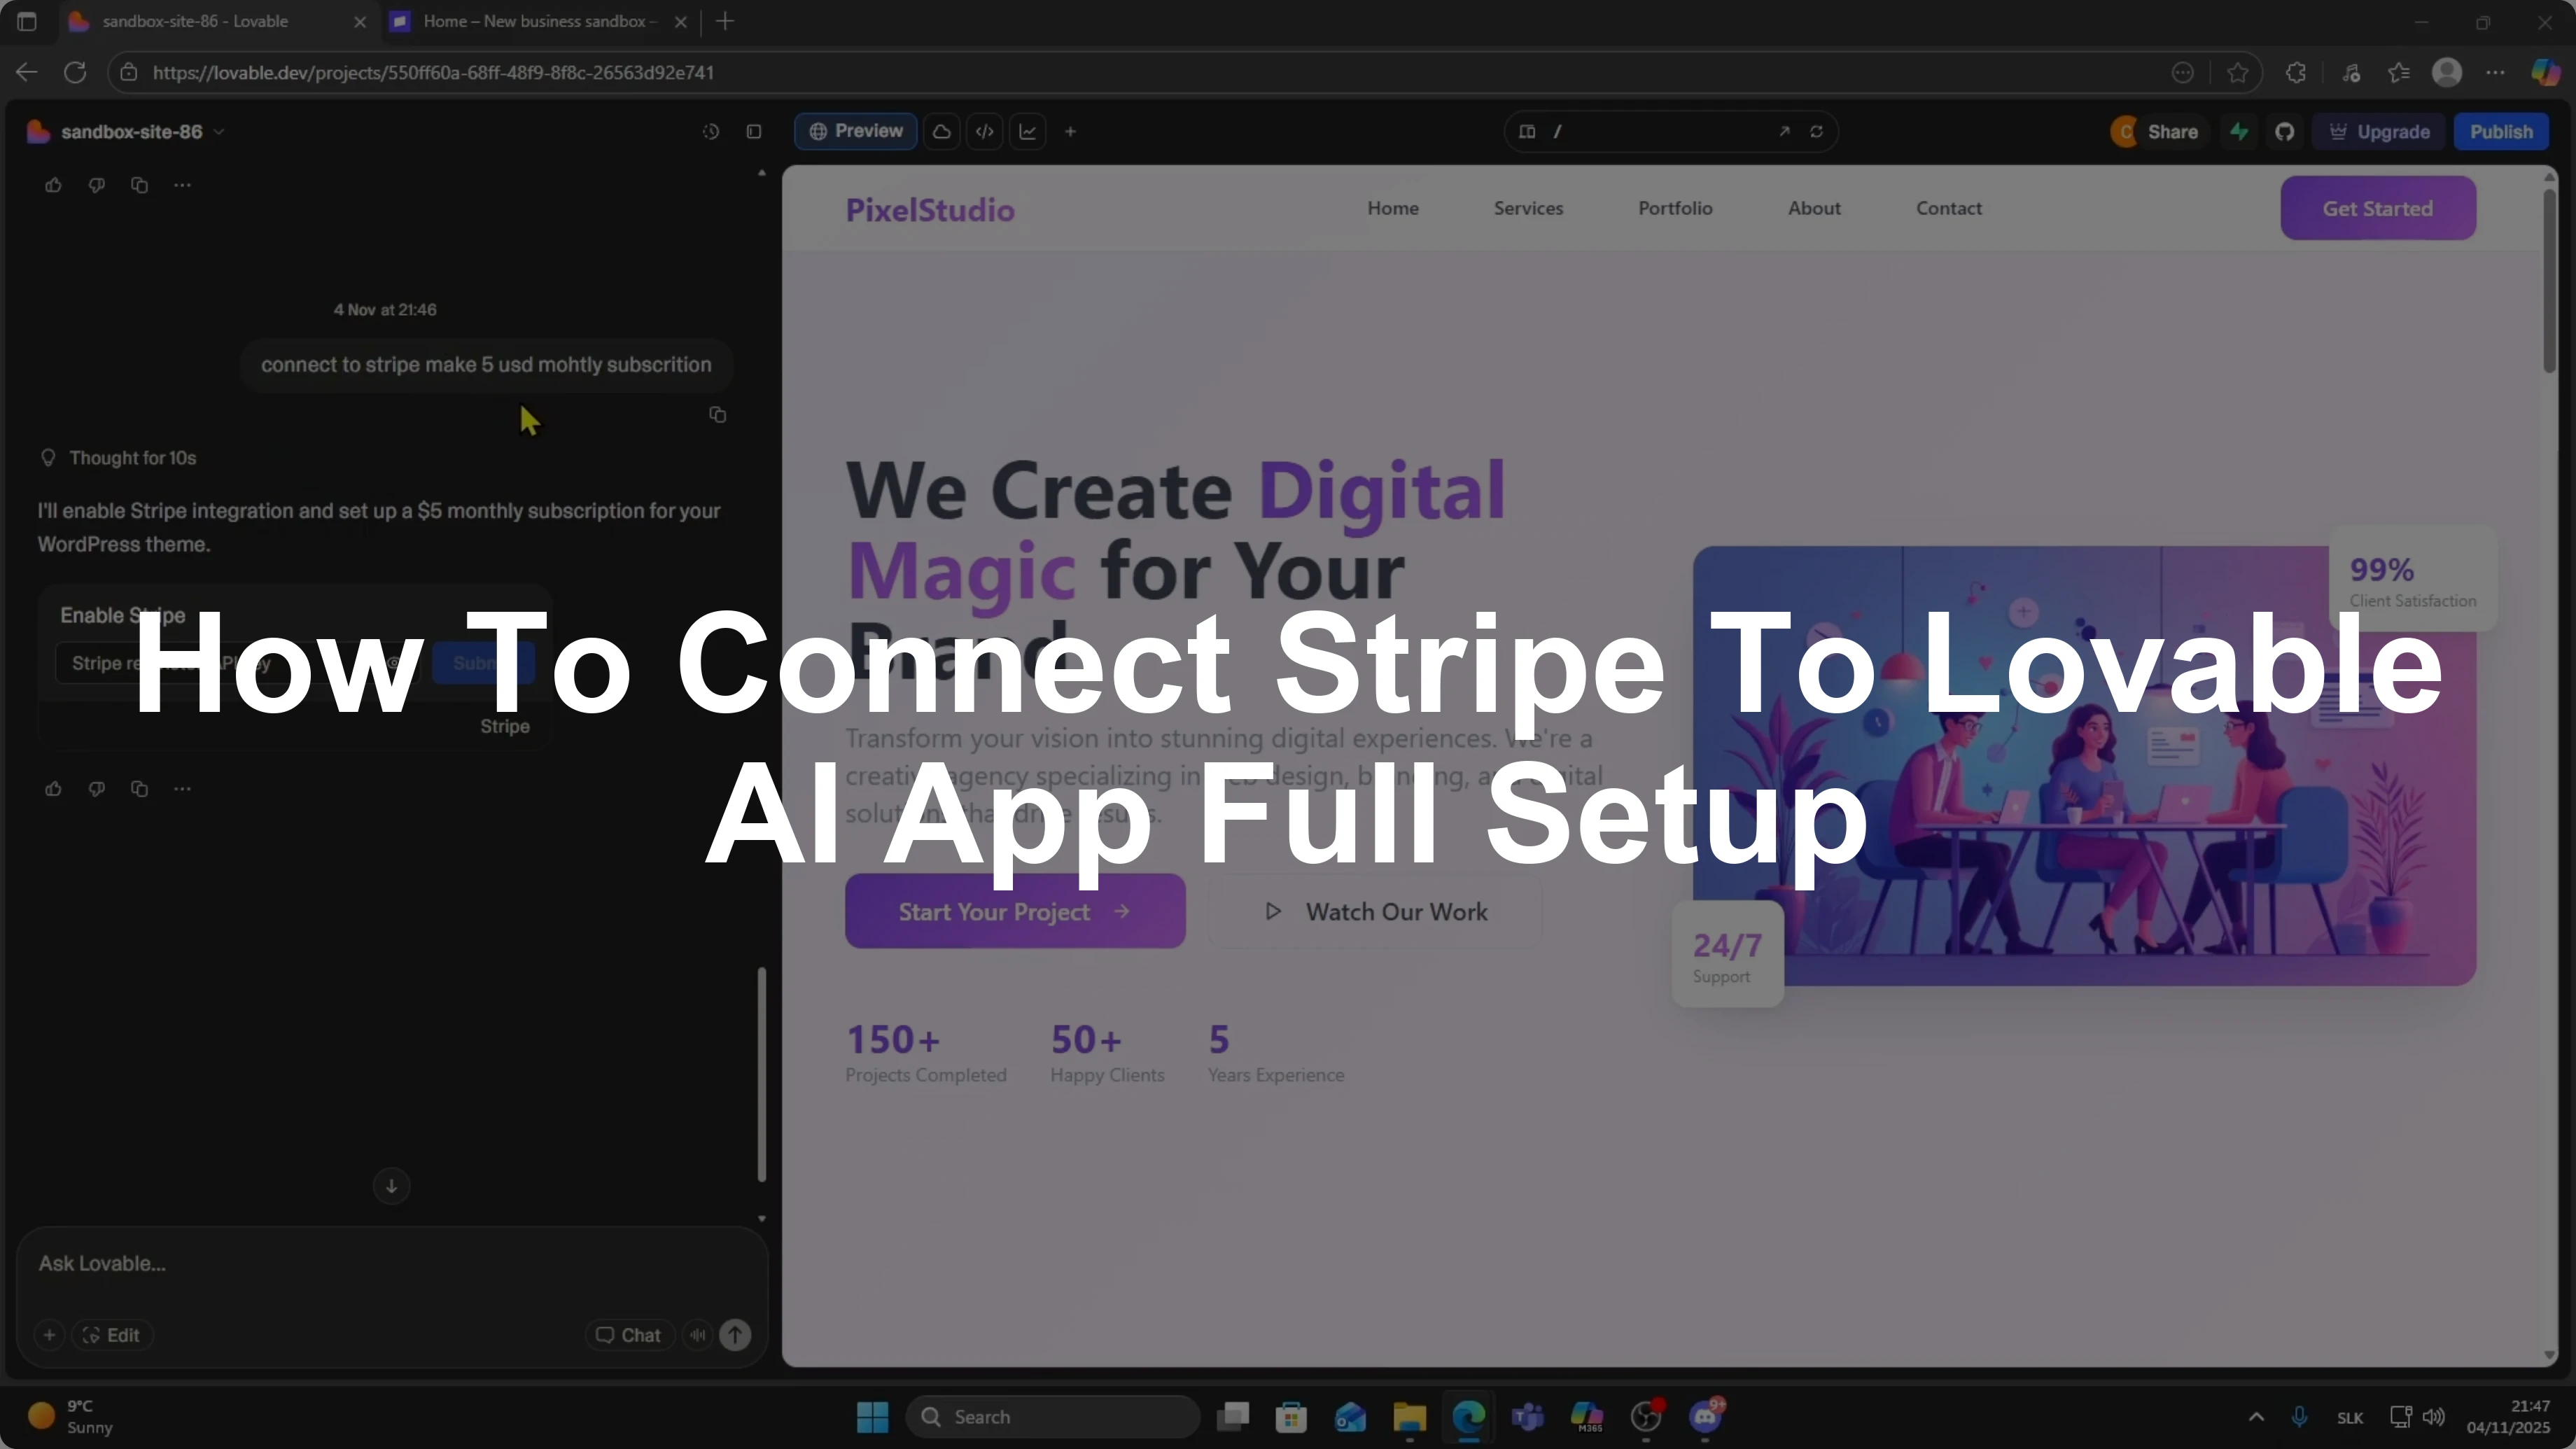
I am inside my Lovable project called Pixel Studio, and you can follow the same steps for any project you build in Lovable.
If you start from a design first workflow, see how to connect your layout by reading this Figma to Lovable guide.
Tell Lovable what you want
Tell Lovable what you want it to build.
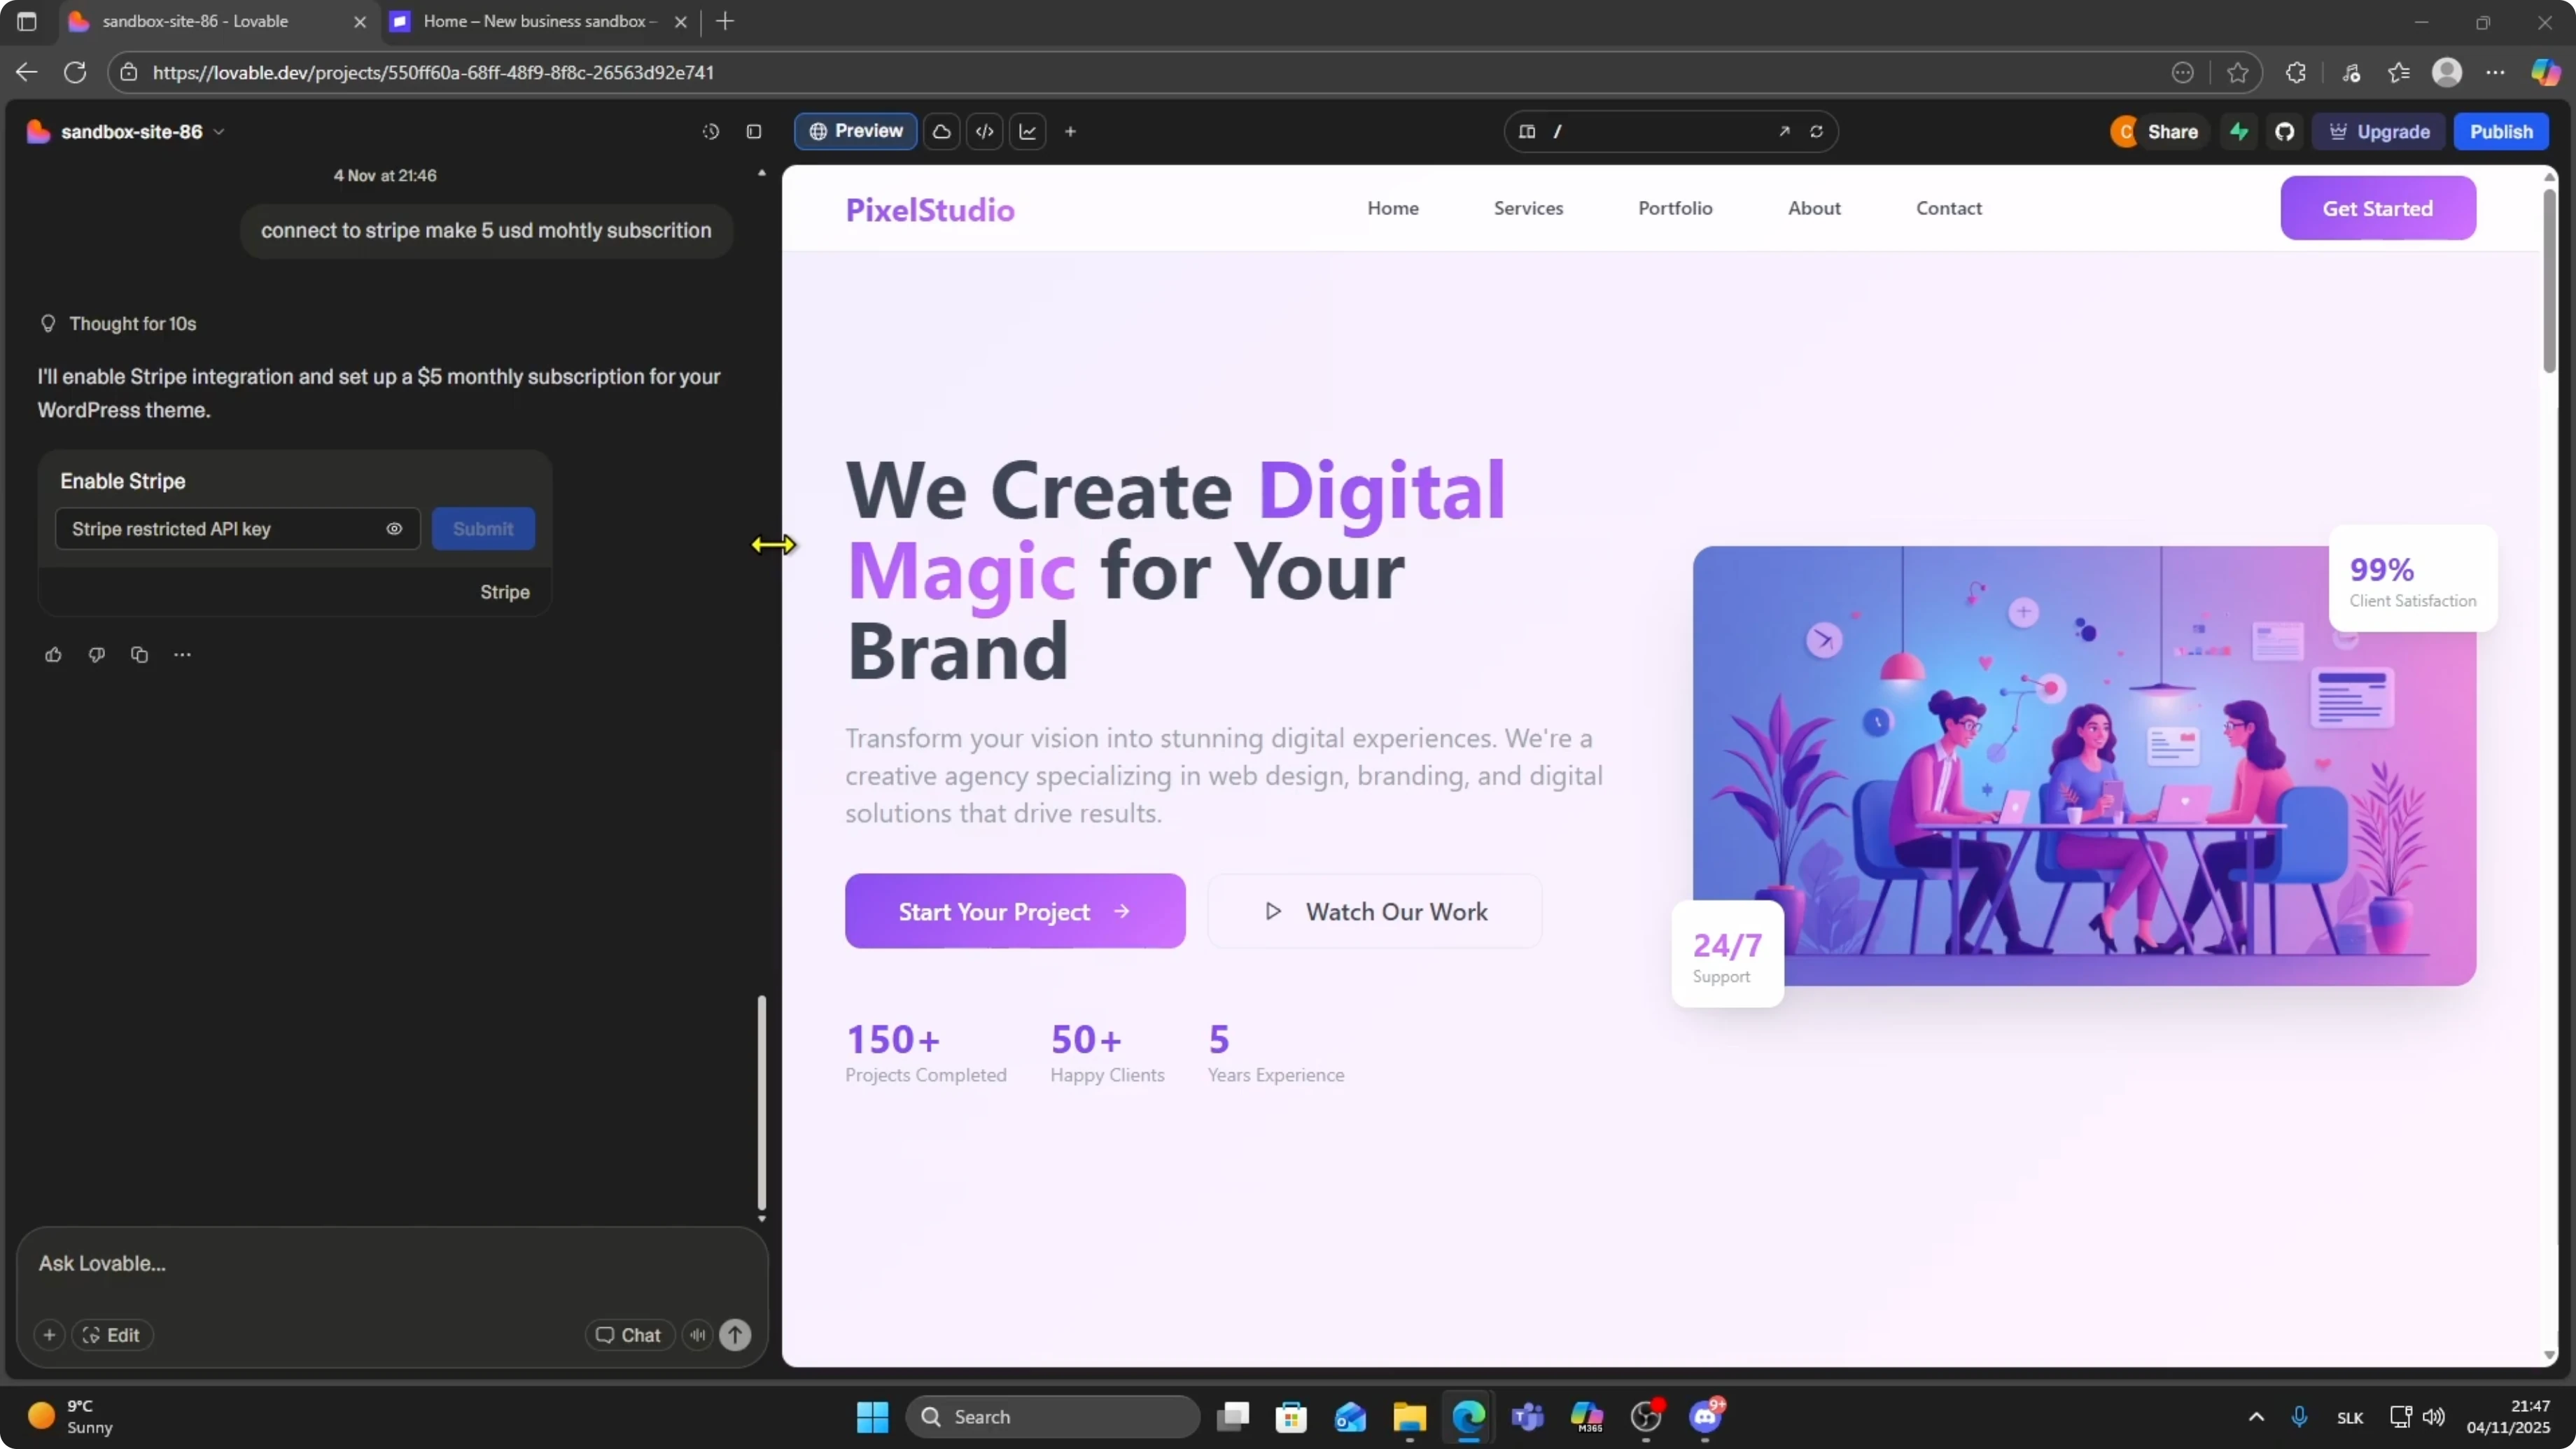
In the prompt box, I asked it to integrate Stripe and create a 5 dollars monthly subscription plan for access to this site.
Prompt example
Integrate Stripe and create a $5 monthly subscription plan for access to this site.
API key prompt
Lovable starts preparing the payment integration automatically and then asks for your Stripe API secret key.
This is required to securely connect your Lovable back end to Stripe.
Get your Stripe key
Open your Stripe dashboard.
Go to the bottom left and click Developers.
Click API keys.
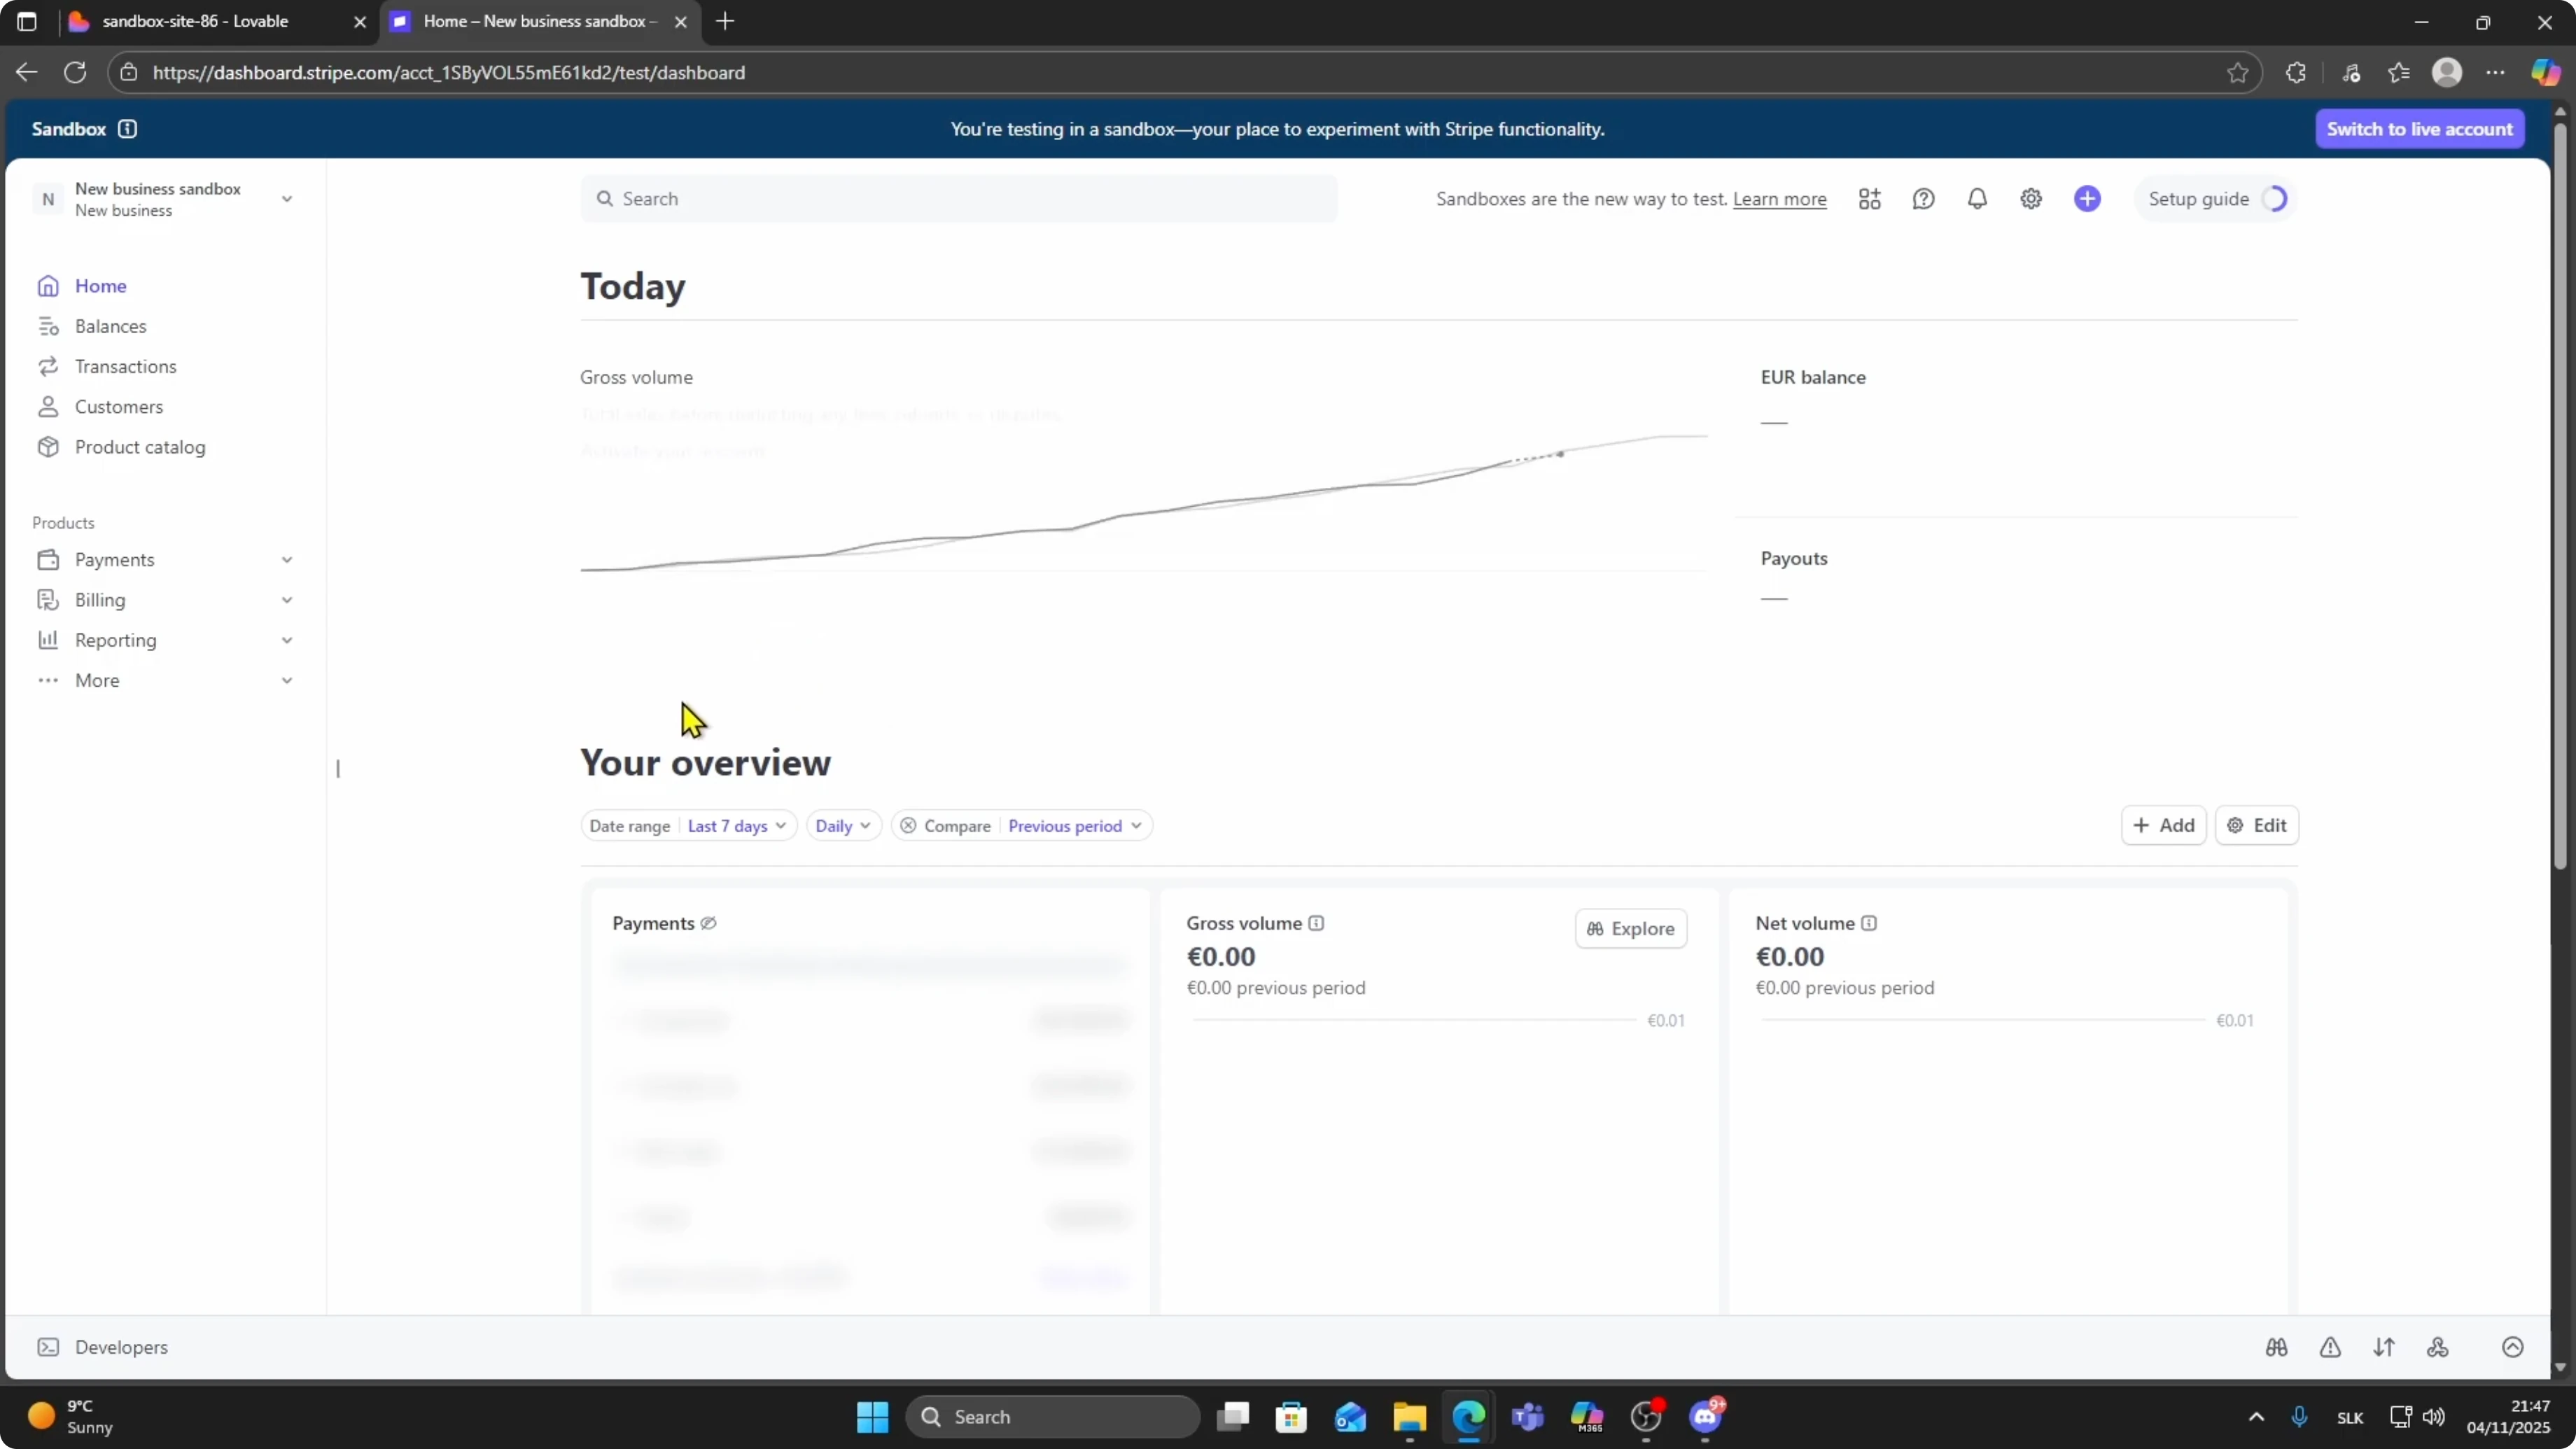
You will see your publishable key and your secret key.
If you do not already have a restricted key, you can create a new one here.
Otherwise copy your existing secret key.
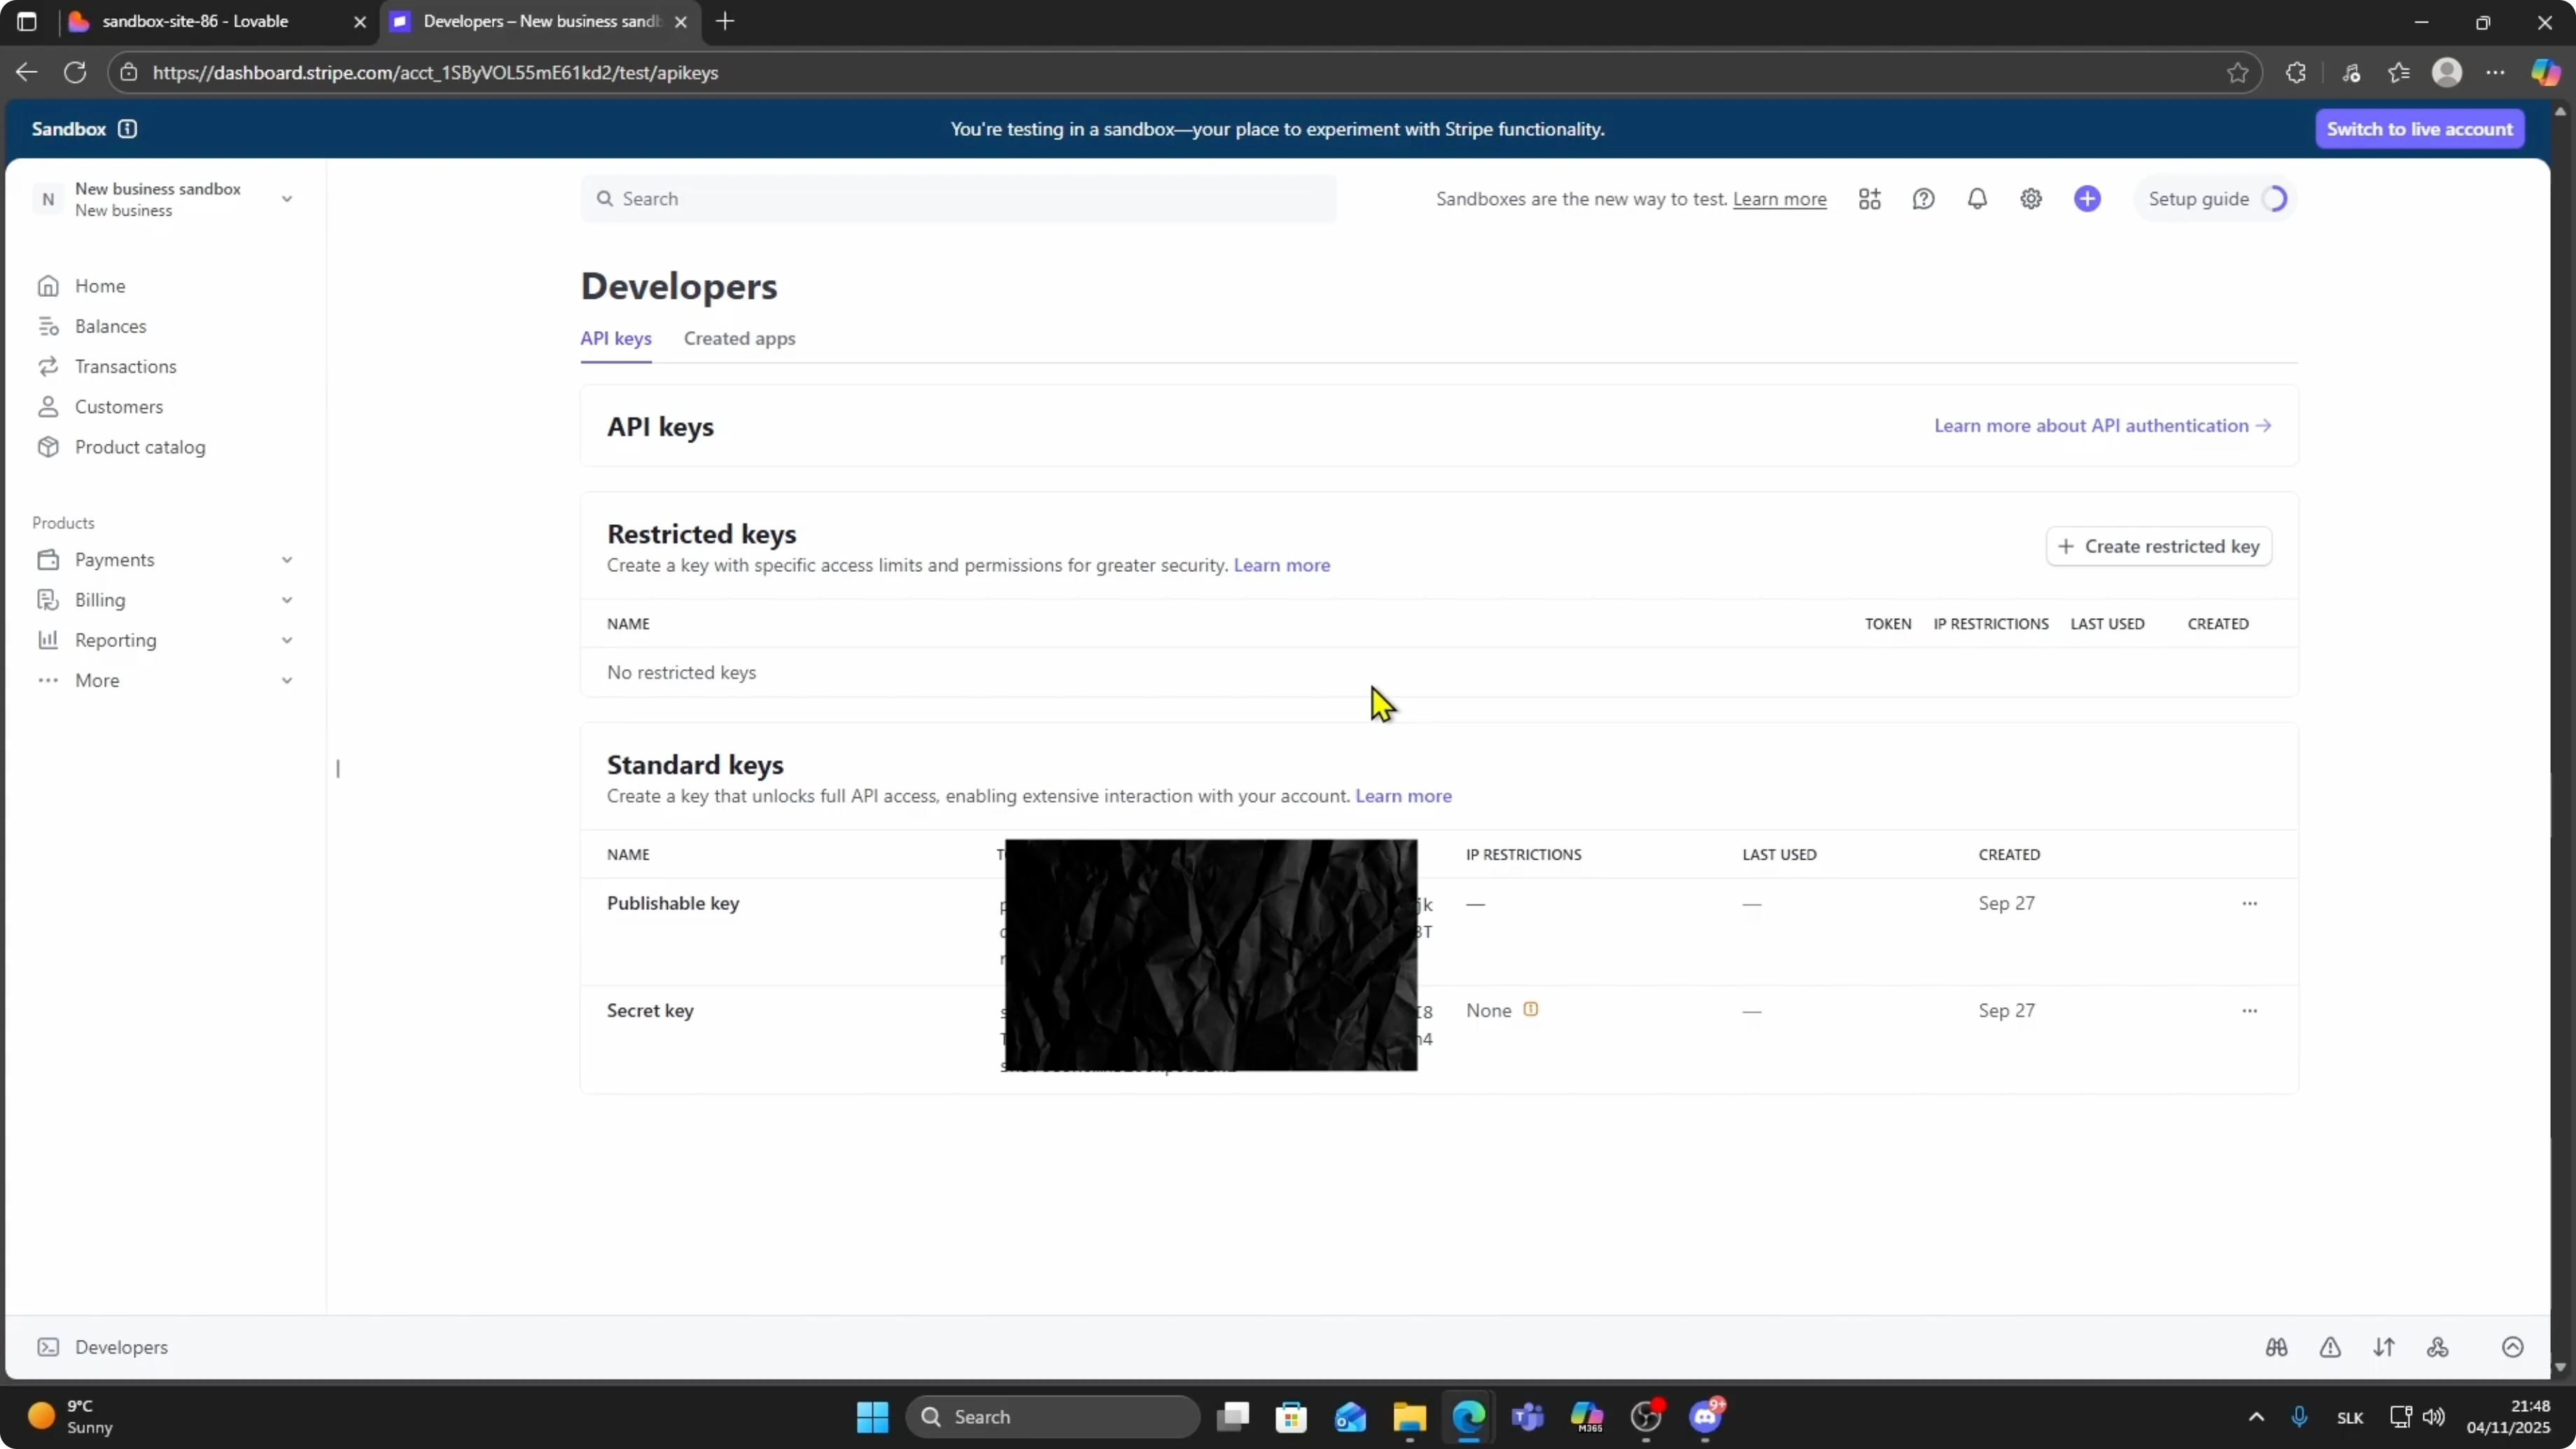
Make sure you copy the secret key because this is the one Lovable needs.
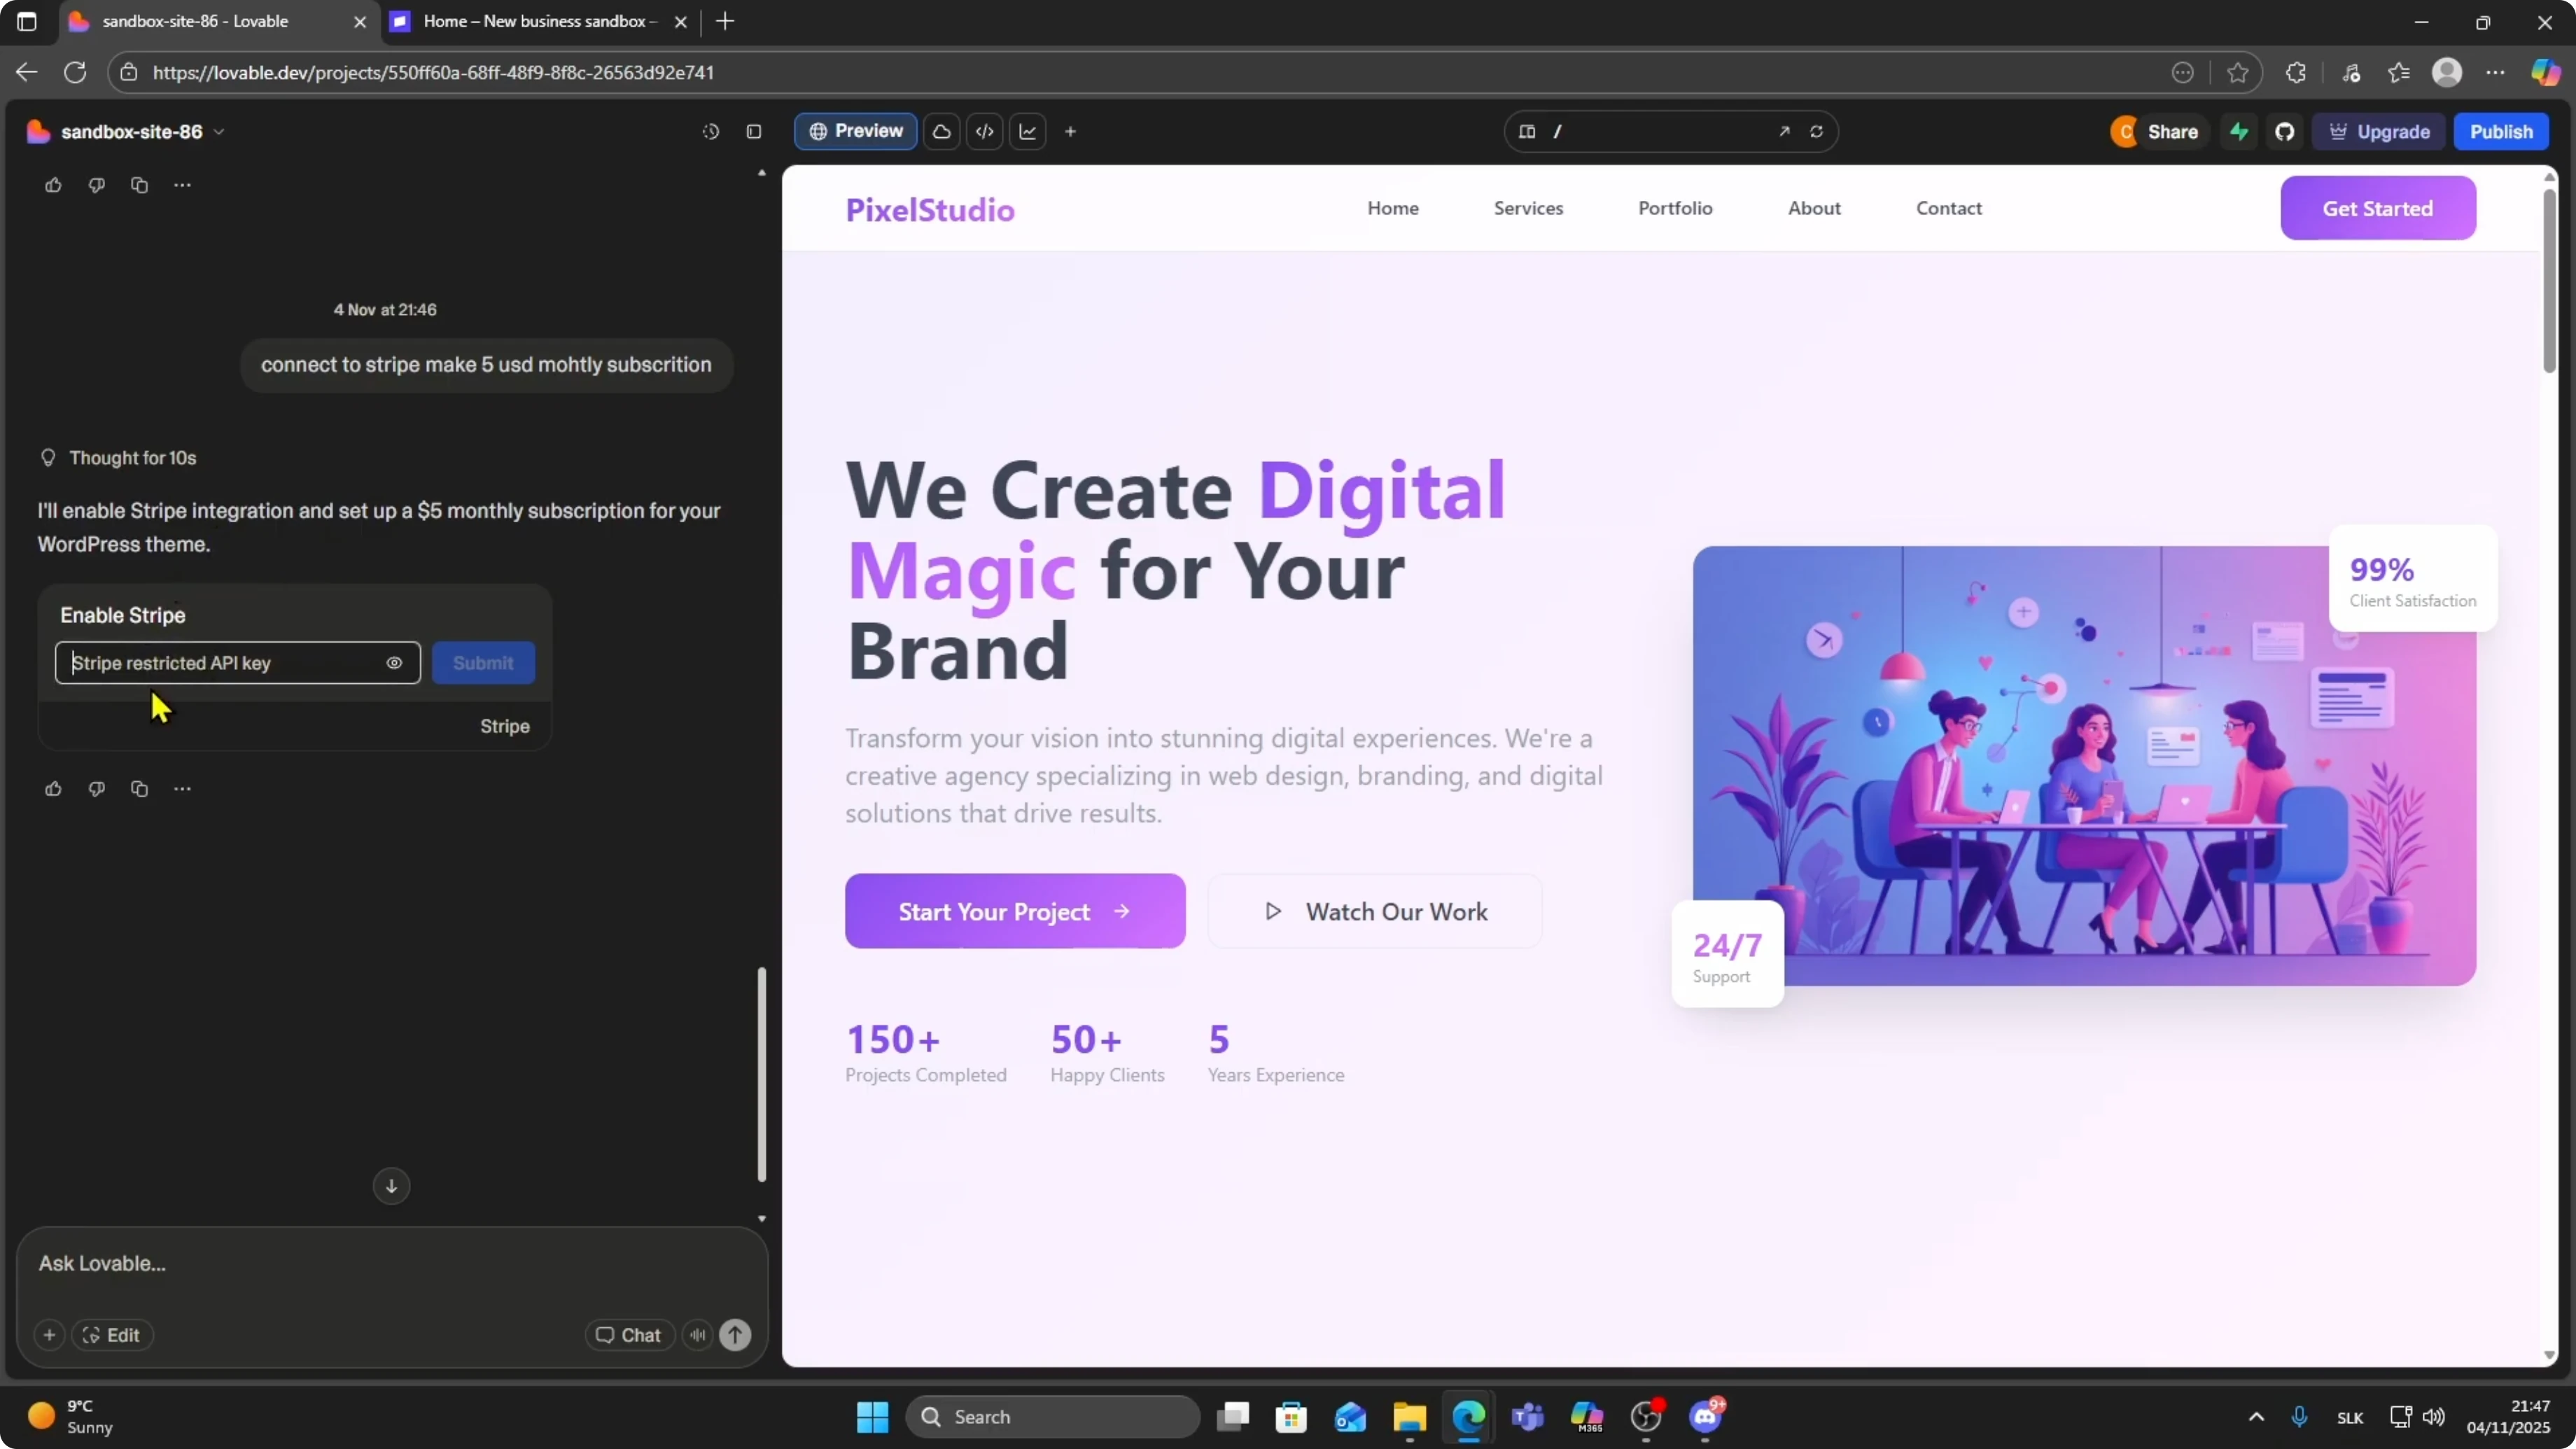
Return to Lovable, paste the key into the field, and click Submit.

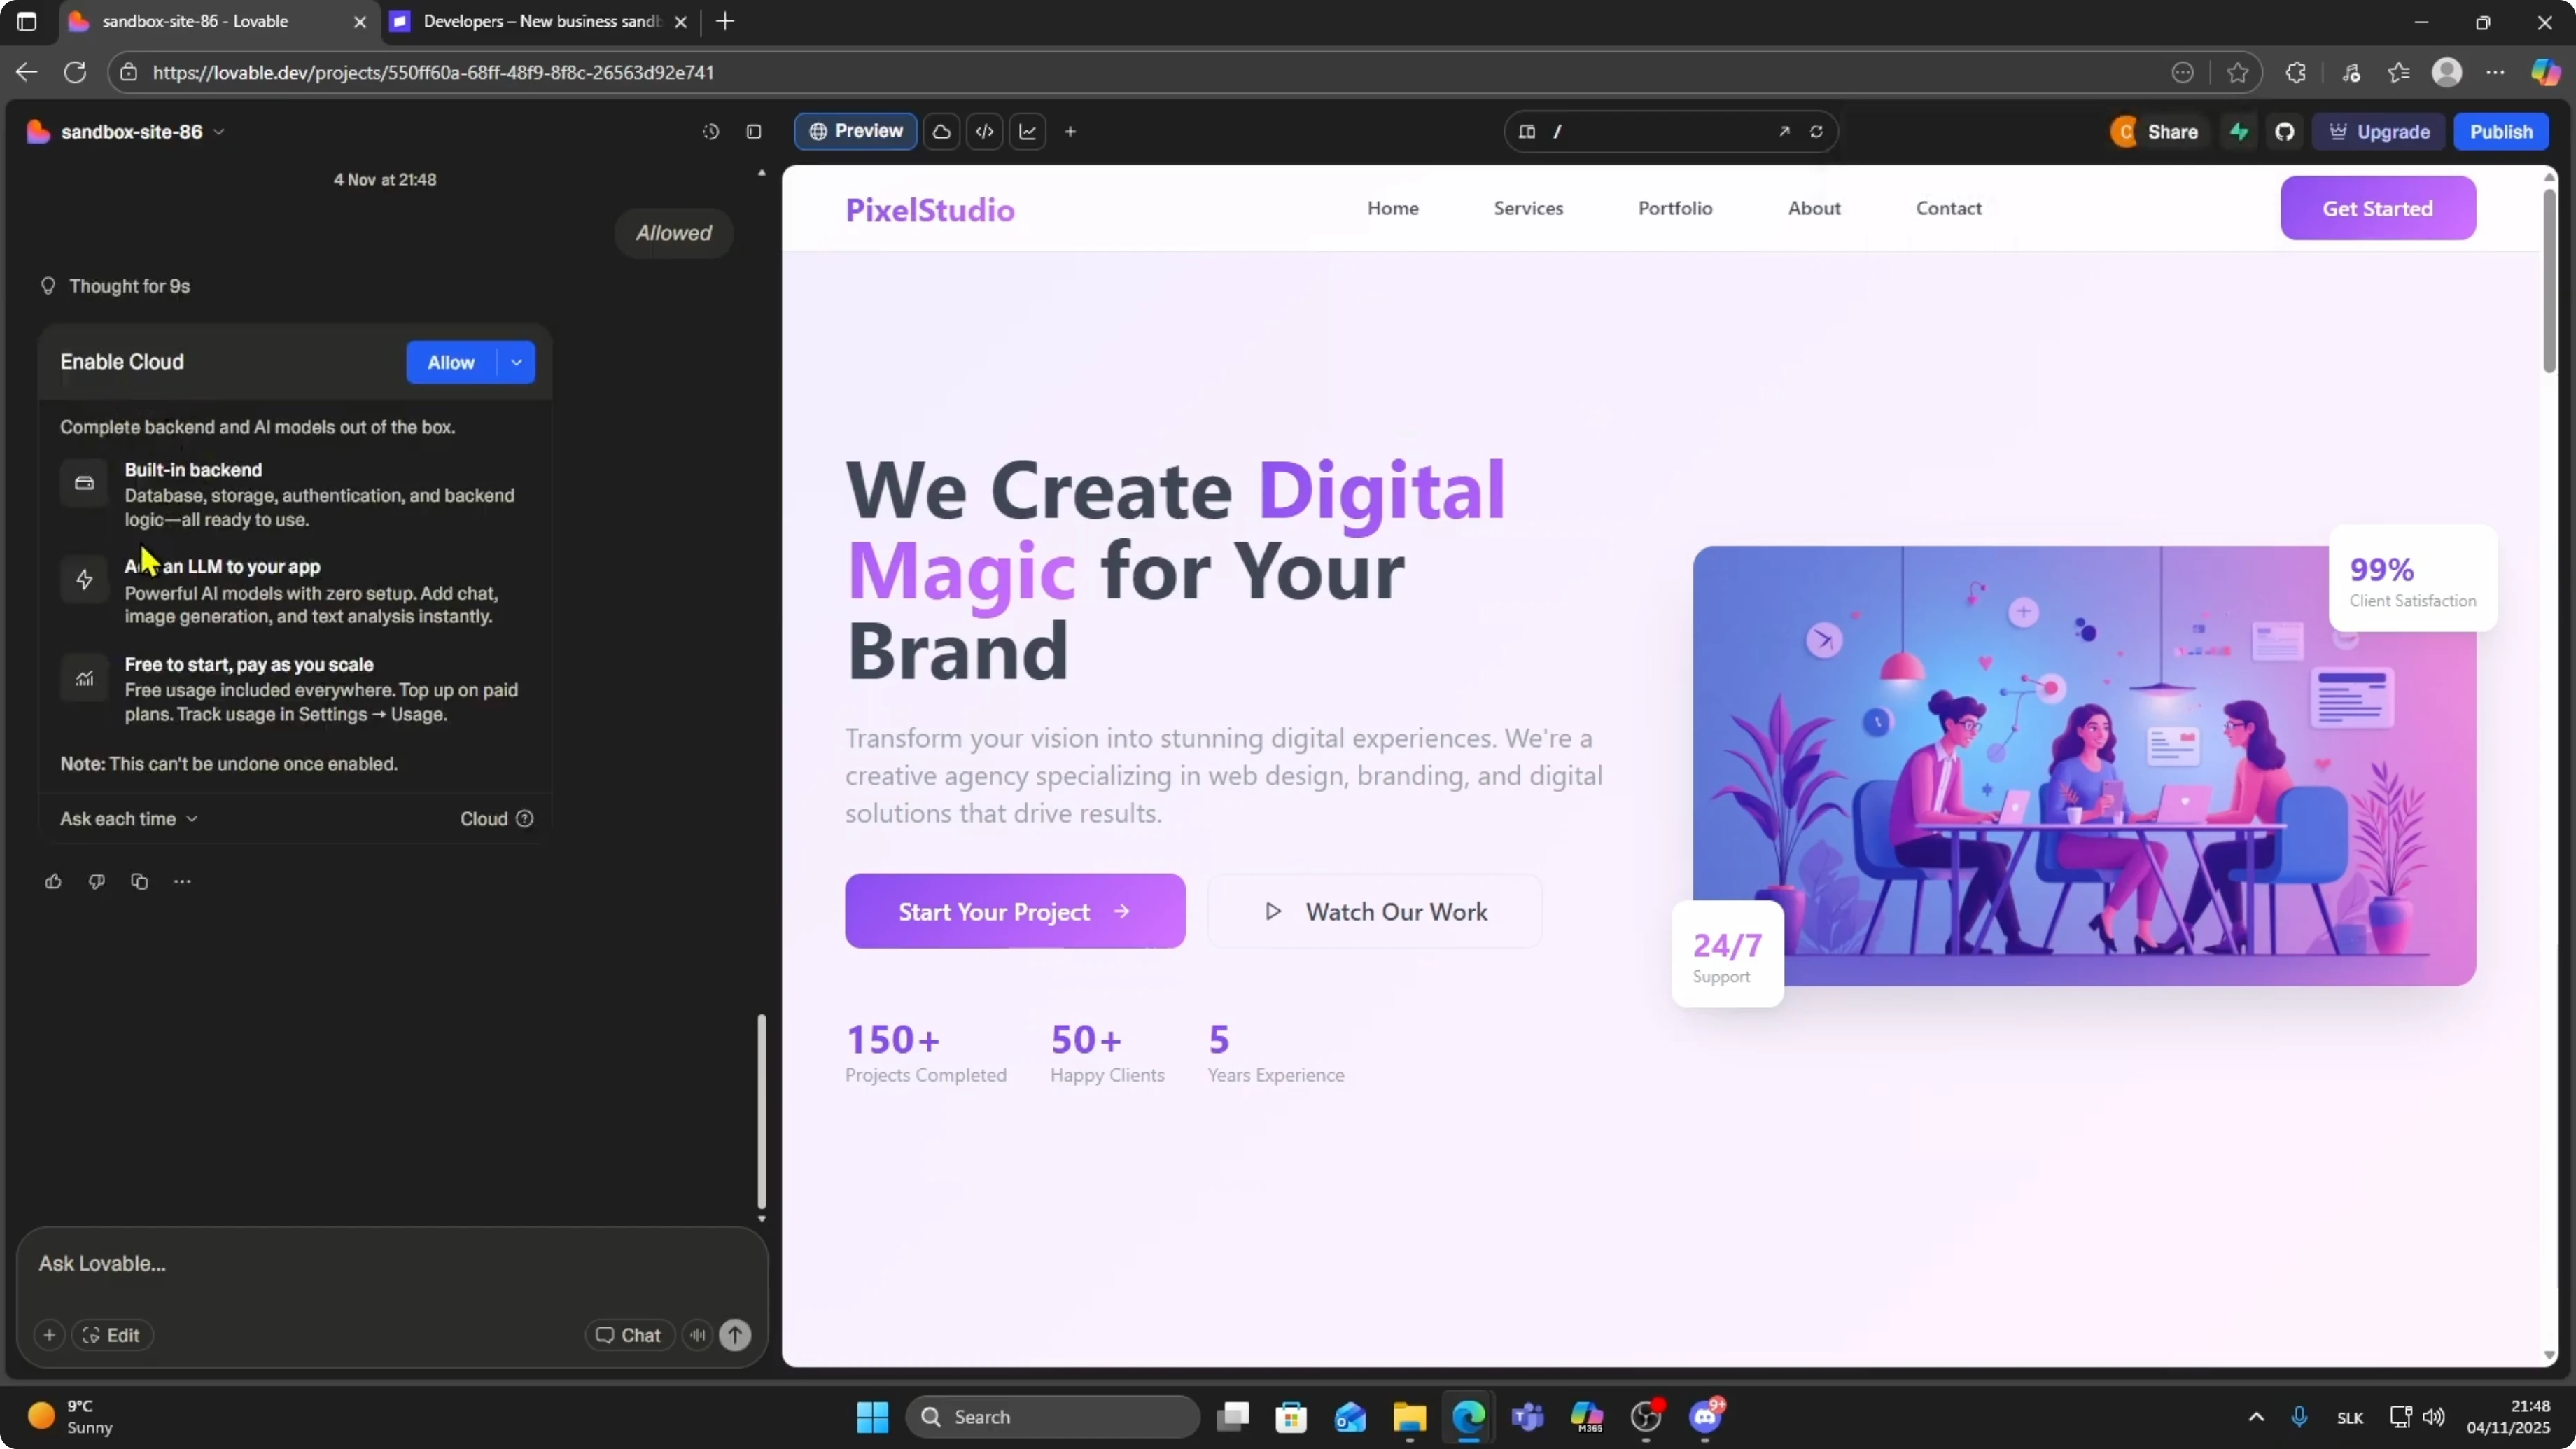
Enable cloud functions
Lovable may prompt you to enable cloud functions.
This allows the back end to process subscription logic, handle payments, and route users correctly.
Click Allow and wait for Lovable to finish generating everything.
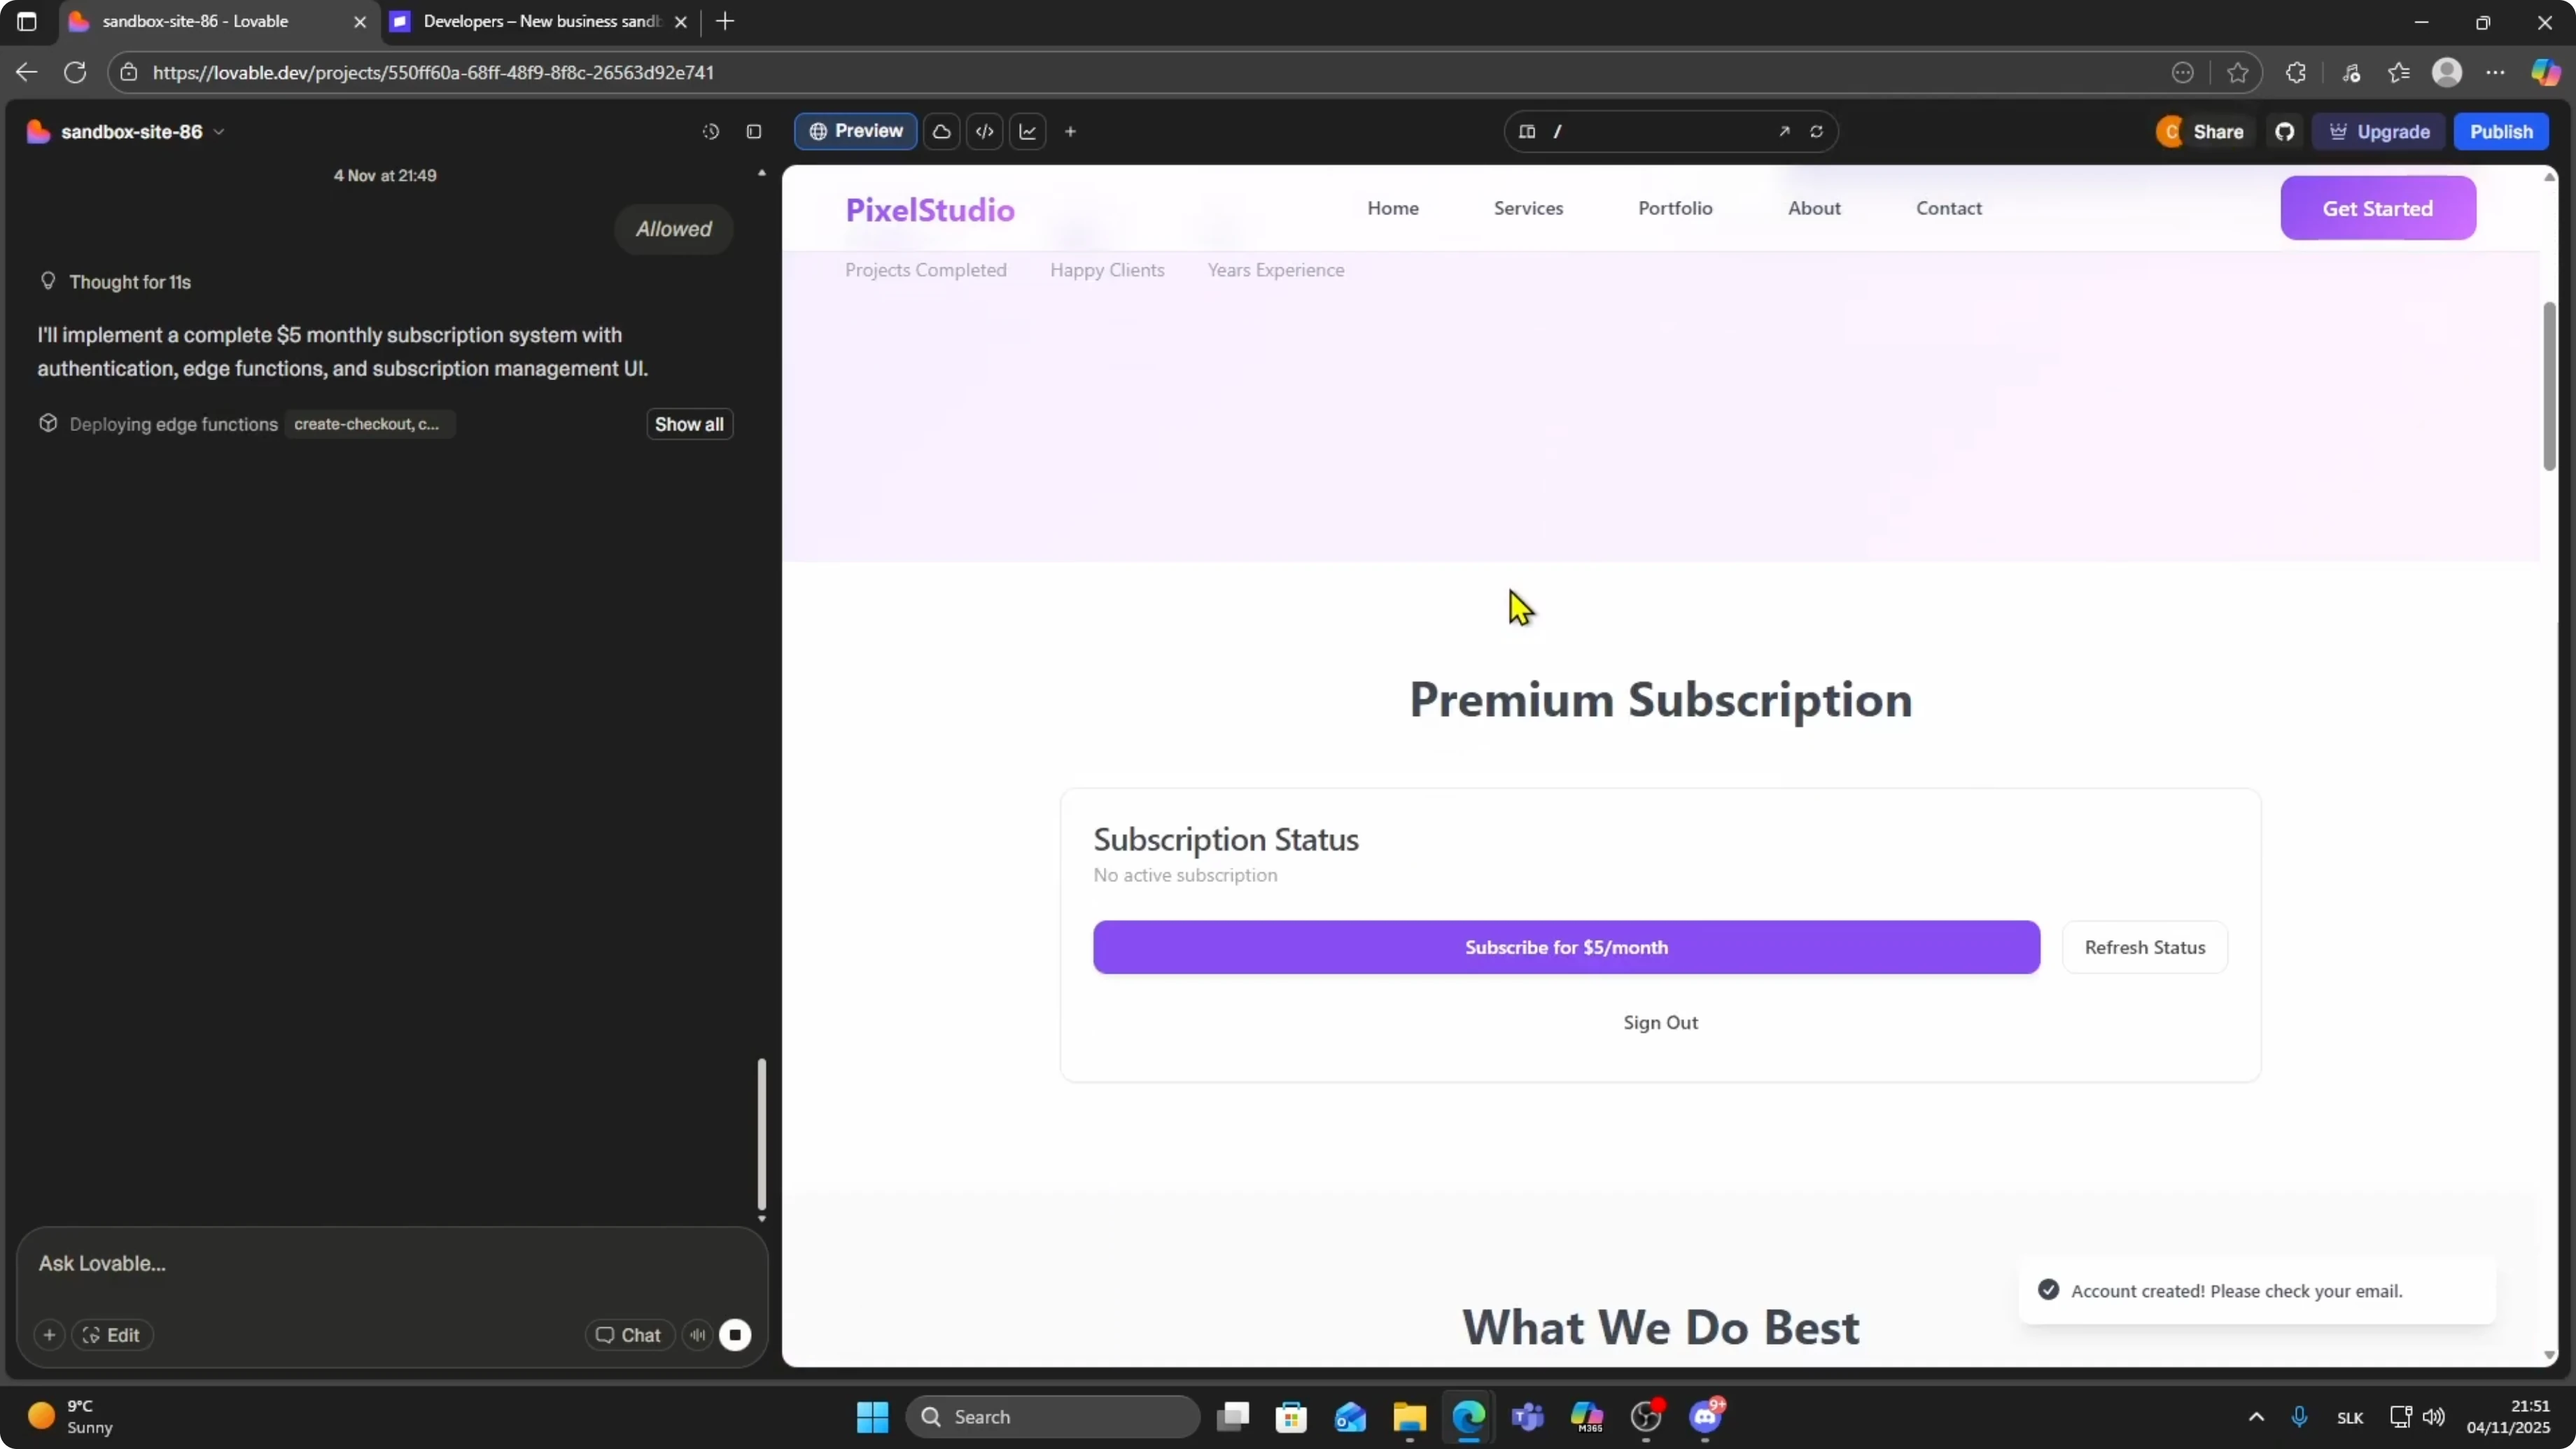
Review subscription details
After a few moments, Lovable shows a preview of the subscription details it created.
In my case, it created a product called Monthly Subscription Access with a price of $5 billed monthly.
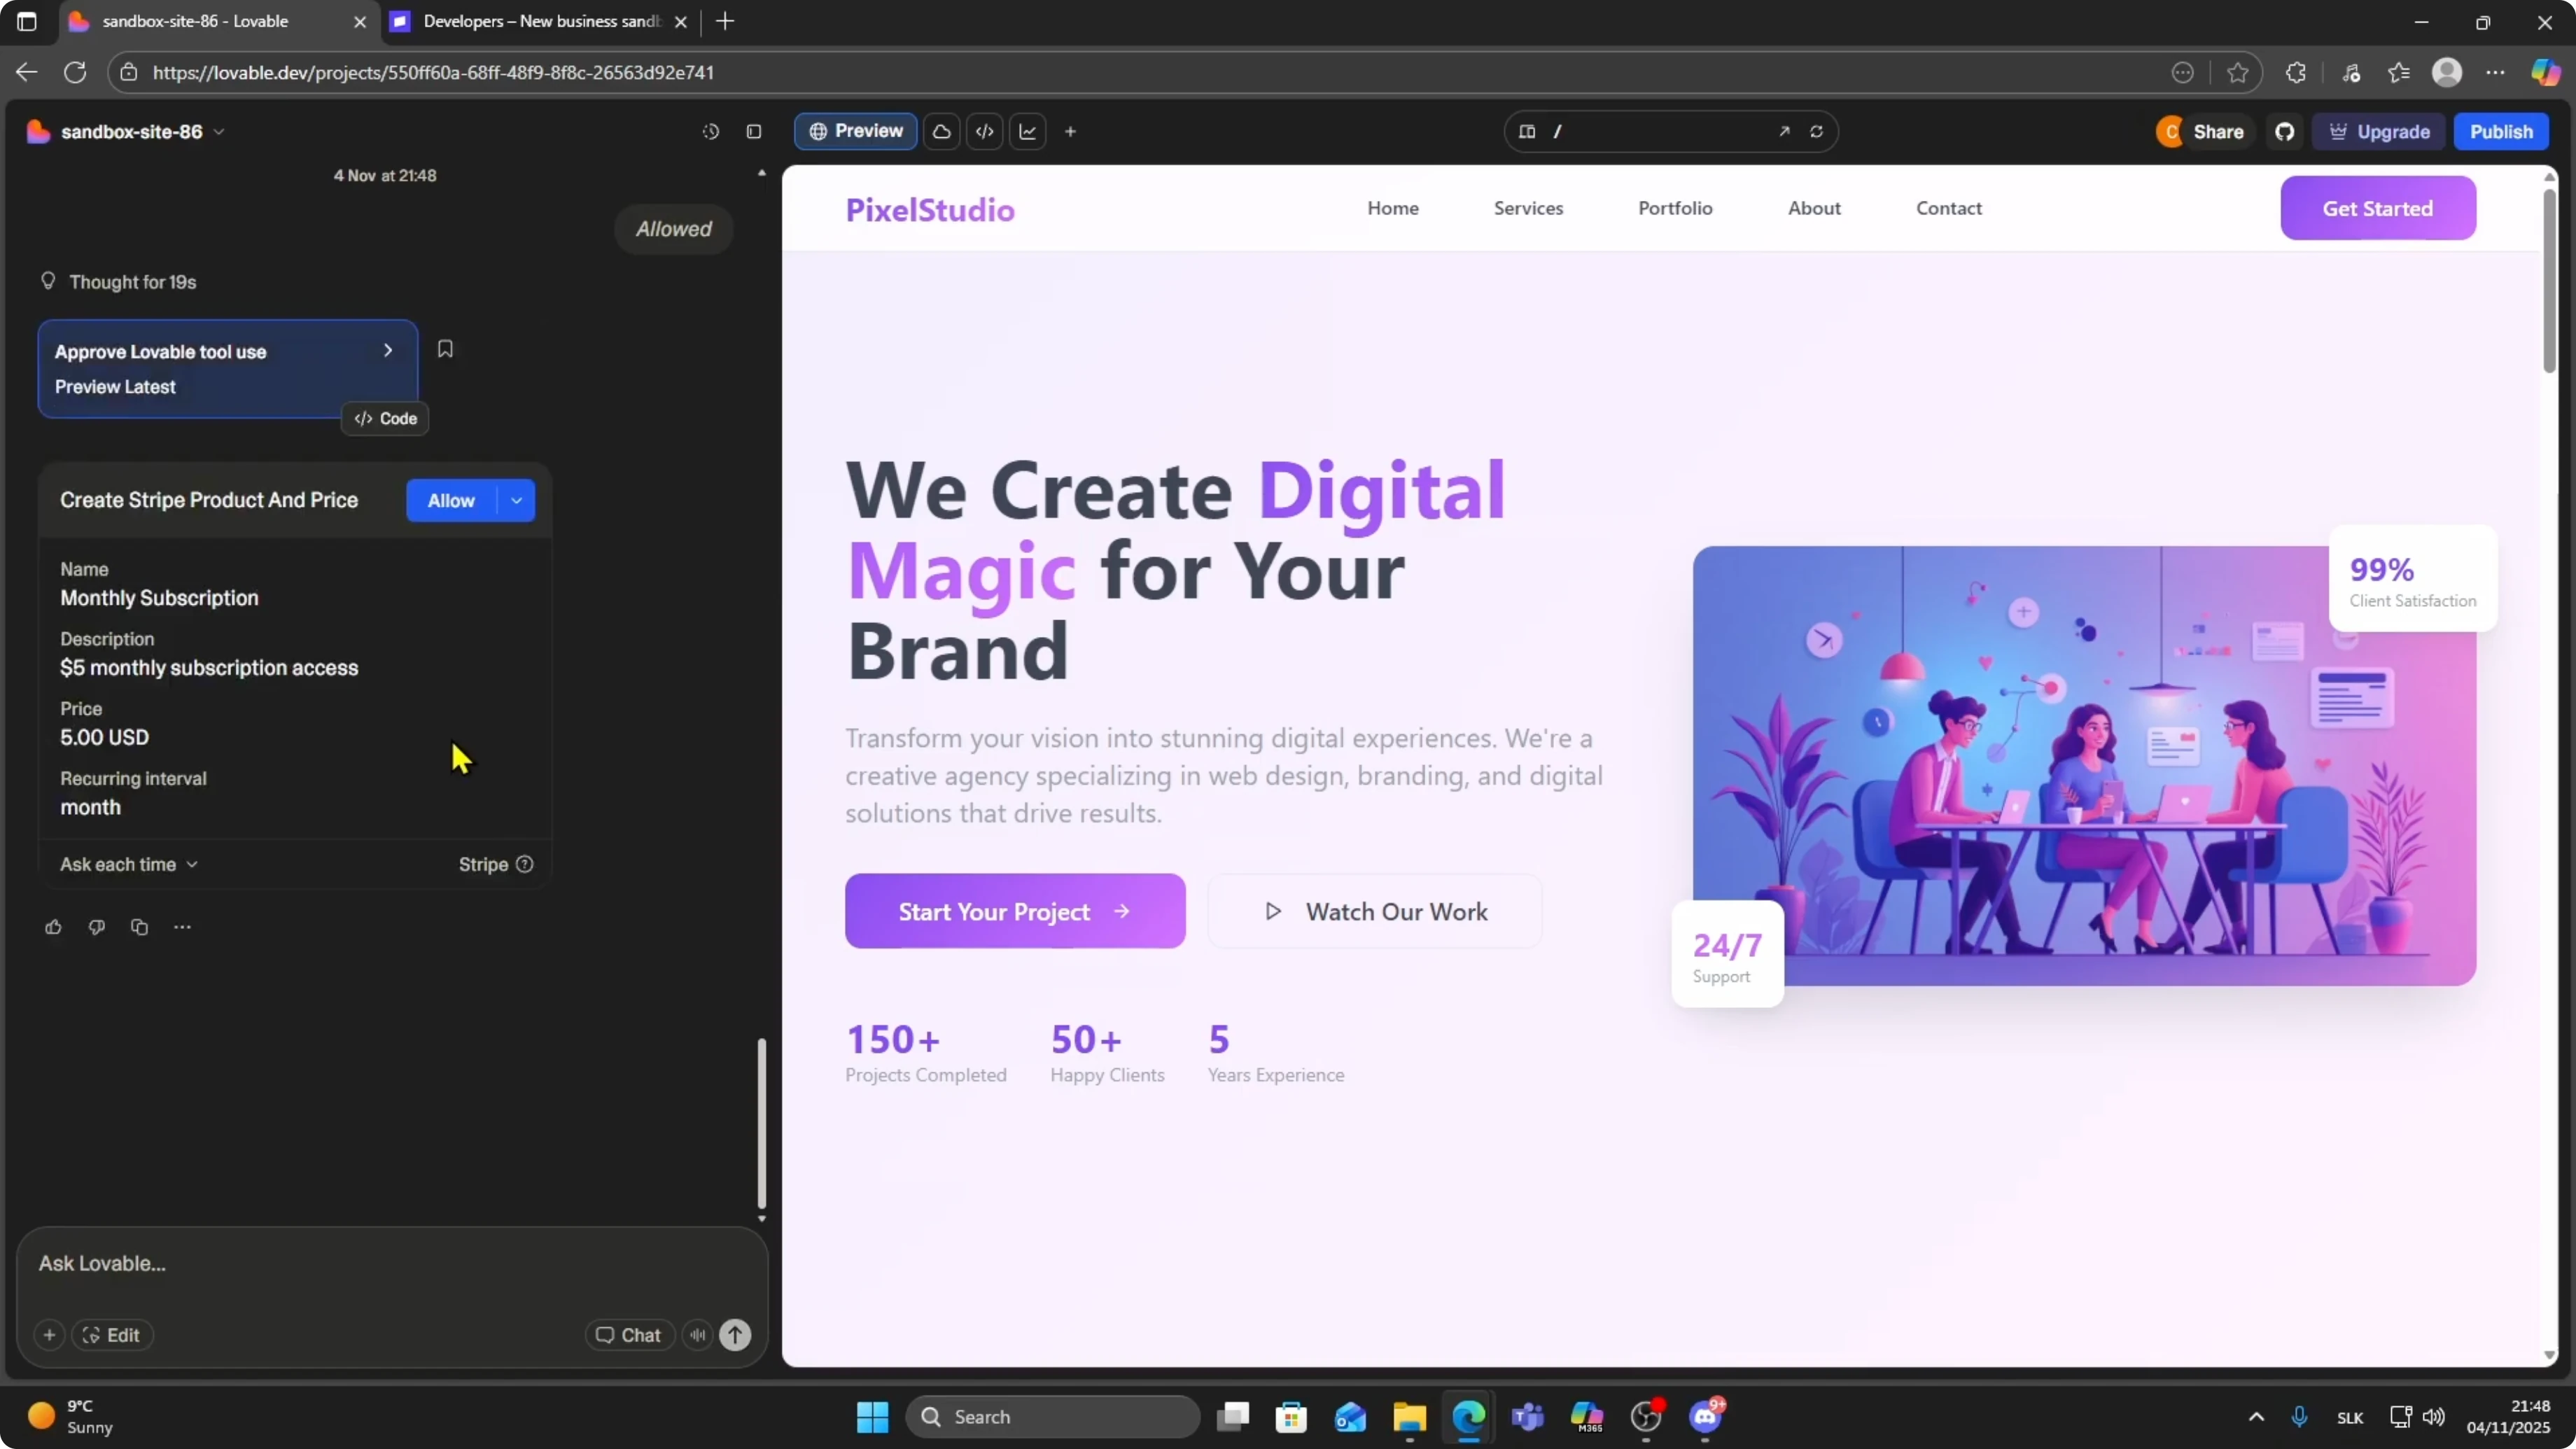
If everything looks correct, click Allow so Lovable can finalize the integration.
If you plan to publish the same experience on a content site, learn how to move your build by reading this WordPress theme conversion guide.
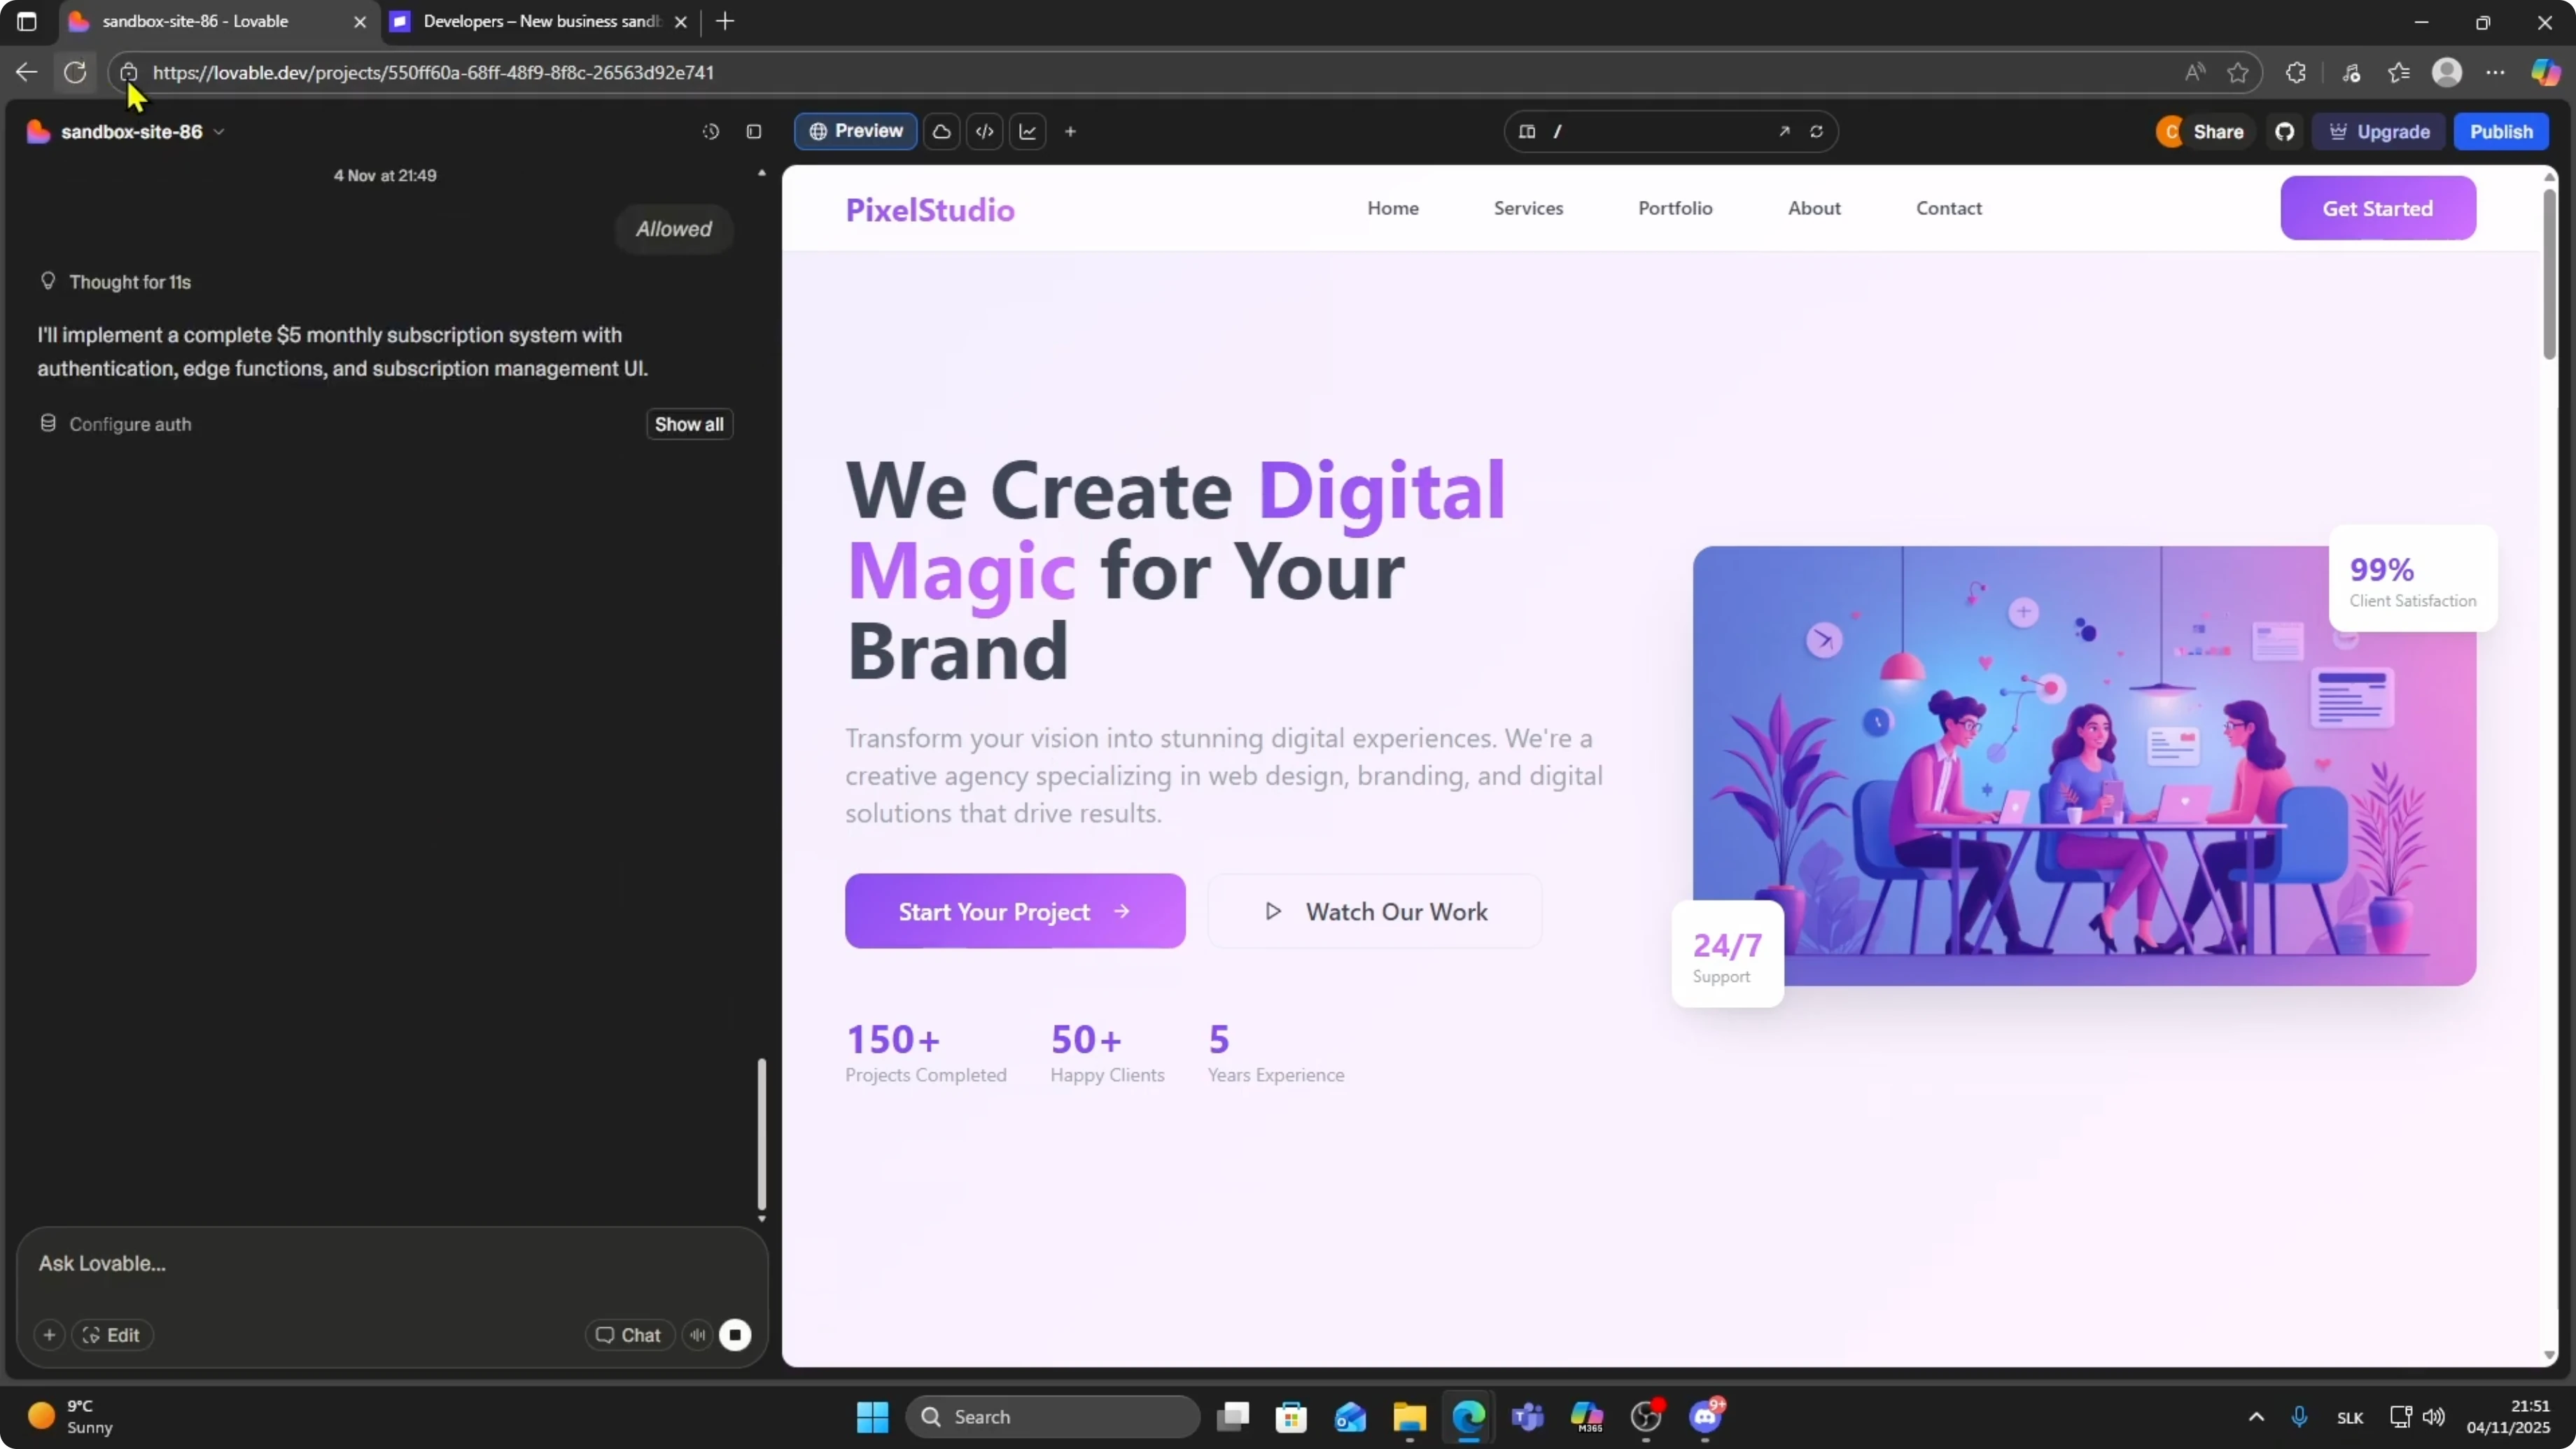
Refresh and test
When it is done, refresh your project.
Scroll and you will see a subscribe button added to your site.
It may say Sign in to subscribe or Subscribe for $5 per month.
Sign up or log in as a user.
Click Subscribe.
Lovable redirects you to Stripe Checkout where you can complete the payment like any normal checkout.
After successful payment, the user gains access to the premium portion of your app automatically.
Recurring billing runs every month in Stripe without any manual work from you.
Final thoughts
That is the full process for connecting Stripe to Lovable and enabling recurring subscriptions.
It allows you to monetize your AI apps with real paying users even if you do not write any back end code at all.
If you want a mobile build for distribution, learn how to ship it by reading this guide on converting a Lovable app to an APK.