How to Connect Figma to Lovable?
I will show you how to connect your Figma design to Lovable.
This workflow moves from design to deployment using the Builder.io plugin and the Lovable importer.
Connect Figma to Lovable
Install the plugin
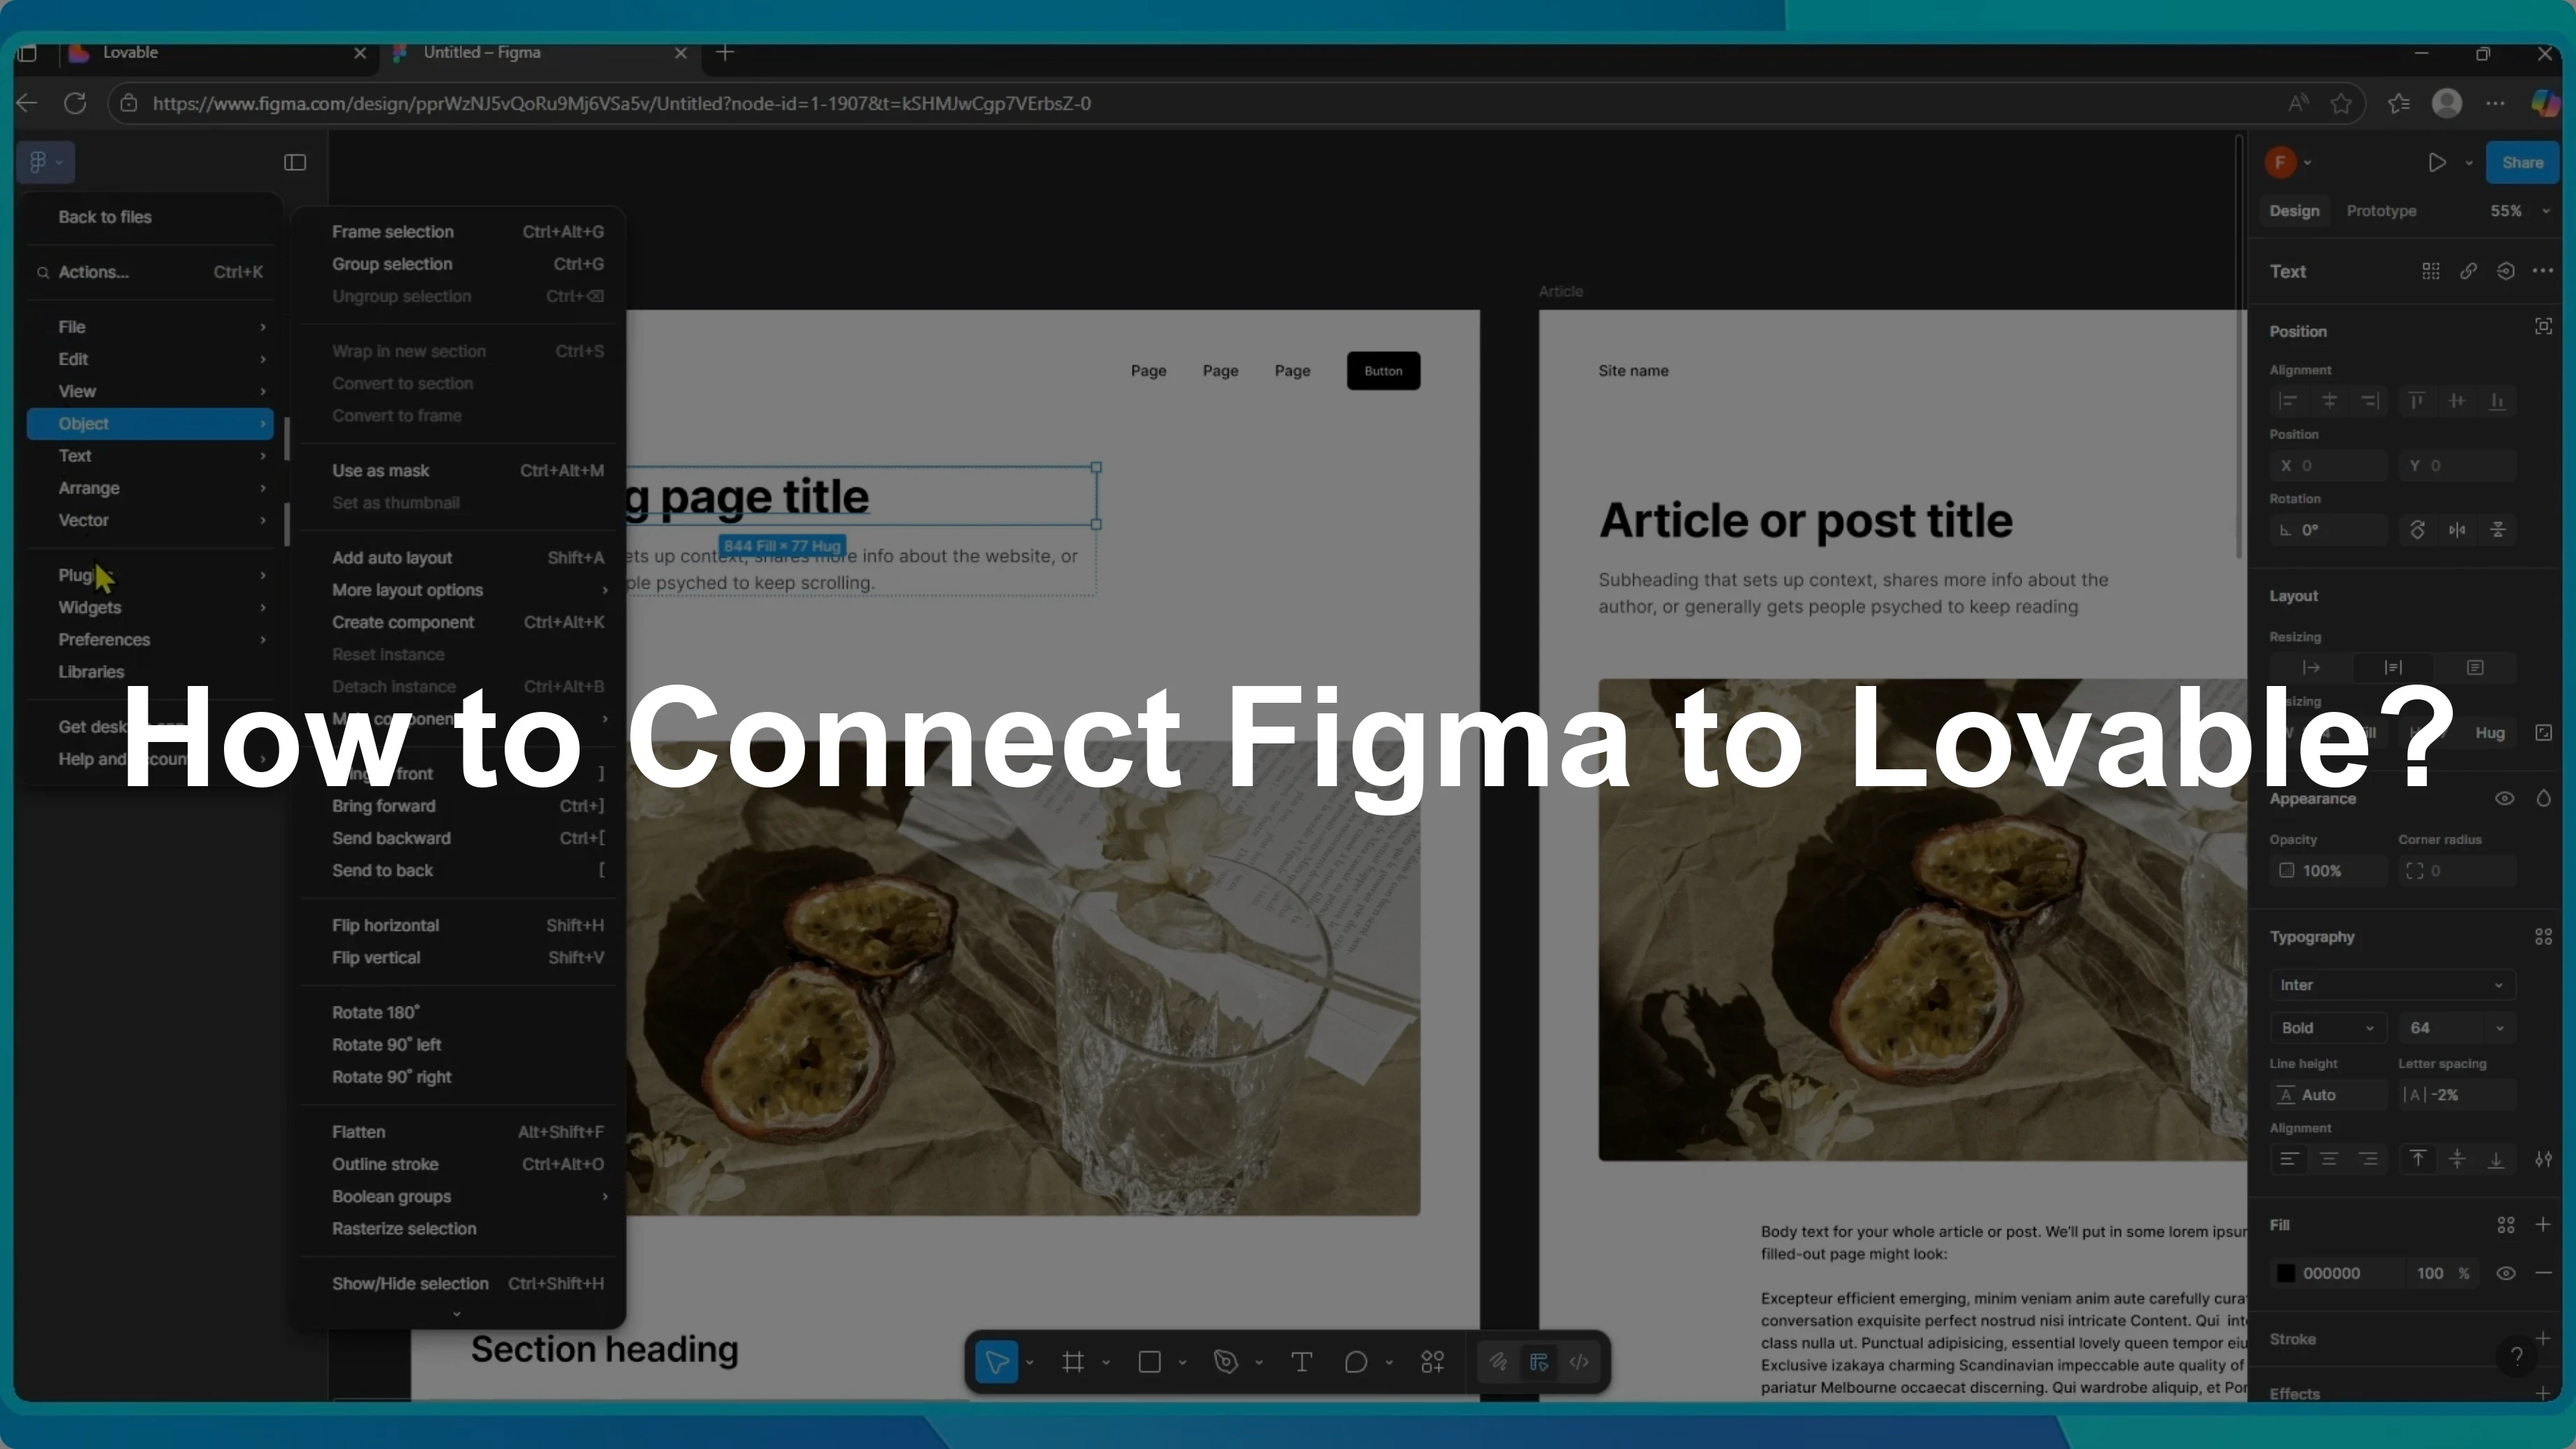
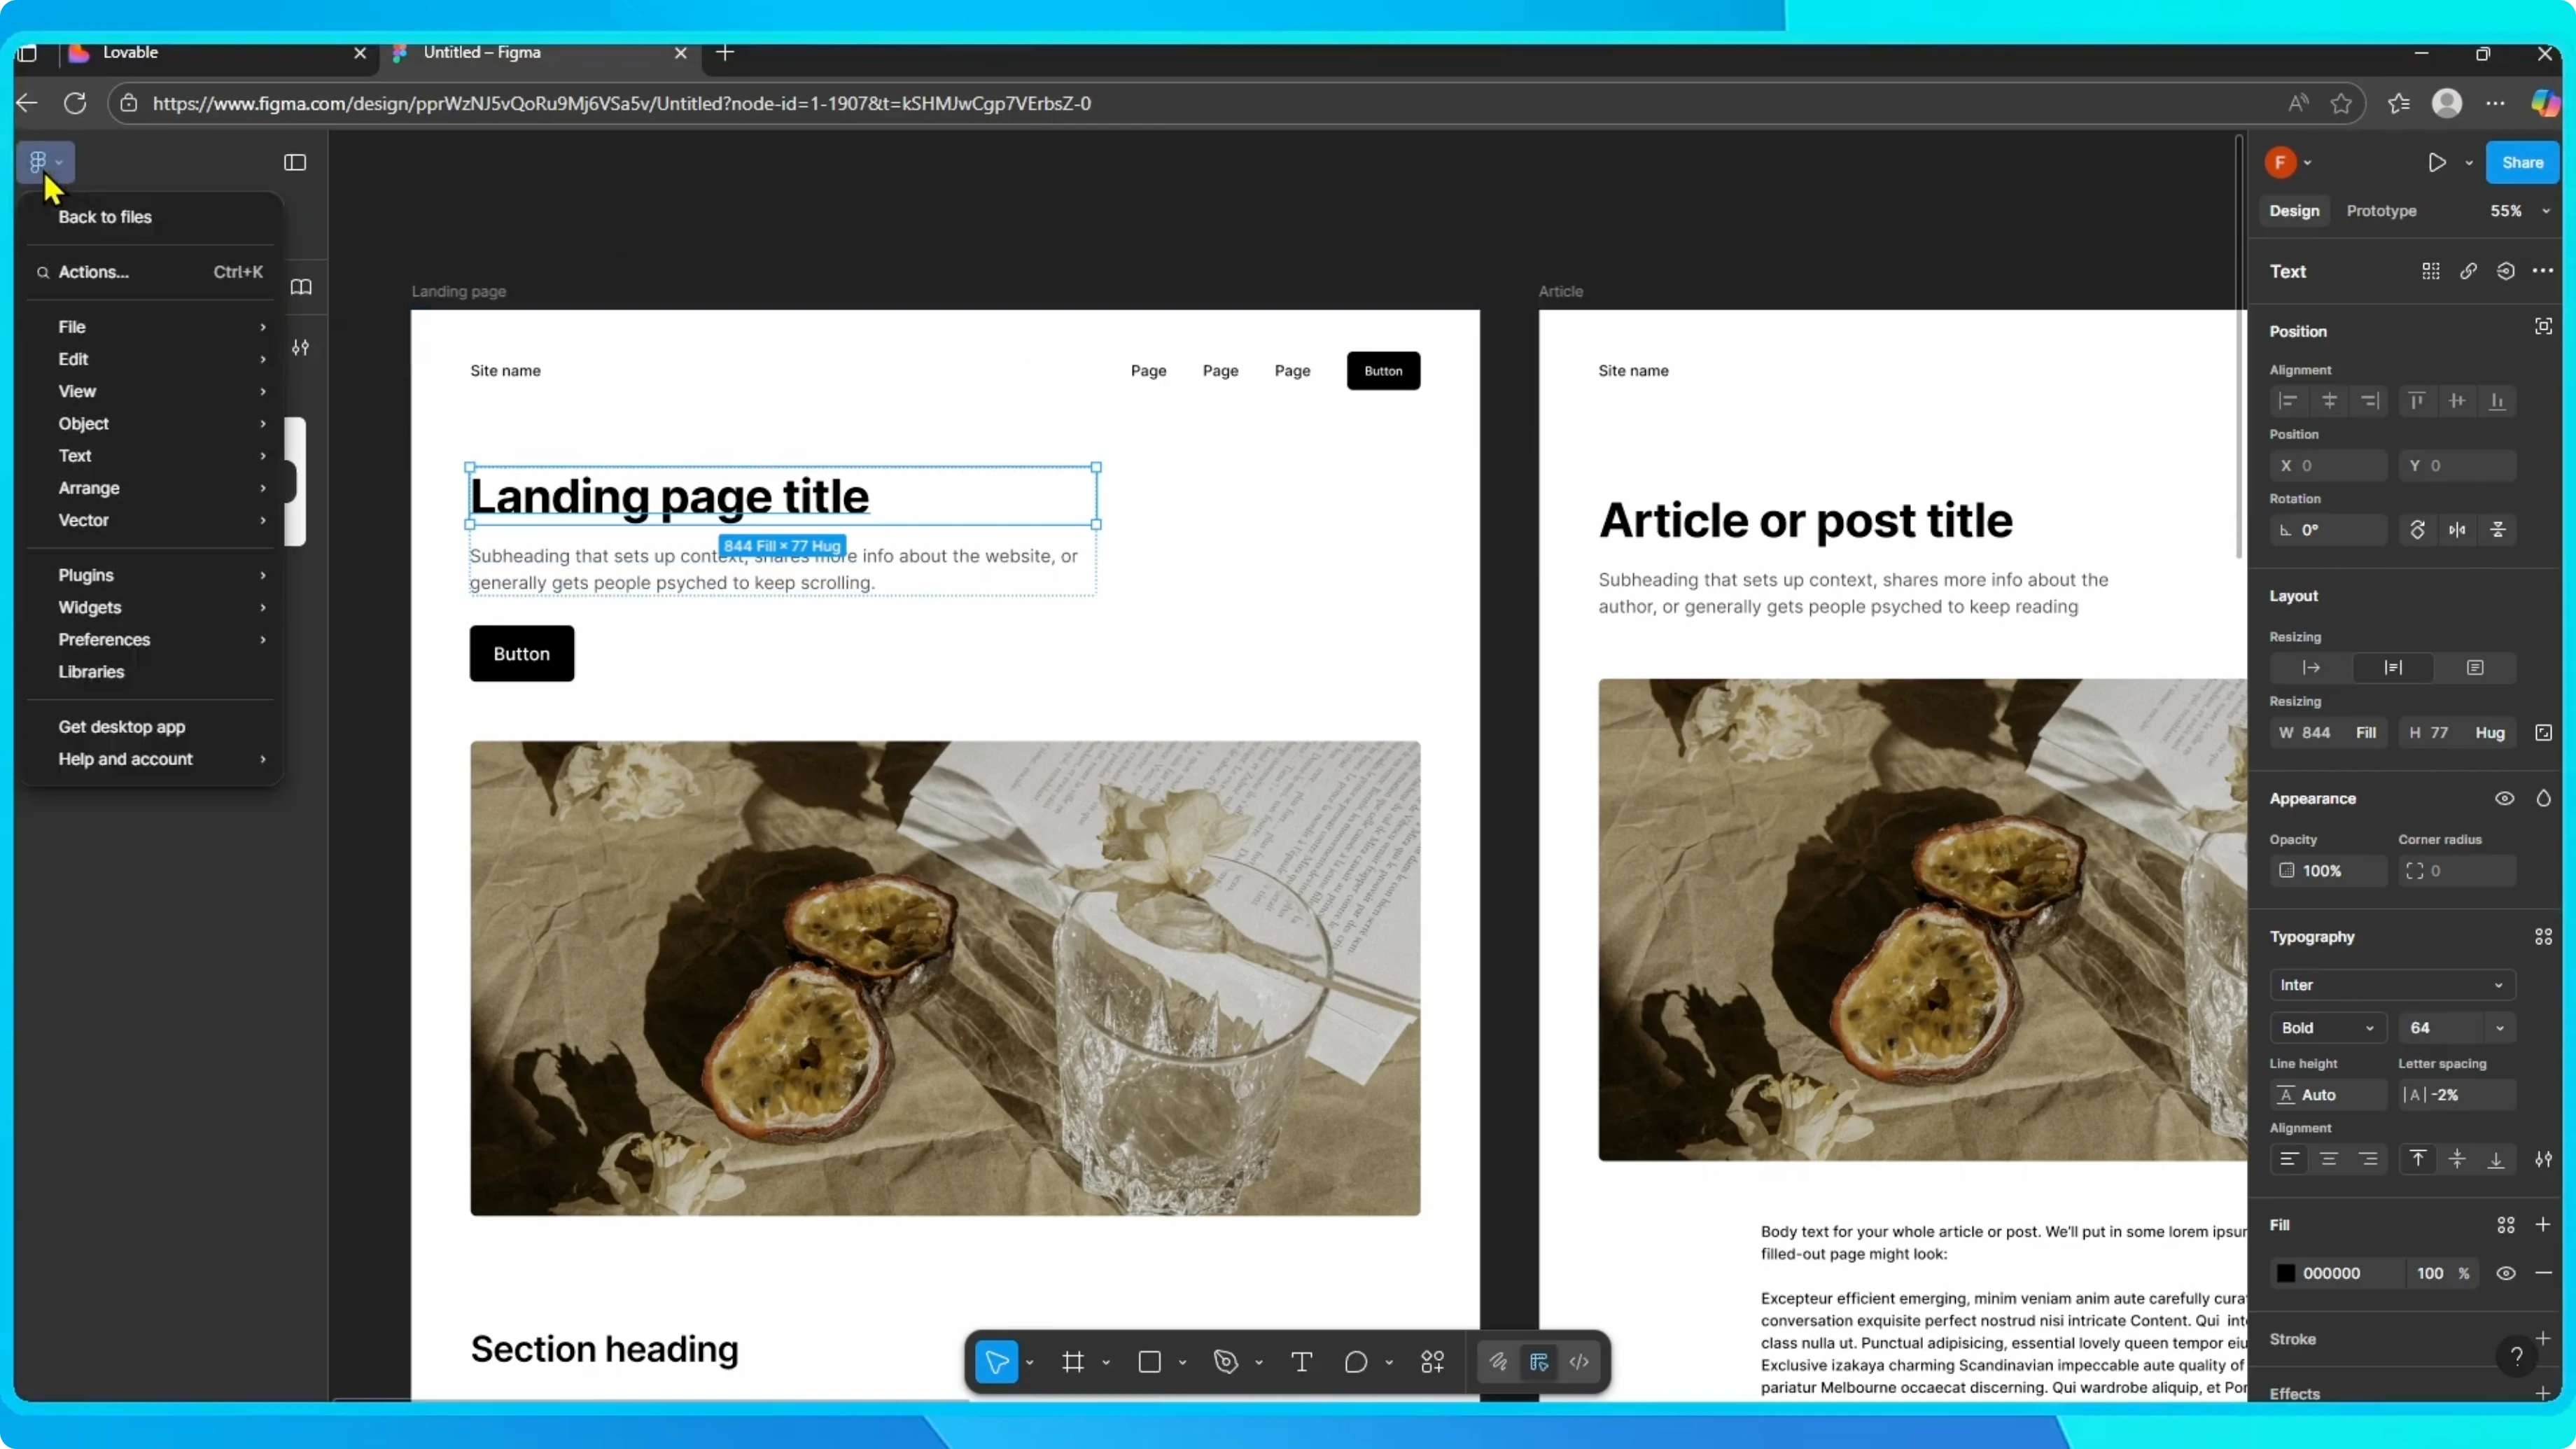
Open your Figma project.
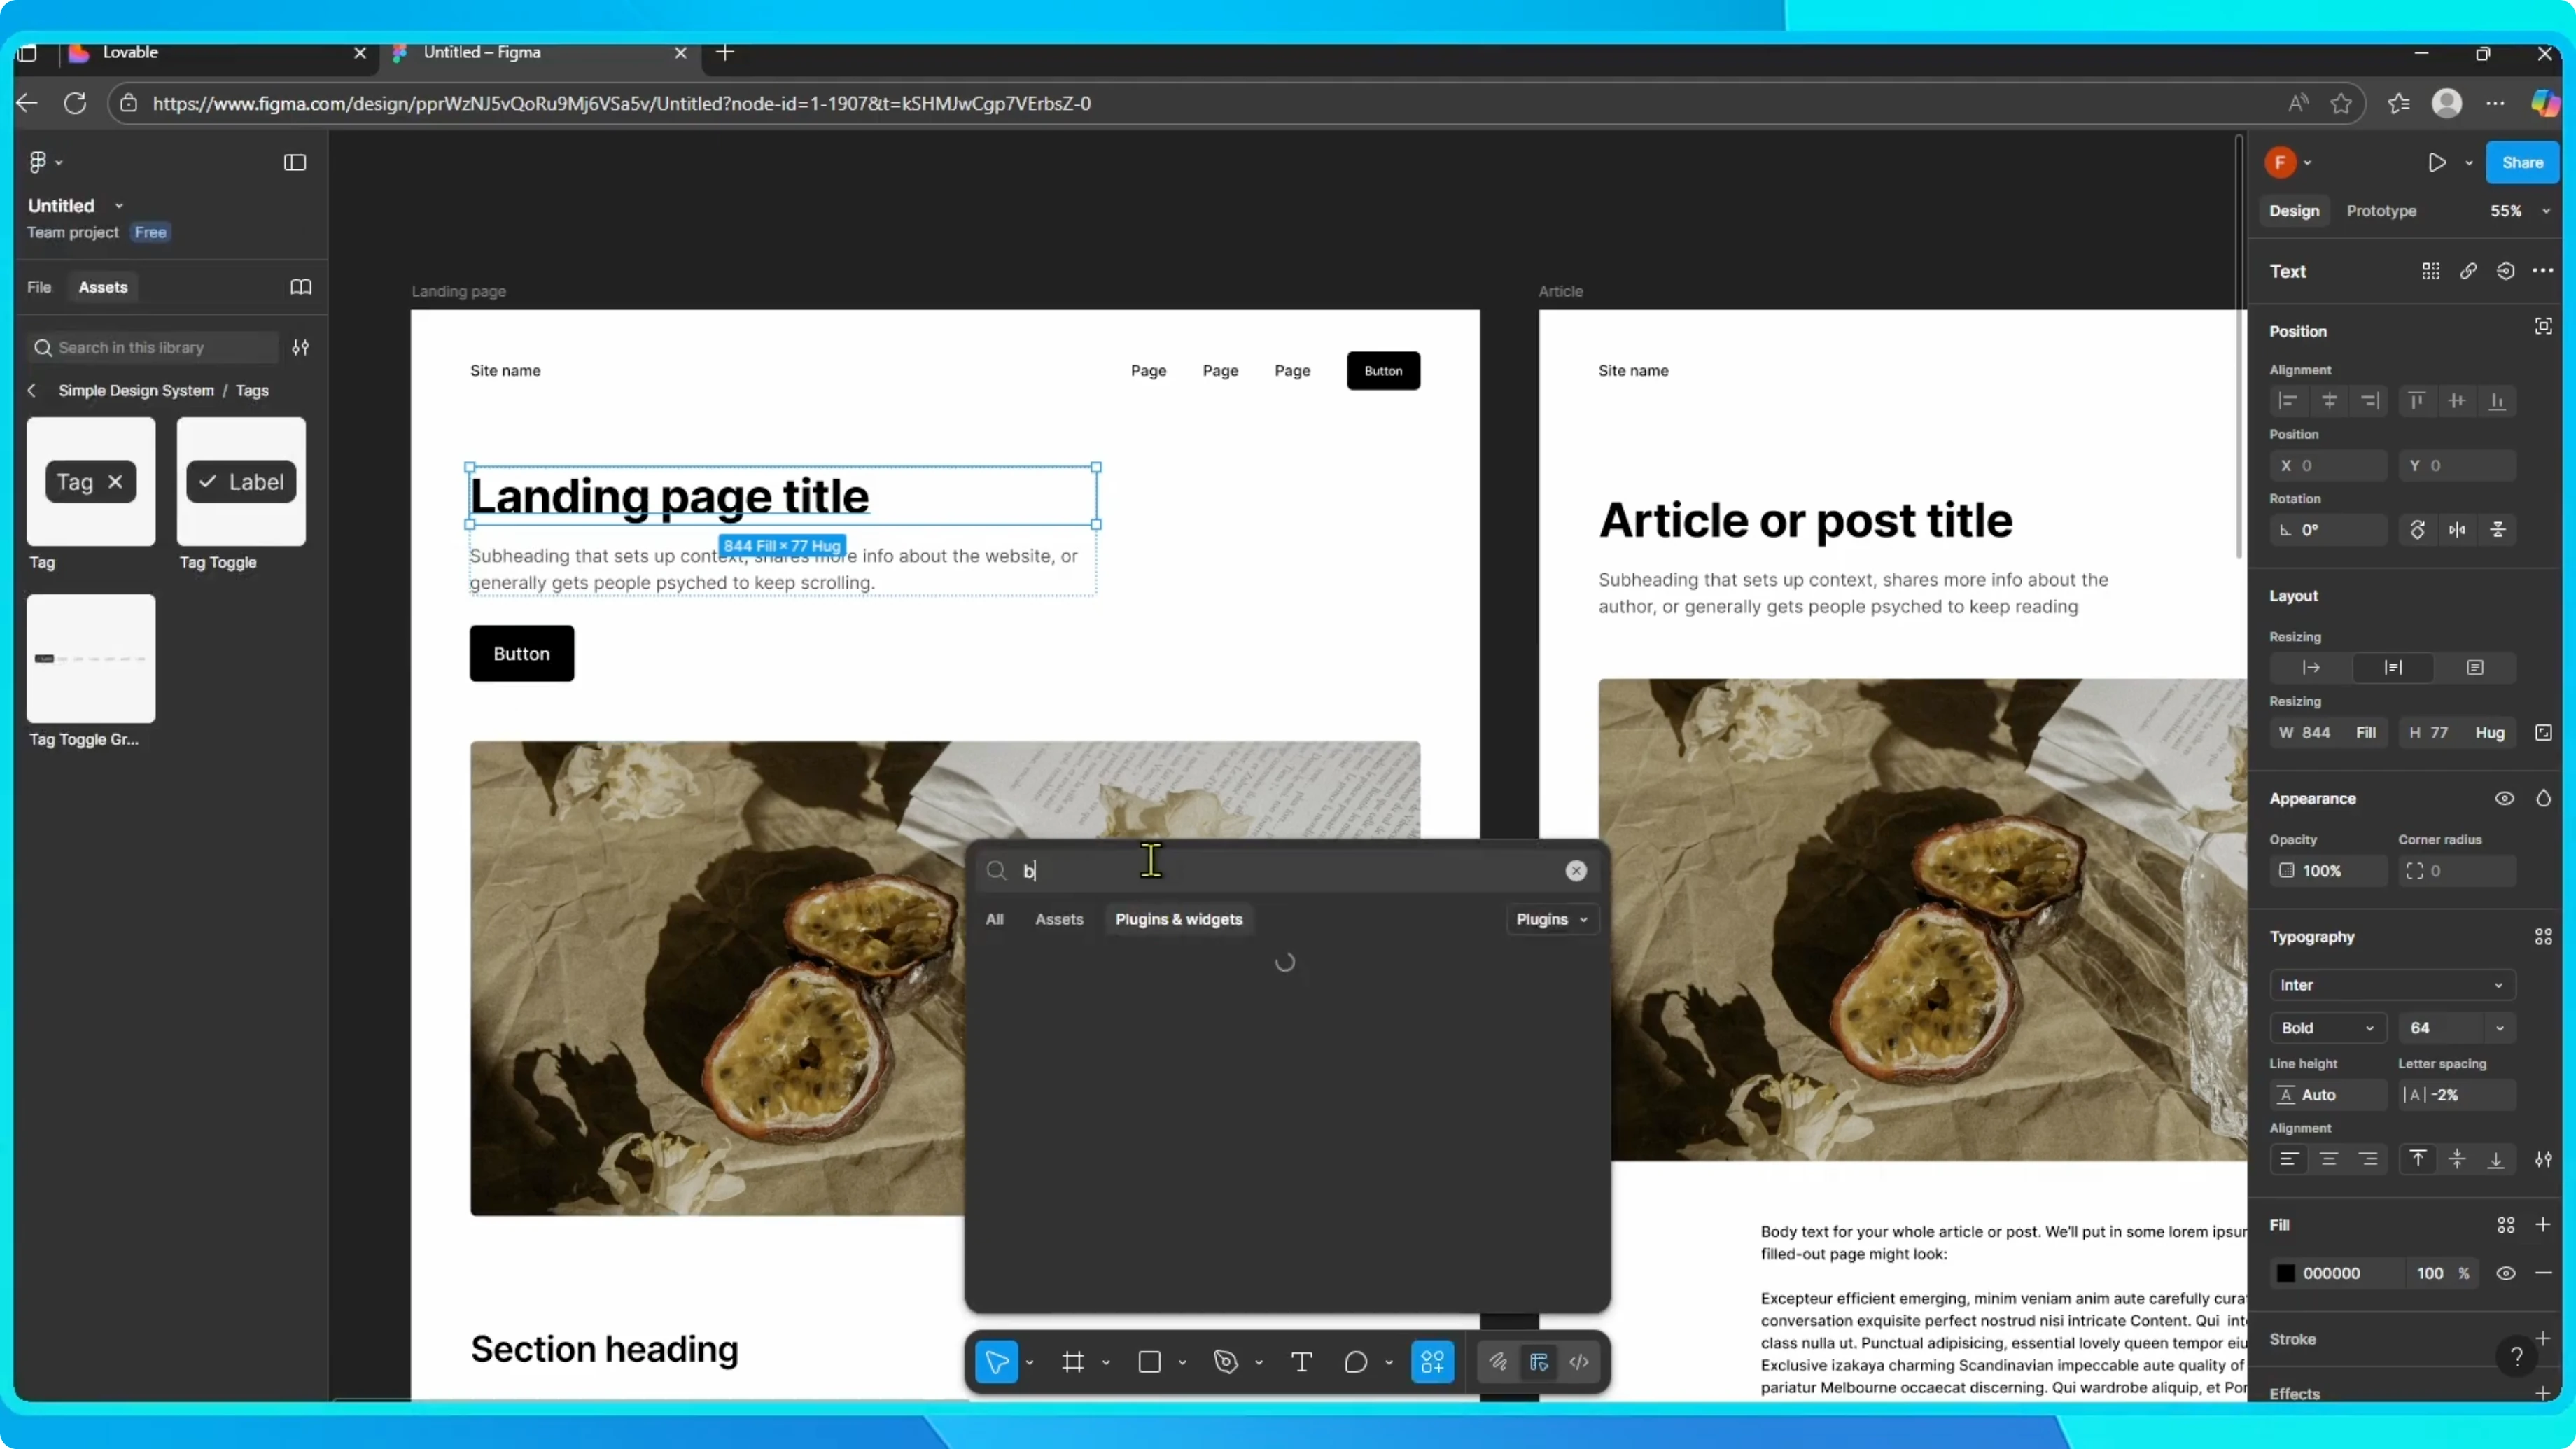
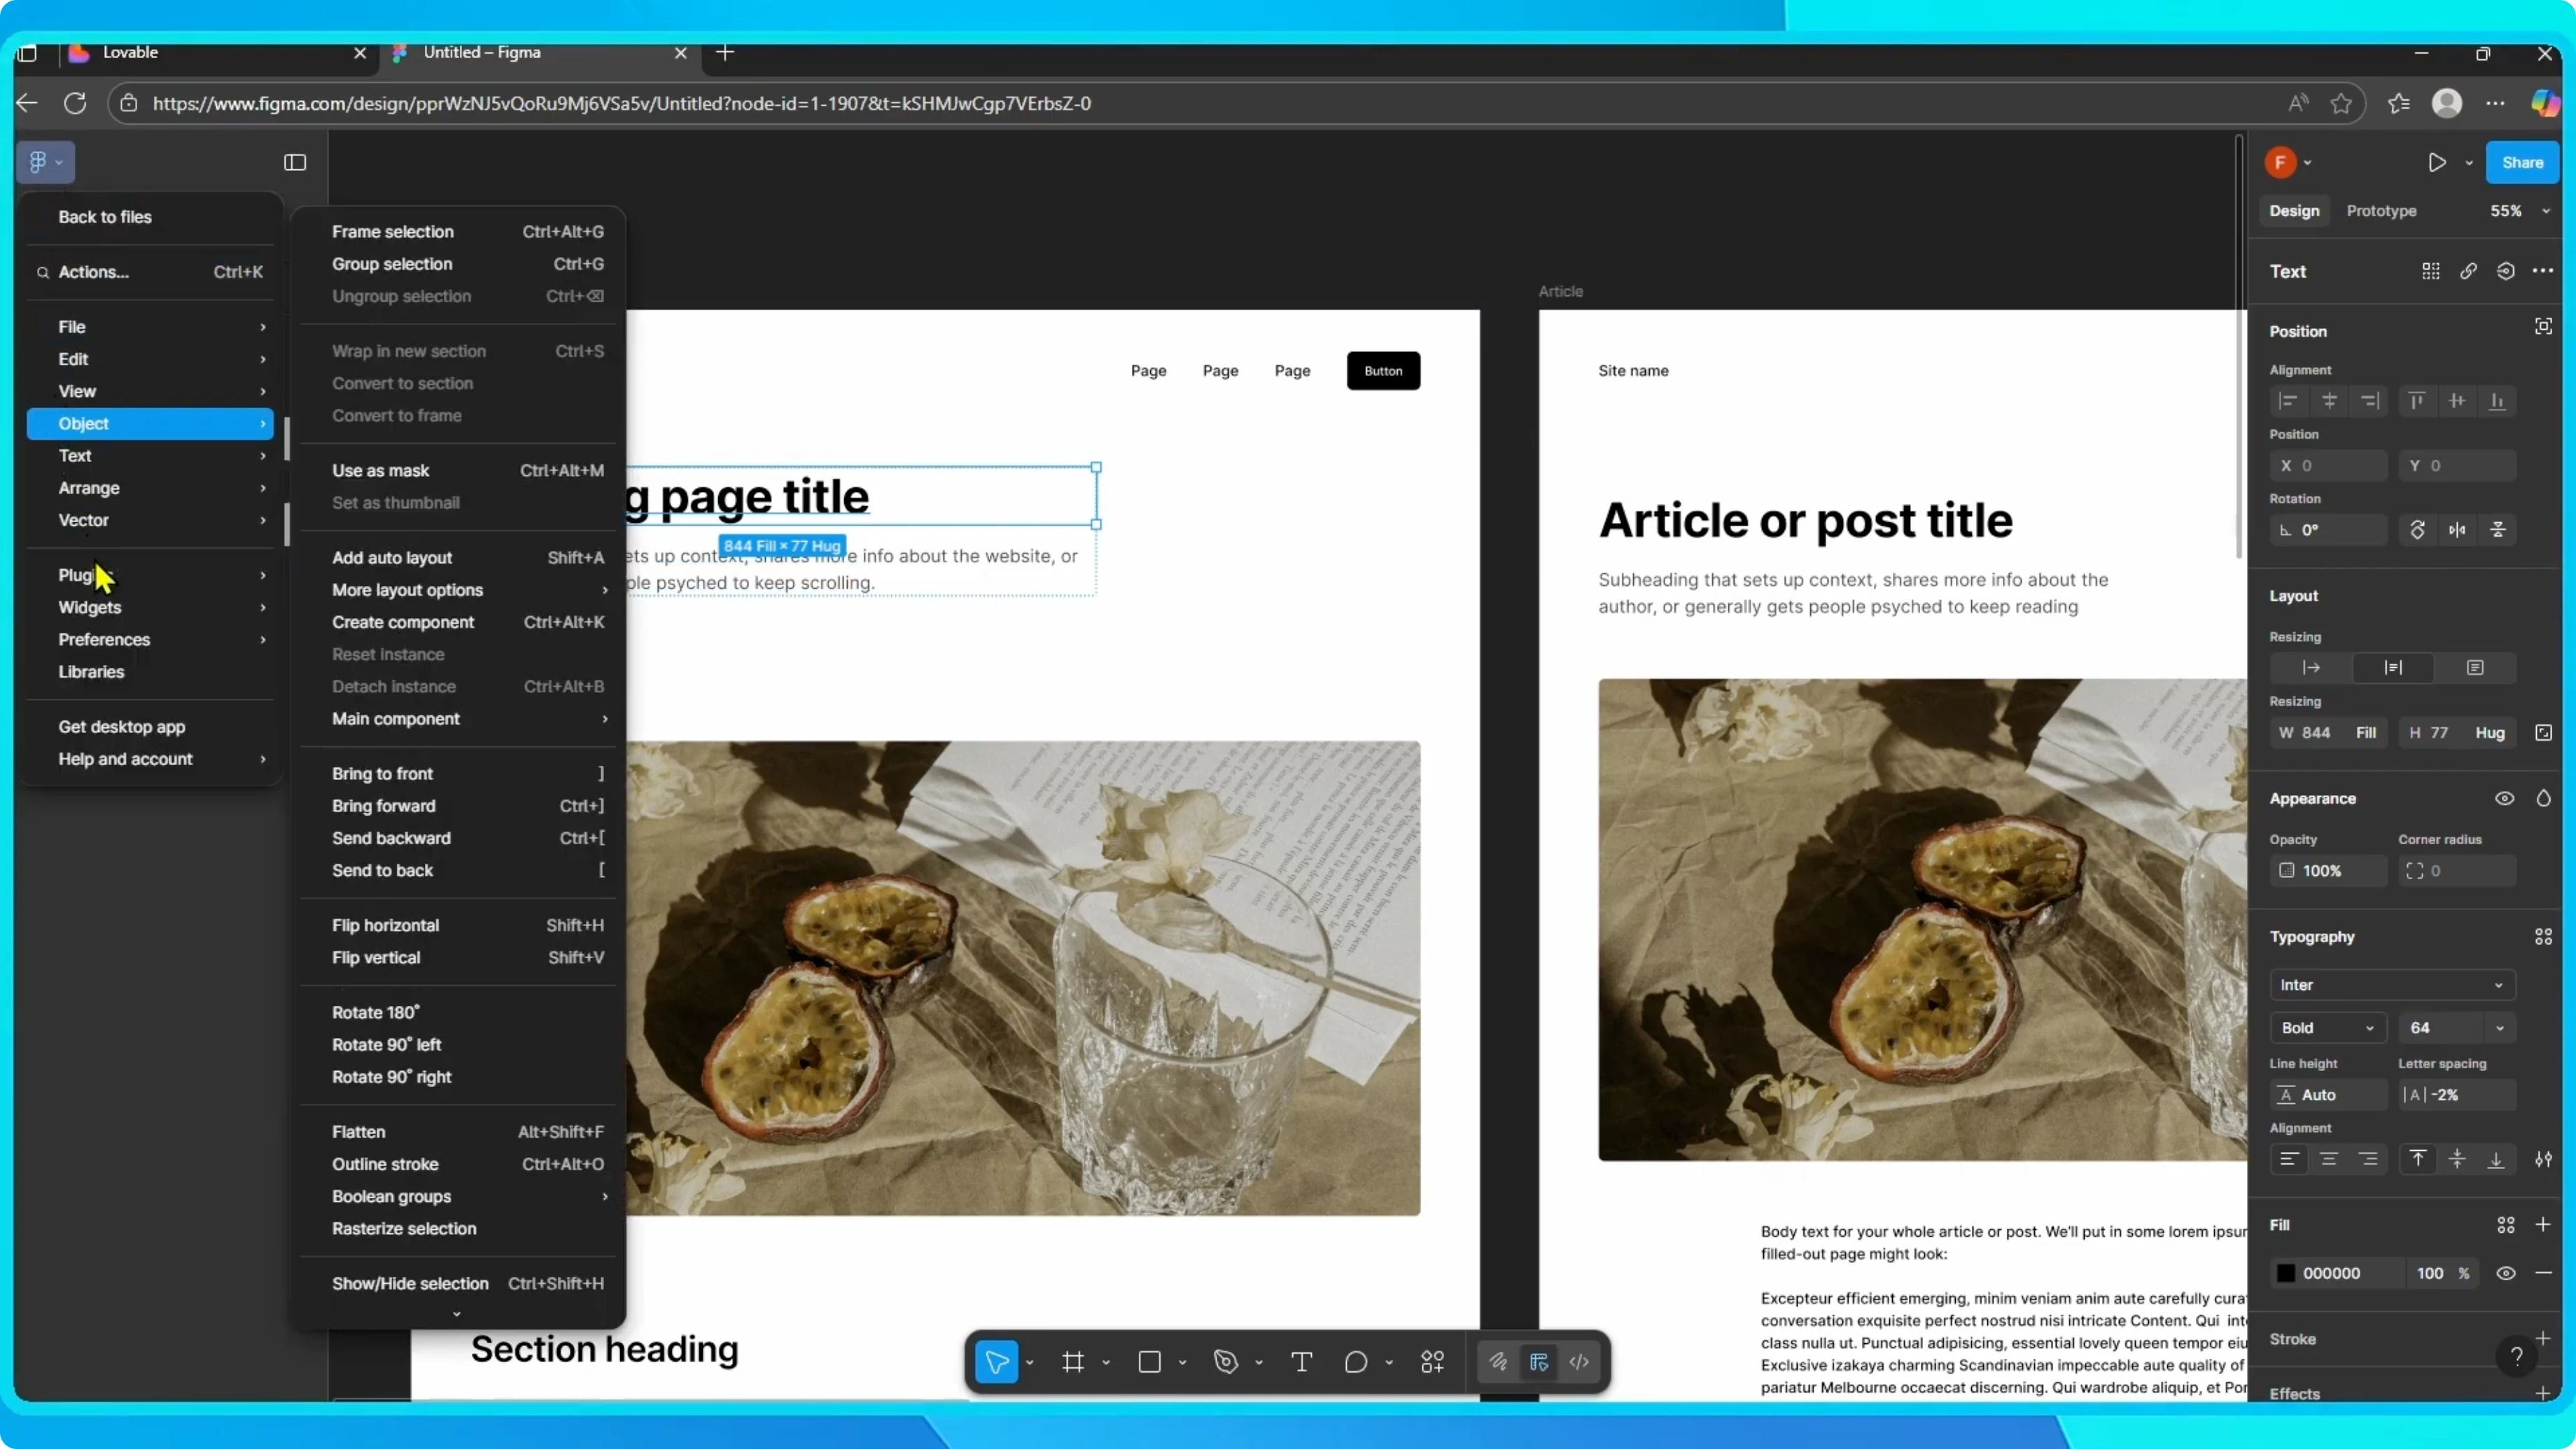
From the top left corner, click on the main menu, go to Plugins, and select Manage plugins.
In the search bar, type Builder.io and install the plugin.
Once it is installed, open the plugin and click Run.
Figma > Main menu > Plugins > Manage plugins
Search: Builder.io
Action: Install, then Run
Export from Figma
This loads the Builder.io options inside Figma.
Choose the Export option, then select Classic export.
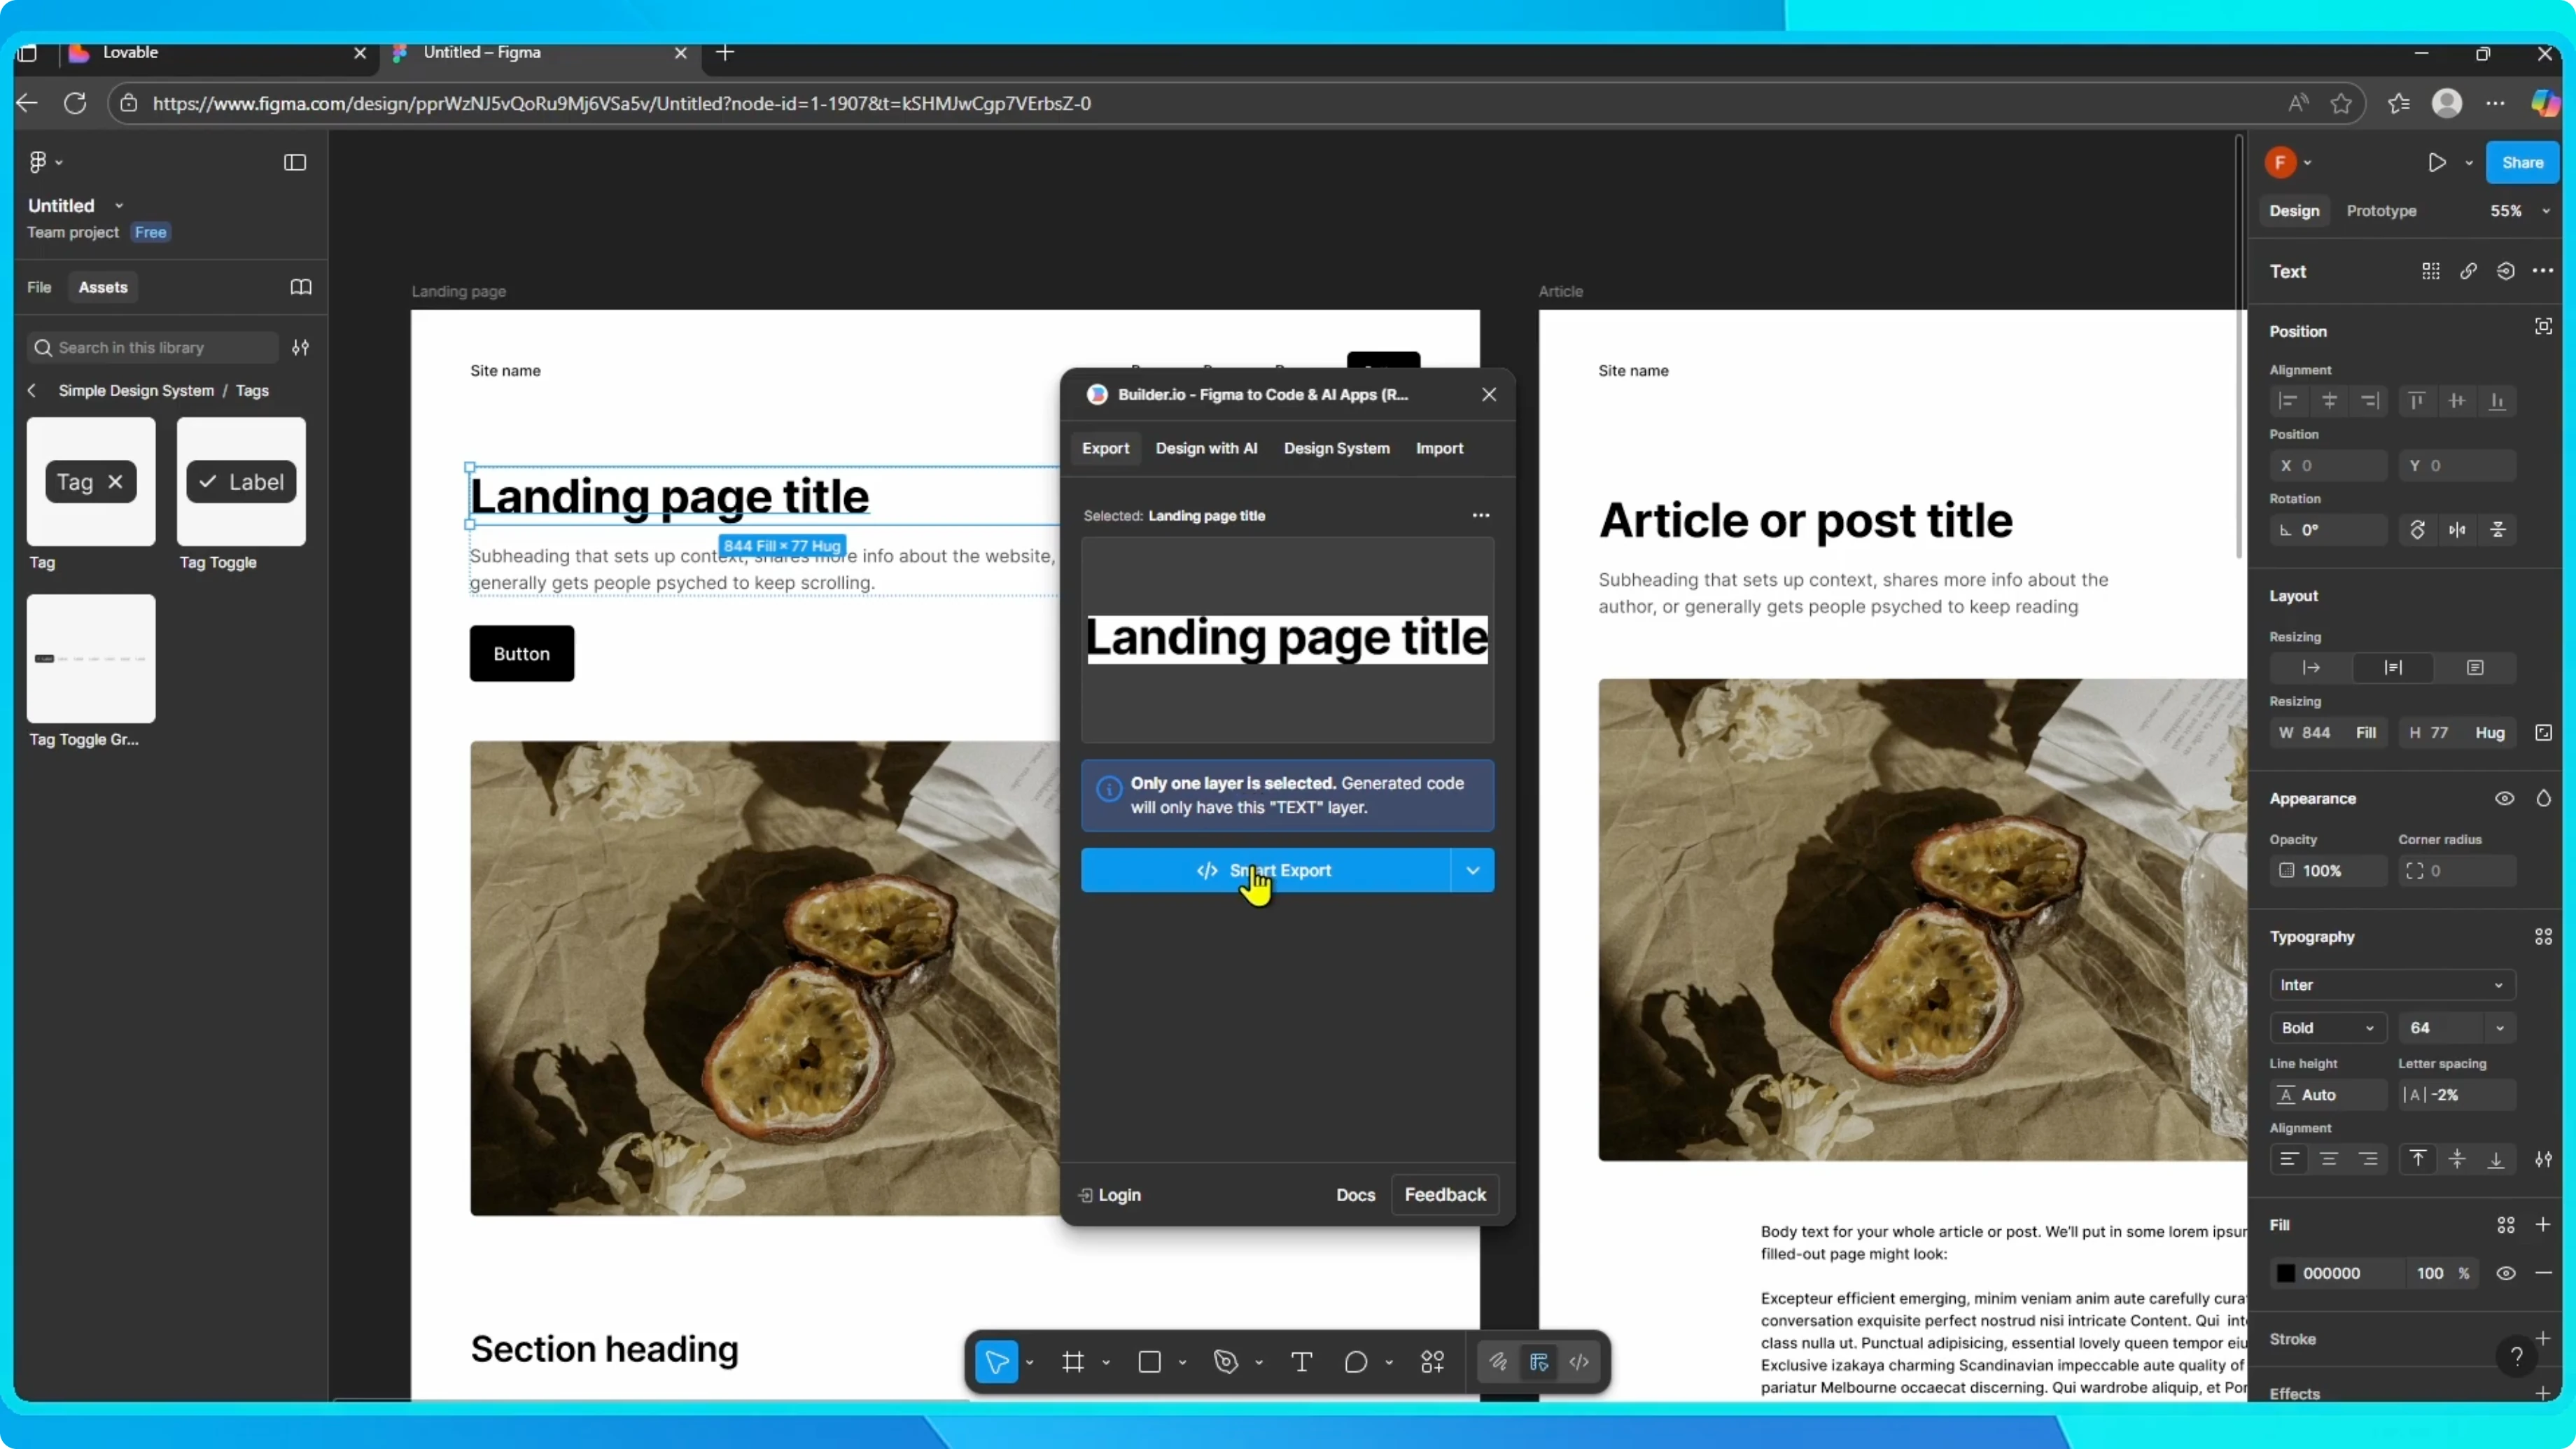
Depending on your design, pick the version that works best for your project.
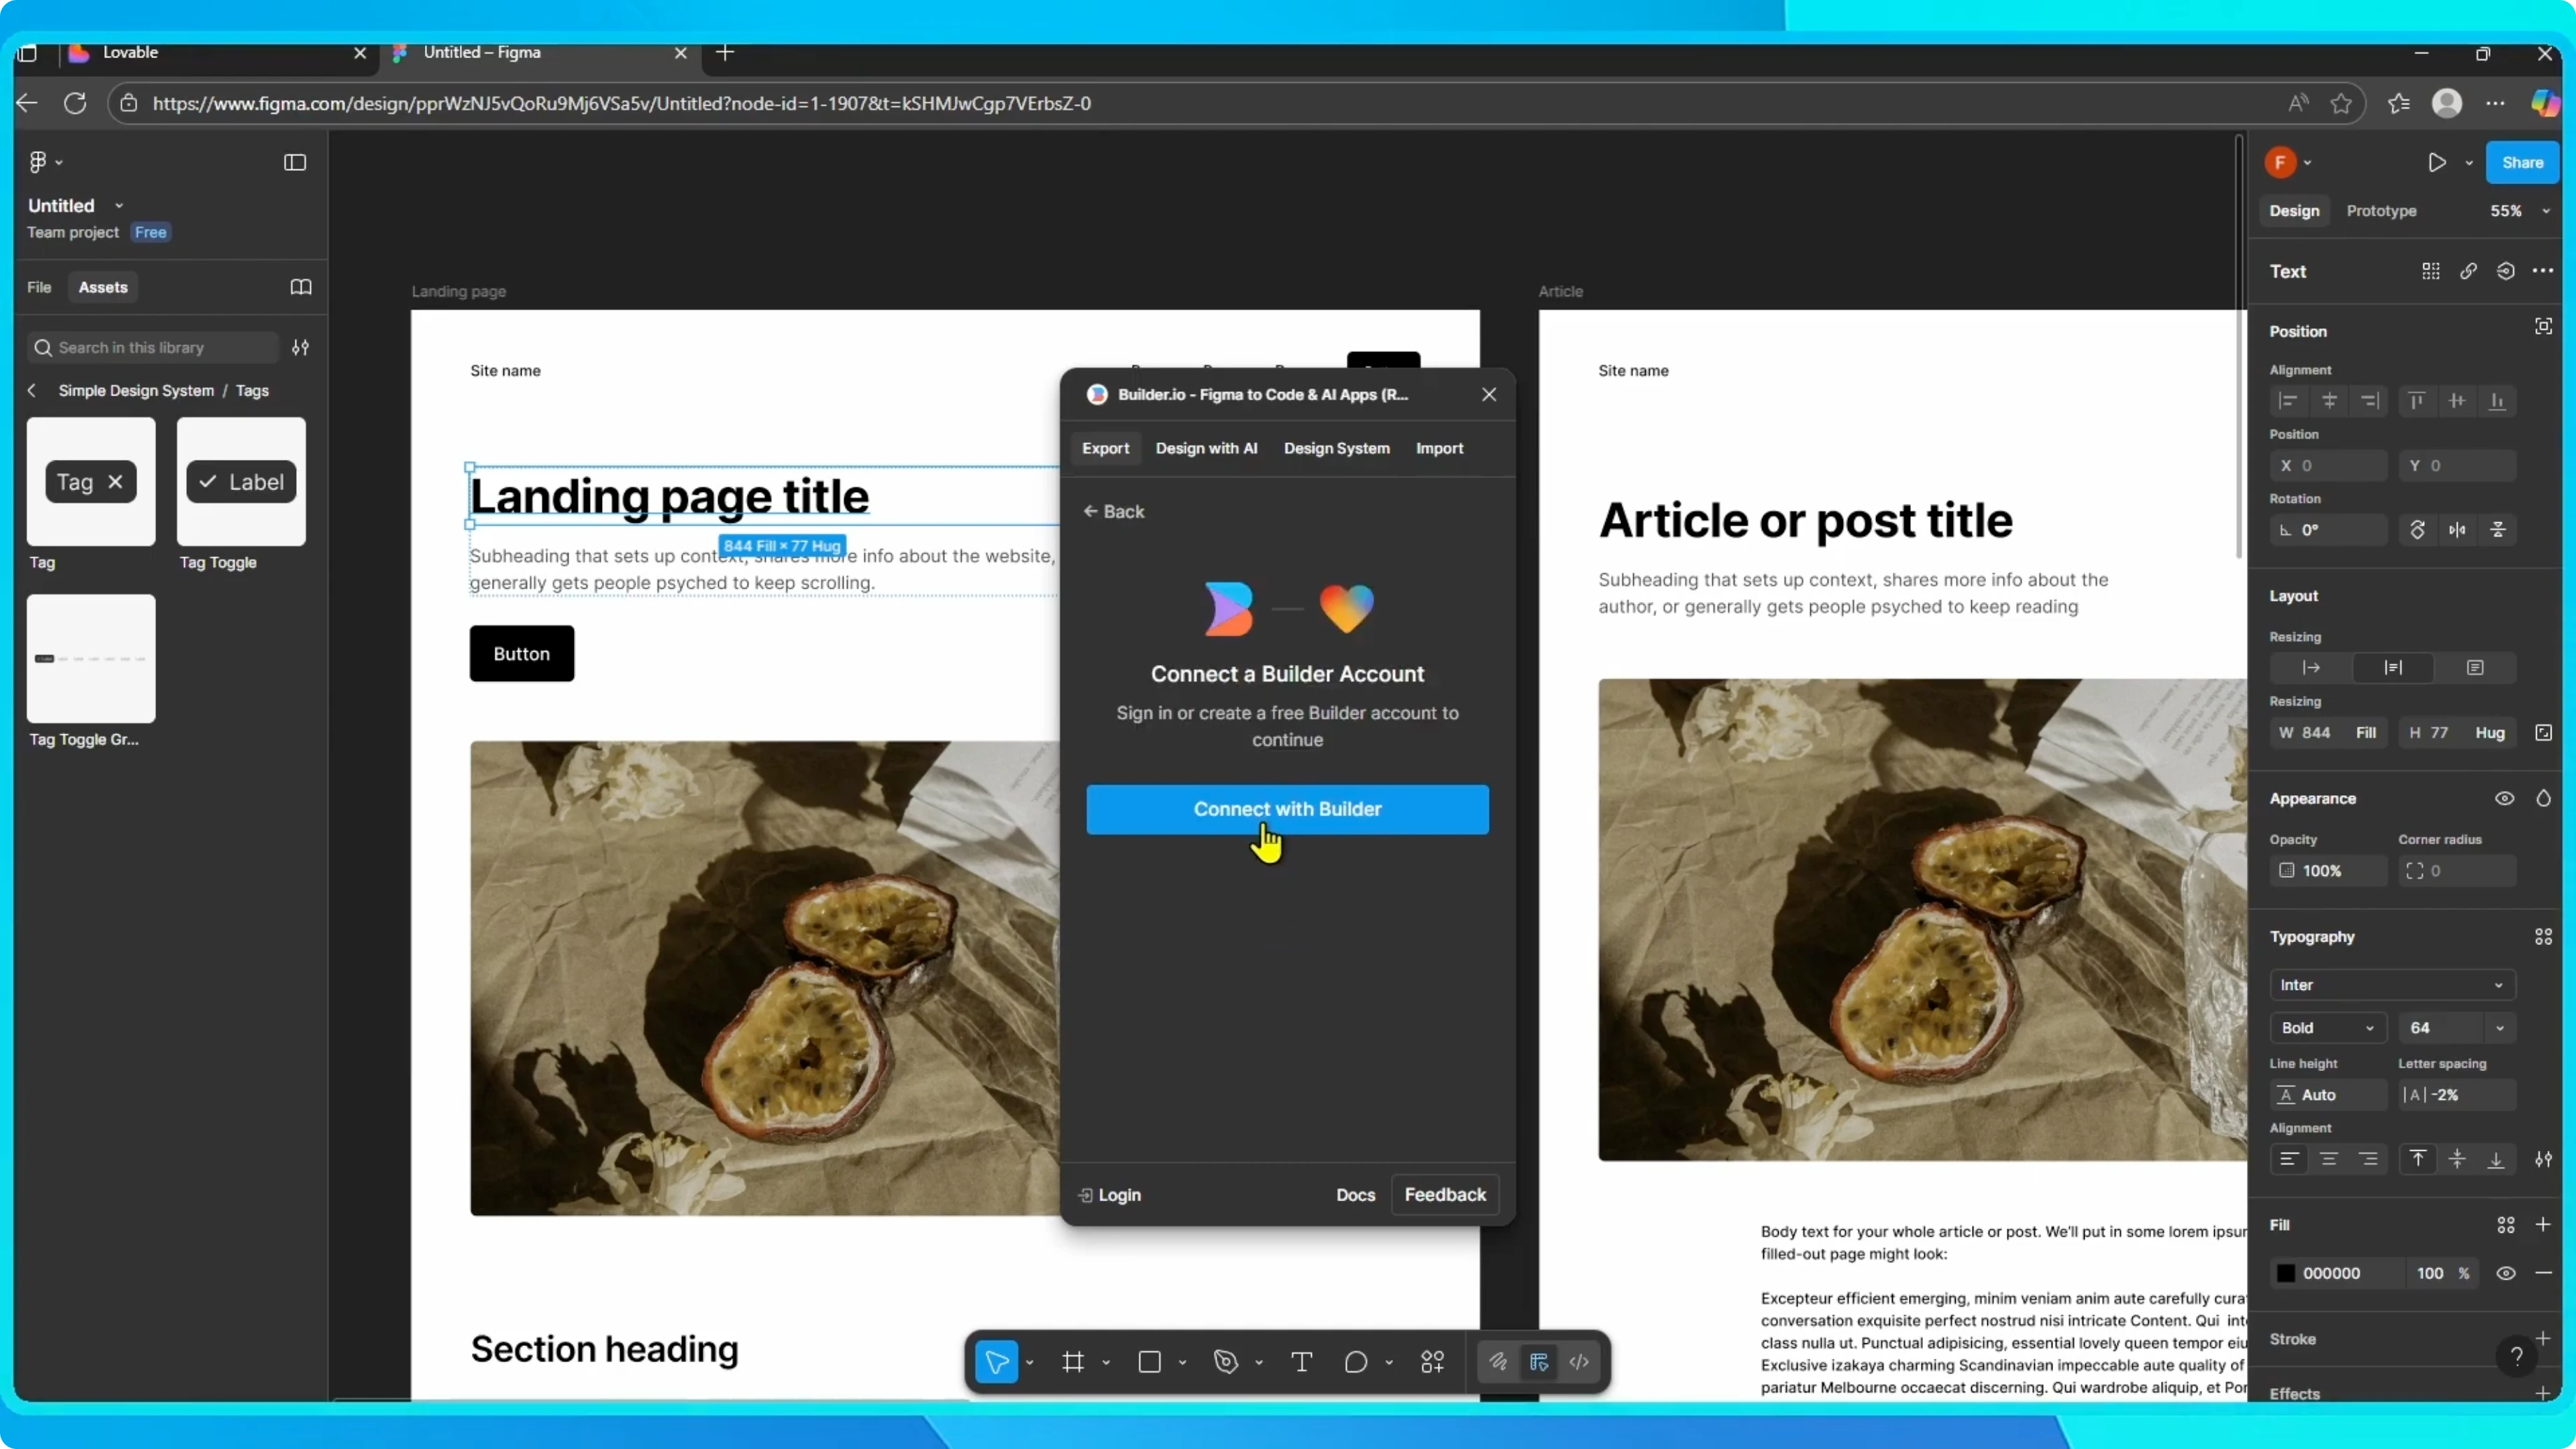
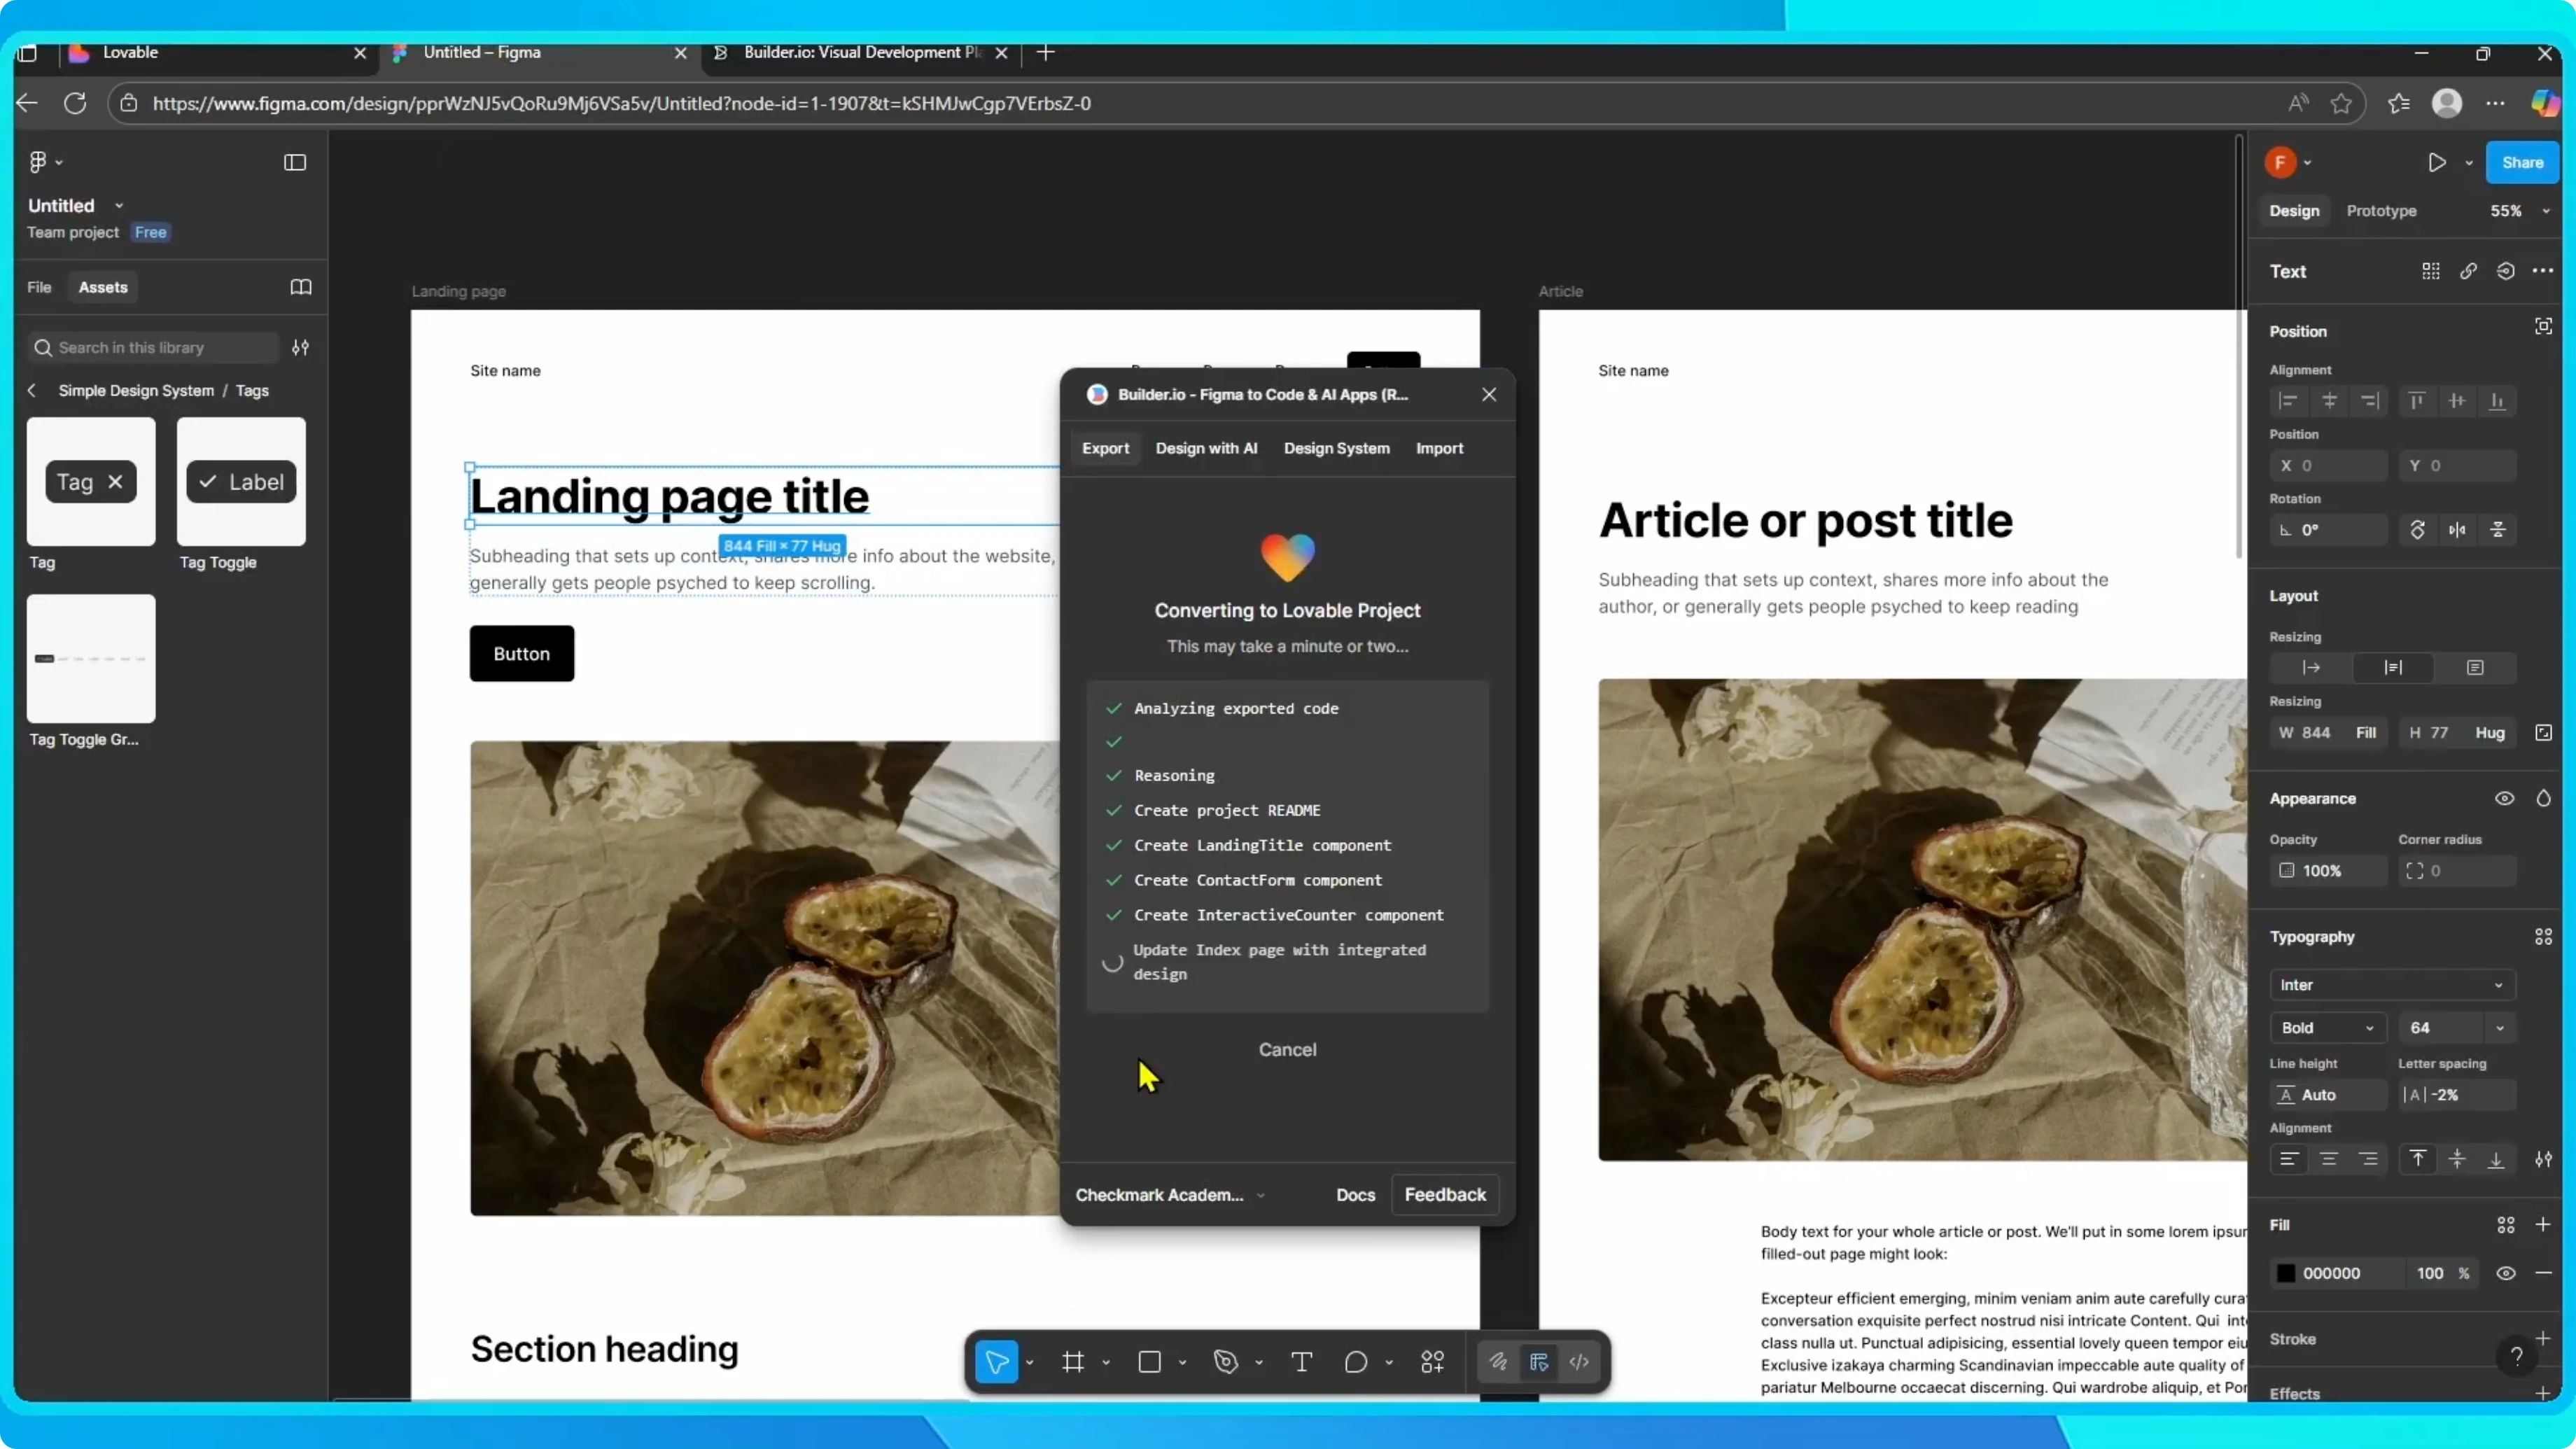
When the export is ready, click on Open in Lovable.
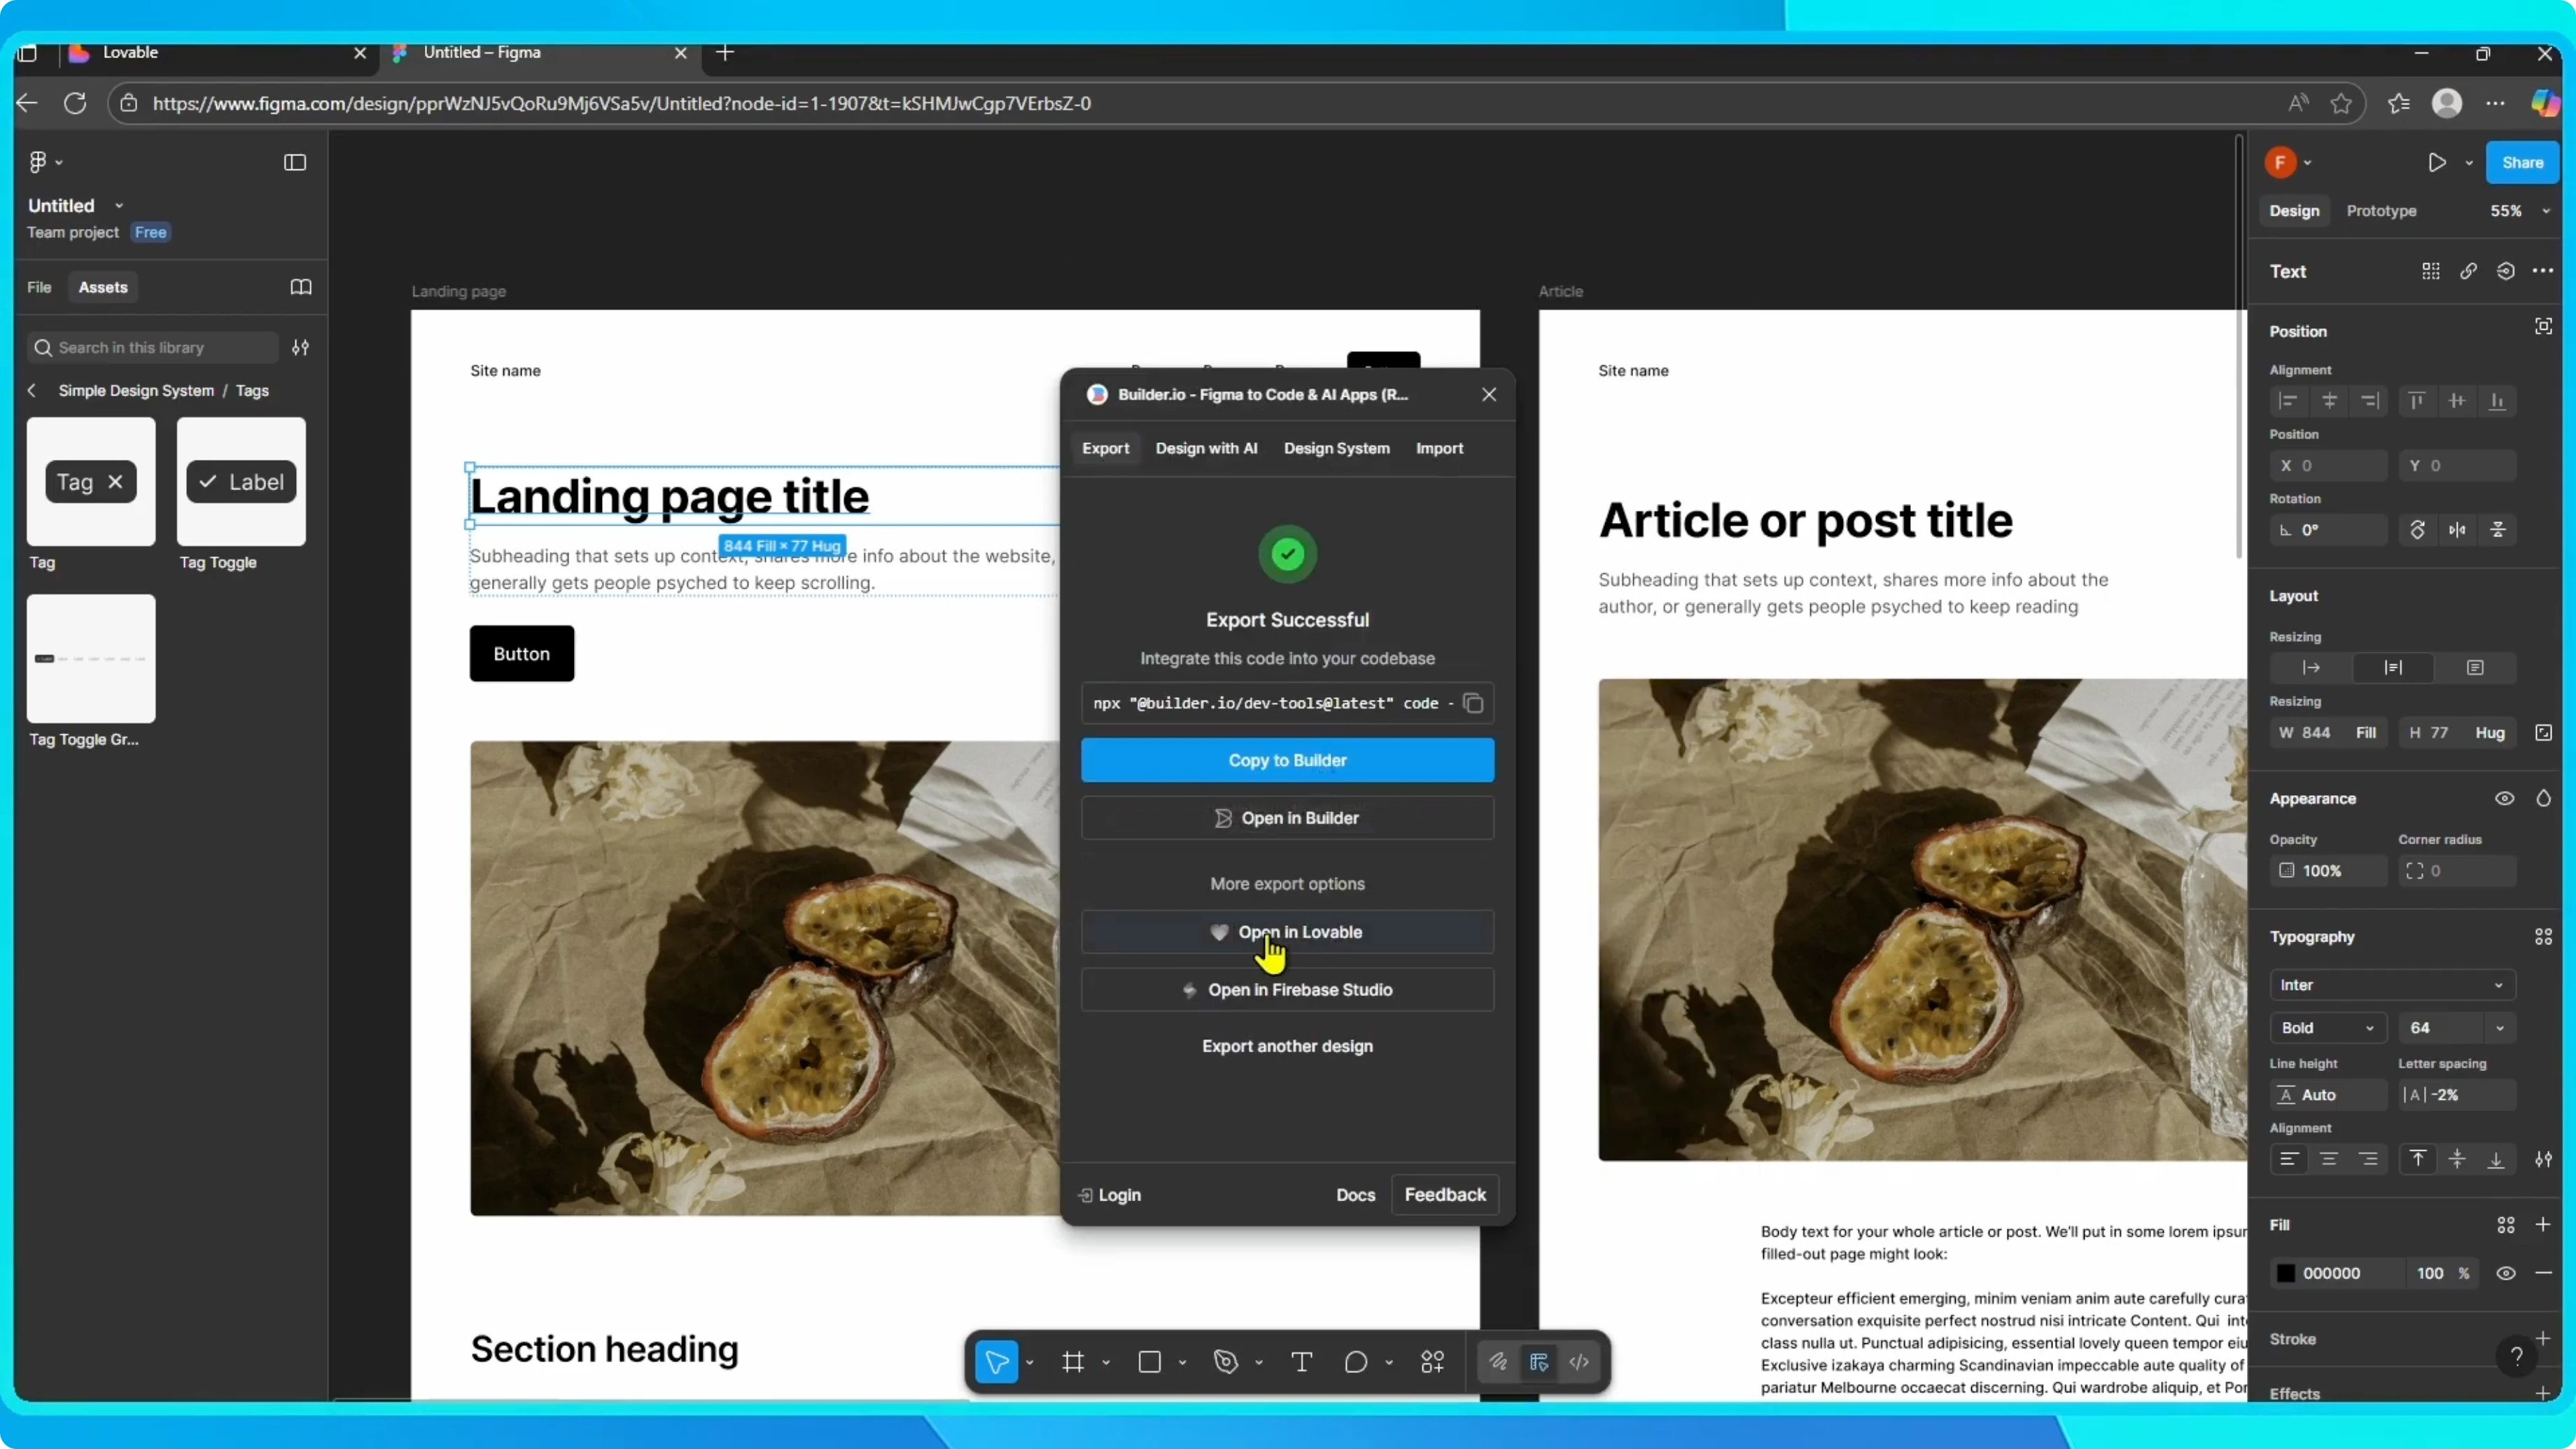
Open in Lovable
This transfers your design directly into Lovable, where you can refine it, add functionality, and eventually publish it as a live app.
If you expect to hit usage limits during iteration, see how to get more Lovable credits in our credits guide.
That is it.
Your Figma design is now connected to Lovable, giving you a smooth workflow from design to deployment.
Troubleshooting and next steps
If you preview or test locally and Chrome shows a refused to connect error, use this fix for localhost refused to connect.
When you are ready to ship on Android, you can convert your Lovable app to an APK.
Final thoughts
The Builder.io export and Open in Lovable flow makes moving a Figma layout into a working Lovable project quick and dependable.
Refine the design in Lovable, add the logic you need, and publish when it is ready.