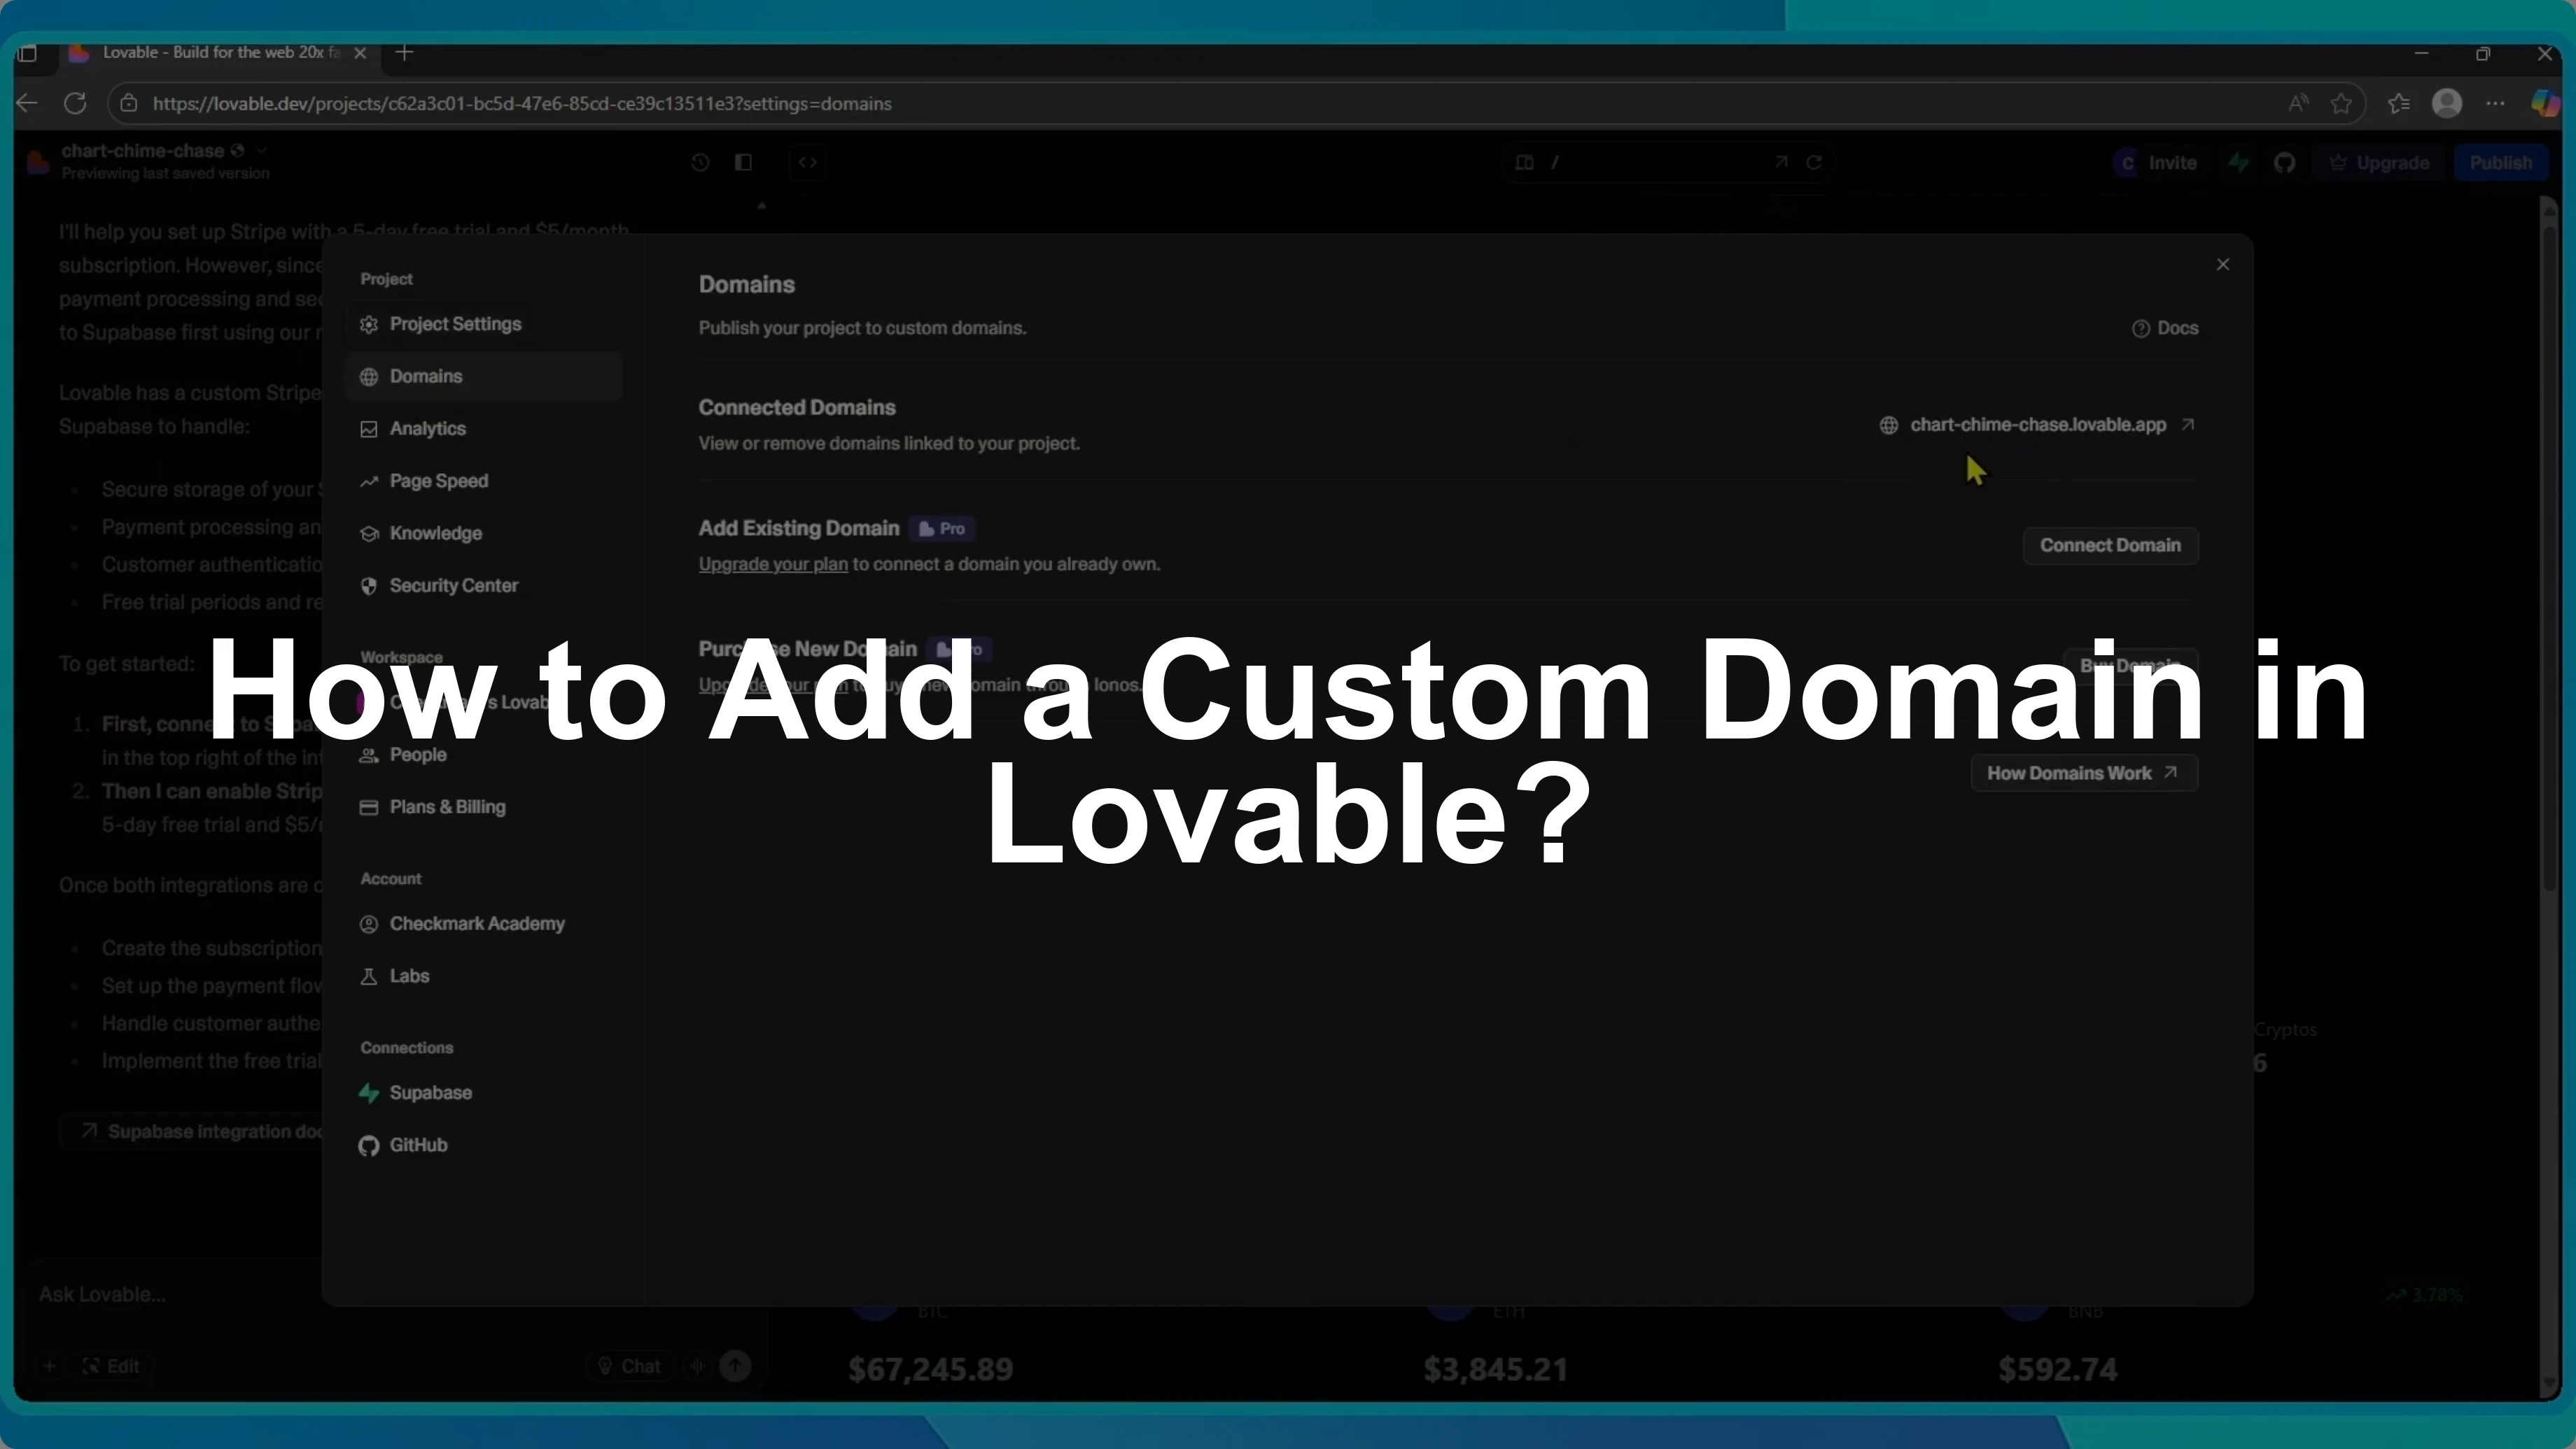
How to Connect Lovable with Supabase?
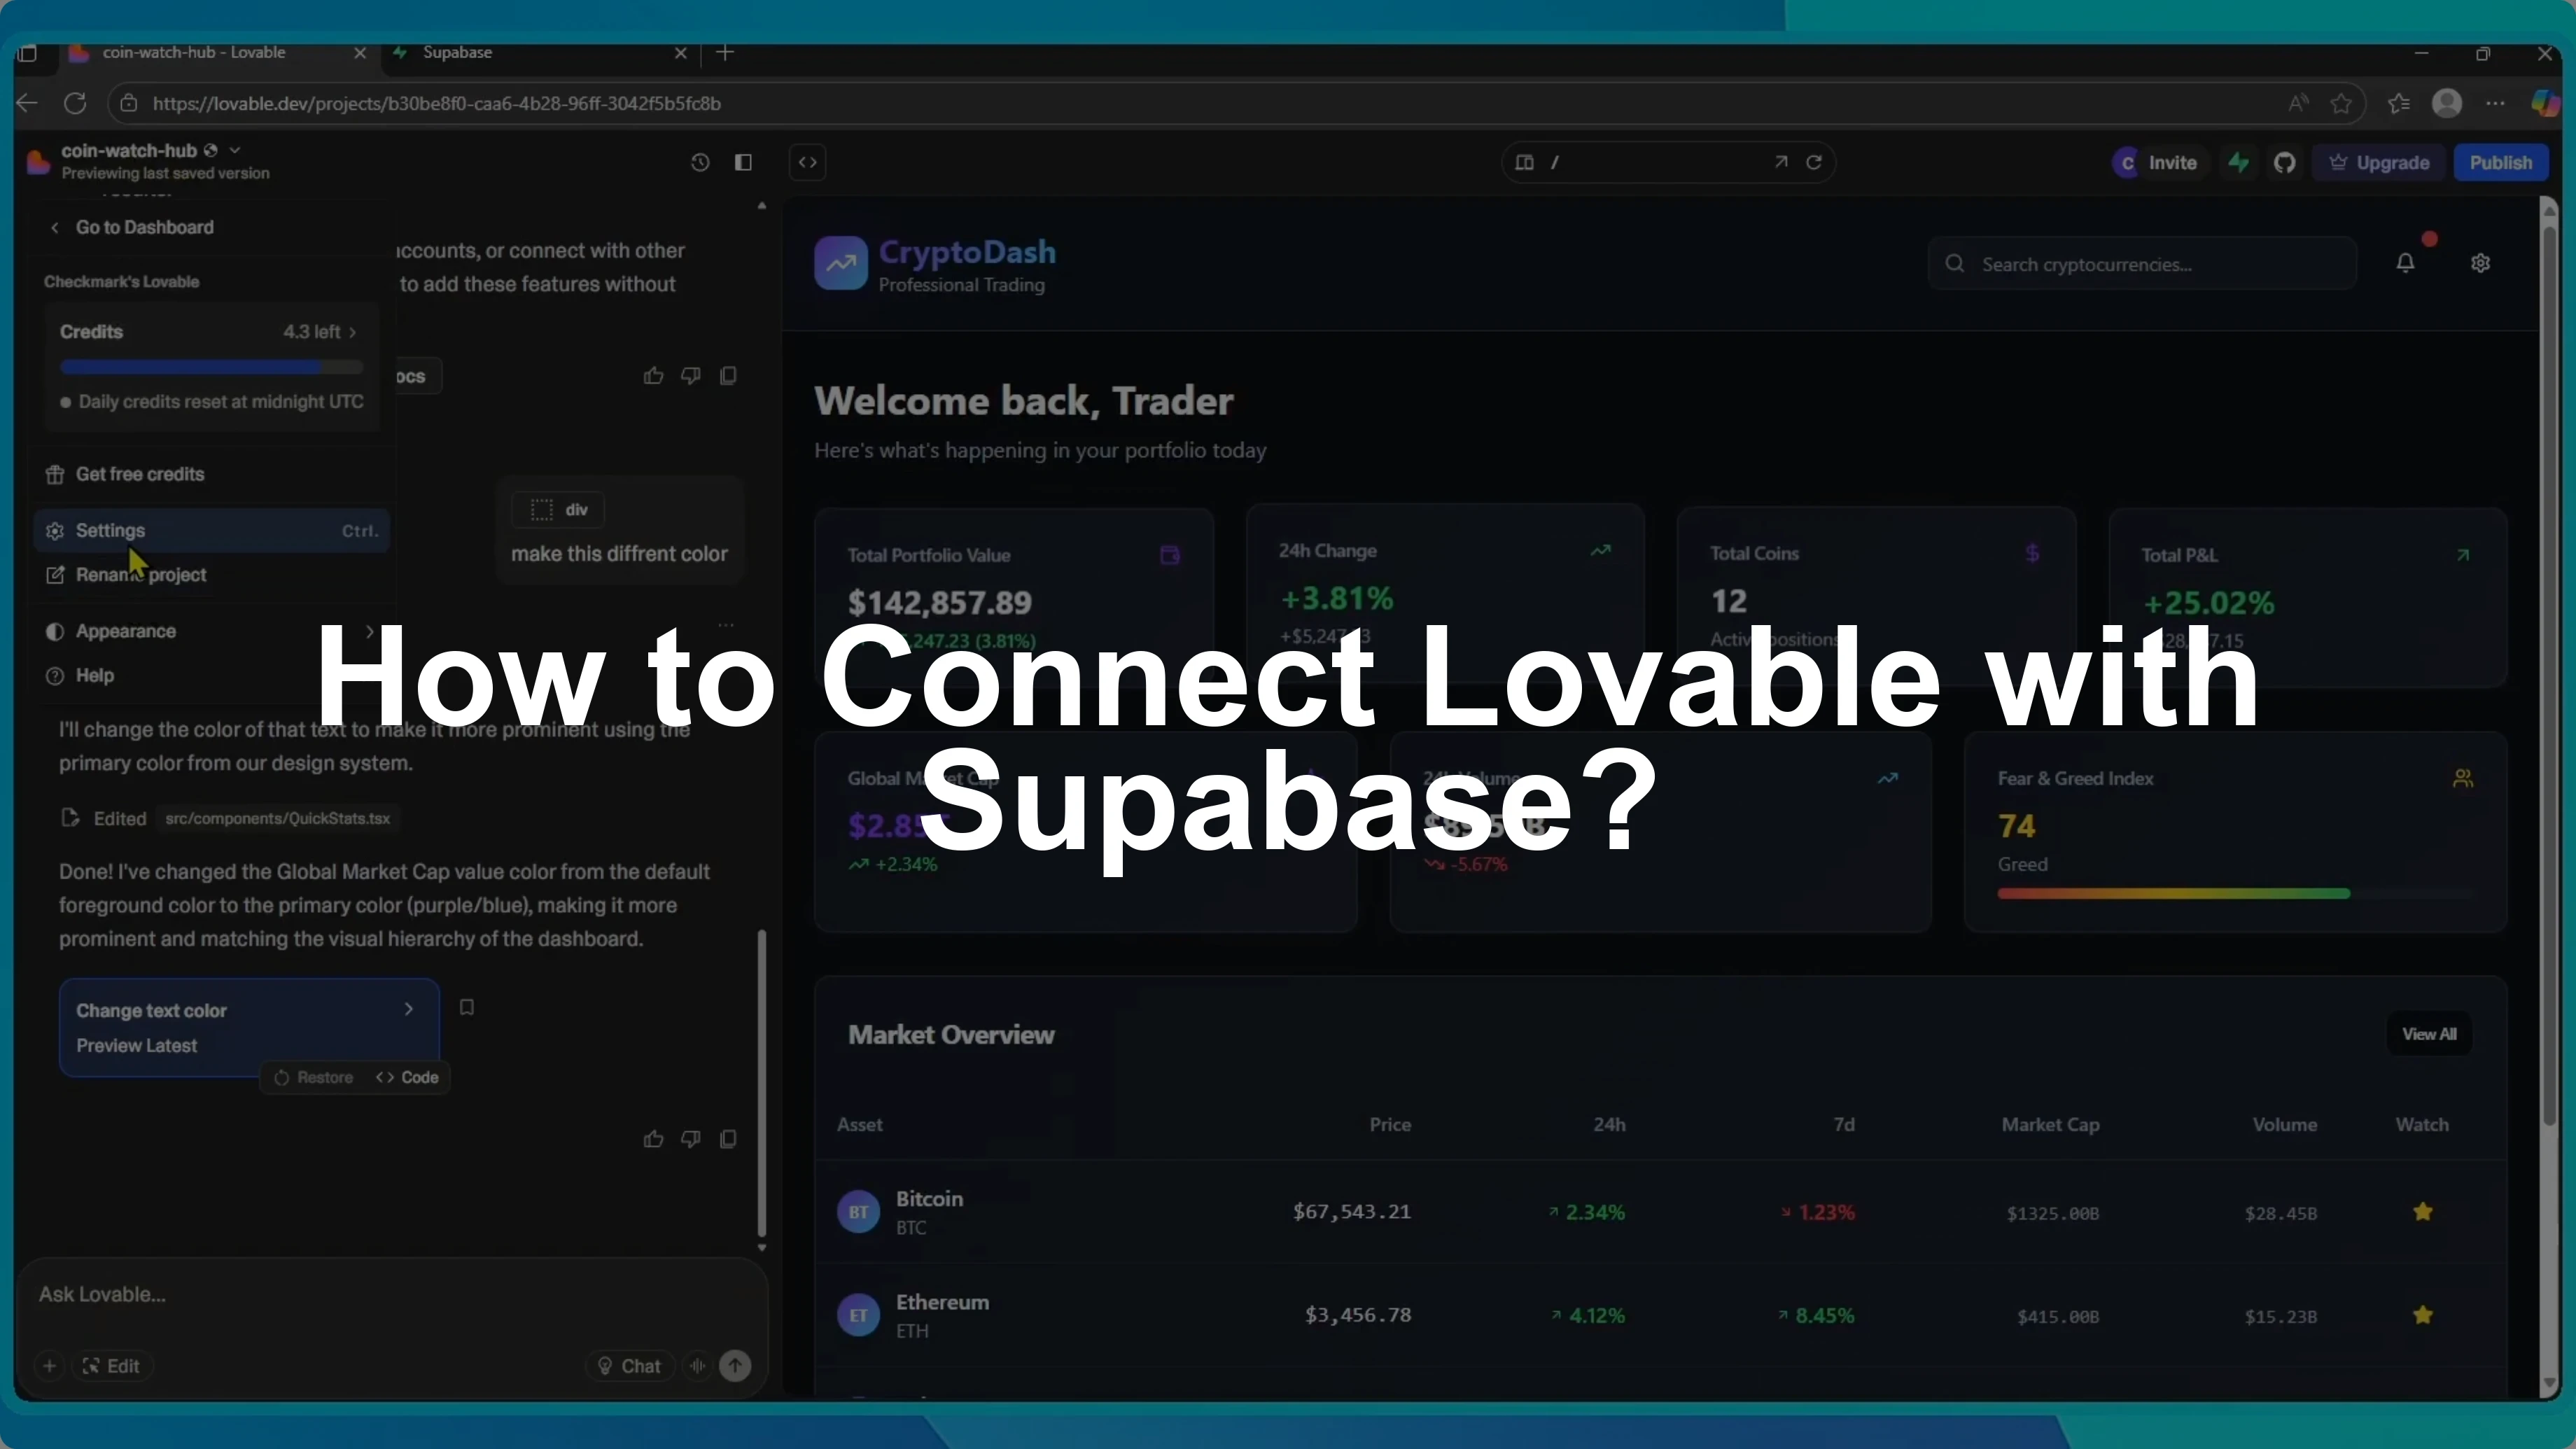
I’ll show you how to connect your Lovable project with Supabase.
This takes only a few steps and unlocks authentication, database management, and payments through Stripe for your app.
Before you begin, make sure you are signed into Supabase in a separate tab.
Open Lovable and select the project you want to link.
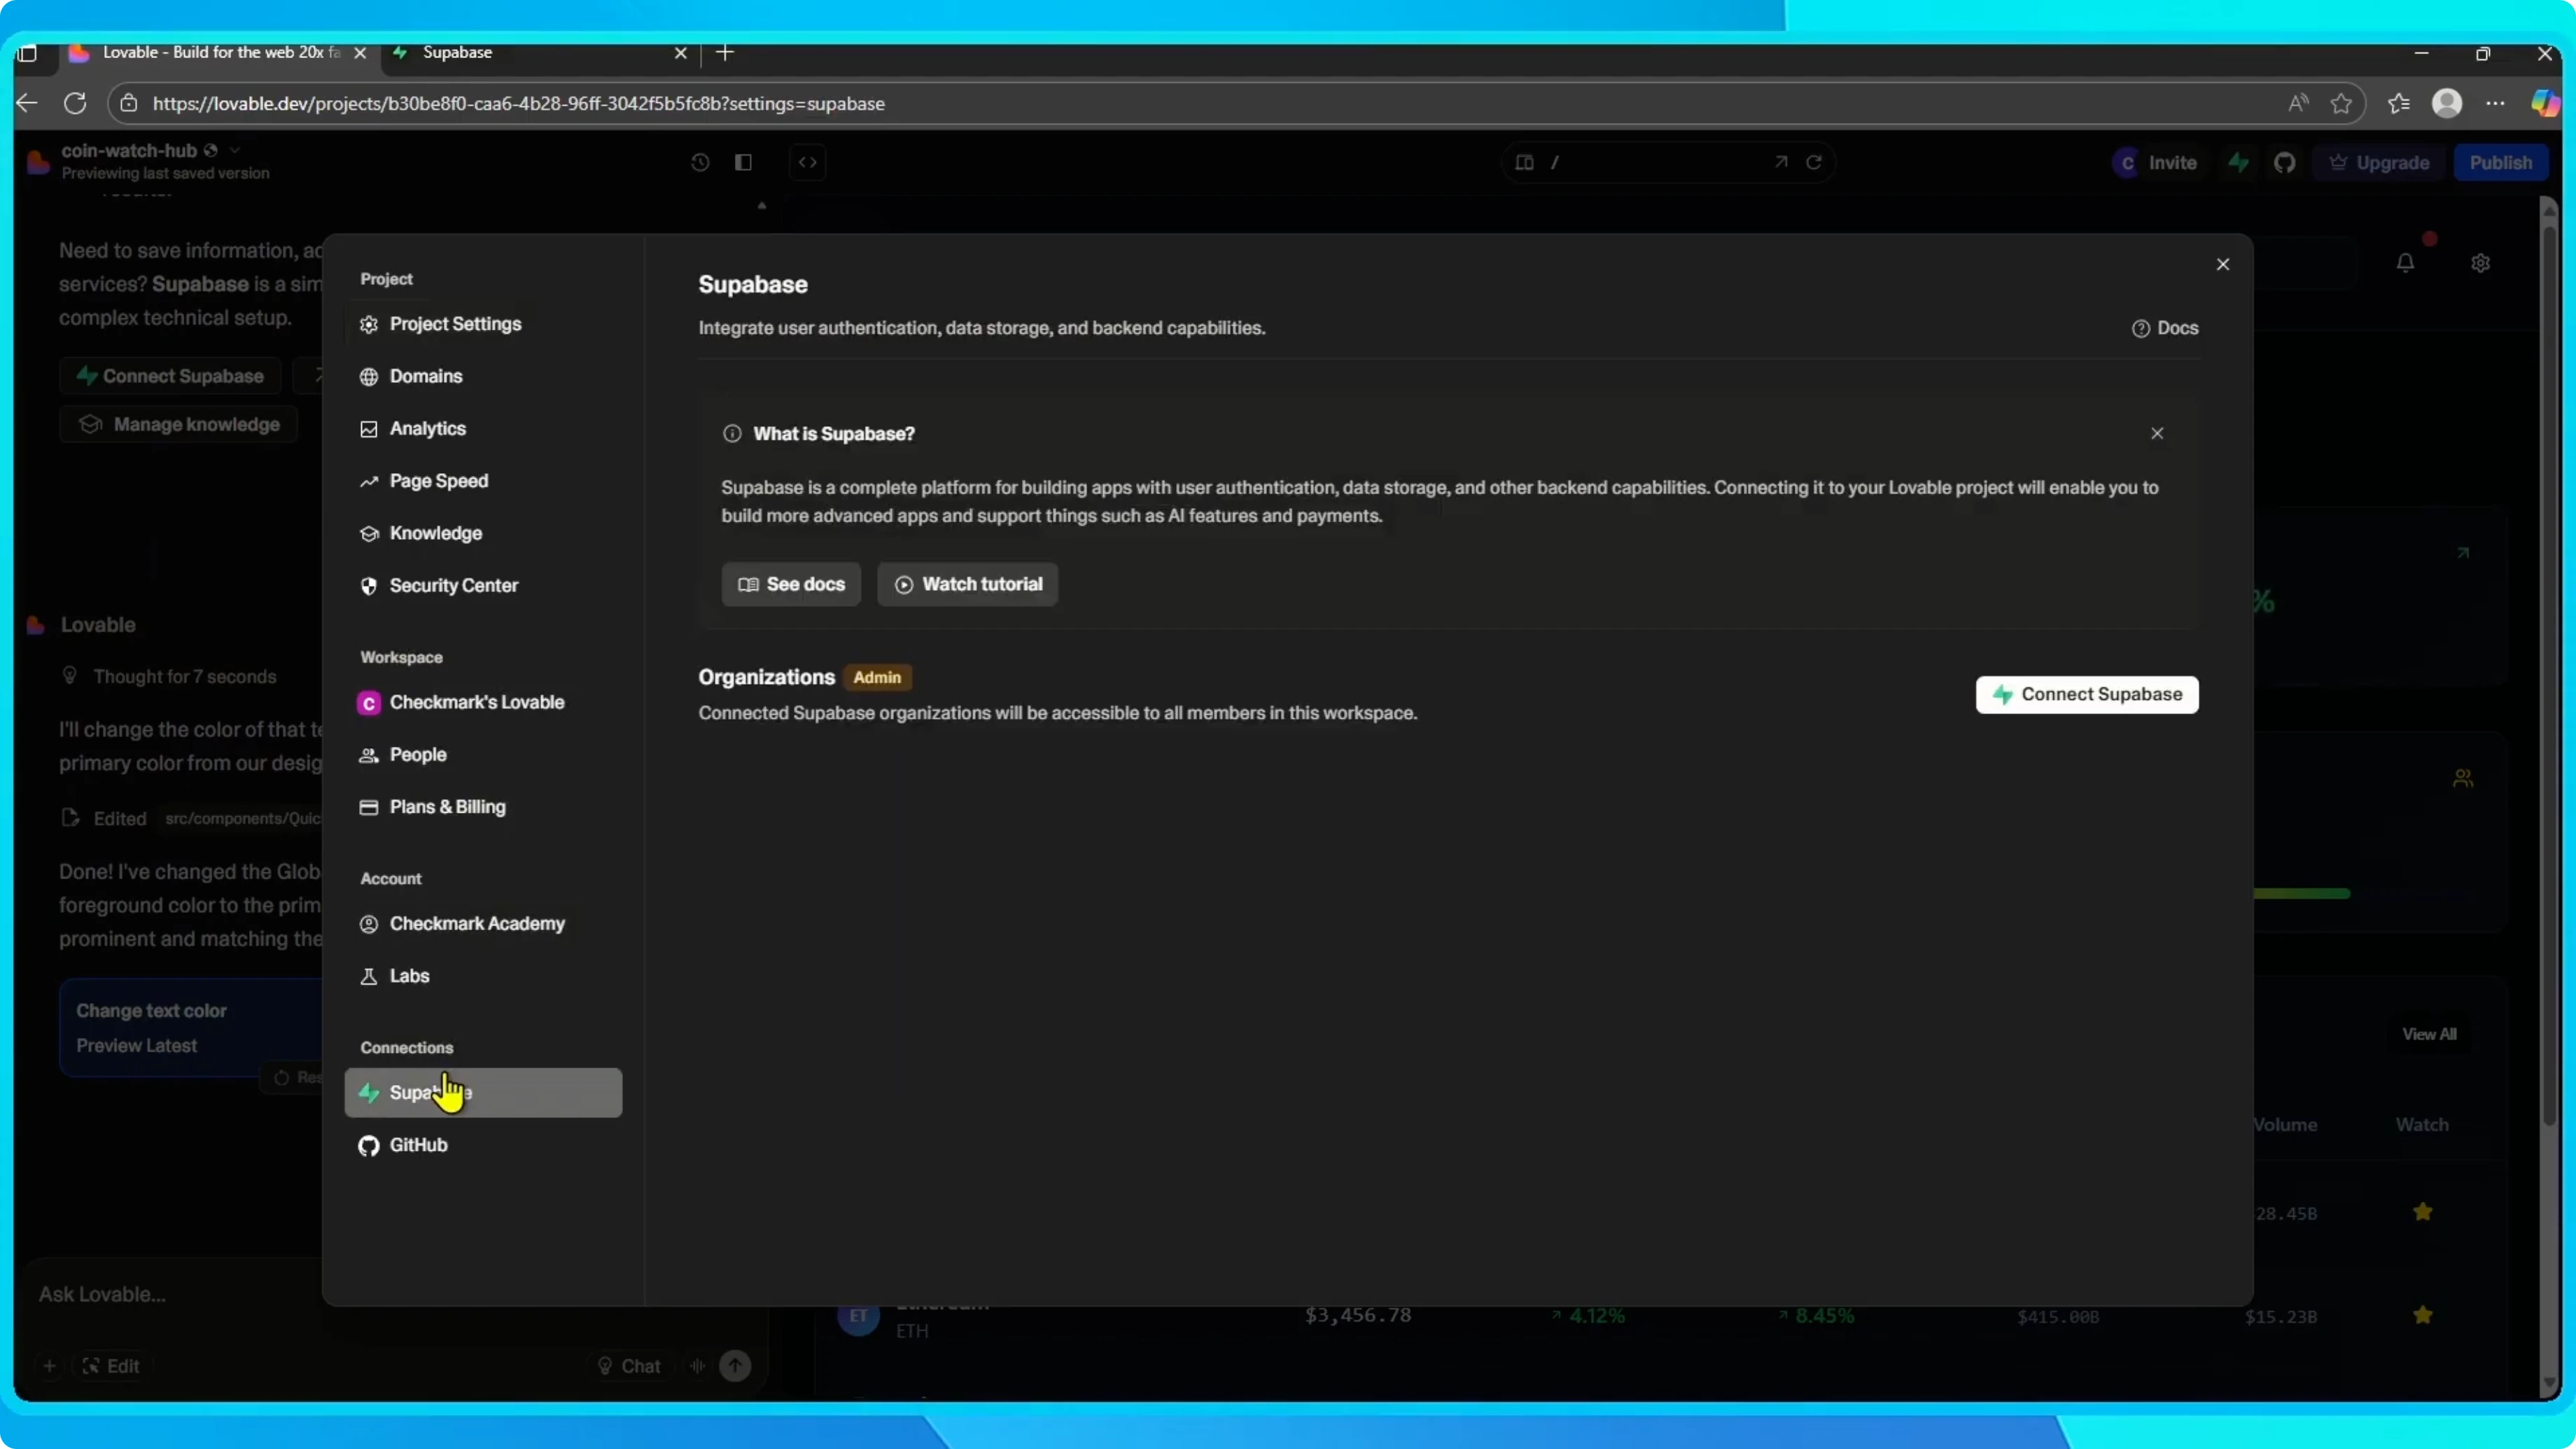
Connect to Supabase
Open project
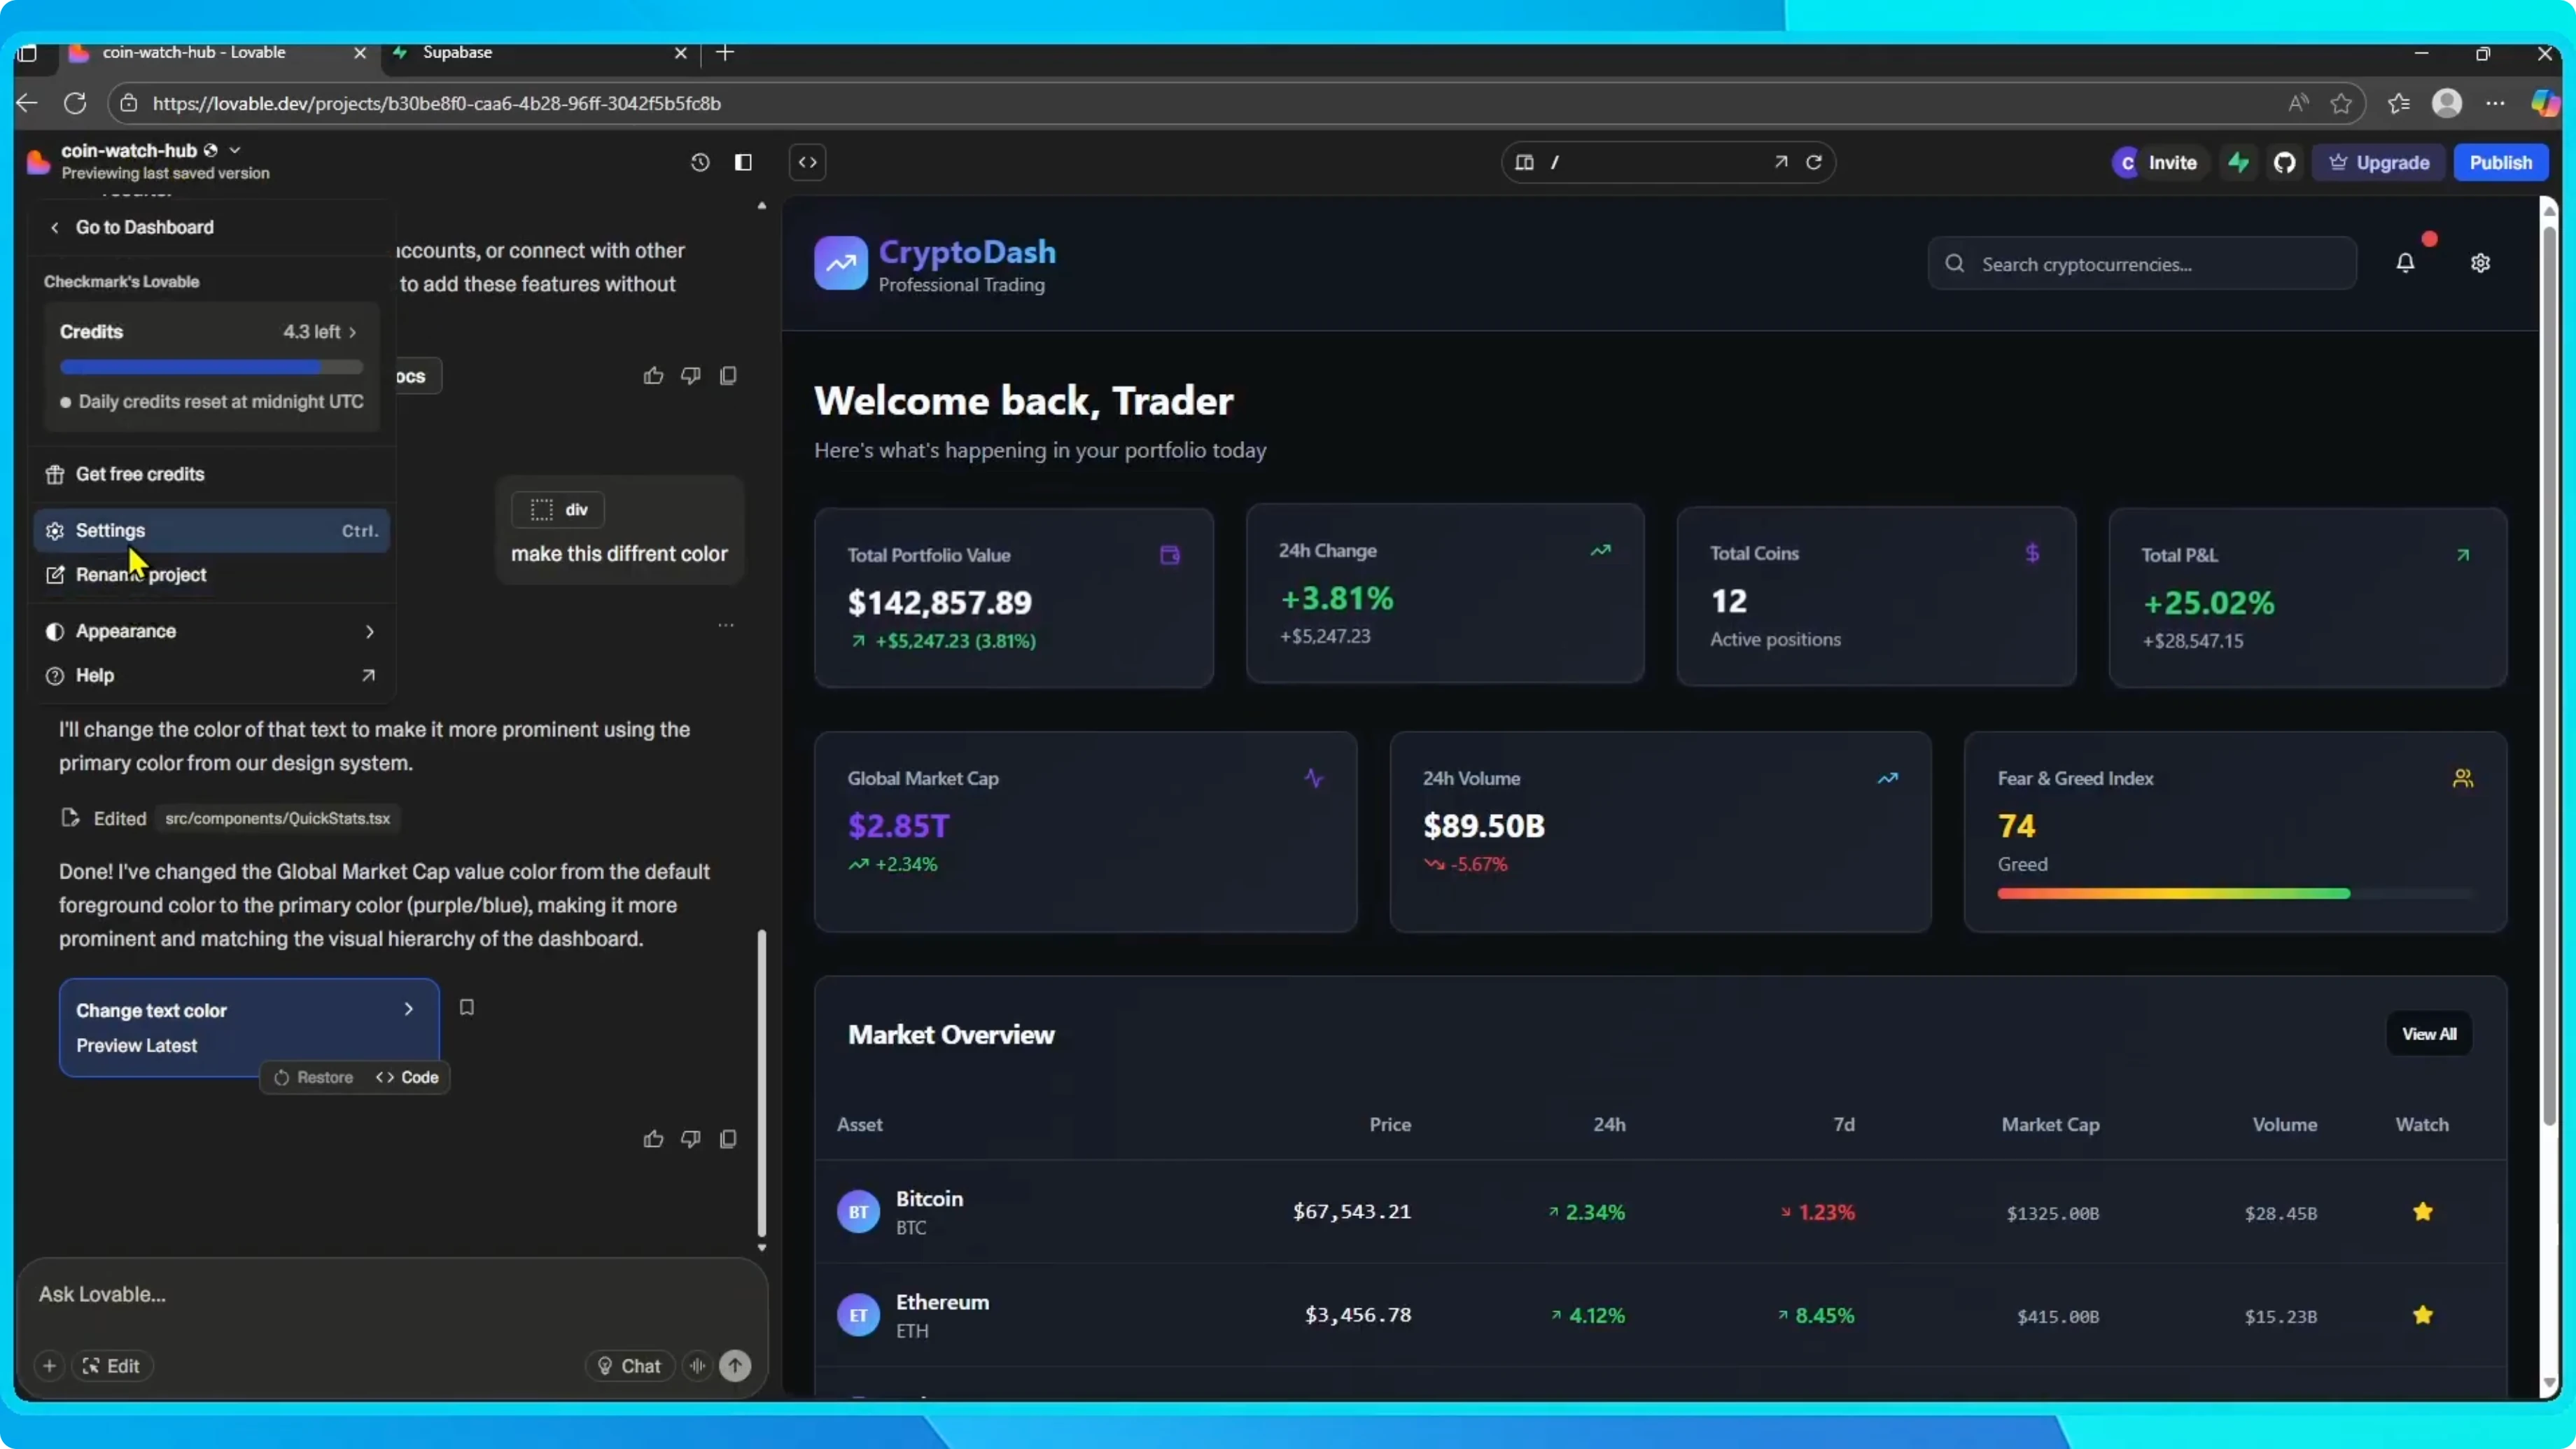
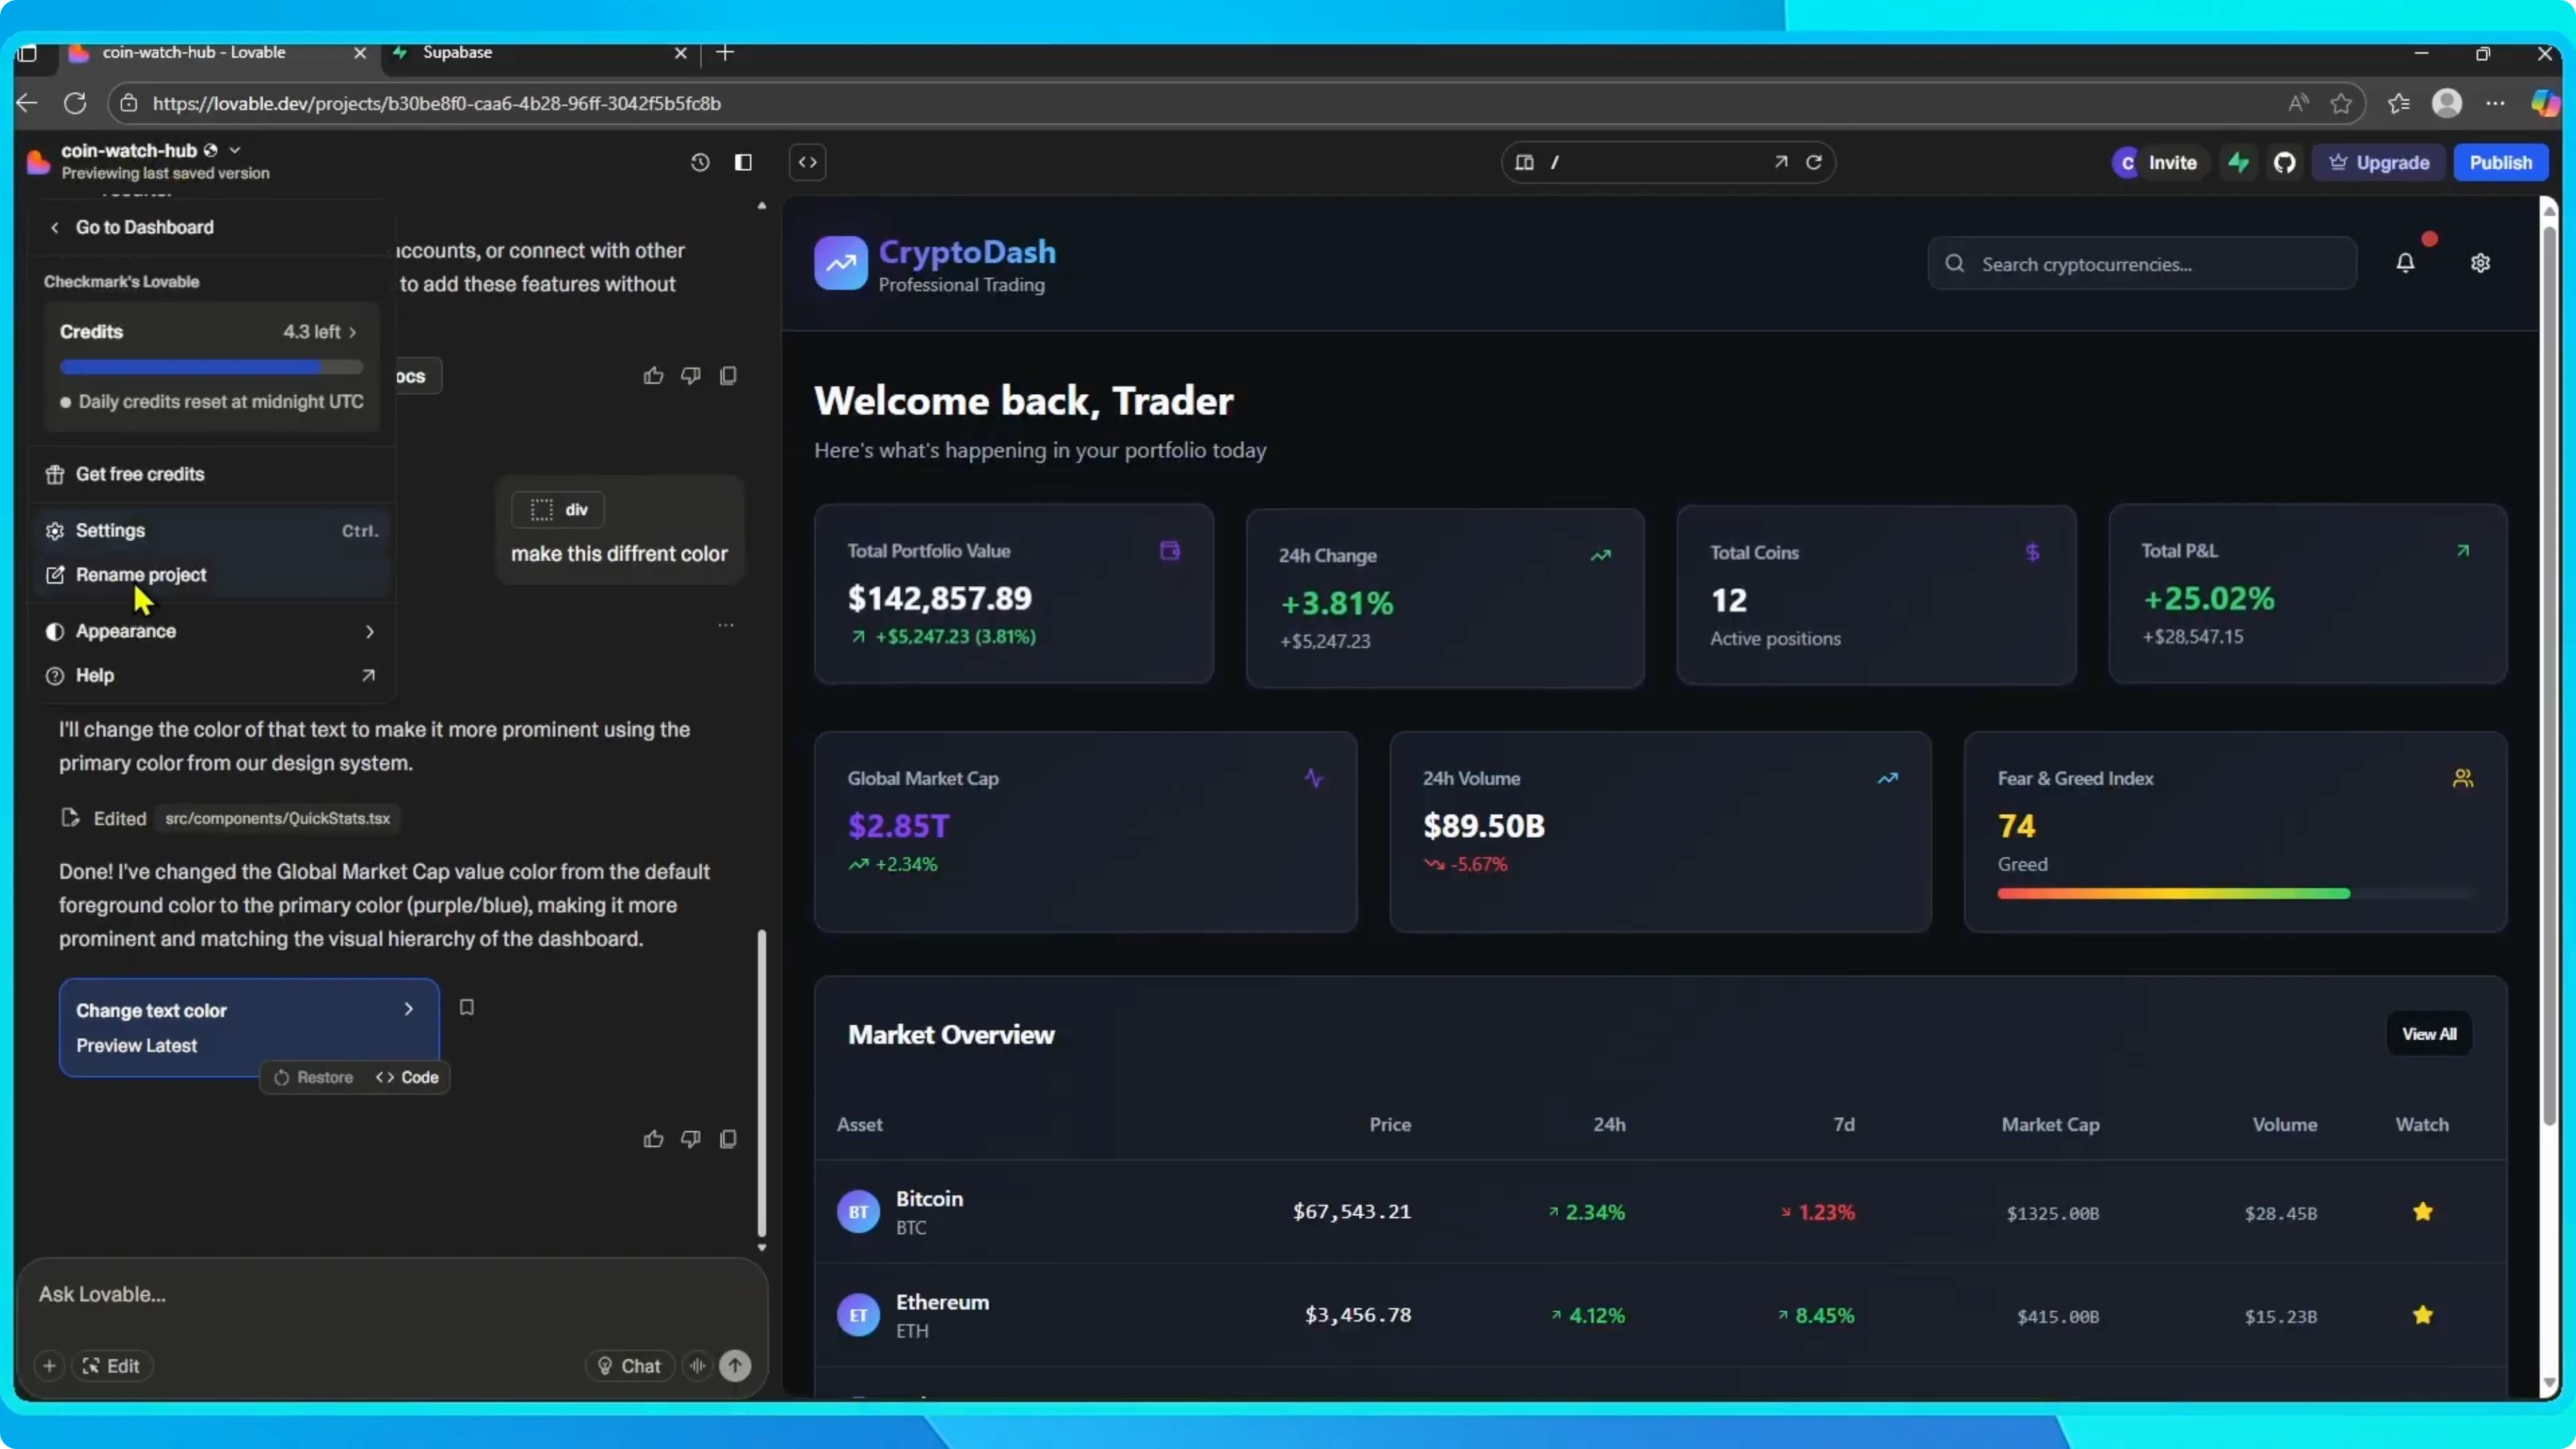
From the project dashboard, click the project name and open Settings.
In Settings, scroll to Integrations and choose Supabase.
Click Connect Supabase.
Read More: How to add a logo or image in Lovable
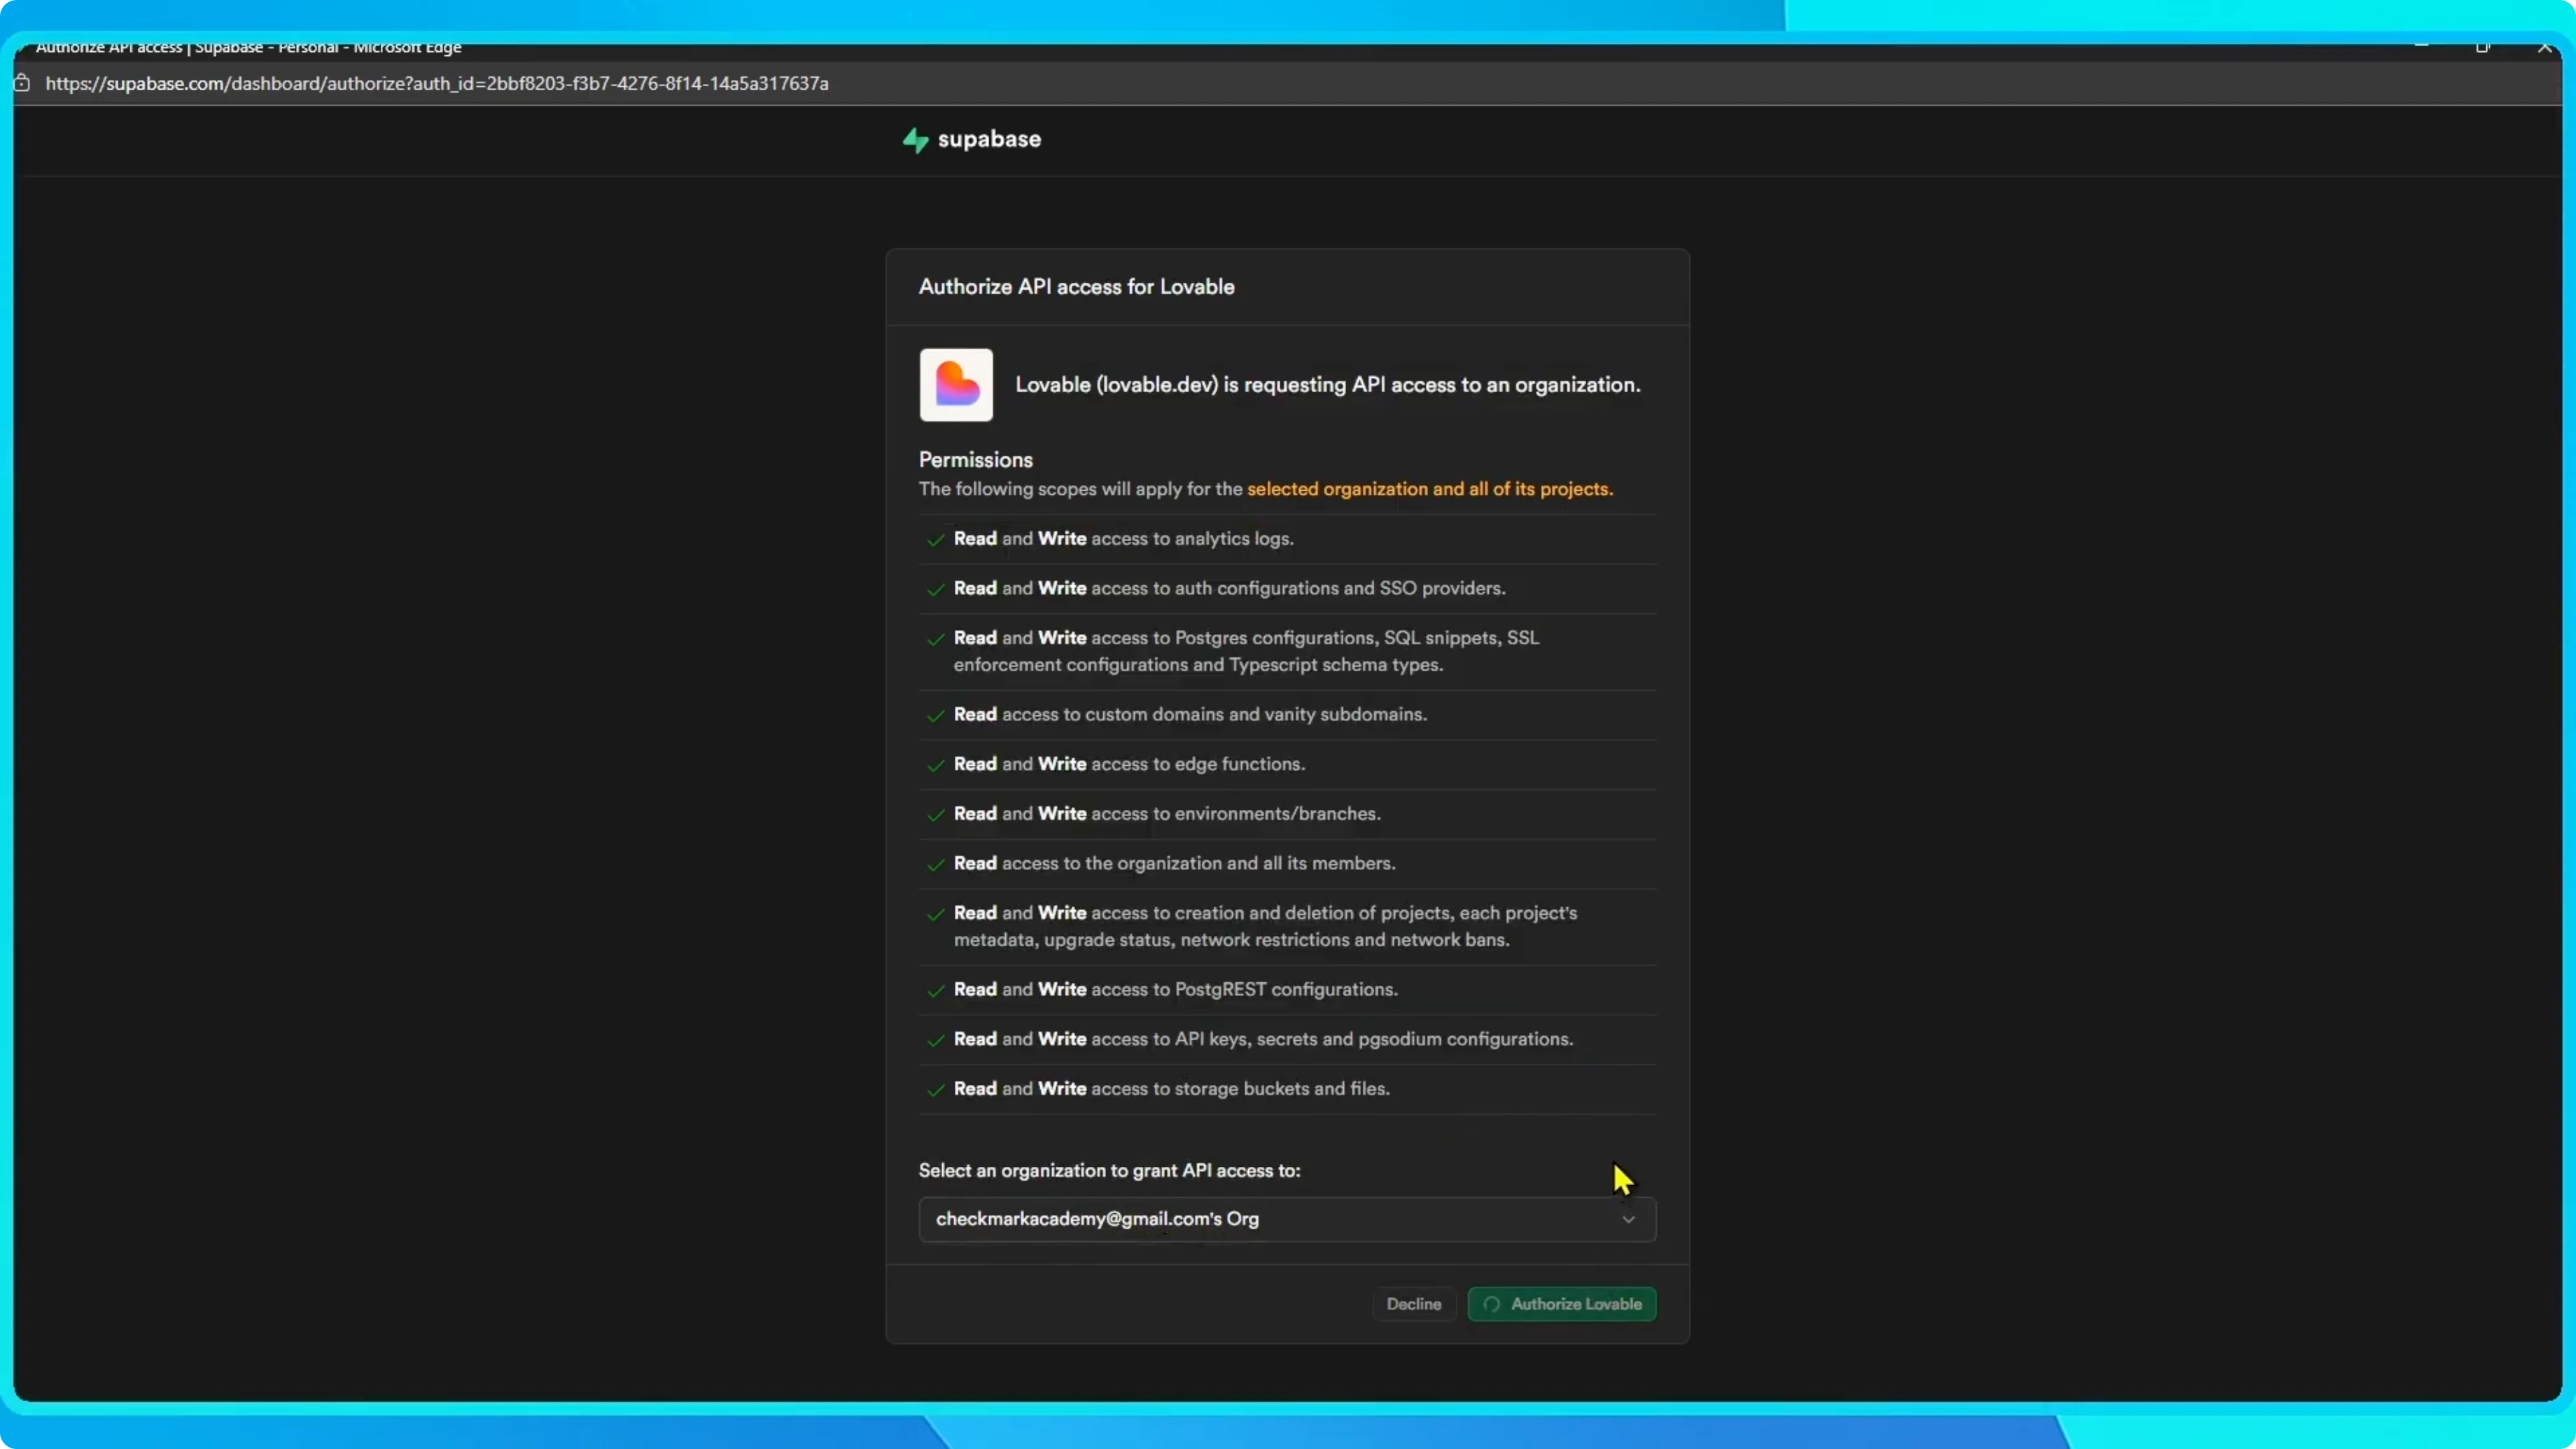
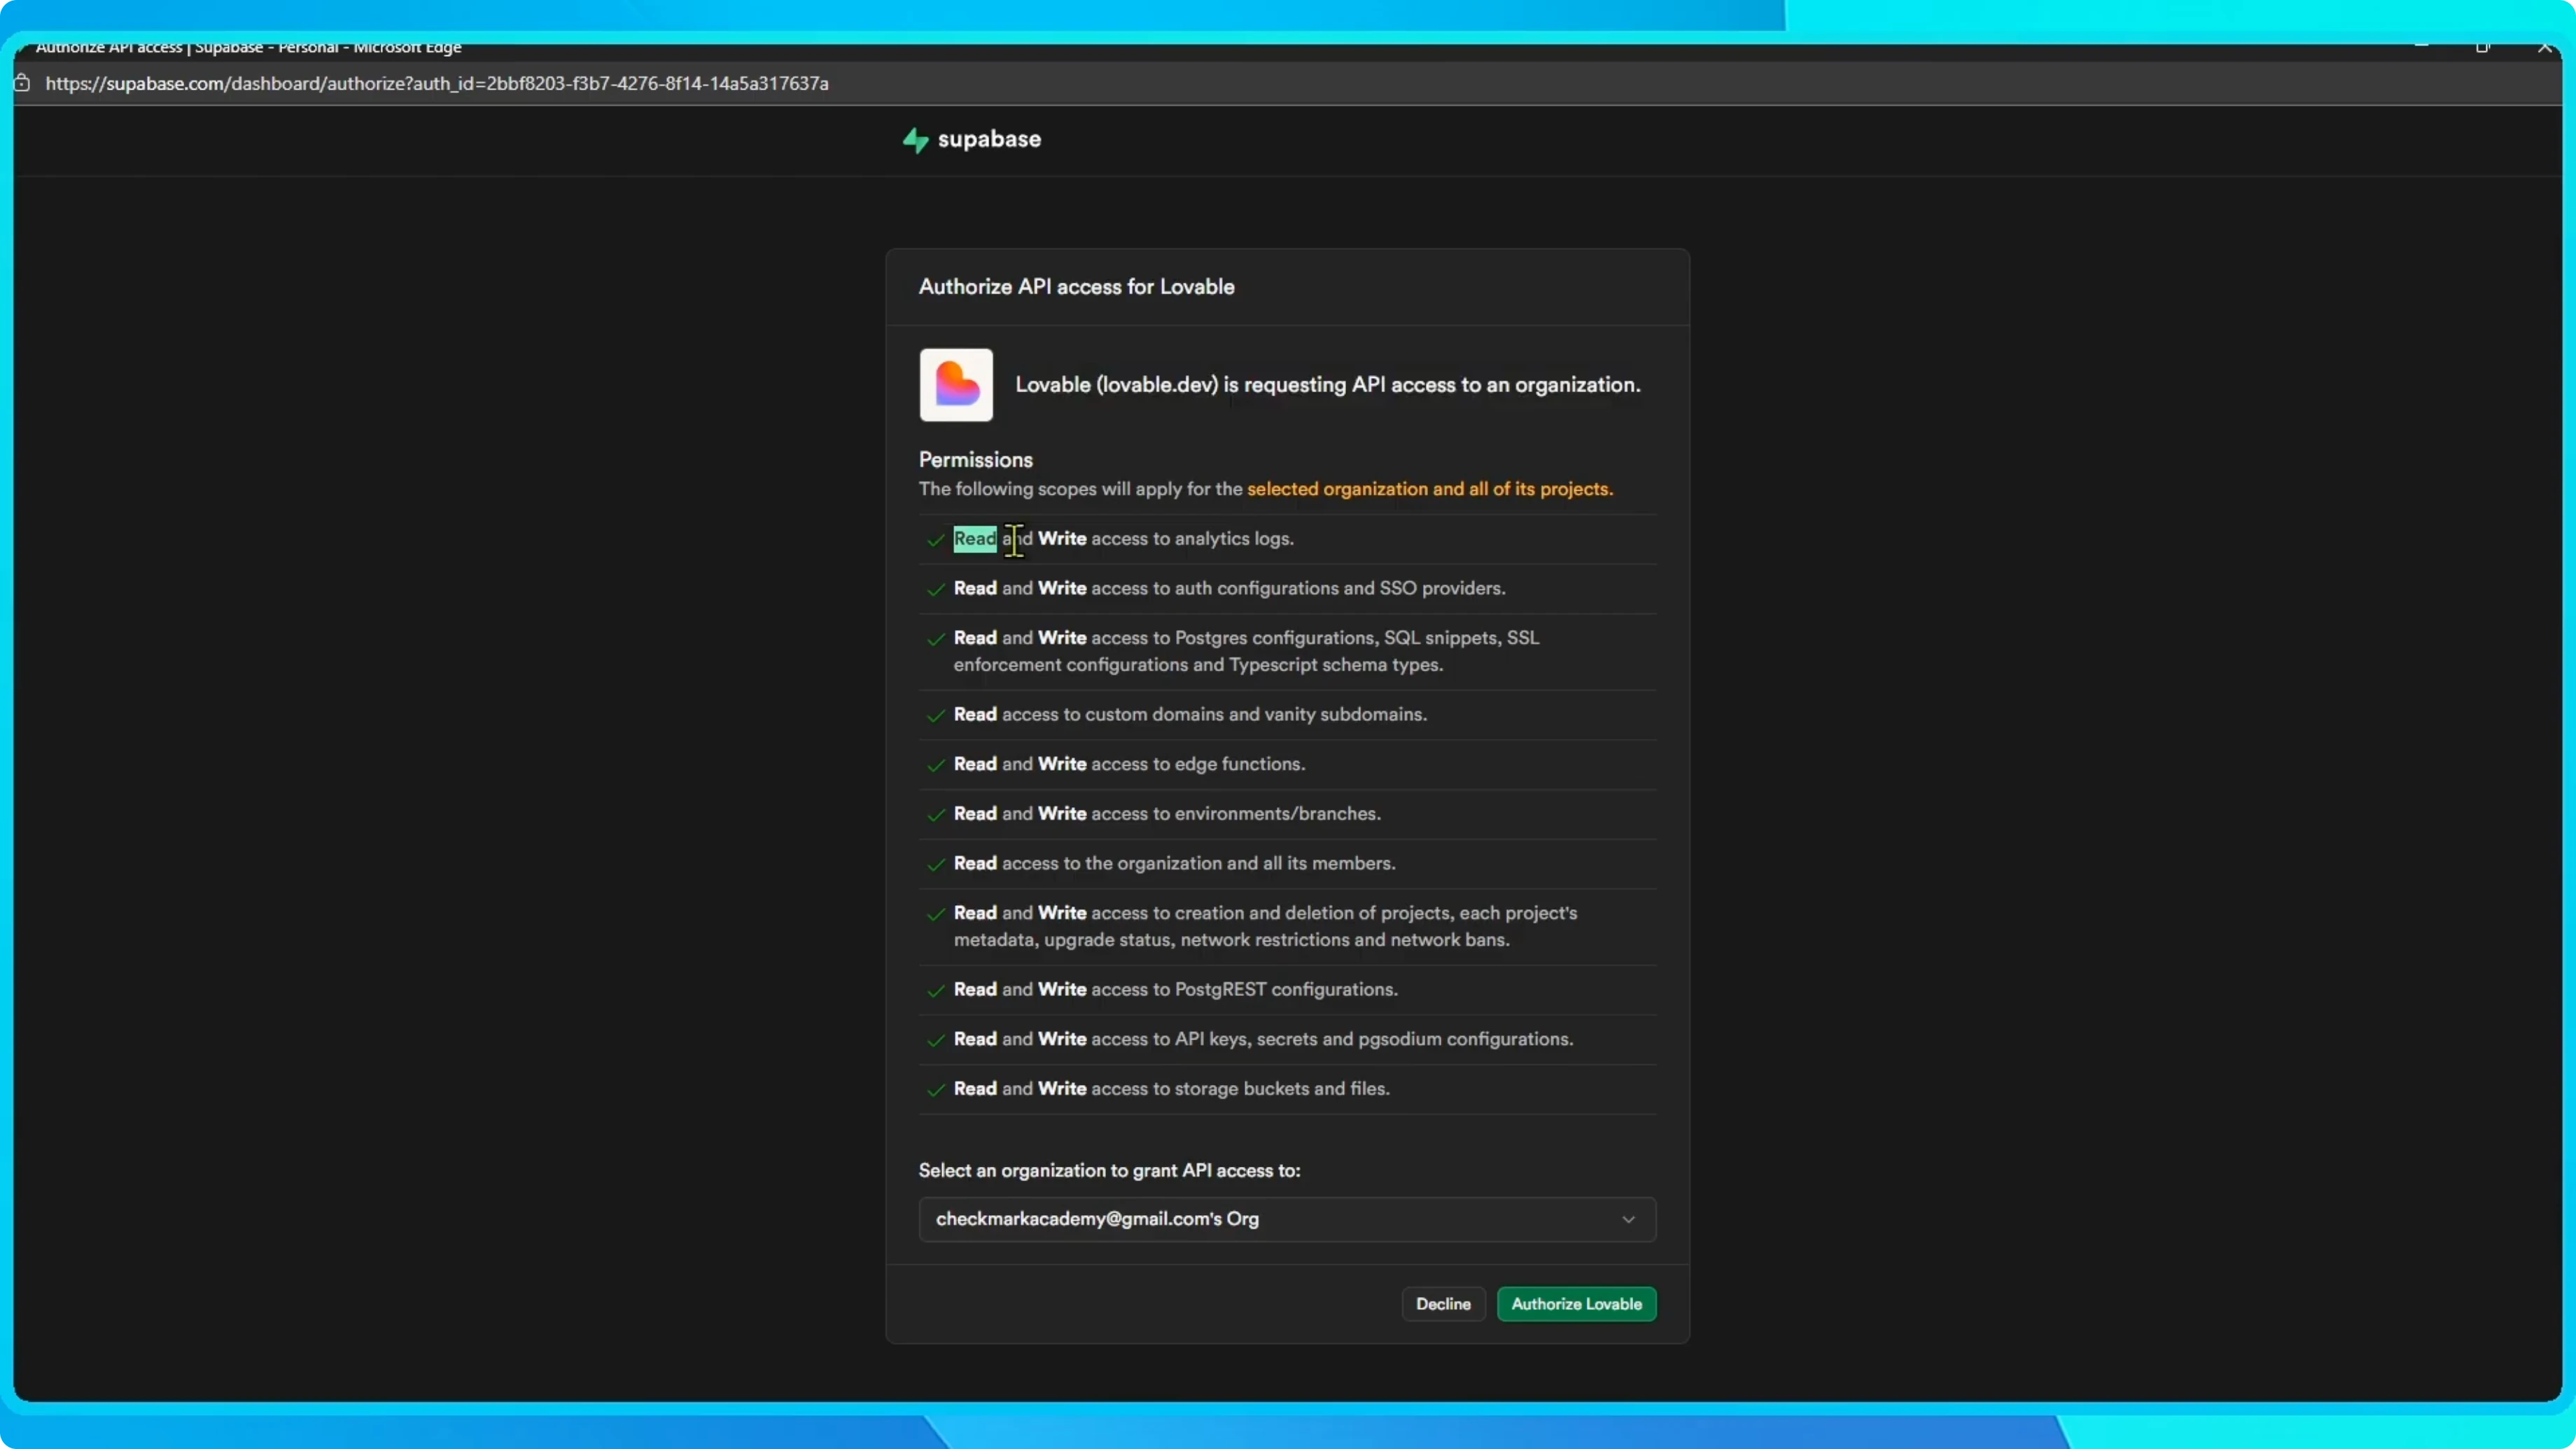
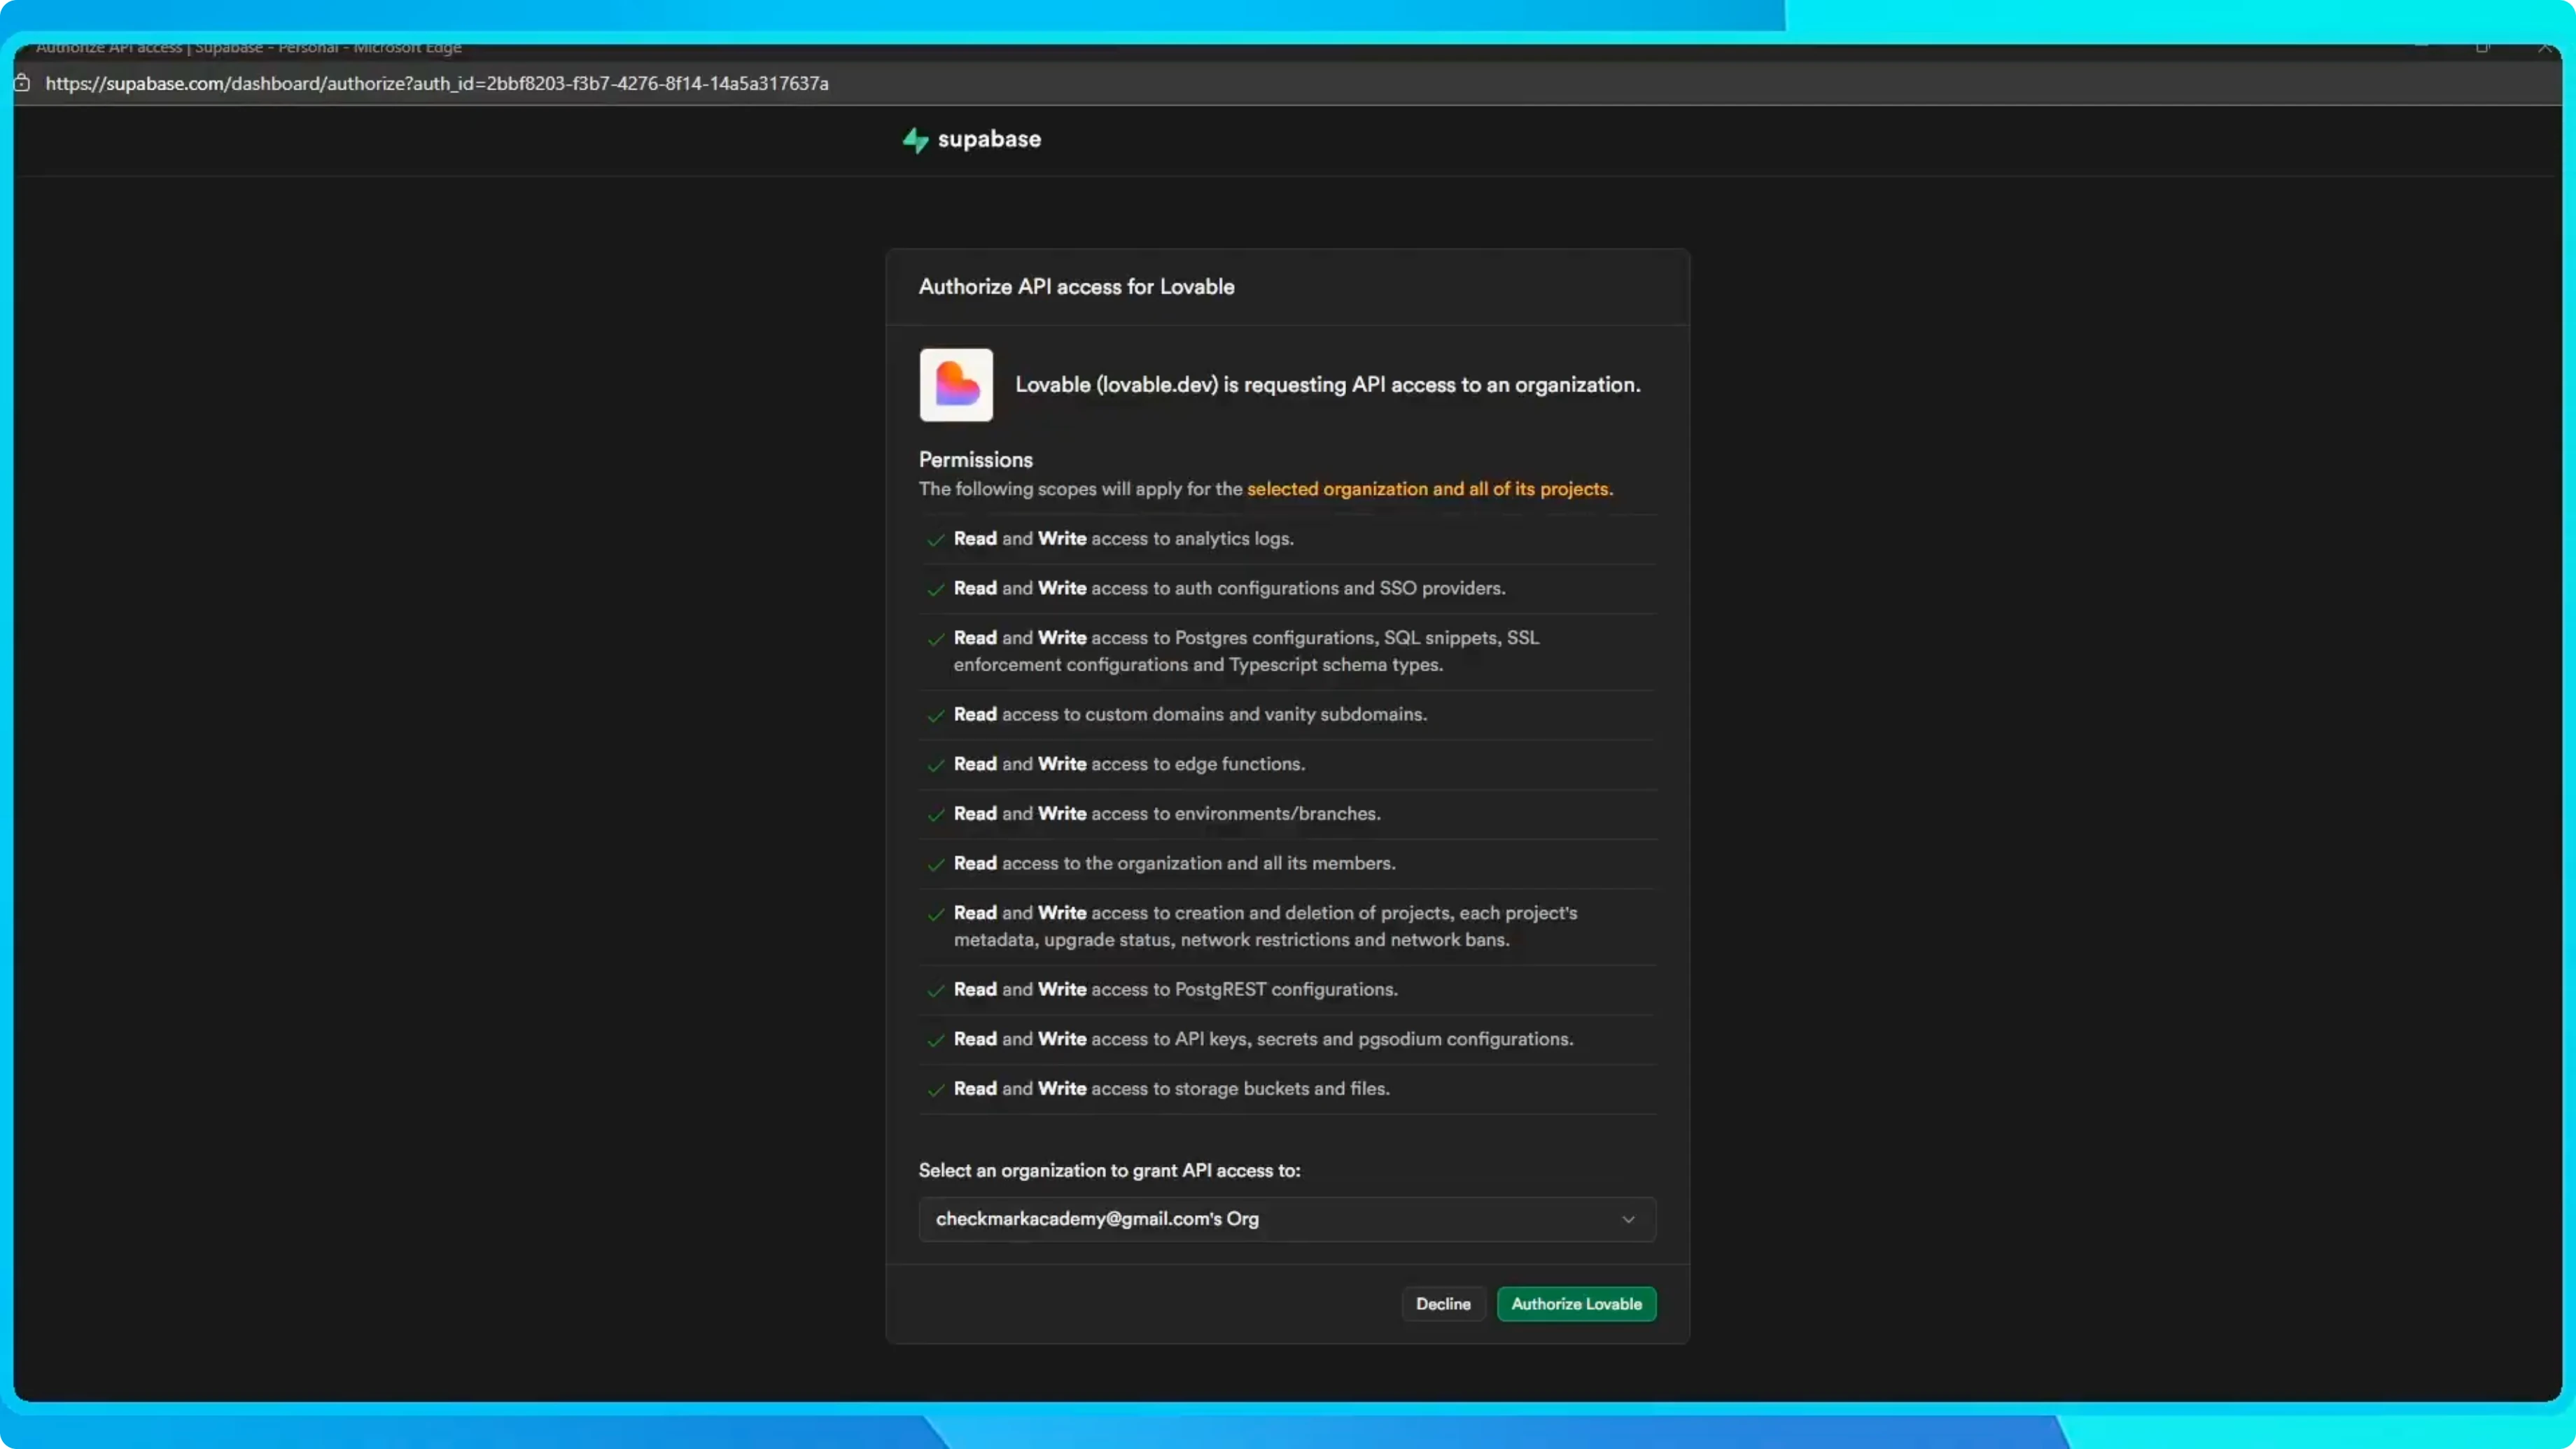
Authorize access
Since you are already signed in, Lovable will automatically recognize your account.
Pick an organization and grant API access.
Review the permissions, then click Authorize Lovable.
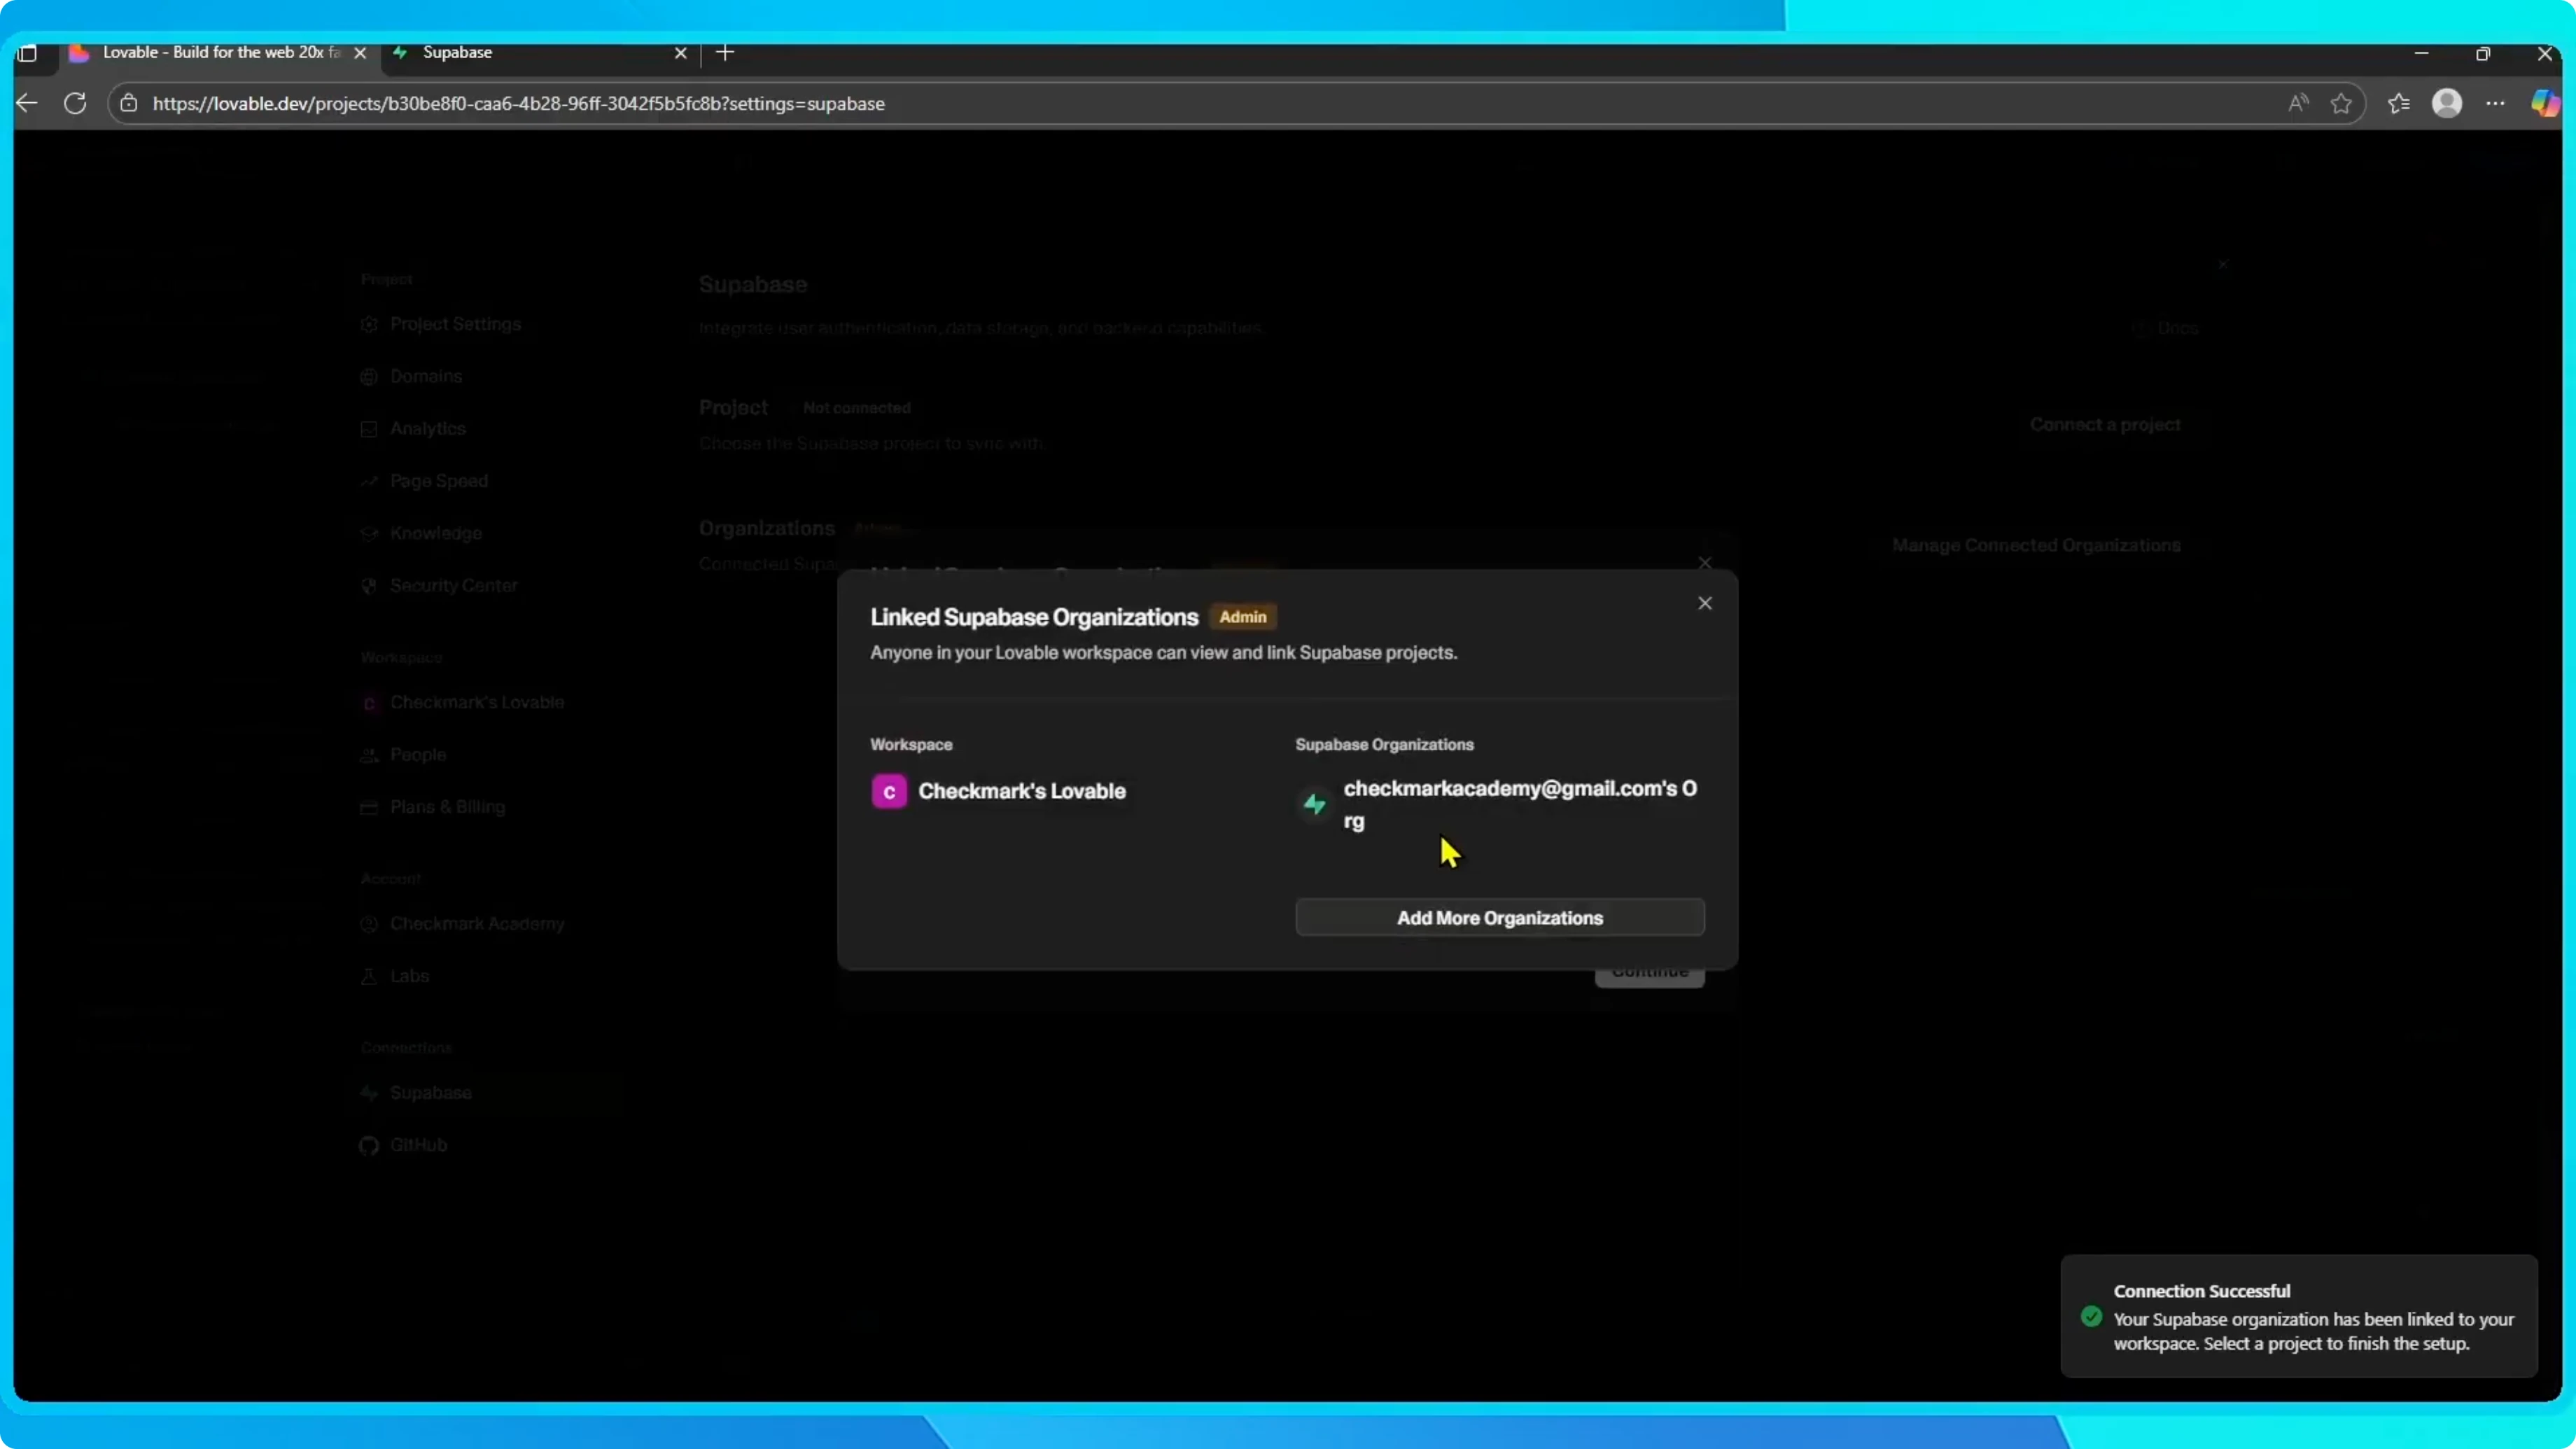
Once that is done, your Lovable workspace is connected to your Supabase organization.
Link a project
You will see a confirmation message.
From there you can connect an existing Supabase project or create a new one directly.
In this case, I link it to an existing project.
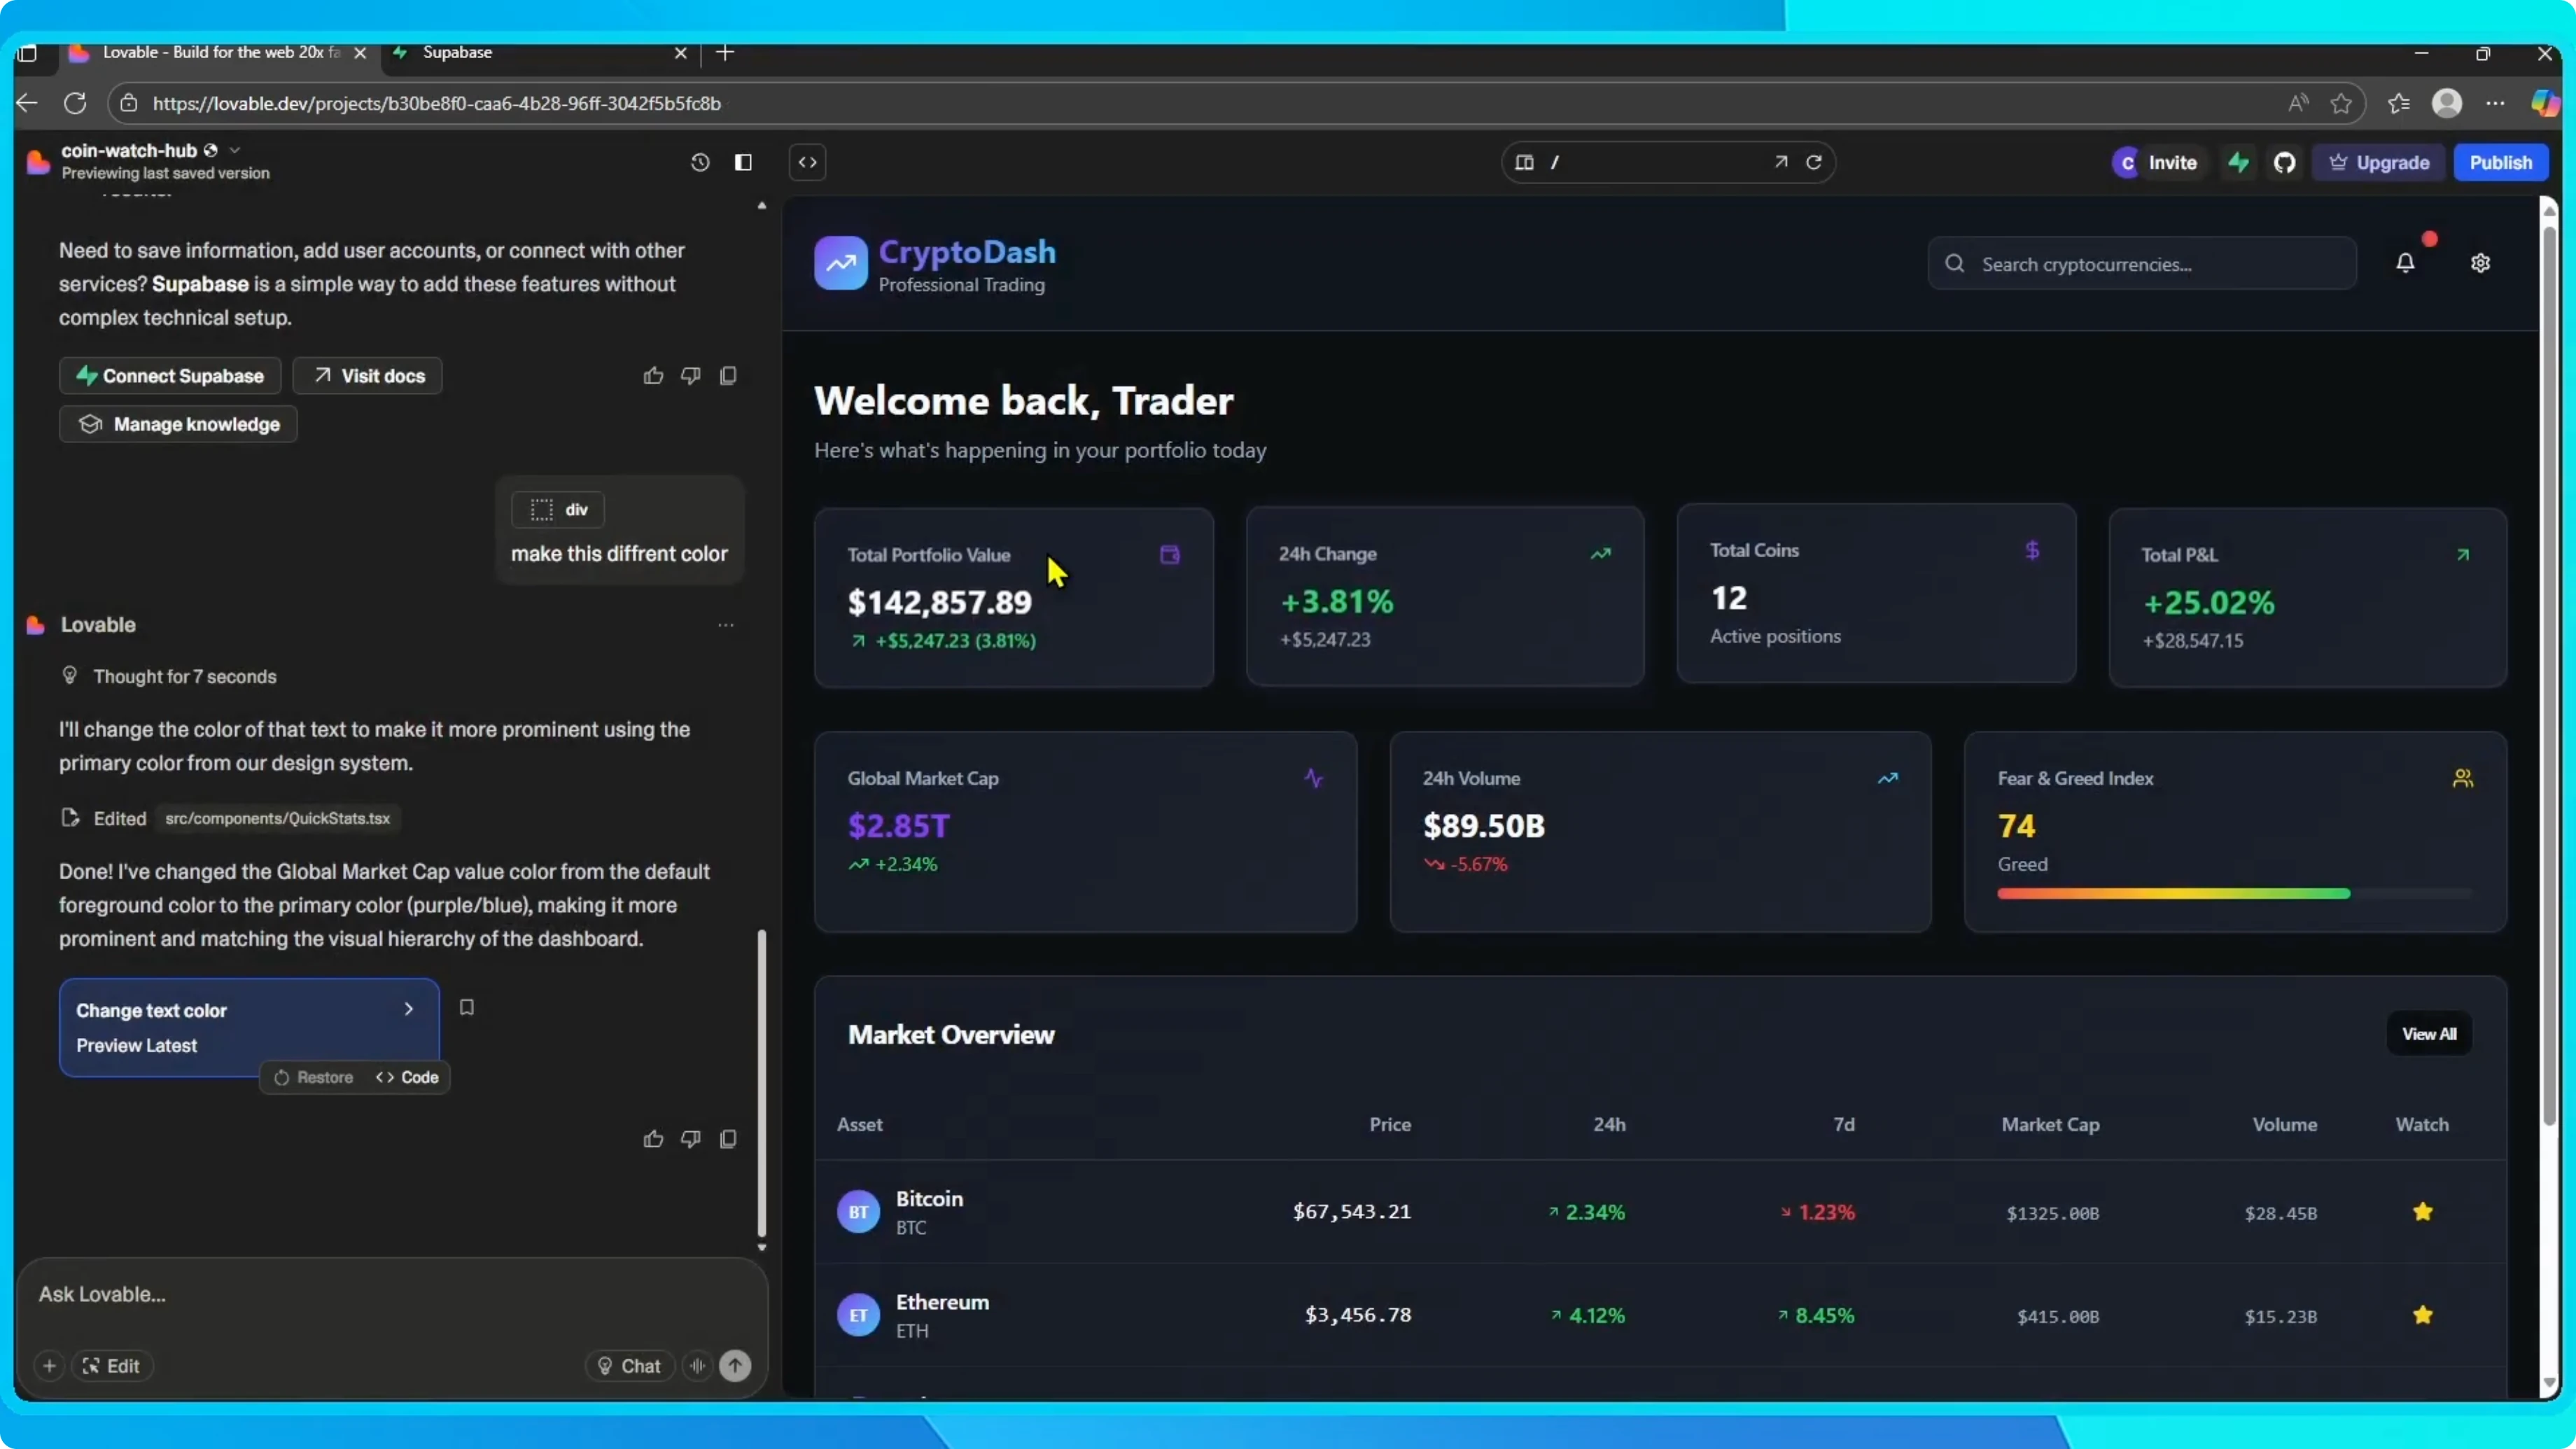
Your app is officially connected to Supabase.
What you can do
Use it to handle authentication, database management, or set up payments through Stripe.
If you are planning payments, see how to connect Stripe to Lovable for a complete setup.
Read More: Connect Figma to Lovable
Final thoughts
That is all it takes to connect Lovable with Supabase.
Once linked, you can build your app with secure auth, a managed database, and optional Stripe payments without extra steps.