How to Connect Lovable with n8n?
I’ll show you how to connect Lovable with n8n using a webhook.
This simple setup lets a contact form button fire an n8n workflow through an HTTP call.
If your app starts from design, you can connect Figma to Lovable to keep your build organized.
This webhook approach works neatly alongside your design-to-app flow.
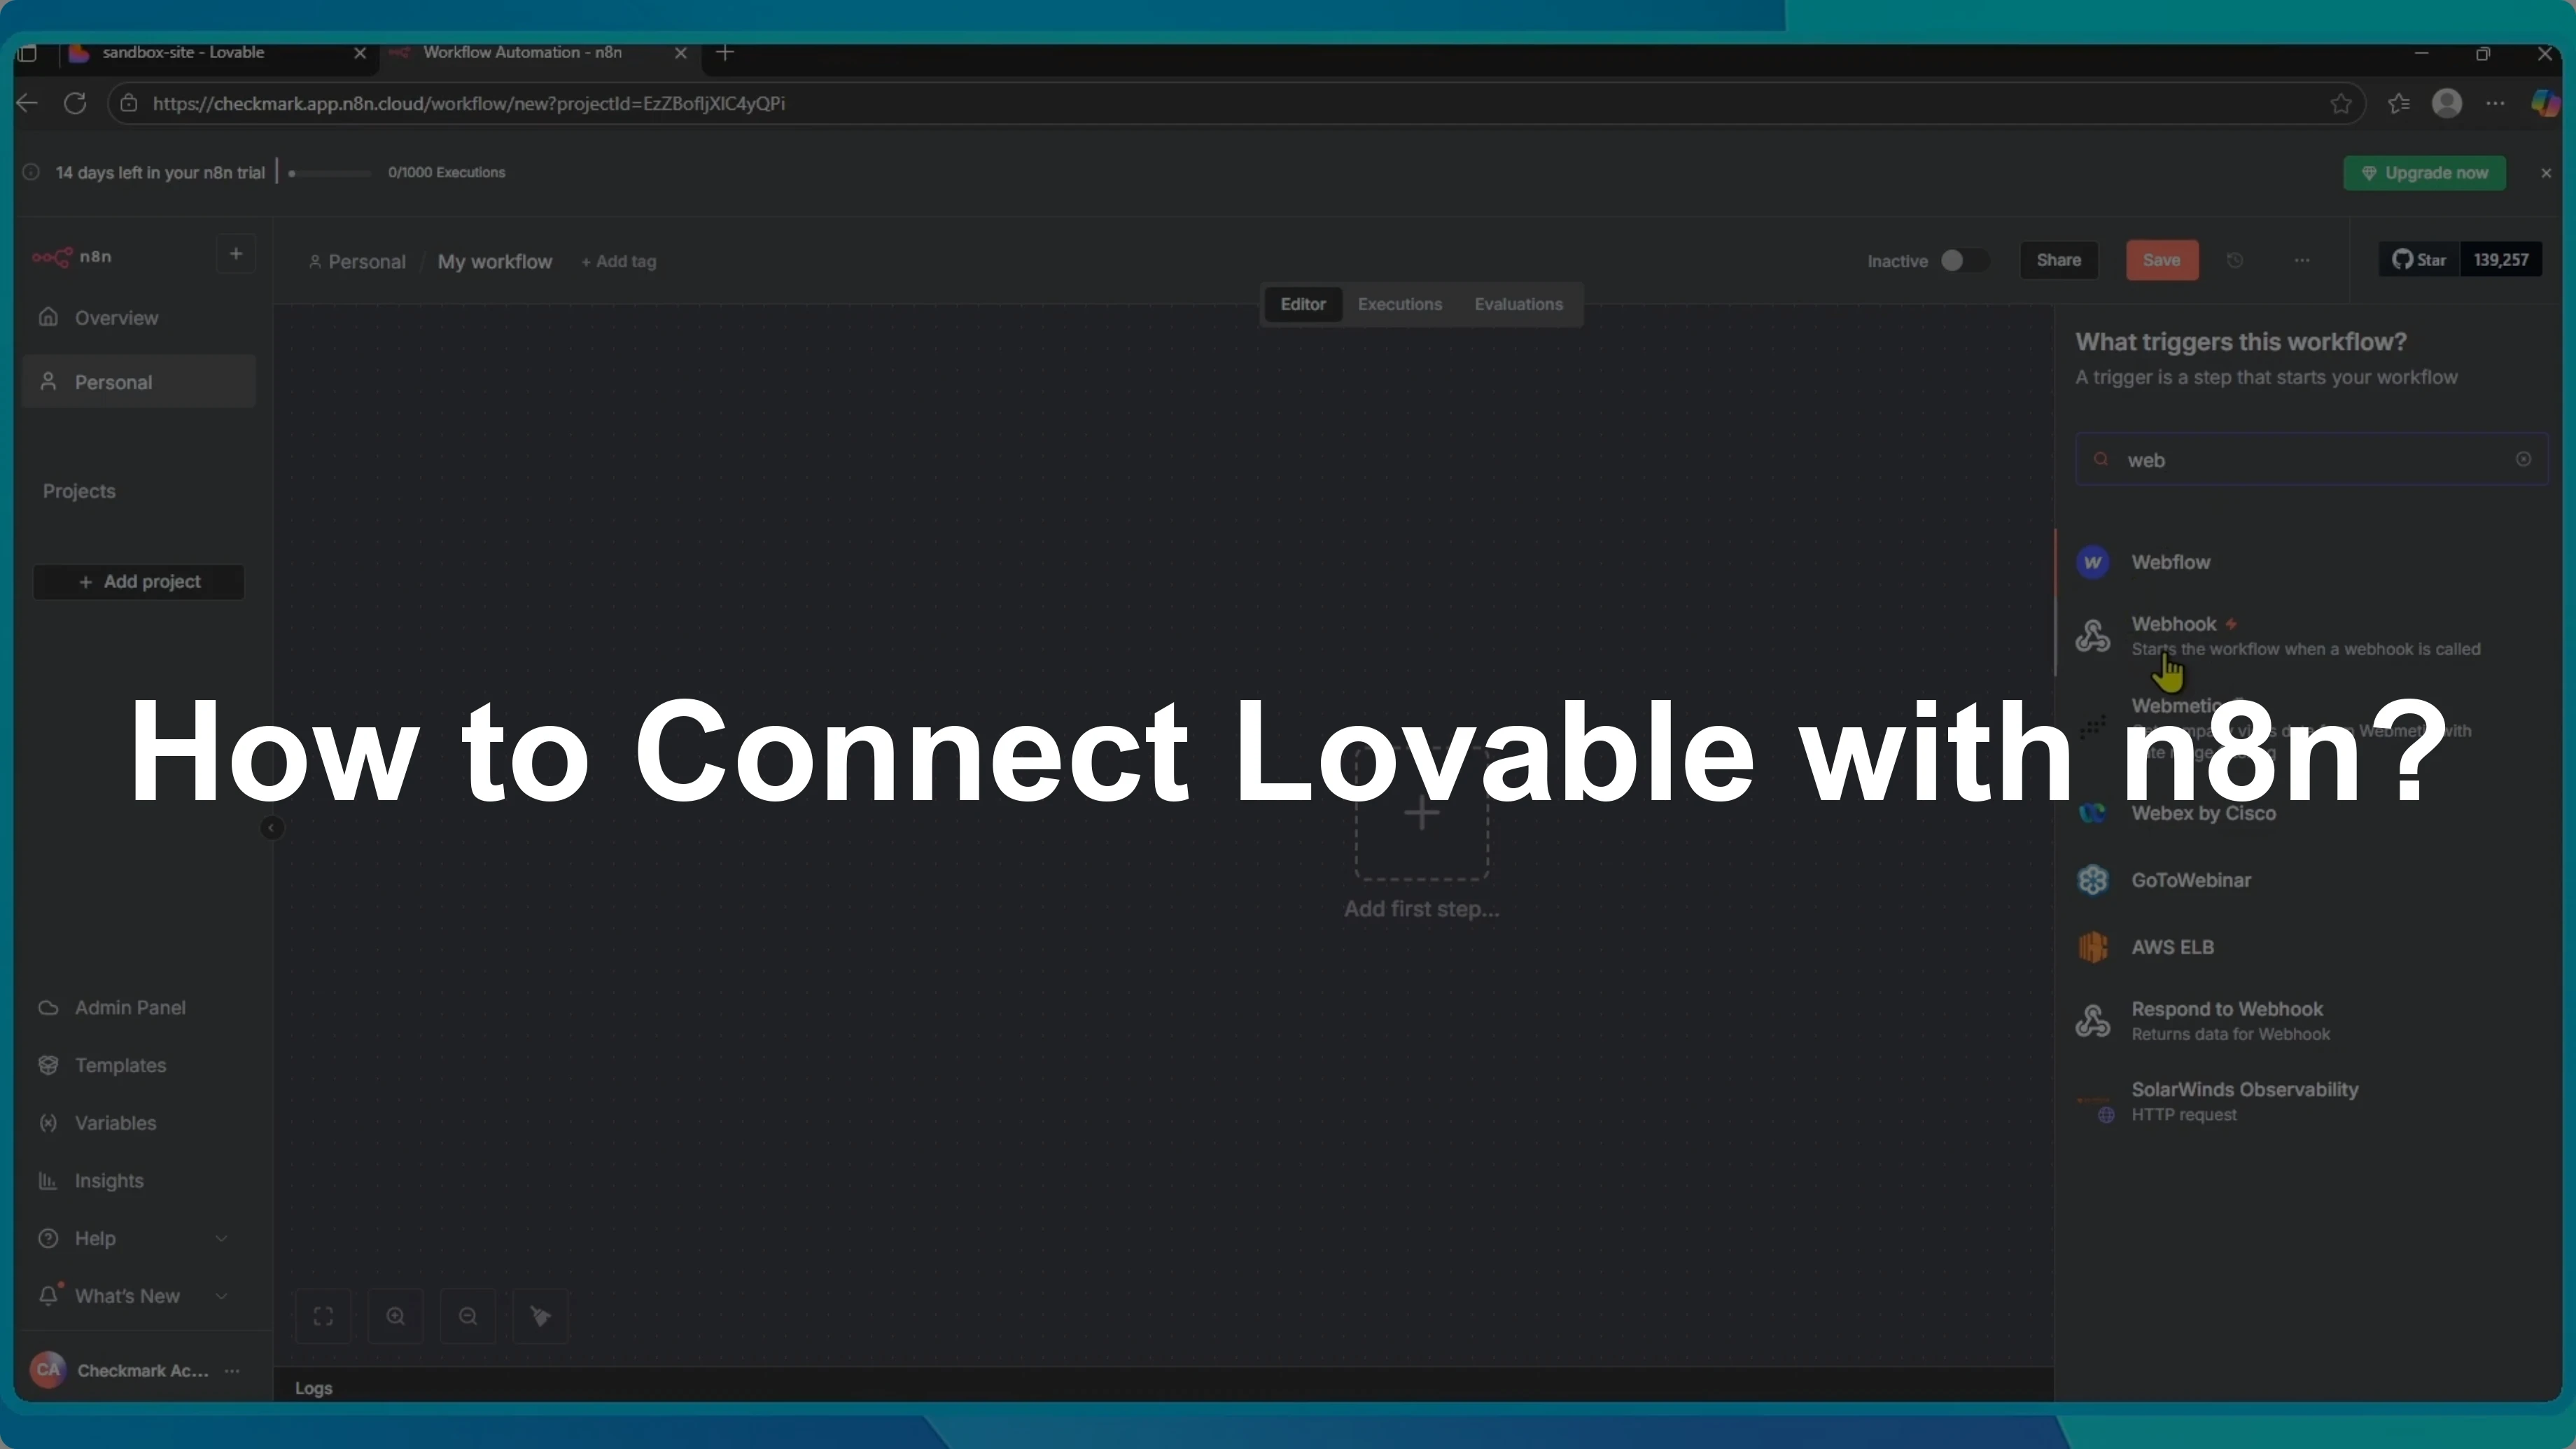
Create the trigger
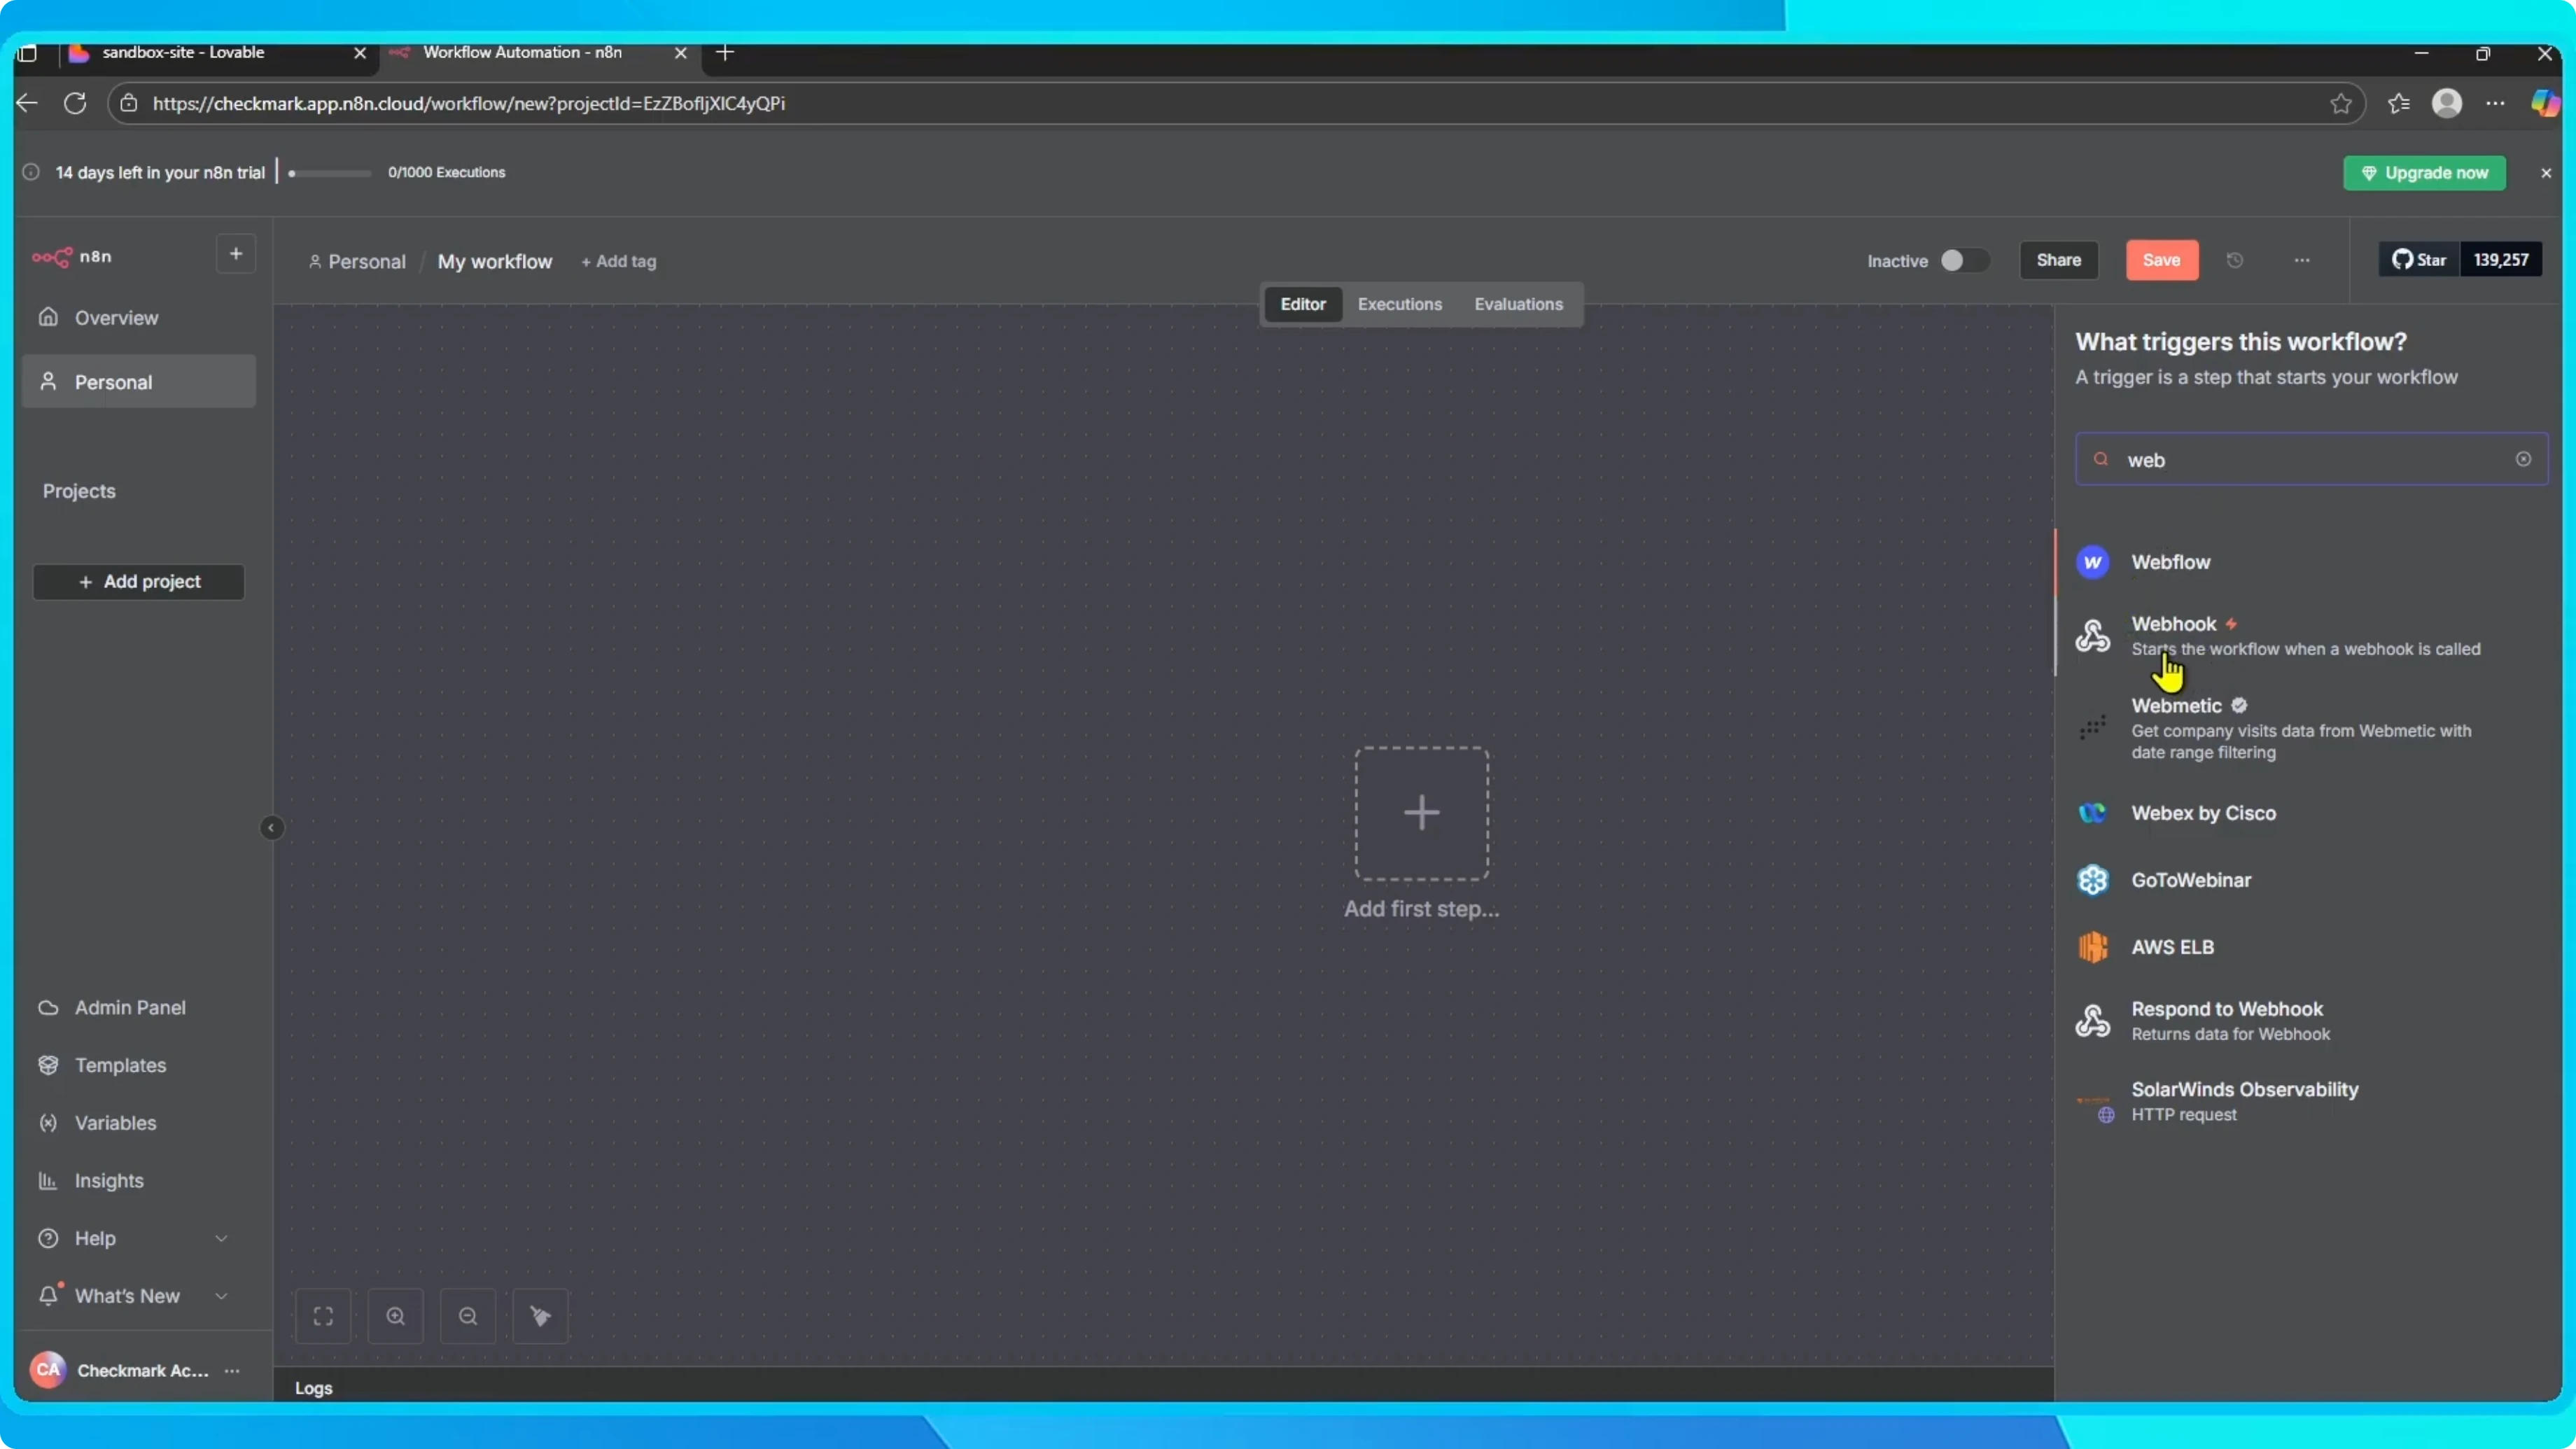
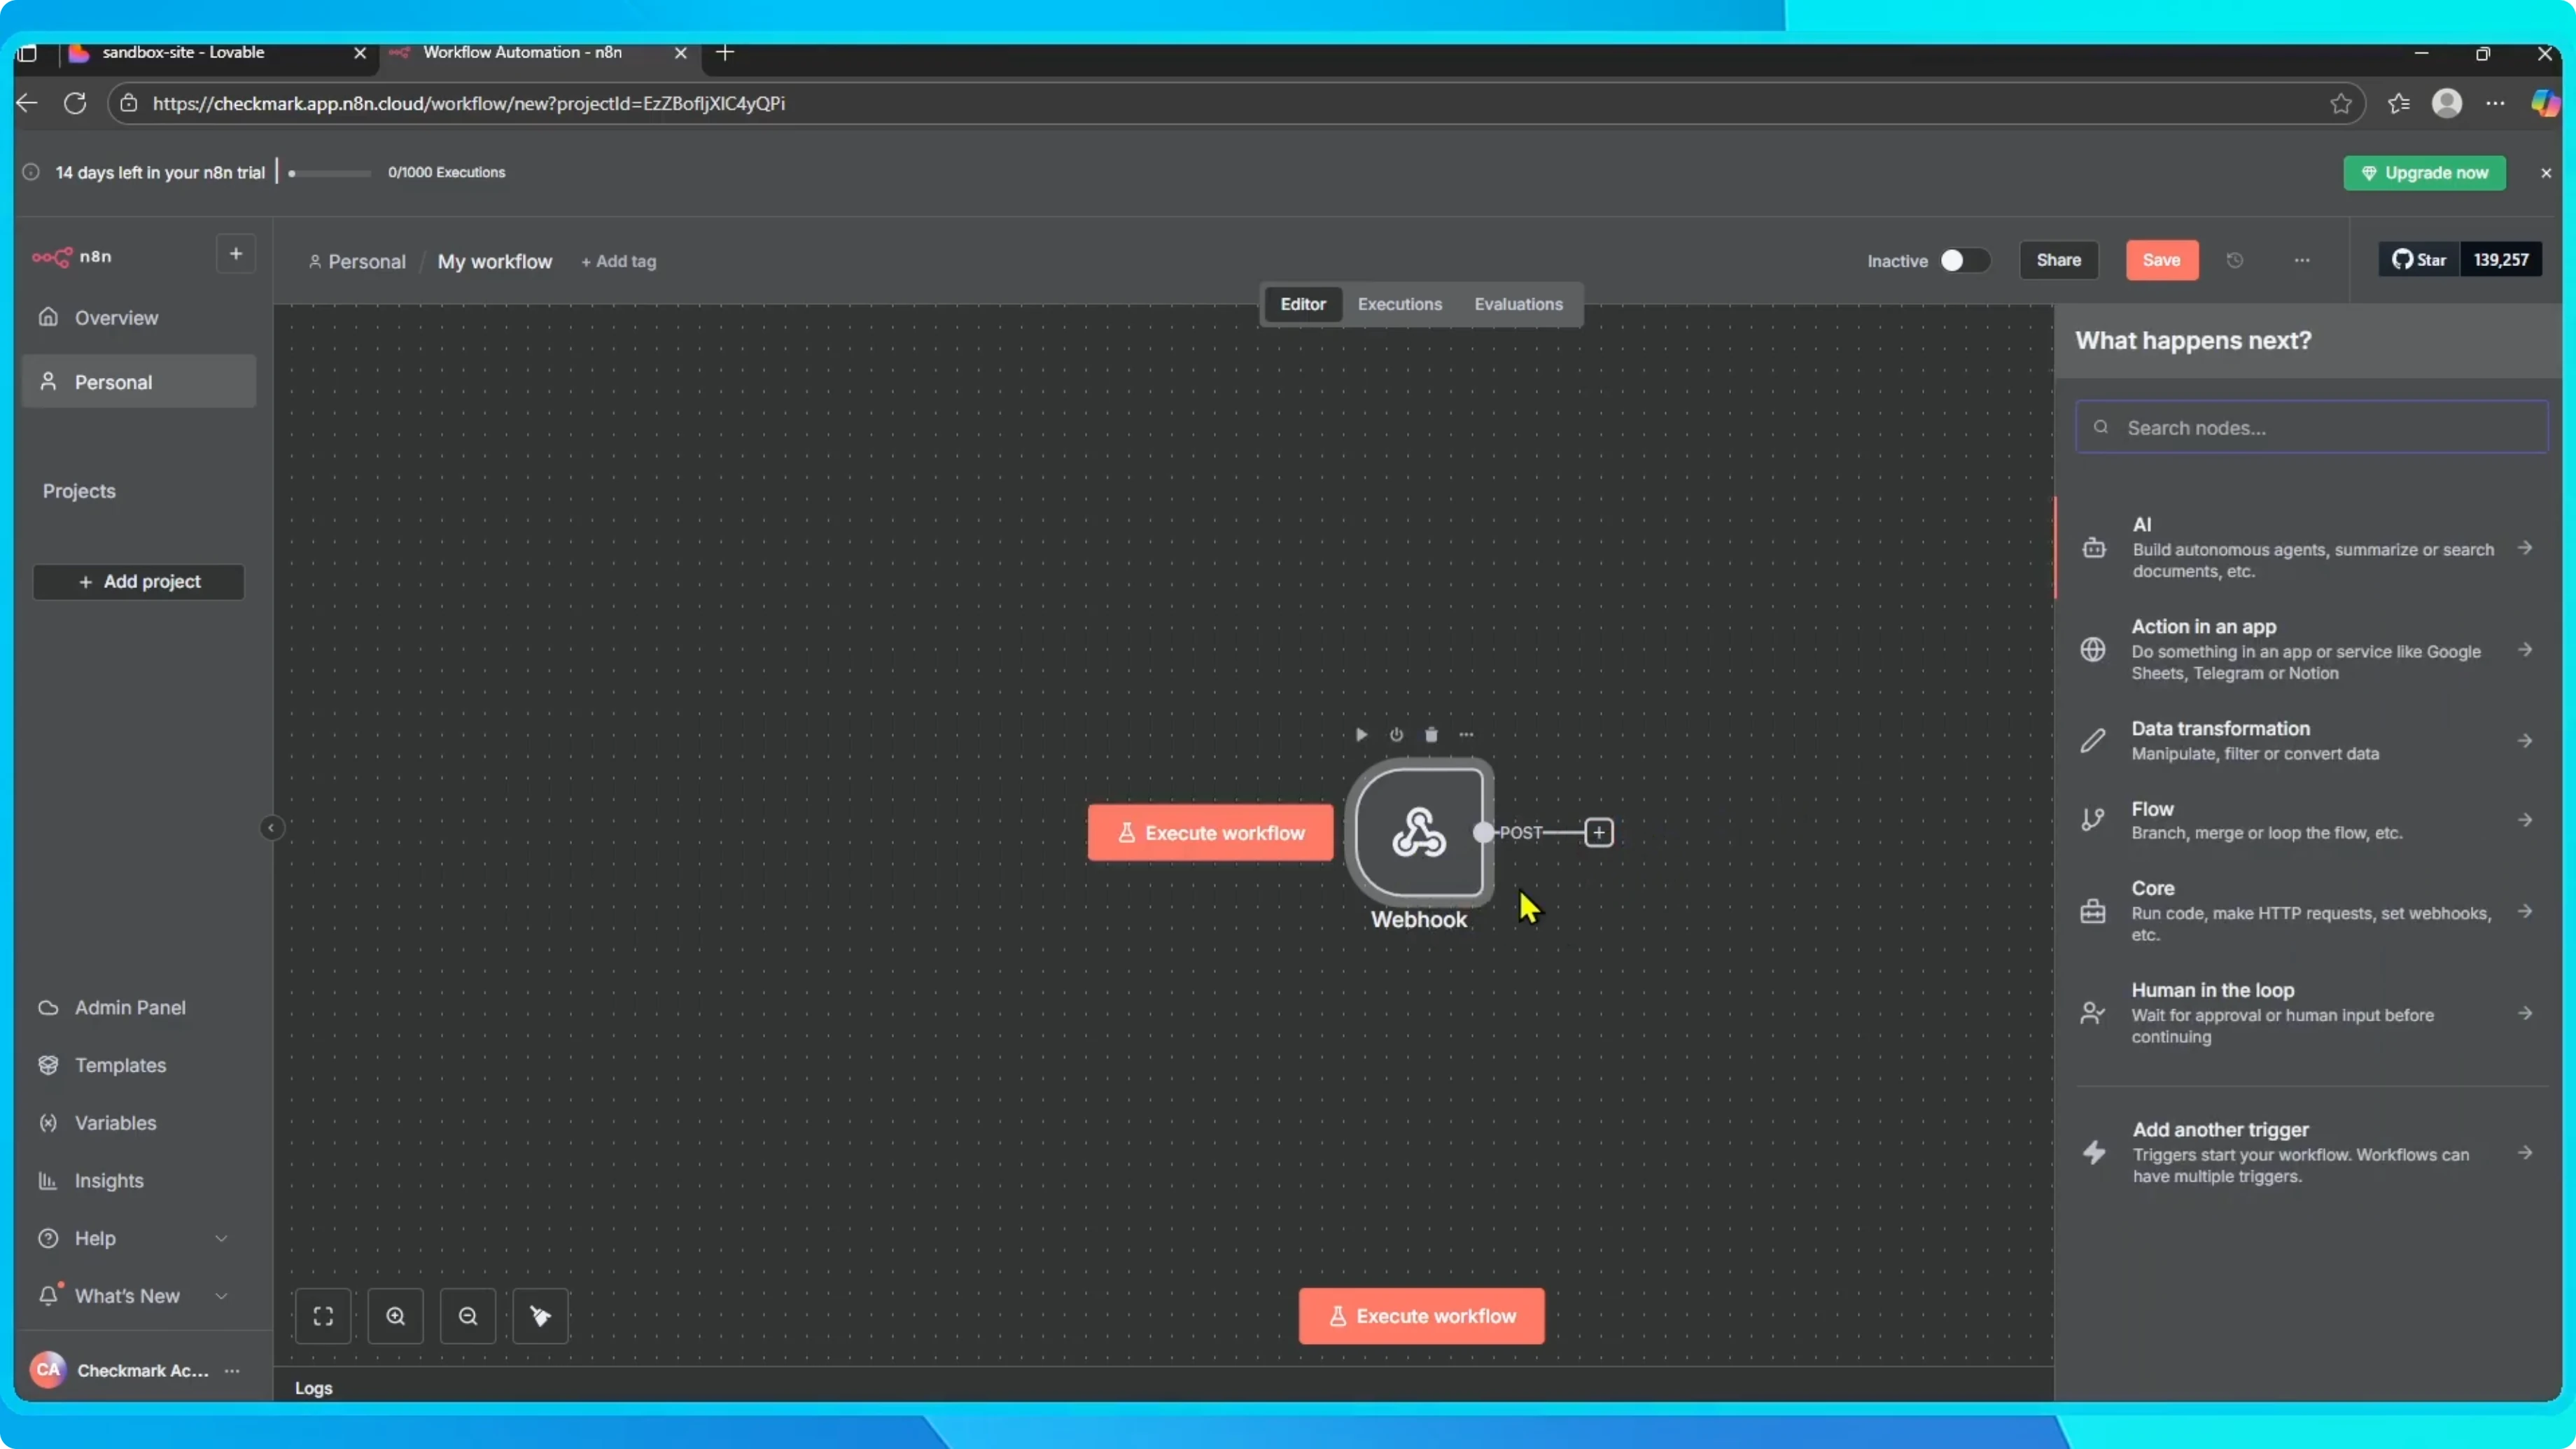
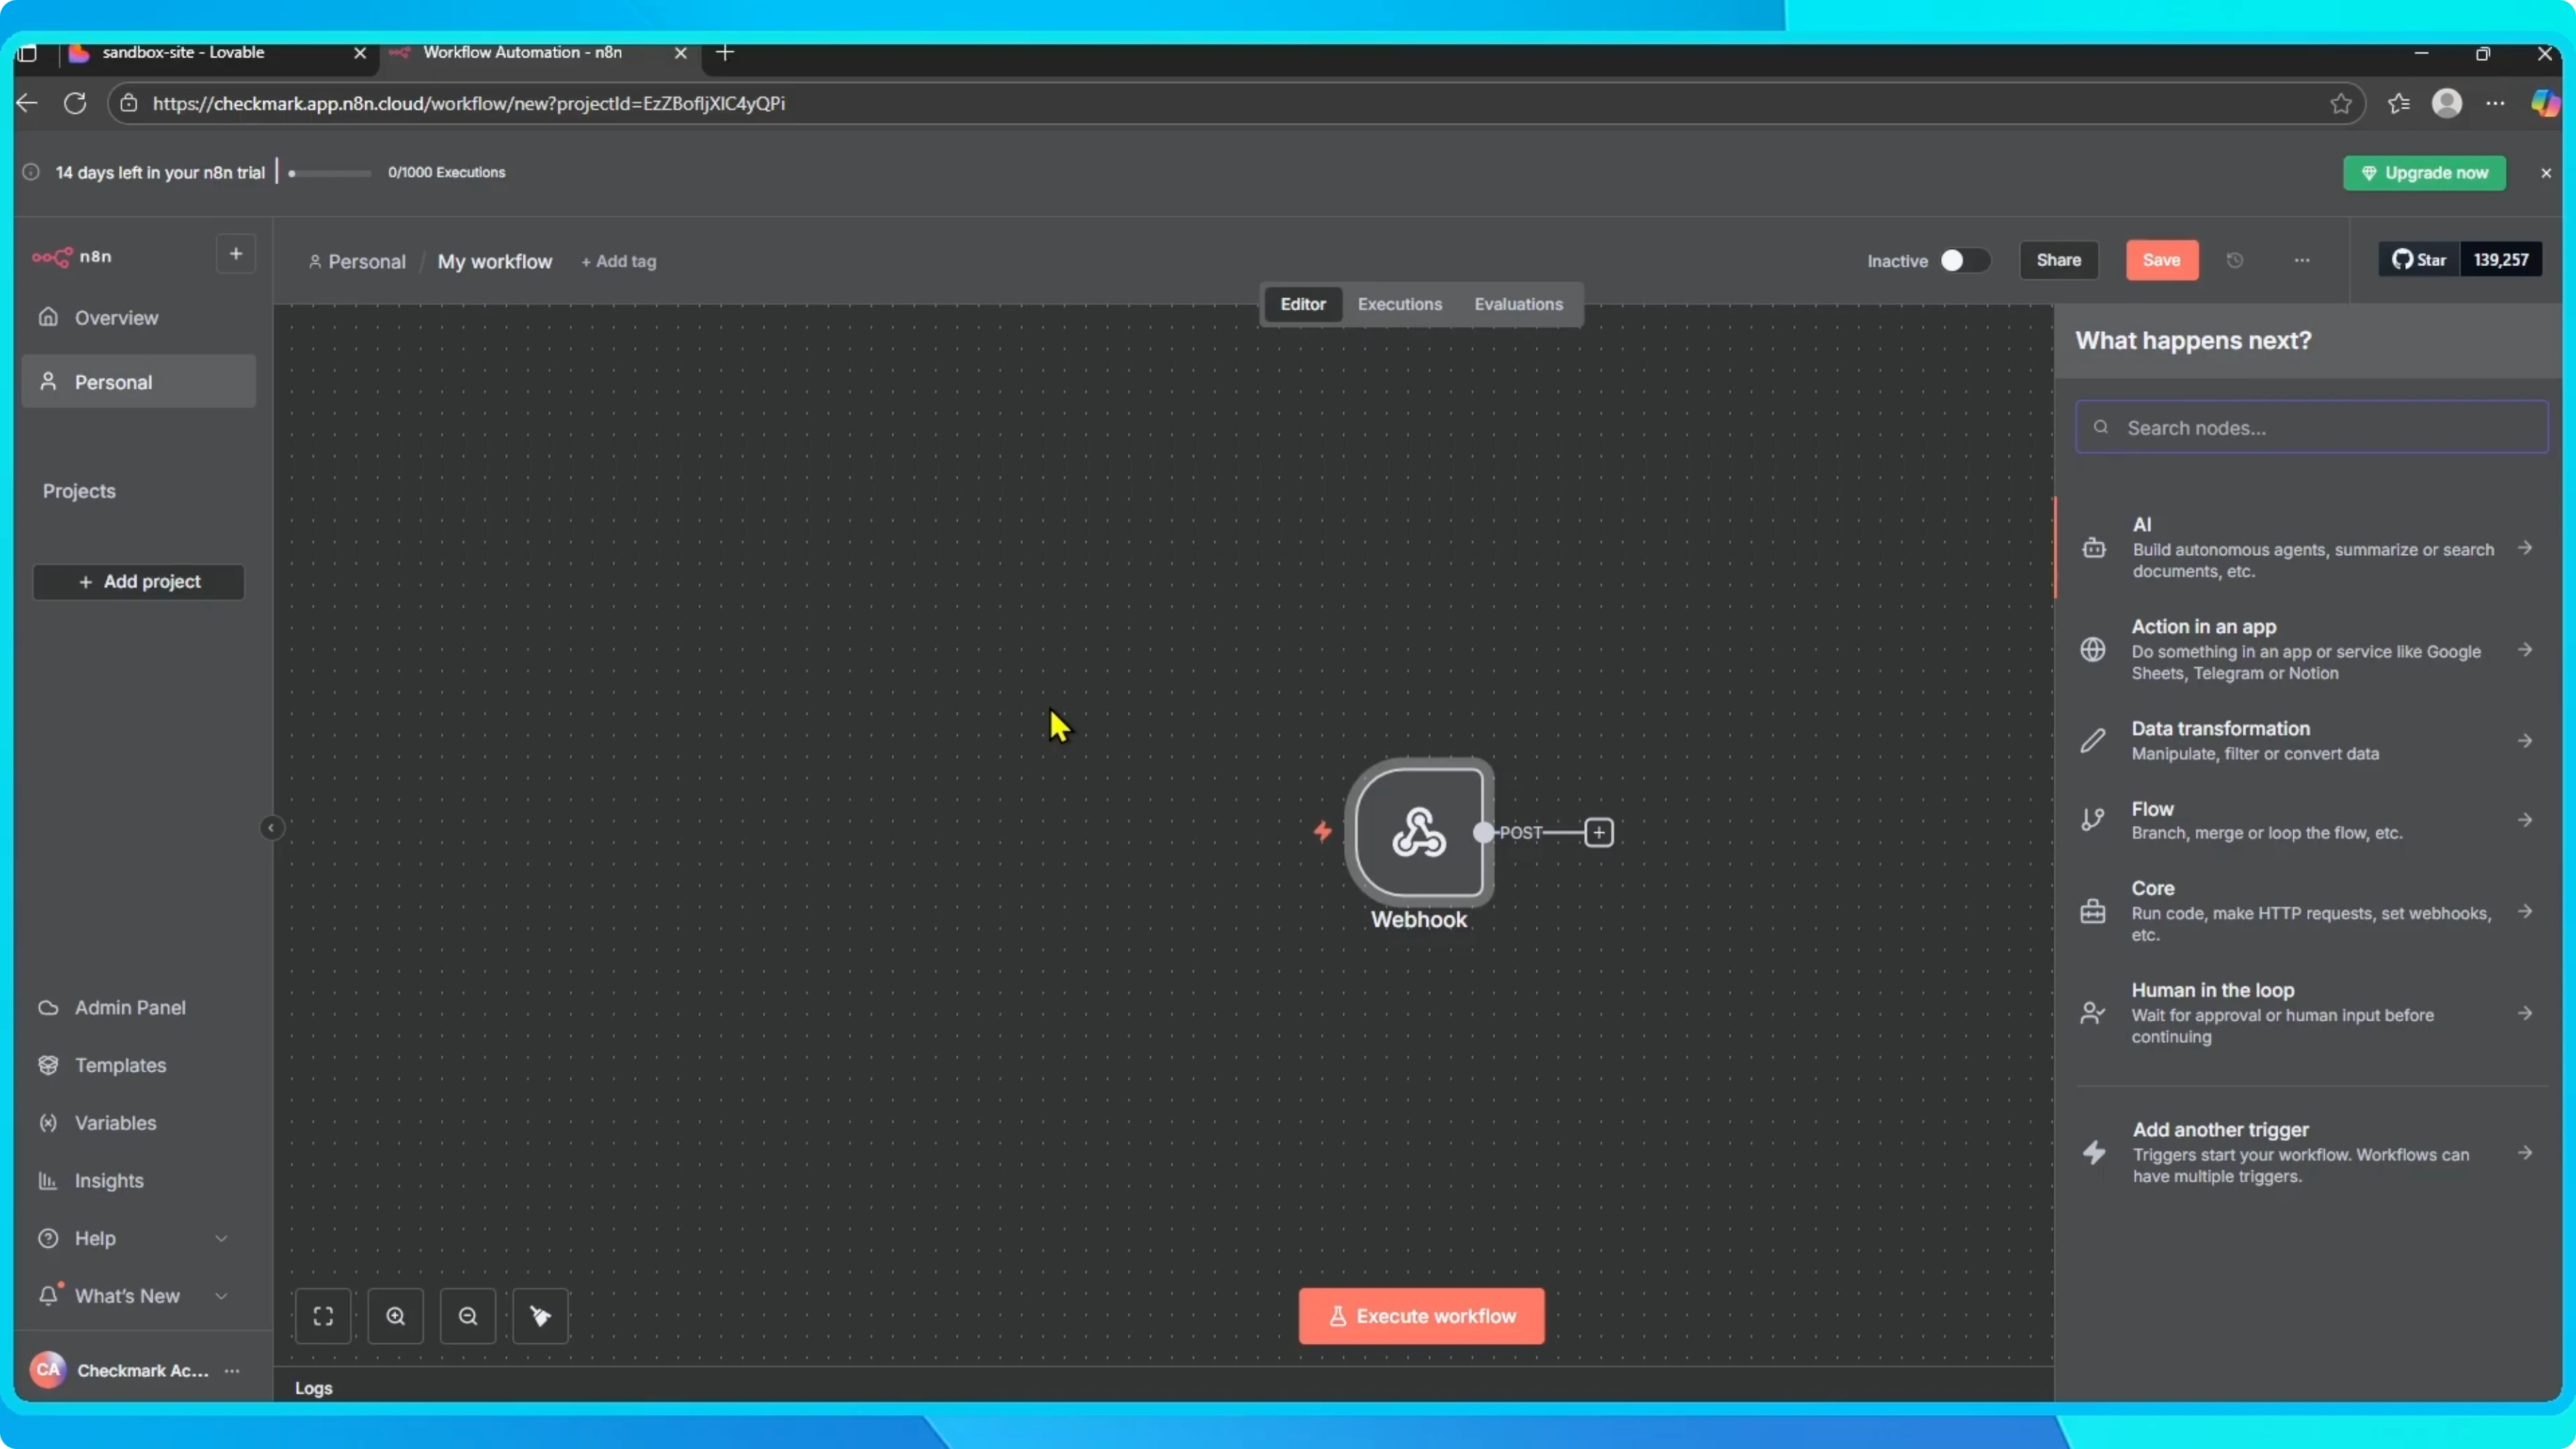
Open your n8n workflow and click Add step.
In the search bar, type Webhook and select it.
Set this webhook to trigger whenever it is called.
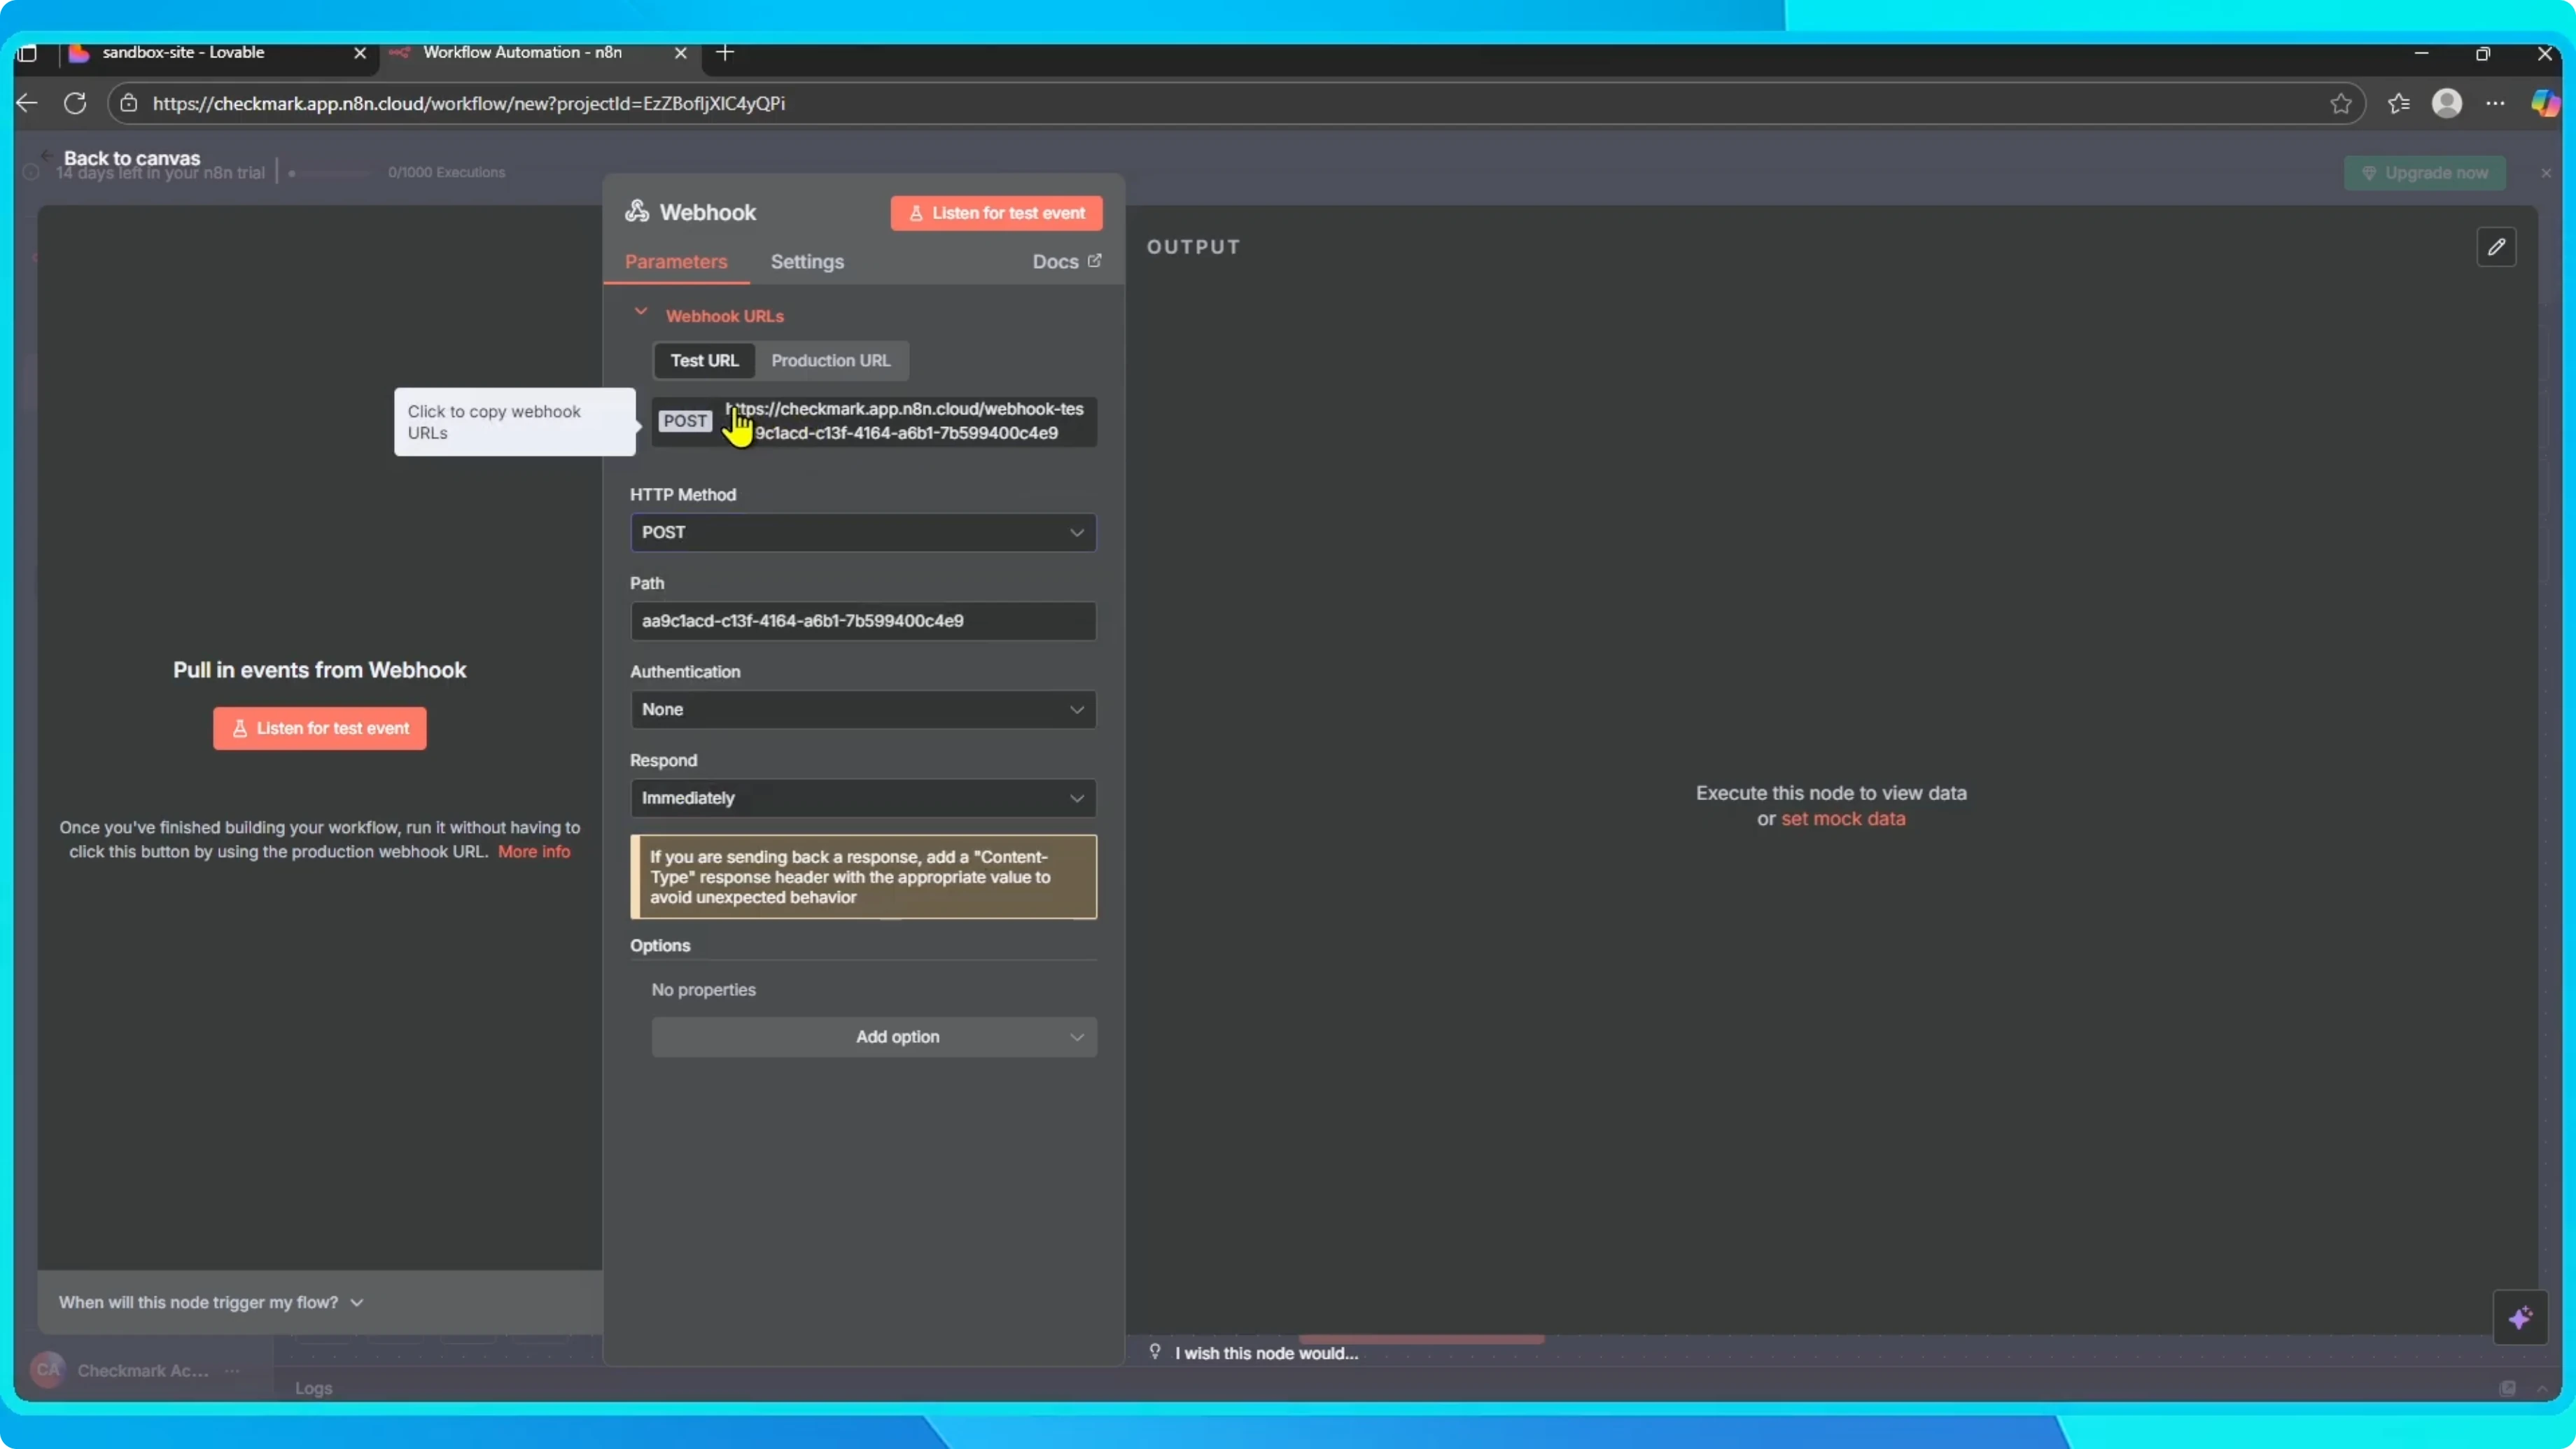
Under HTTP Method, choose POST, then copy the webhook URL.
To quickly verify the endpoint, send a POST request with sample JSON.
Use a minimal body that matches the fields you expect from your form.
curl -X POST "https://your-n8n-domain/webhook/your-path" \
  -H "Content-Type: application/json" \
  -d '{
    "name": "Jane Doe",
    "email": "jane@example.com",
    "message": "Hello from Lovable"
  }'
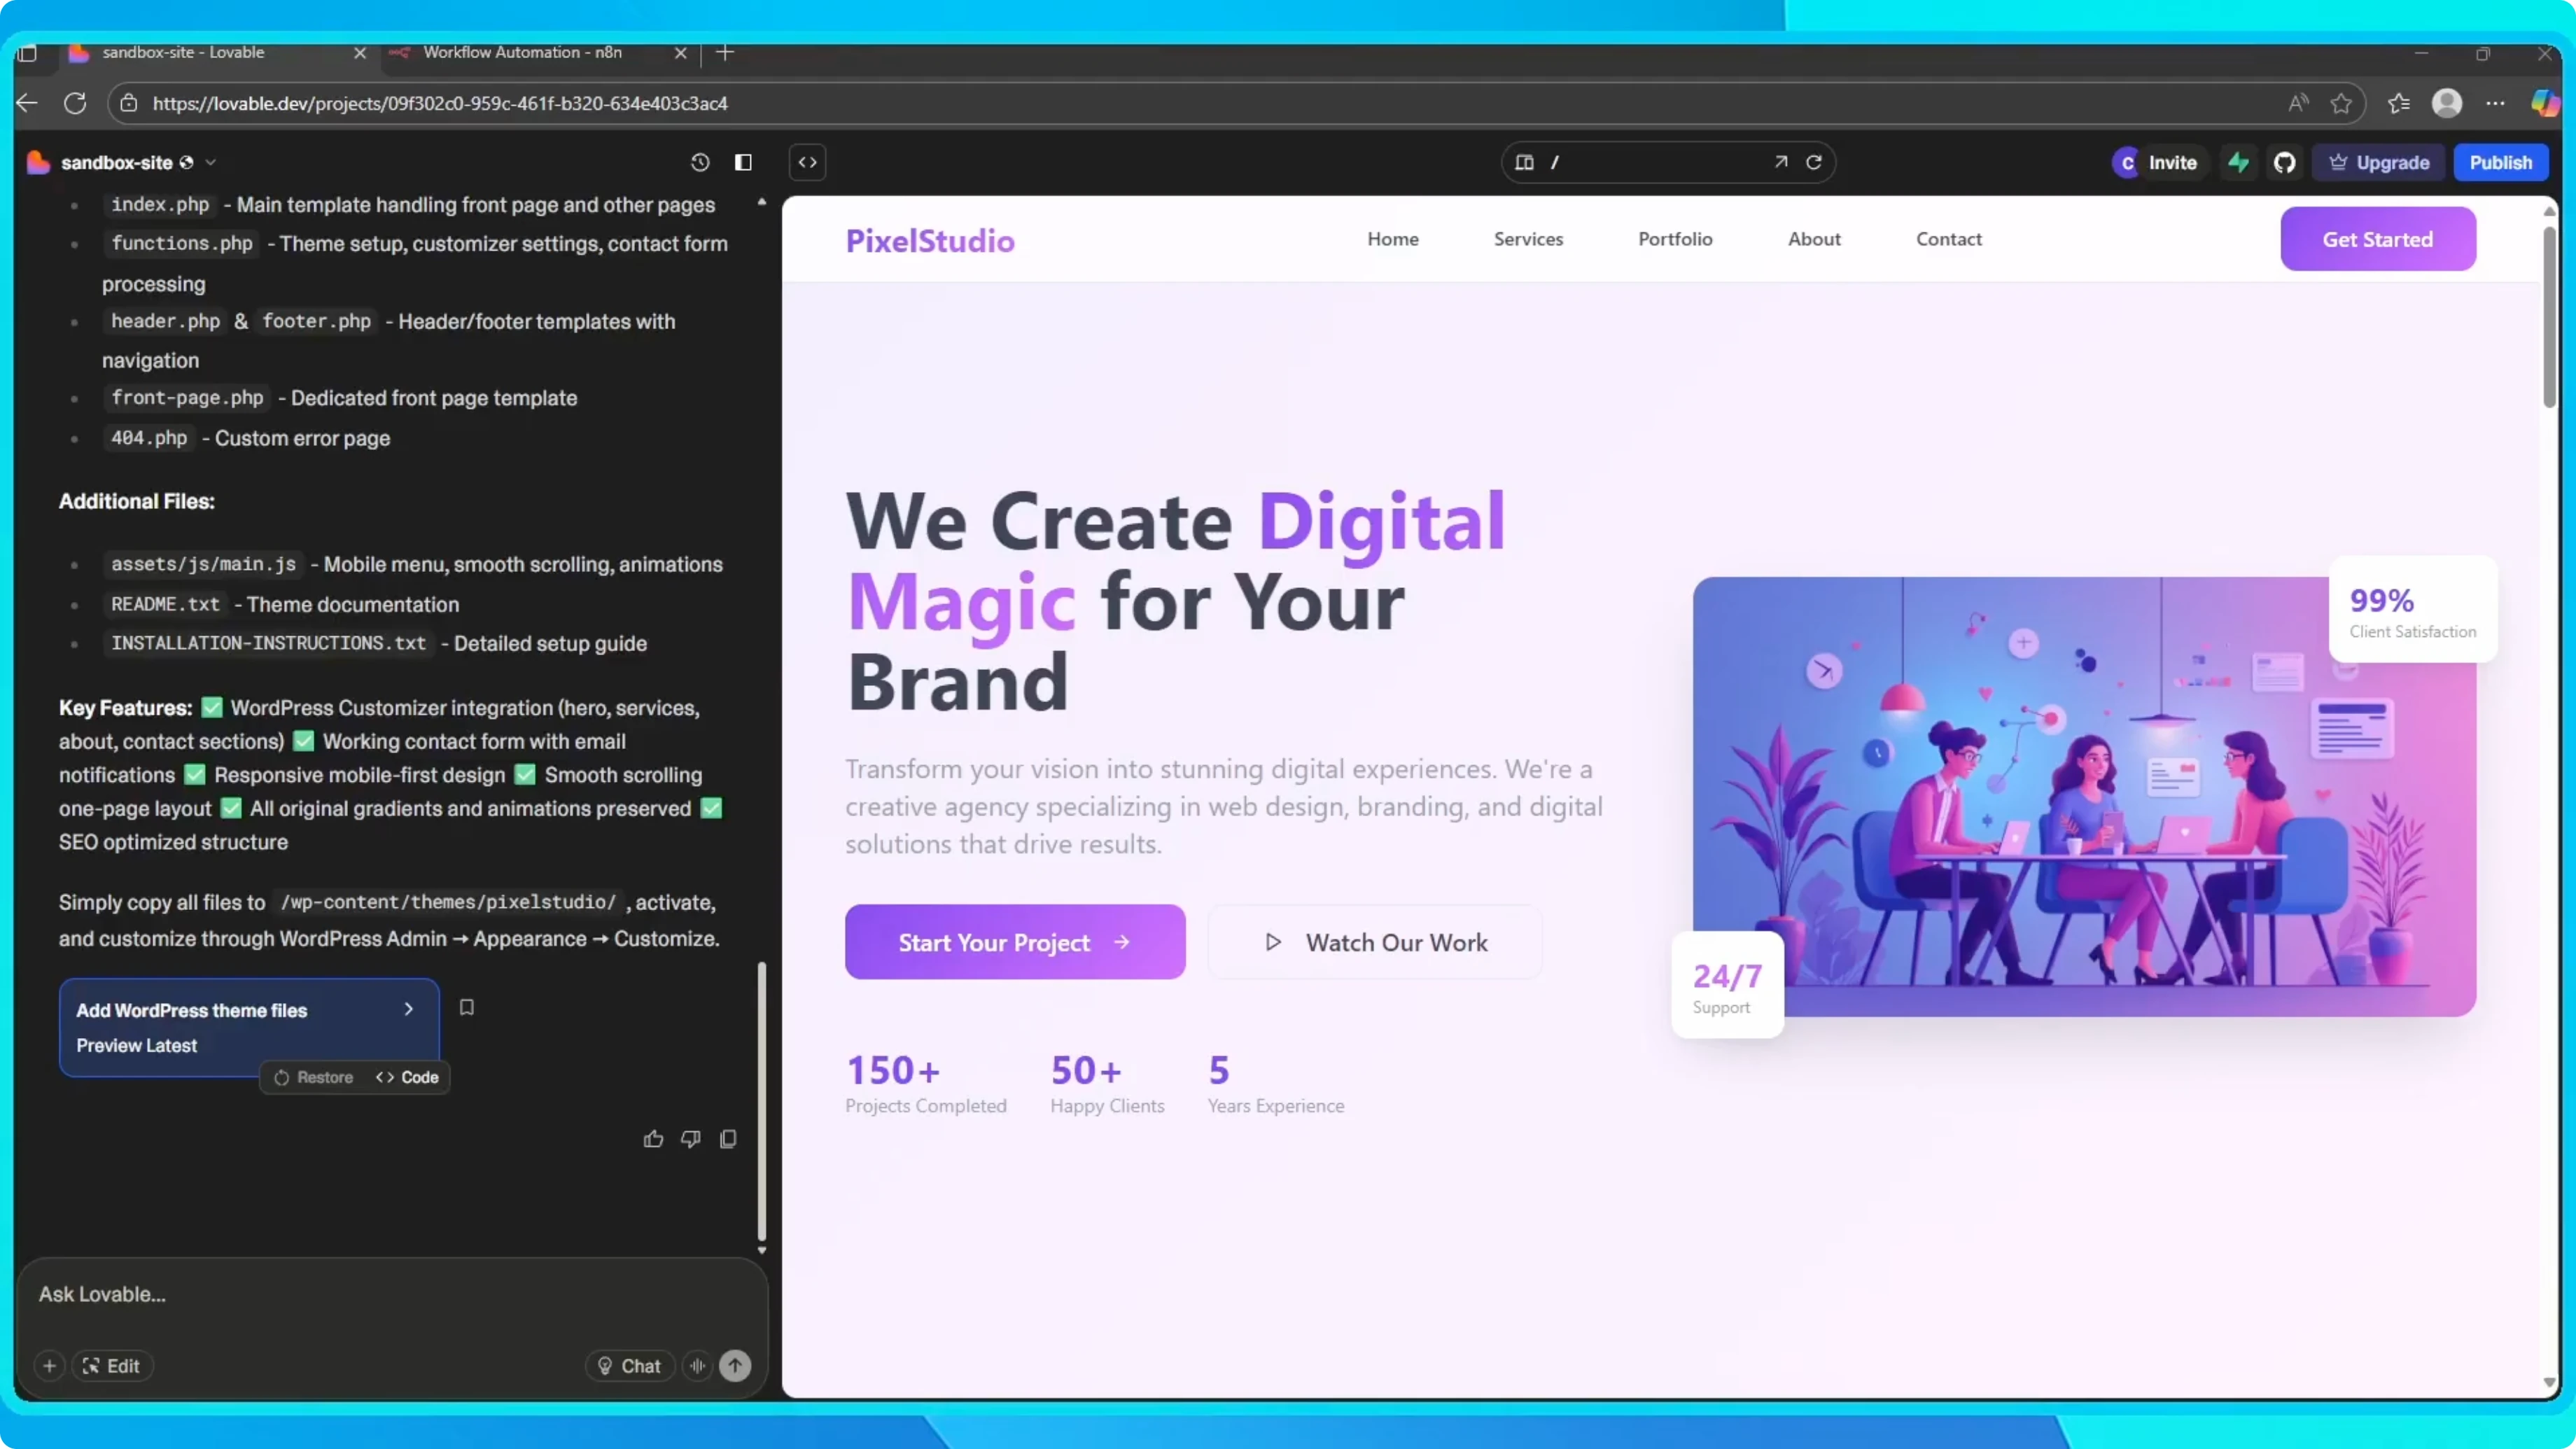
Wire it in Lovable
Open Lovable and go to your project.
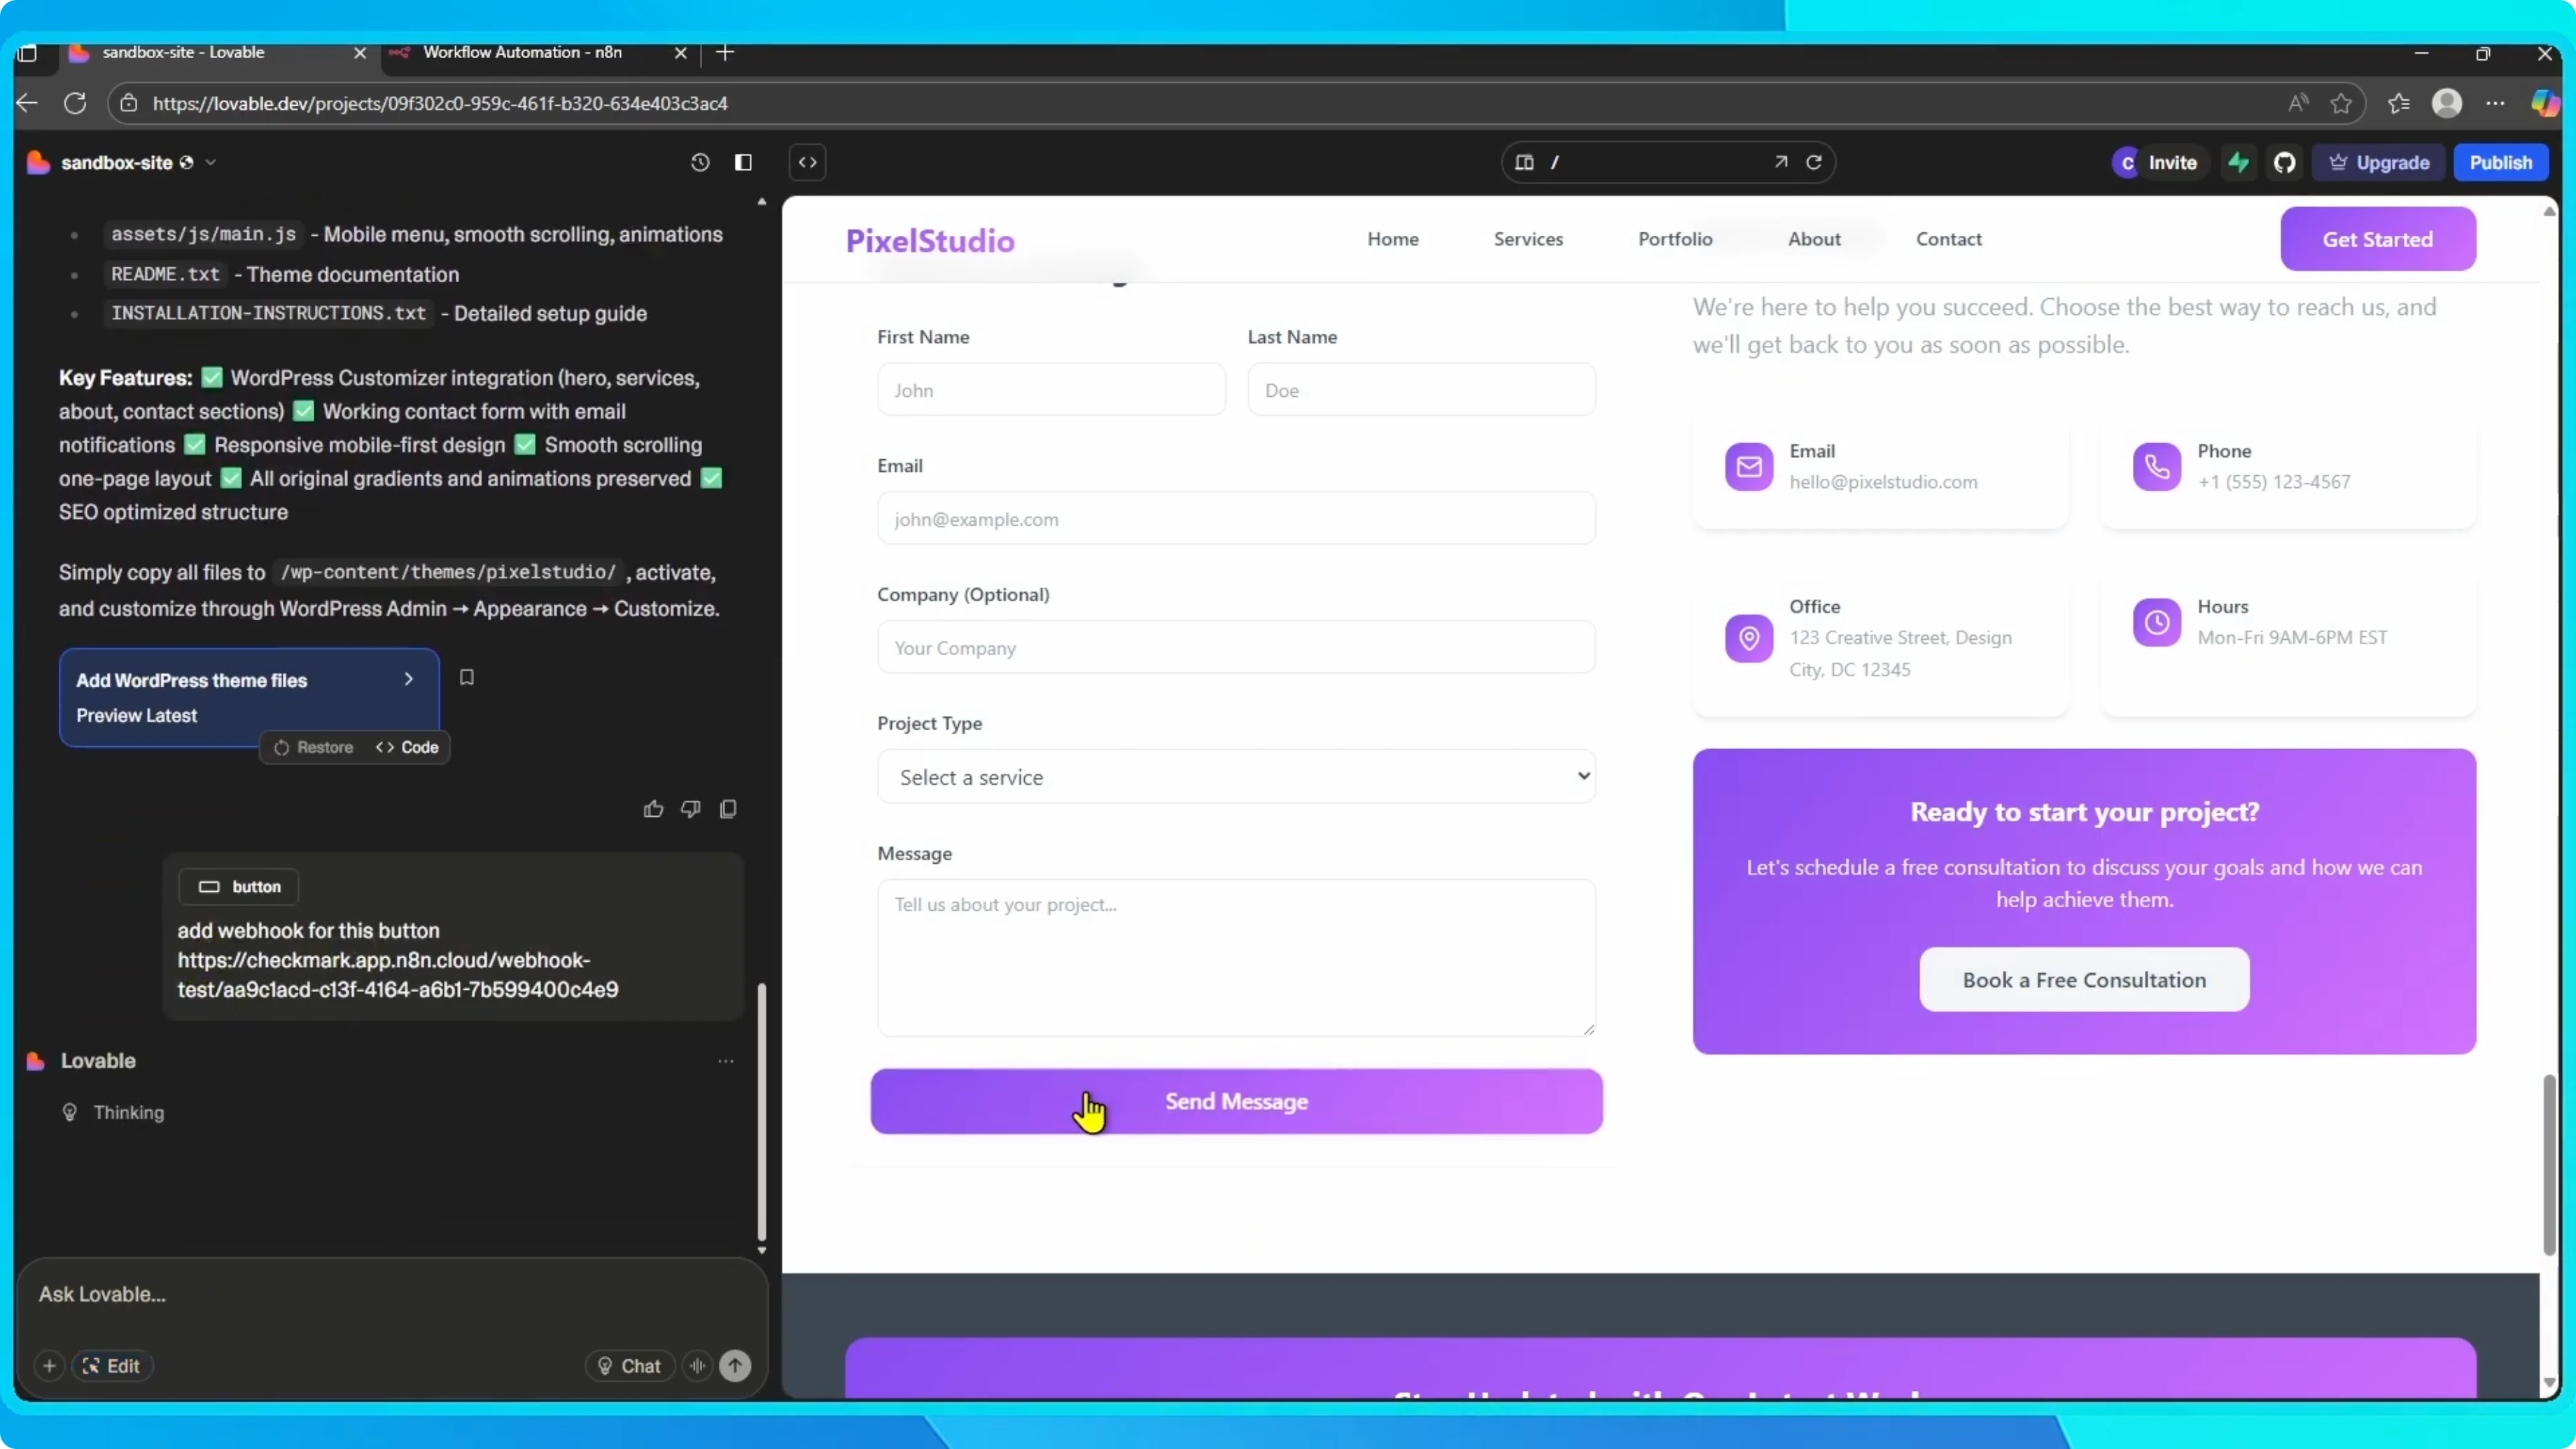
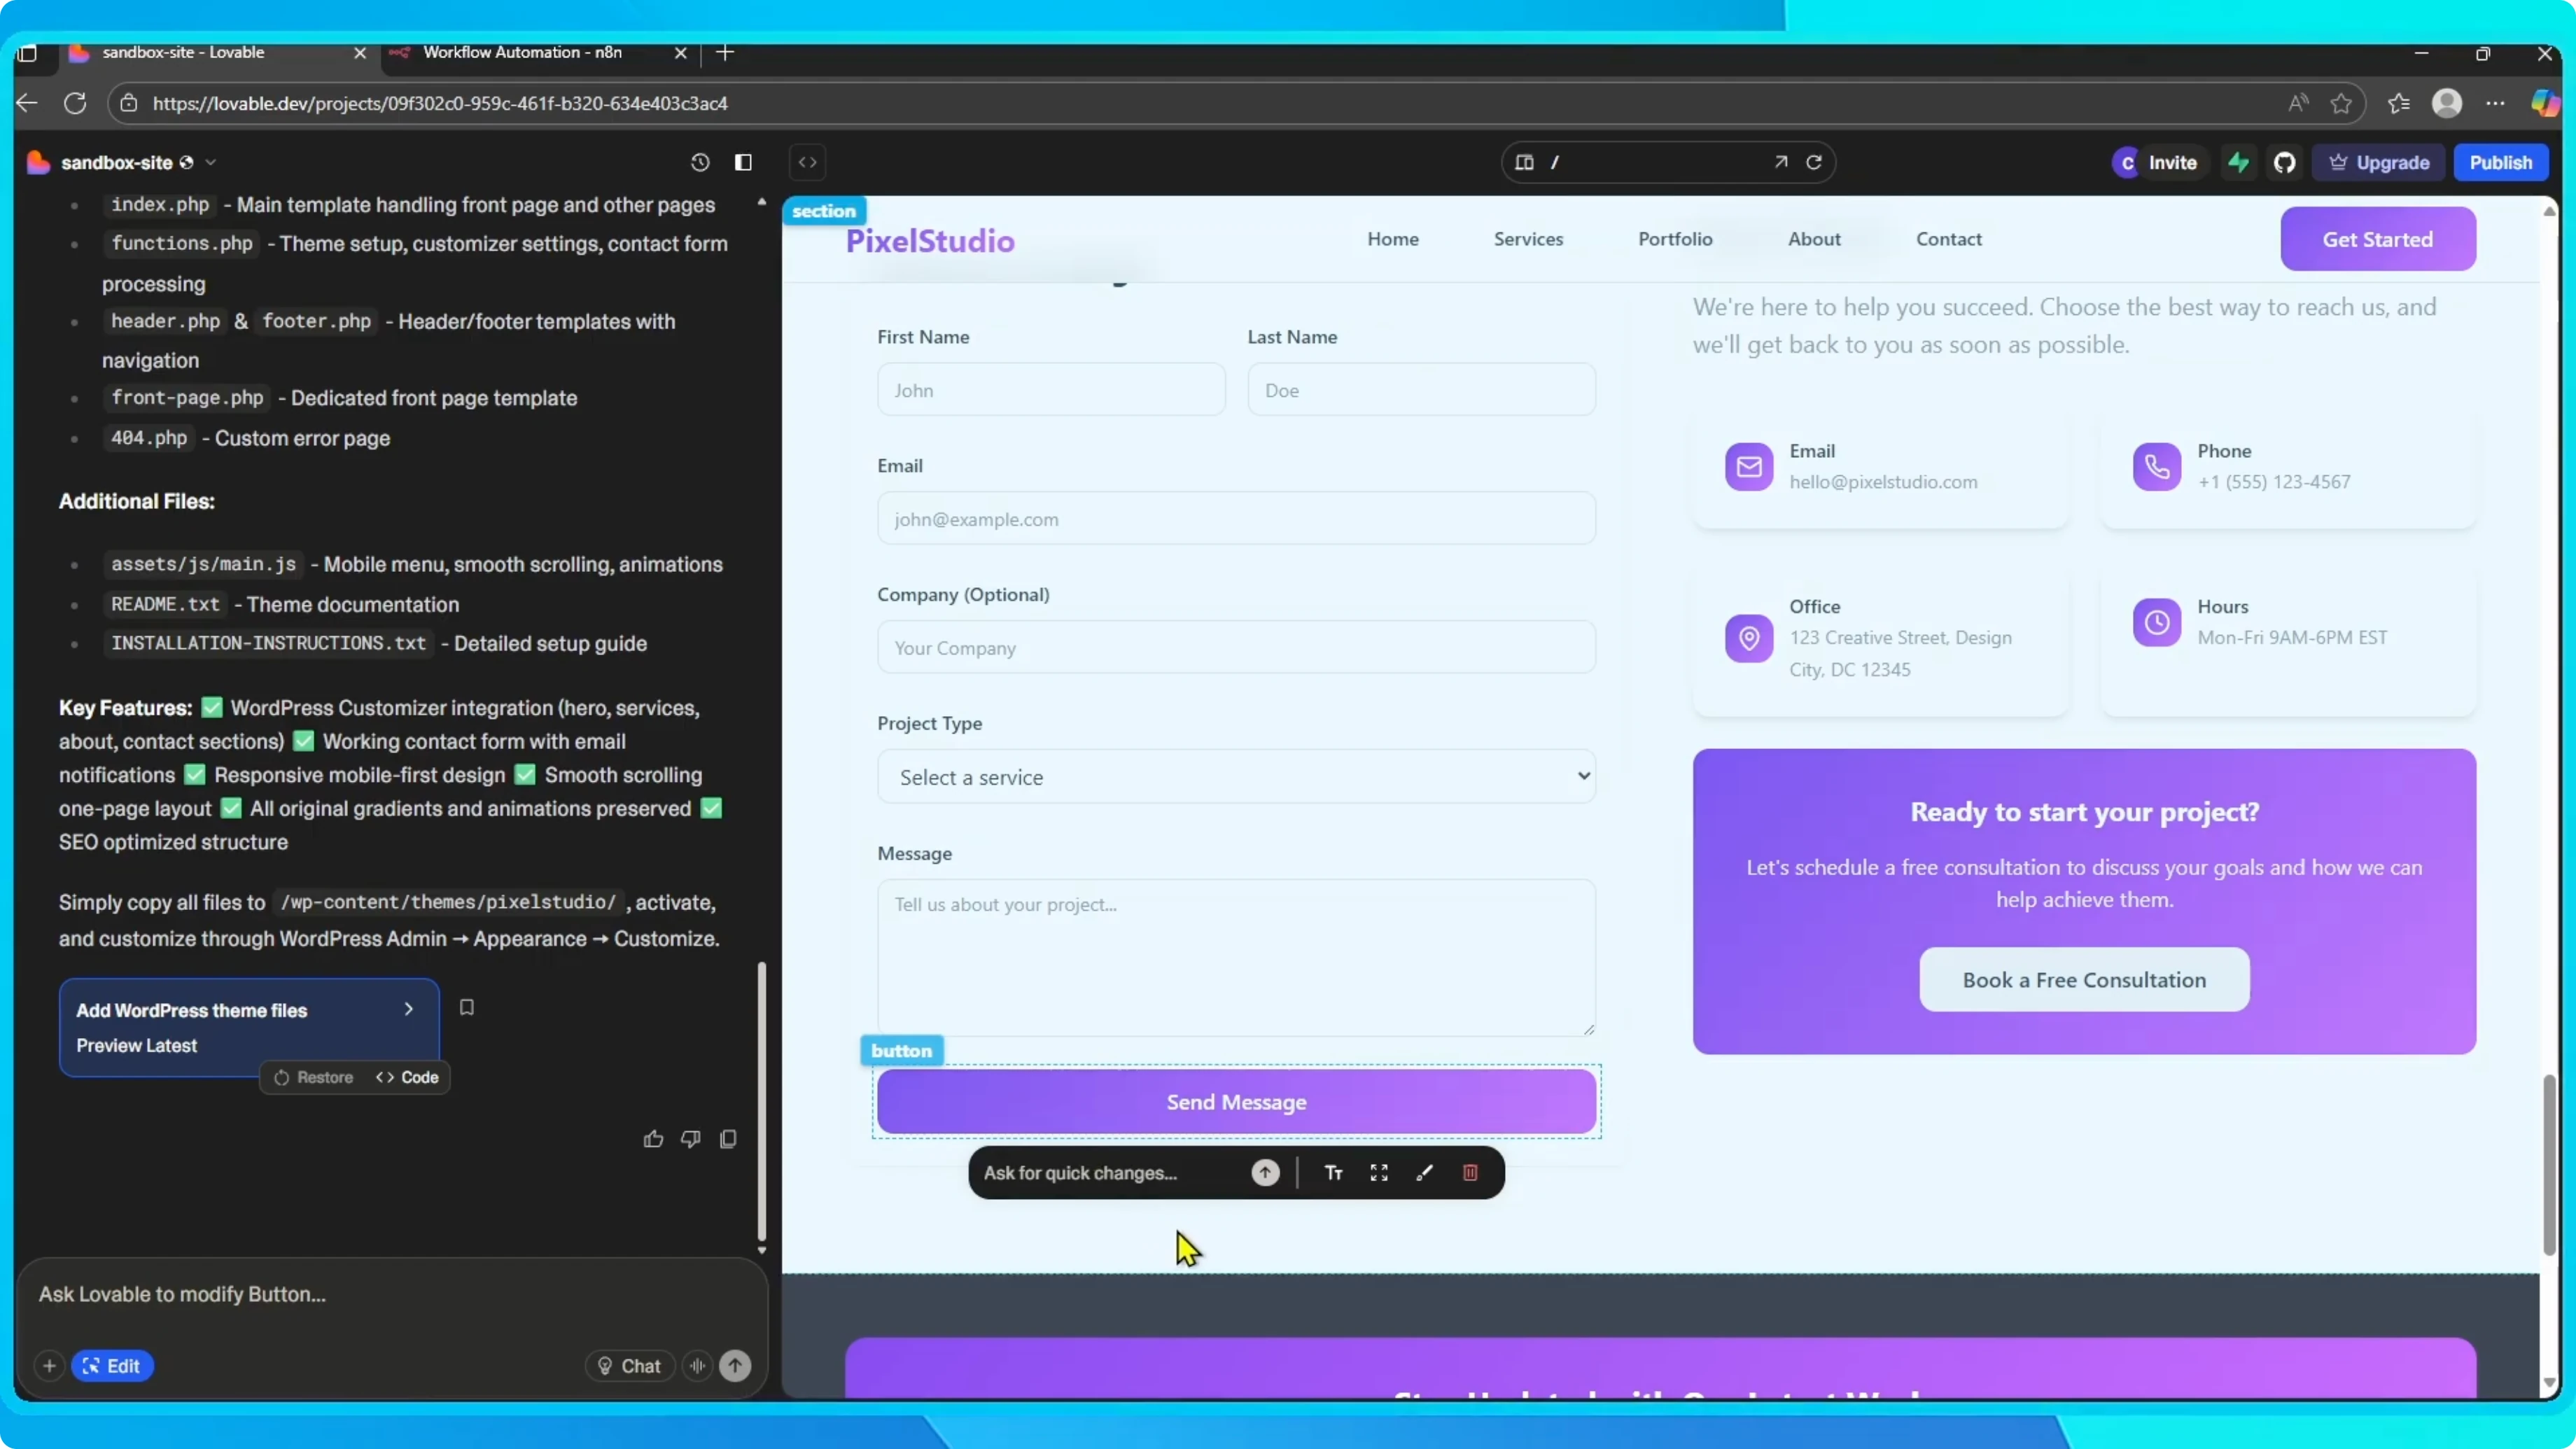
I’ll use the send message button on my contact form as the trigger.
Click the edit icon.
Select the send message button and open Ask for quick changes.
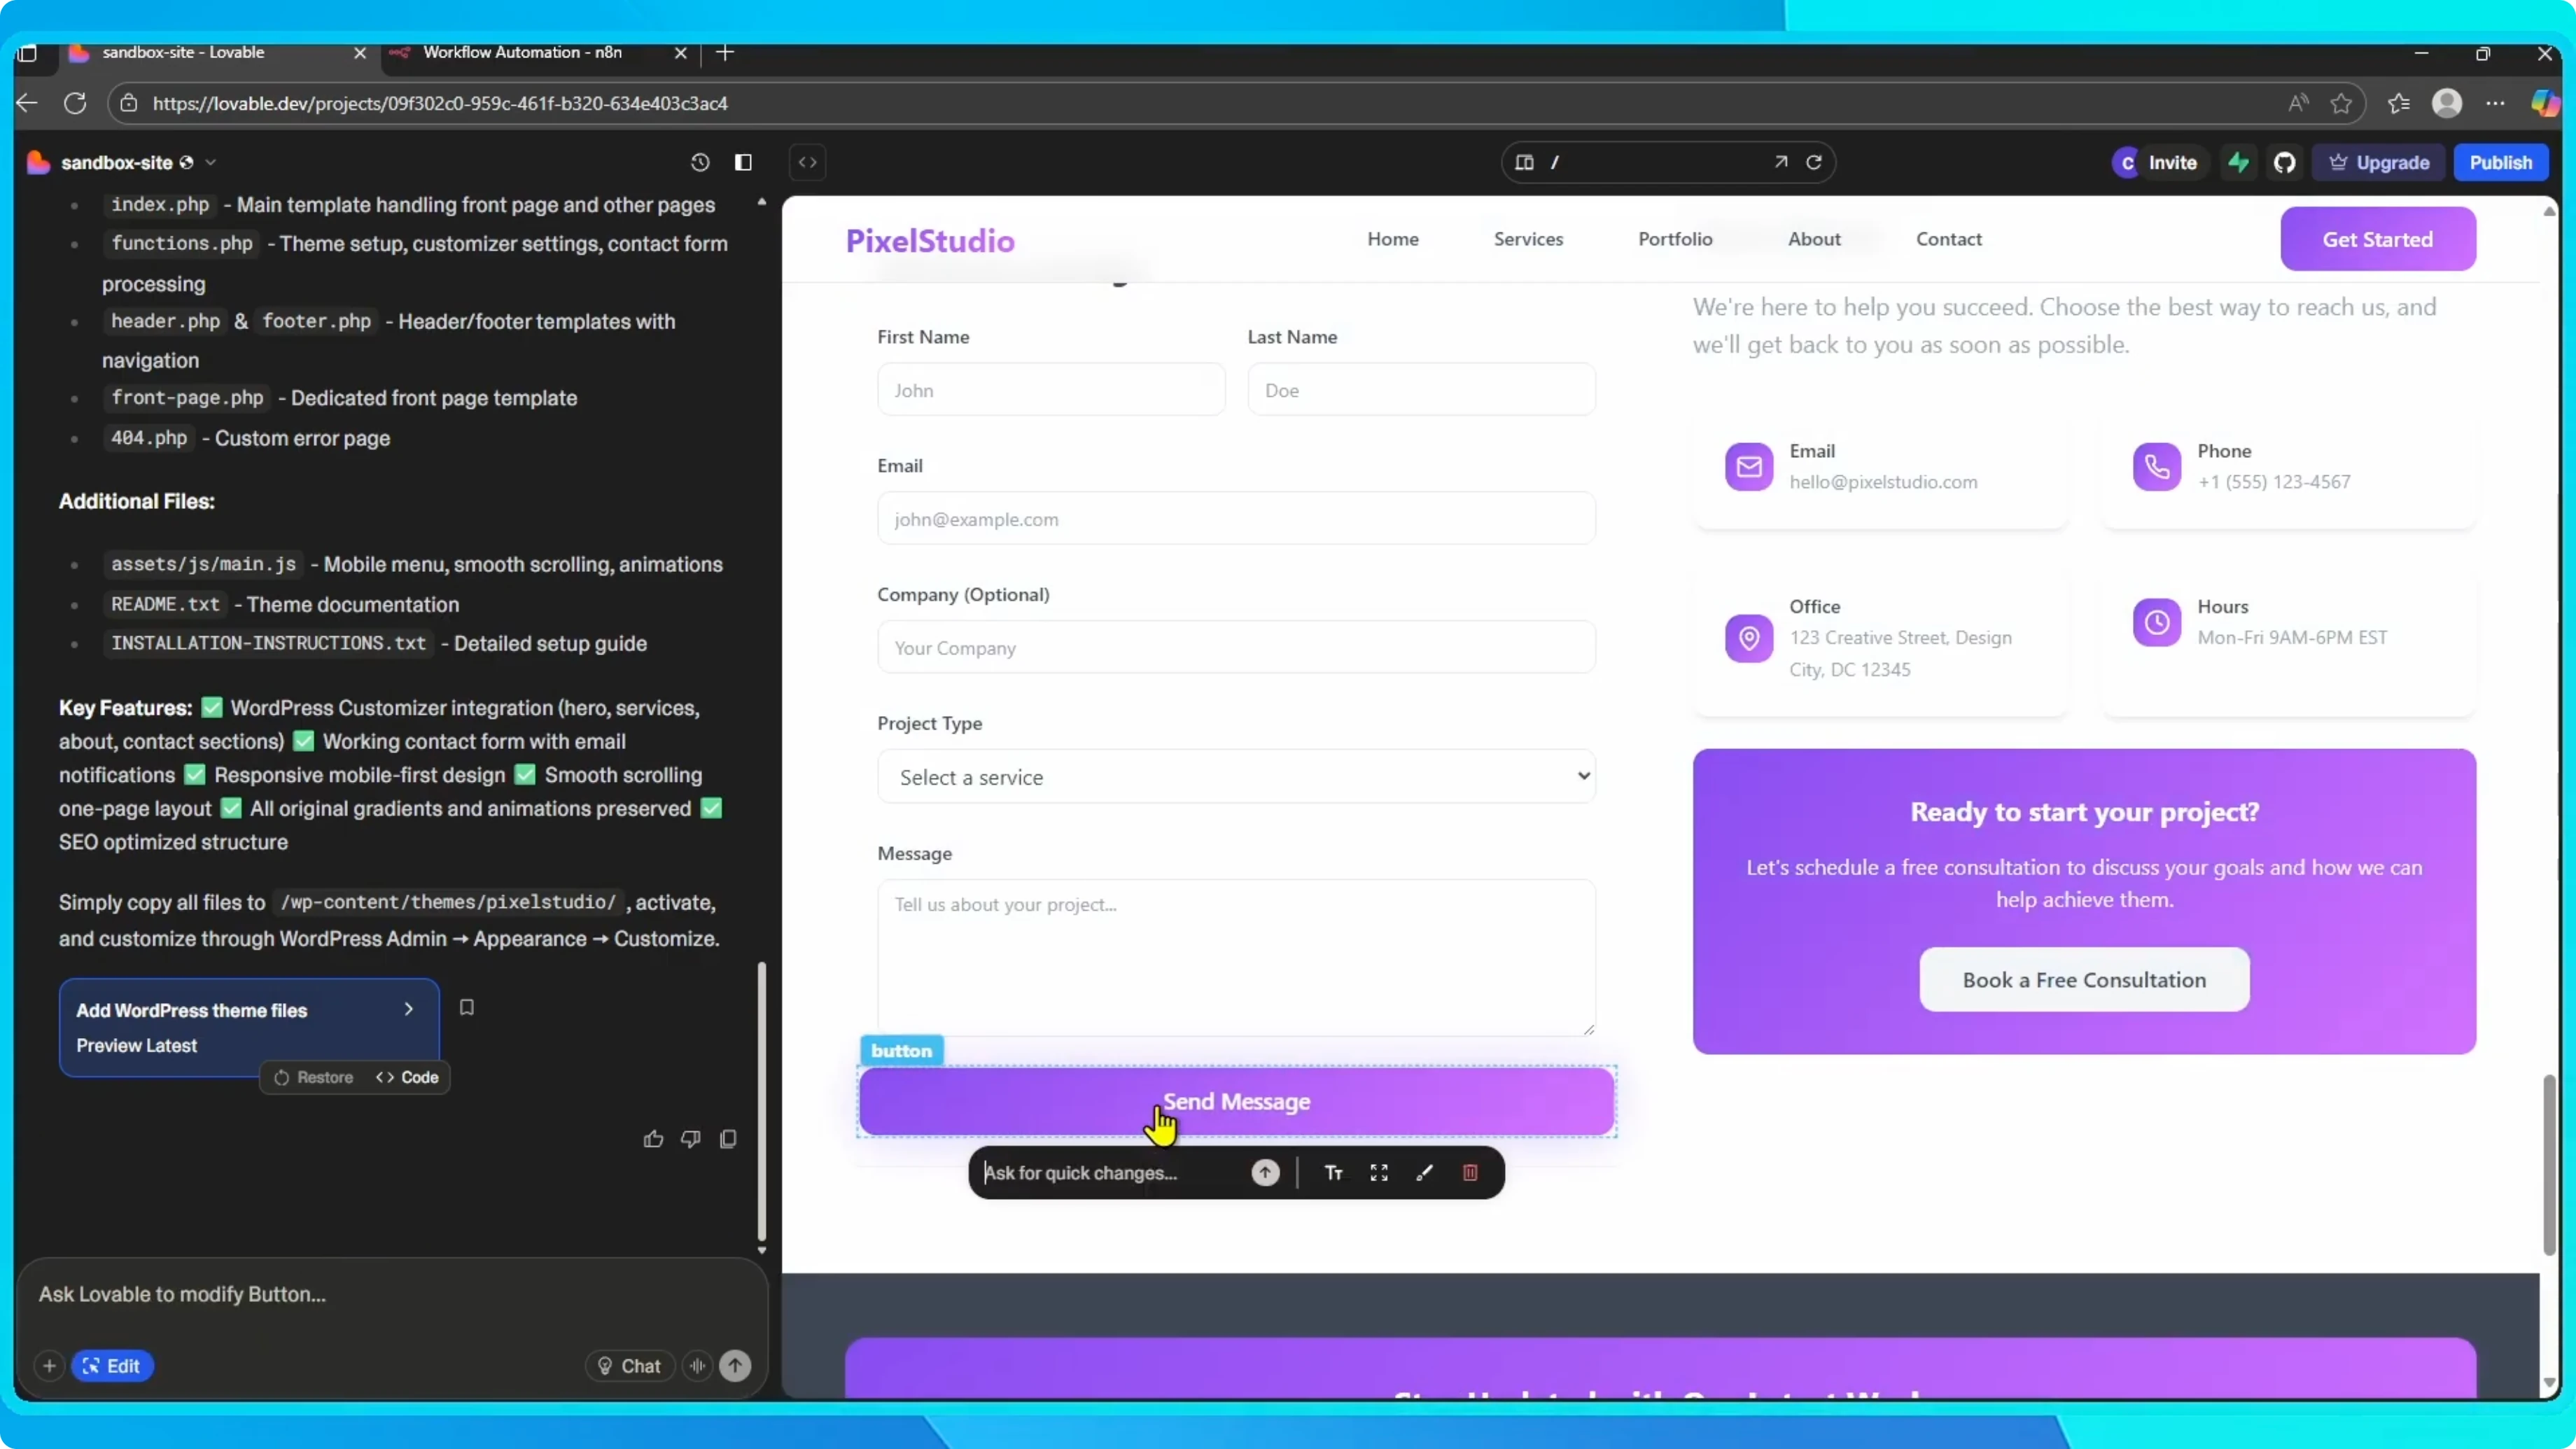
Type Add webhook to this button and paste the webhook URL from n8n.
Submit the change and Lovable will connect the webhook to that button.
What happens next
Whenever someone submits the contact form by clicking send message, the webhook will trigger in n8n.
From there you can build your workflow.
For example, send a notification, save the message to a database, or trigger any other automation.
If you want a simple managed database path, you can connect Lovable with Supabase for storage.
If payments are part of your automation, you can connect Stripe to your Lovable app to handle checkout and receipts.
Combine these steps in n8n to route data, notify your team, and persist messages.
Final thoughts
This is a simple way to connect Lovable with n8n, even without a native integration.
Your Lovable app is now linked with n8n through a webhook.
That’s it.