How to Publish a DeepSite HTML Website and Check It Works
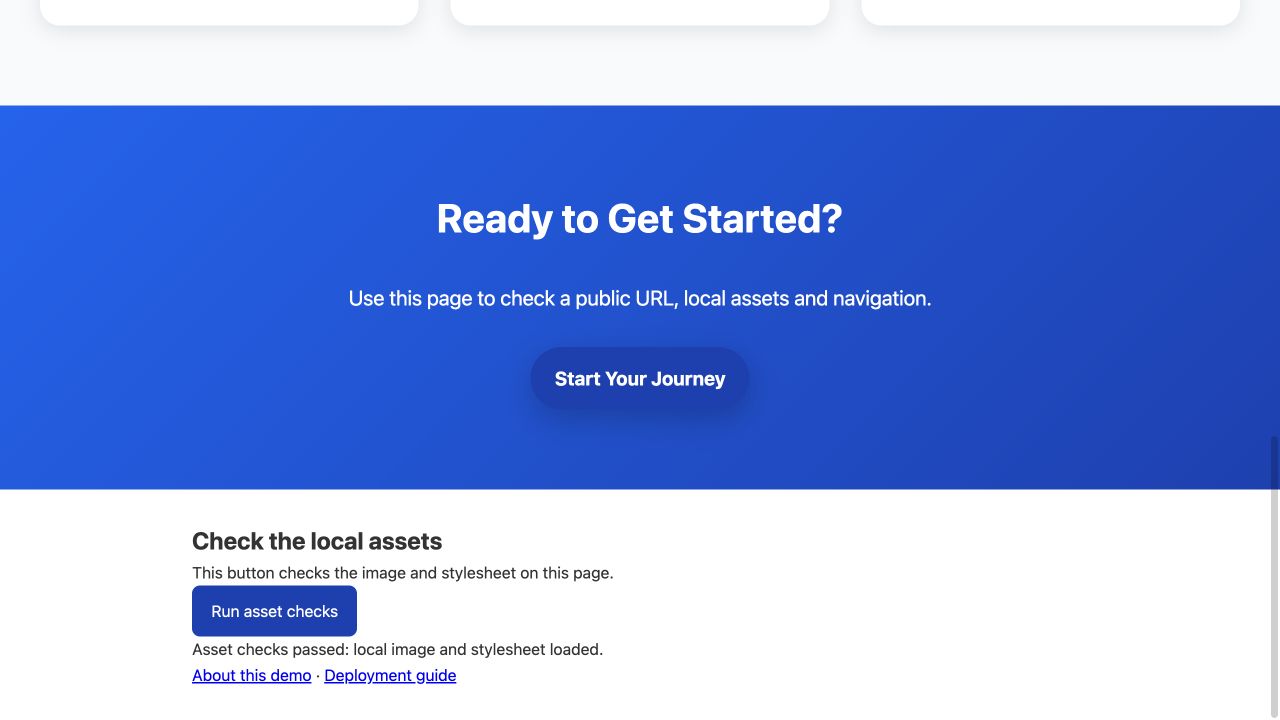
Publish a static HTML website and give visitors a public HTTPS address. This walkthrough uses an example exported from our local landing-page generator, prepared as a complete HTML/CSS/JavaScript package and deployed through an existing Next.js/Vercel project.
Open the working demonstration · Download the complete example ZIP · Check current DeepSite access
The aim is a page someone else can open from a public HTTPS URL—not a preview that only runs in your editor.
First, identify what you actually downloaded
One HTML file: if it contains the complete document and its CSS/JavaScript, you can publish it as a static file. Save a copy before editing. Rename the main entry to index.html when the host expects that name.
HTML plus asset folders: keep the directory structure intact. If the HTML requests ./assets/styles.css, that exact file must exist relative to the HTML file. Upload the package, not just its first HTML file.
A framework source project: files such as package.json, src/, React components or Next.js routes normally require the framework's installation/build workflow. Do not put JSX, TSX or a development source directory into a static folder and expect a browser to compile it. Choose the hosting preset that matches the framework and use its install, build and runtime settings.
If you are following an older V2 tutorial, first read the version and current-access guide. A builder version or account migration can change the export format and available buttons.
Step 1: Create a small, honest test page
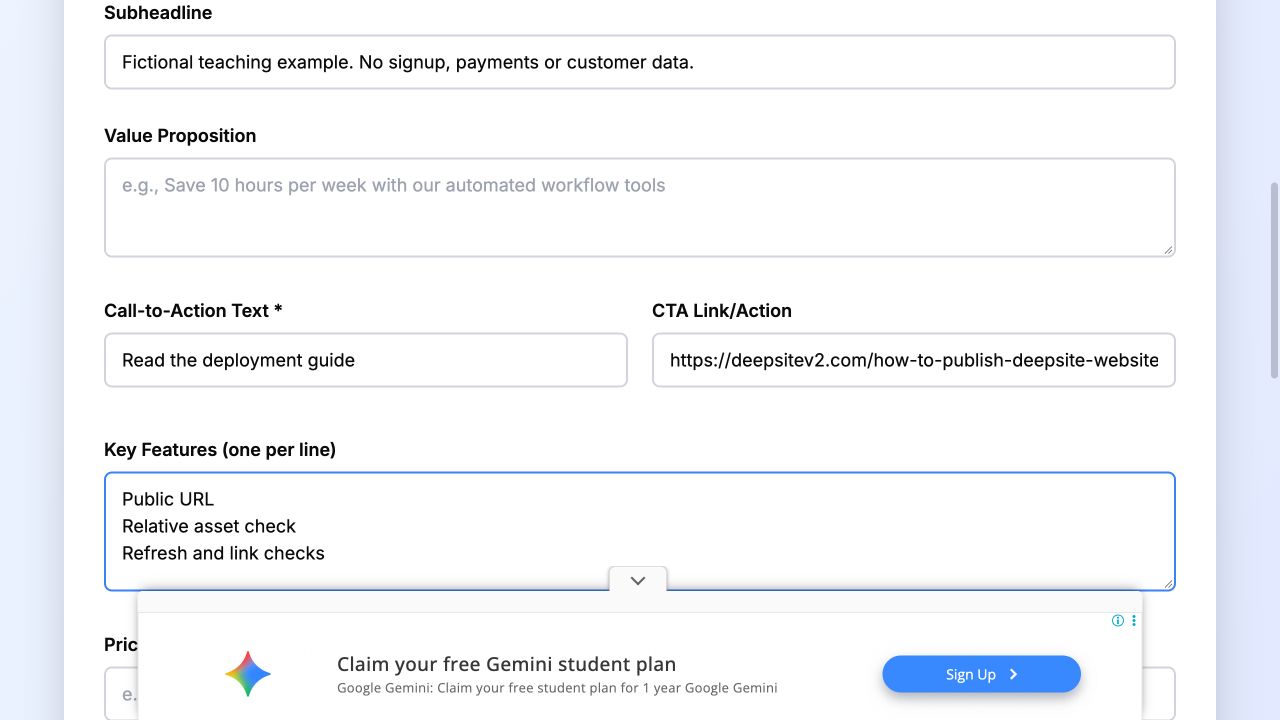
For the reproducible example, open the local generator and enter:
- Product/service: Website Deployment Demo.
- Headline: A small page, published and checked.
- Subheadline: Fictional teaching example. No signup, payments or customer data.
- CTA: Read the deployment guide, pointing to
https://deepsitev2.com/how-to-publish-deepsite-website. - Features: public URL, relative asset check, refresh and link checks.
Leave pricing, testimonials, countdown and social-proof claims empty or off. Select Generate Landing Page. This gives you a simple page with a clear action and useful deployment checks.
Step 2: Download the HTML and preserve the original
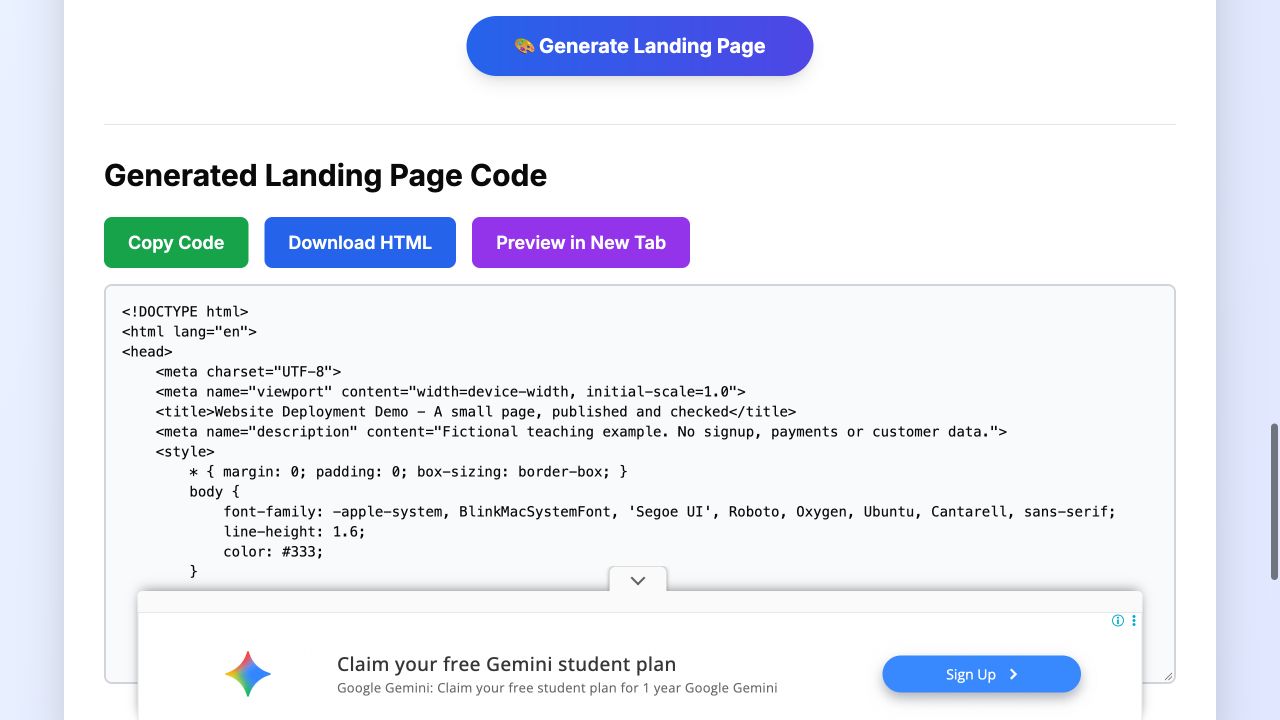
Select Download HTML after generation. Our actual download was Website Deployment Demo.html. The ZIP linked above retains it as original-export.html; the prepared version is index.html.
For a DeepSite project, download the available export and use the output-type checklist above to choose the right hosting path.
Step 3: Keep relative assets beside the entry file
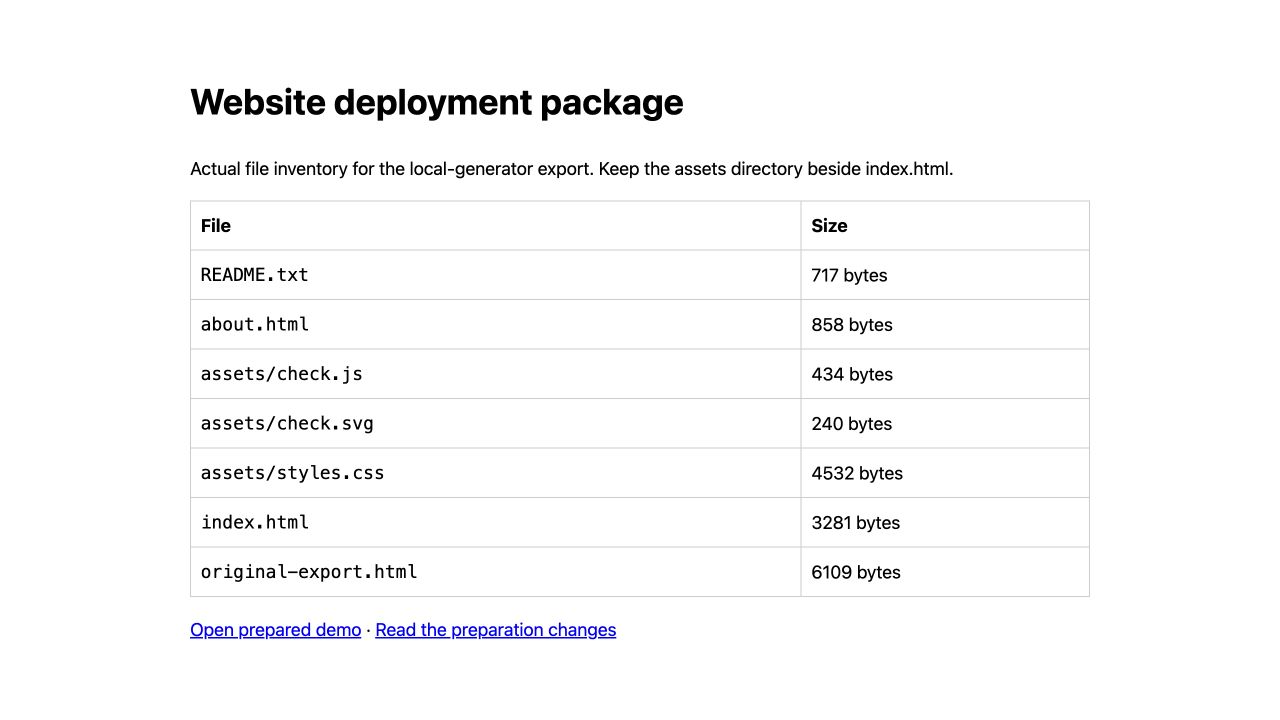
Our prepared package contains:
website-deployment-demo/
  index.html
  about.html
  assets/
    styles.css
    check.svg
    check.js
  original-export.html
  README.txt
  package.html
We extracted the original inline CSS, added a small locally created SVG and a check script, added an About page, replaced generic marketing claims, and improved focus/contrast and narrow-screen CTA wrapping. The README records those edits. The demo is labelled as a teaching example and uses noindex to avoid competing with this guide.
The prepared HTML references ./assets/styles.css, ./assets/check.svg and ./assets/check.js. These are package-relative paths. Paths beginning with /assets/ instead request files from the domain root, which is different when you publish under a subdirectory.
Step 4: Deploy through the existing Next.js/Vercel project
This is the hosting path we used: the Next.js website was already connected to its Git repository and Vercel production branch. We placed the package in:
public/demos/website-deployment-demo/
The public directory name is not part of the public URL. Our entry becomes:
https://deepsitev2.com/demos/website-deployment-demo/index.html
Commit the files, push the connected production branch and wait for the matching Vercel deployment to report Ready. Check the commit identifier and assigned production domain before opening the URL. A successful Git push by itself does not establish a successful deployment.
This path uses an existing Next.js app, so keep that project's existing framework build. For a standalone static project, use the folder containing index.html and its assets as the hosting root.
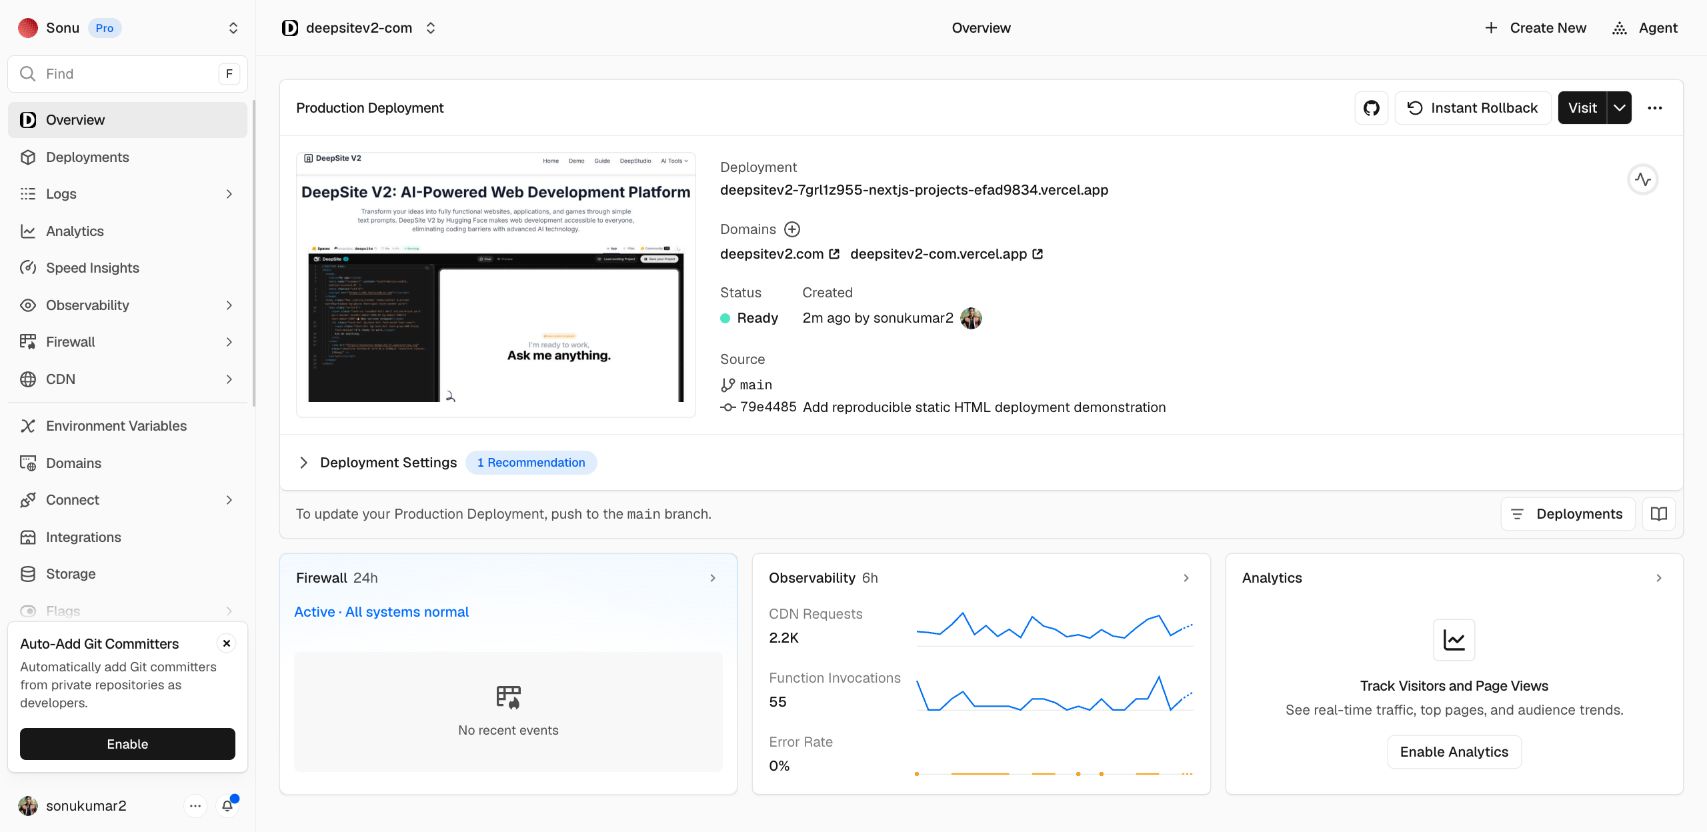
Step 5: Check the public URL, links and assets
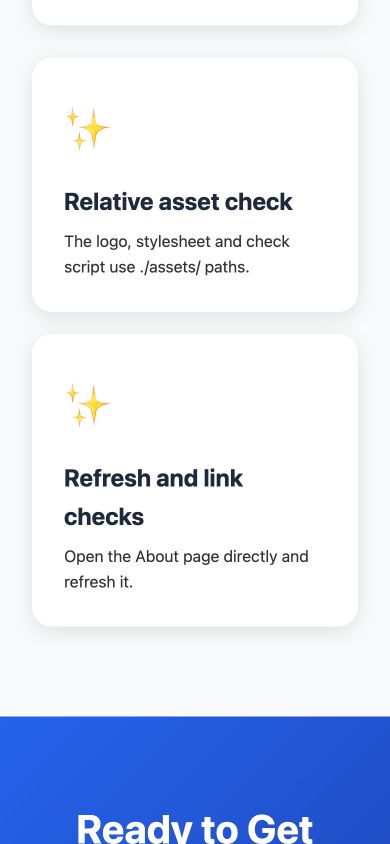
Open the live demo from its HTTPS URL. The check-mark image should be visible and the page should be styled. Use Asset checks in the navigation, then Run asset checks. The message must say that the local image and stylesheet loaded. The button working also exercises the external JavaScript file.
Open About this demo. Then paste the About URL into a new tab and refresh it directly. It must show the About page rather than a generic homepage or a 404. Use Return to asset checks to test the relative page-and-fragment link.
Step 6: Check mobile width and a separate device
Open the public URL on your phone or another device. Refresh the About page, tap the return link and run the asset checks. Confirm the image and styling load, the button reports success and the page fits the screen. Check both 320px and 390px widths when reviewing the mobile layout. Share the HTTPS address so visitors can open the page from their own device.
Before sharing your project, confirm readable text, visible keyboard focus and no horizontal document scrolling. For forms, checkout, databases and email integrations, complete a real end-to-end action and confirm the expected result.
If a check fails
- HTML loads but styling or image is missing: inspect the exact asset URL and letter case. Keep the folder beside the entry file. A 200 response containing a fallback HTML page is not a valid CSS or image response.
- Links work until refresh: open the destination directly. A missing static file or unsupported client-side route needs the correct hosting configuration; redirecting every error to the homepage conceals the problem.
- The old page remains live: compare the hosting deployment's commit and production-domain assignment. Refresh after the deployment is ready.
- Your export requires a server: follow the framework/server workflow, including its runtime requirements. Static hosting alone will not supply a database or server API.
Use the downloadable example to follow the static publishing path. Then apply the same asset, link, refresh and mobile checks to your own project.
For a complete portfolio project, use the freelancer portfolio prompt and editable example, then personalize it with the free starter pack.
For services, pricing and a customer enquiry flow, start with the local service website guide.
Build another practical example with the restaurant menu and QR walkthrough. For an enquiry form, follow the contact delivery guide, activate the receiving inbox and match a unique test reference after deployment.
Recent Posts
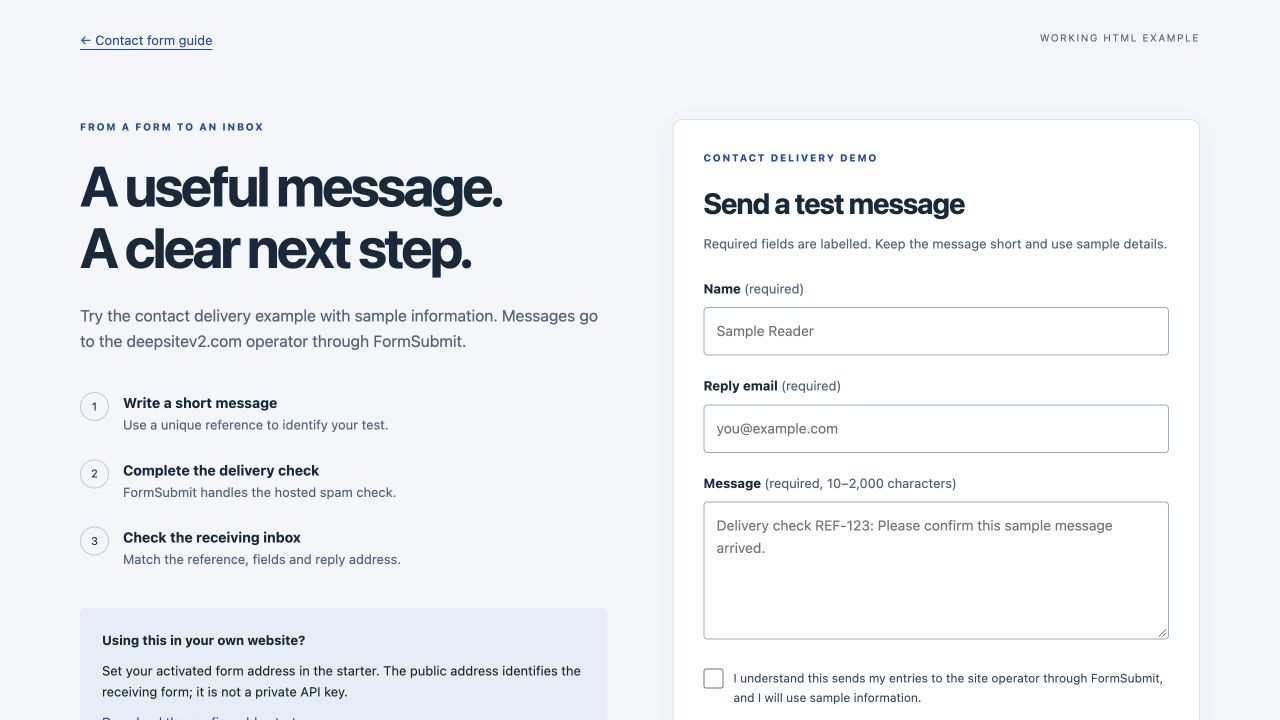
Make a DeepSite Contact Form Send Messages: A Working HTML Setup
Connect a DeepSite HTML contact form to FormSubmit, activate the receiving inbox and verify a real message. Includes validation, spam checks, screenshots and editable starter code.
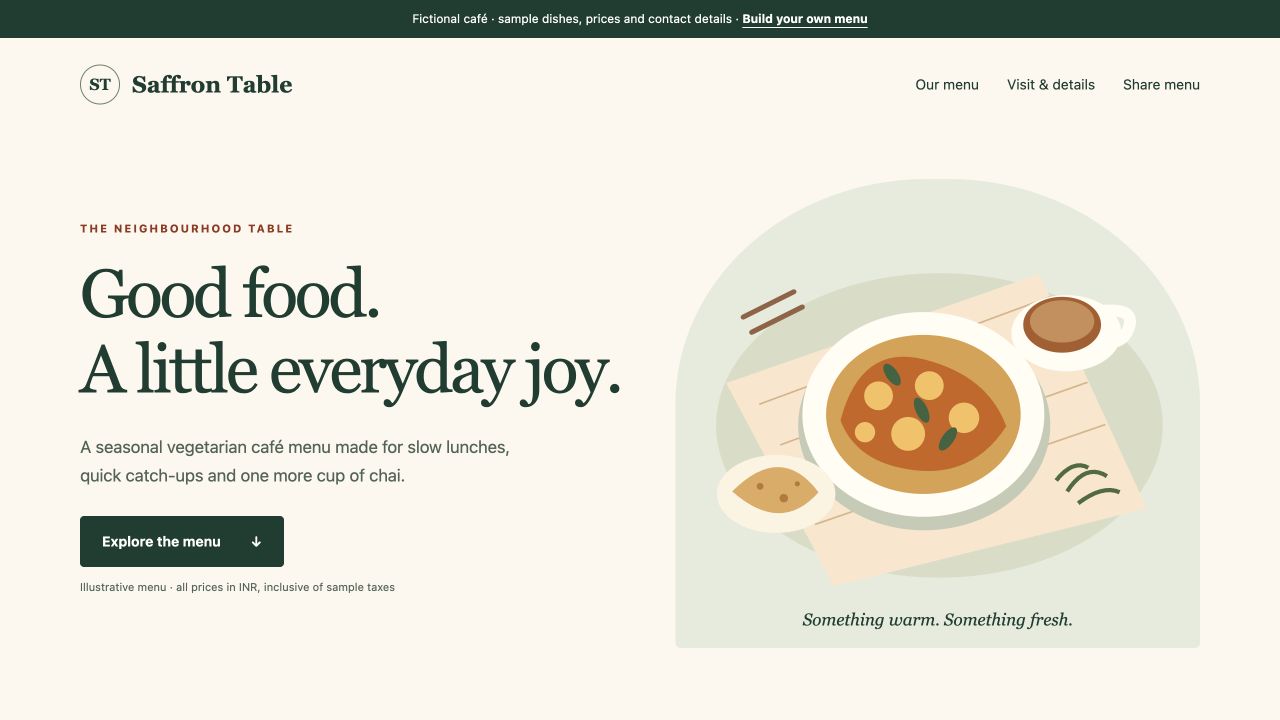
Create a Restaurant Menu Website with DeepSite: Prices, Categories and QR
Build a mobile restaurant menu with editable prices, accessible category buttons and a QR link. Includes a focused prompt, a fictional café example and downloadable code.
Build a Local Service Website with DeepSite: Services, Prices and Enquiries
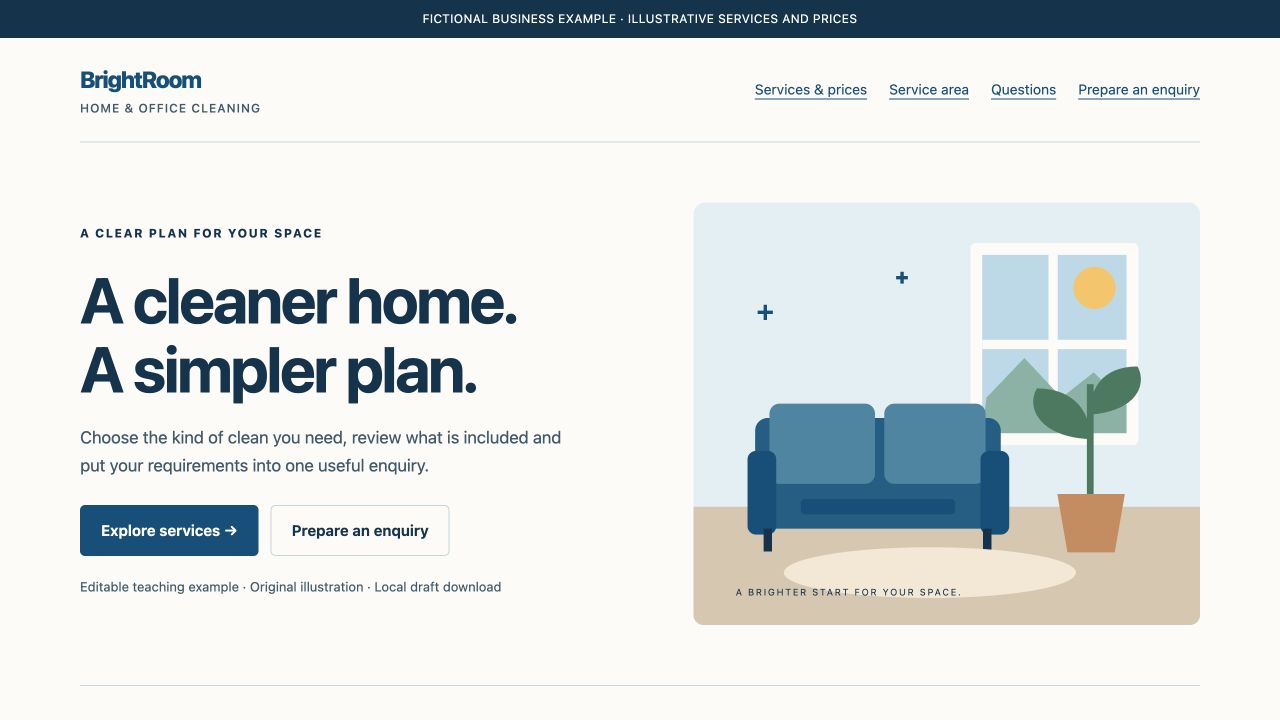
Use a focused local-business prompt, explain service scope and pricing, and build a useful enquiry action. Includes an editable cleaning-site example and launch checklist.