Create a Restaurant Menu Website with DeepSite: Prices, Categories and QR
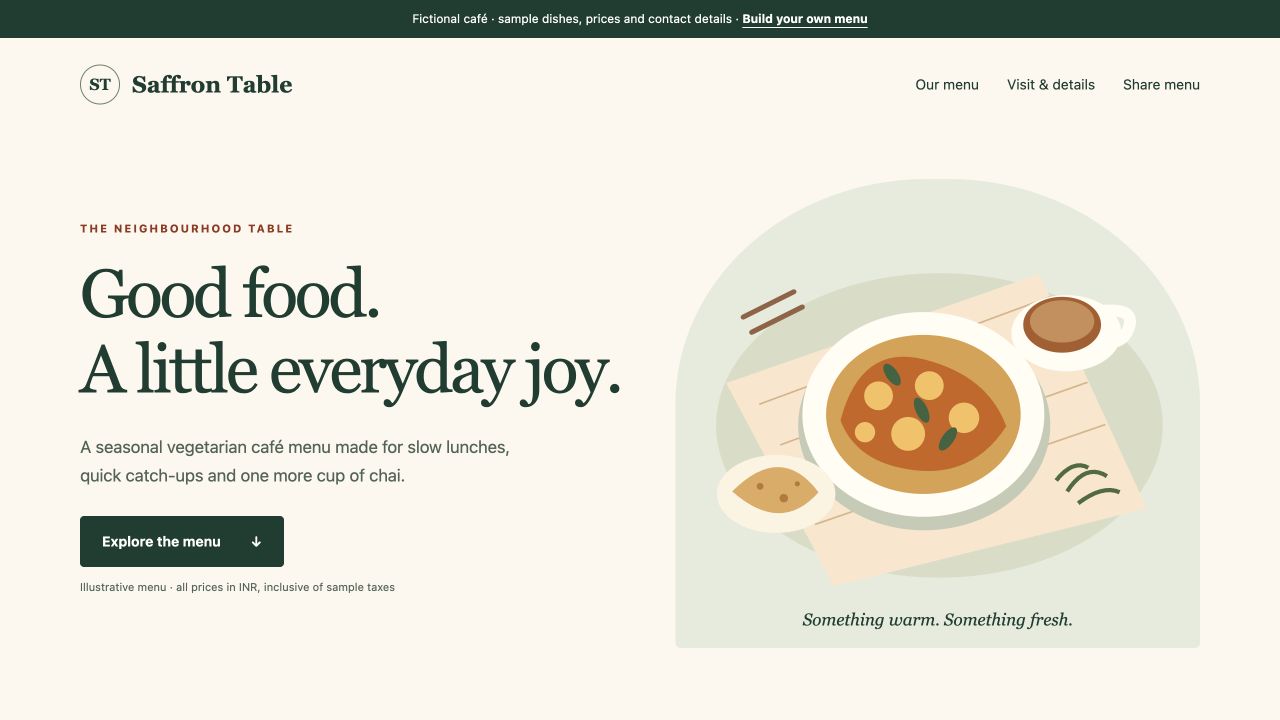
Give a guest three answers quickly: what is on the menu, what does it cost, and how do I find the restaurant? This walkthrough turns that brief into a mobile menu with categories, editable dish data and a shareable QR destination.
Open the restaurant menu · Download the editable starter · Get the starting prompt
Saffron Table is a fictional vegetarian café. Its dishes, prices, hours, address and contact details are illustrative. The example is a locally prepared, AI-assisted HTML/CSS/JavaScript build with original SVG artwork. Use the prompt in DeepSite, or adapt the included starter directly.
Step 1: Give DeepSite a menu brief with actual fields
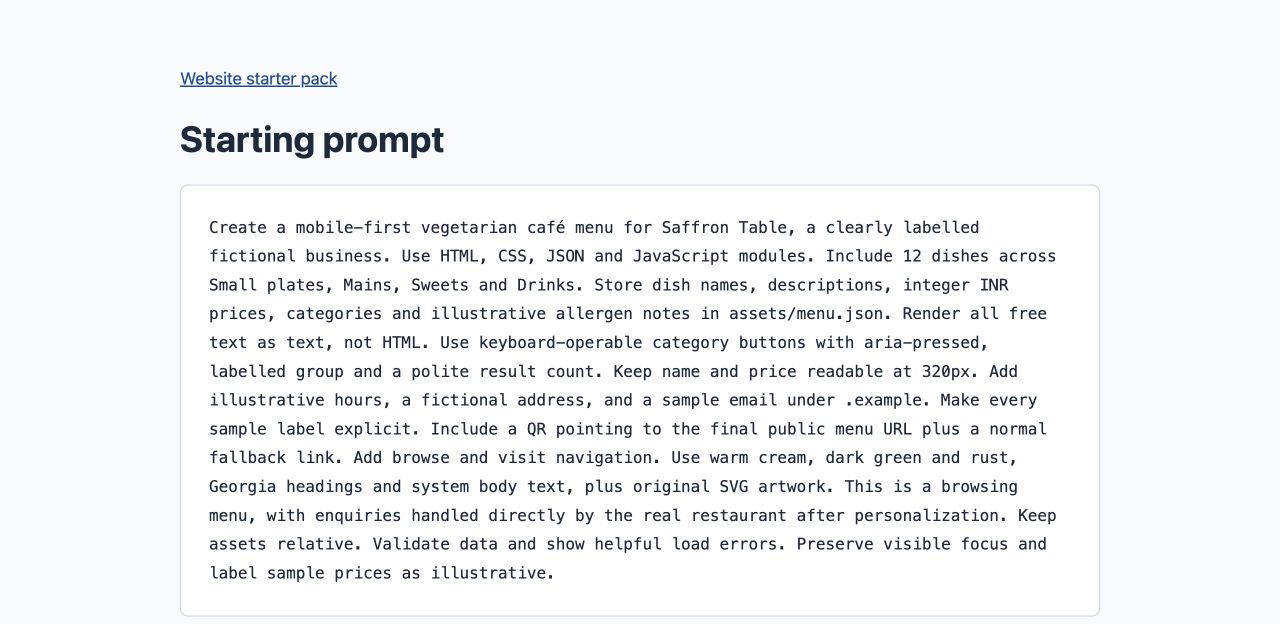
Use the DeepSite access guide to open the current builder. Organize your restaurant details in the website prompt generator, then use a focused instruction:
Create a mobile-first restaurant menu for Saffron Table,
a clearly labelled fictional vegetarian café.

Use HTML, CSS, JavaScript modules and a separate menu.json file.
Include 12 dishes across Small plates, Mains, Sweets and Drinks.
Every dish needs a name, description, category, whole-rupee INR
price and illustrative allergen notes.

Show all dishes first. Add keyboard-operable category buttons,
a visible selected state and an announced result count.
Keep dish names and prices readable on a 320px screen.

Include sample hours, a fictional address, a sample contact
under .example and a QR code to the final public menu URL.
Add a normal link beside the QR. Use relative asset paths.
Replace the sample details with your own menu before launch. Agree the pricing basis, tax wording and ingredient information with the restaurant team. The complete prompt adds the visual direction and data checks.
Step 2: Change a price and description in one place
Extract the ZIP and find site/assets/menu.json. Dish data lives here, so a price change does not require editing every rendered menu card.
The example uses this structure:
{
  "id": "dish-1",
  "category": "small-plates",
  "name": "Crisp corn chaat",
  "price": 190,
  "description": "Sweet corn, cucumber, lime and toasted cumin with tamarind dressing.",
  "allergens": []
}
Edit the number in price without a currency sign or quotation marks. The renderer formats it as INR. Keep the category equal to one of the category IDs and give each dish a unique ID. Preserve JSON commas and quotes.
For a concrete revision, change Crisp corn chaat from 180 to 190 and add toasted cumin to the description. Save the file and refresh the preview. Confirm that the card shows ₹190 and the revised description together. The downloadable starter contains that completed revision.
To preview locally, run this from the extracted site folder, then open http://localhost:8080:
python3 -m http.server 8080
Serve the whole folder over HTTP or HTTPS so modules and JSON load correctly. The code validates the data and provides a reload action if loading fails.
Step 3: Make category selection work with keyboard and touch
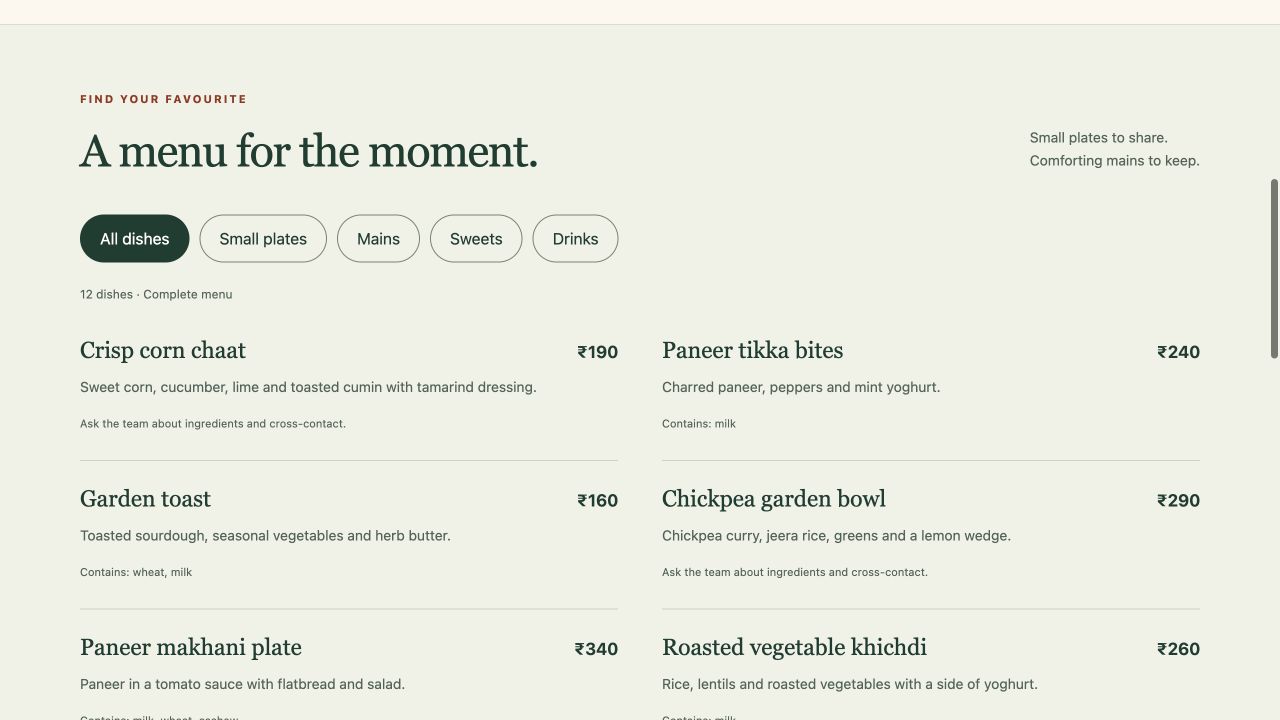
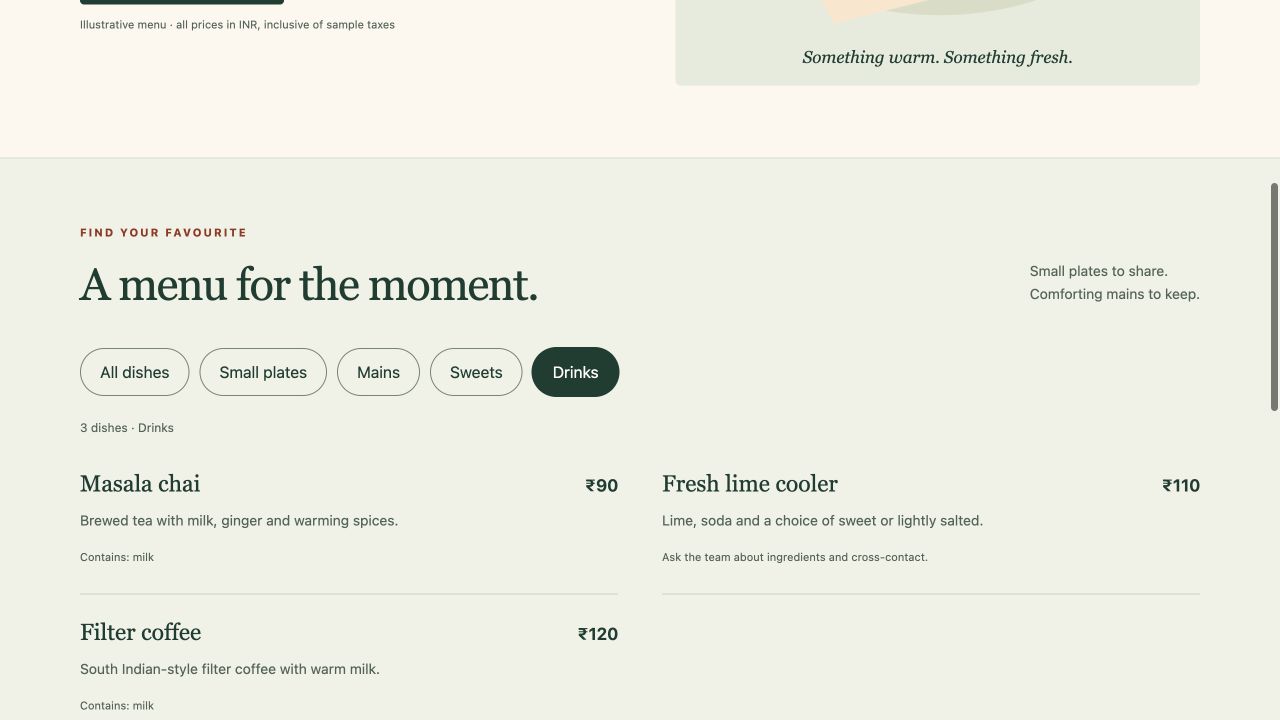
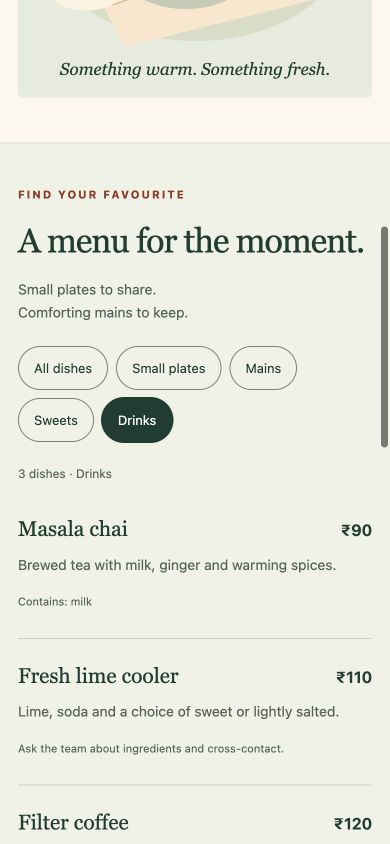
Select Drinks. The menu should show three drinks and announce 3 dishes · Drinks. Select All dishes to restore all twelve items.
Use Tab to focus a category and Enter or Space to activate it. The selected button exposes aria-pressed="true"; a polite status region announces the result count. These are filter buttons, so they keep ordinary button keyboard behavior.
The example renders names and descriptions with textContent. Keep this pattern when editing the starter so menu text remains text. Add new dishes to the data rather than placing executable markup in descriptions.
Use the revision prompts to request a data update and an accessibility improvement in separate passes.
Step 4: Make the same menu comfortable on a phone
Check 320px and 390px widths. Category buttons should wrap into readable rows. Each dish should keep its name, description and price visible within the screen. Switch to Drinks and back, then open Visit & details.
For your real restaurant, verify the address, opening hours, reply route and any holiday exceptions. Use a real email link, phone link or maintained contact page after replacing the fictional details. If you collect enquiries through a form, follow the contact delivery walkthrough and check the receiving inbox.
Review allergen wording with the kitchen. Explain cross-contact and tell guests how to ask about dietary requirements. Keep ingredient information accurate whenever a recipe changes.
Step 5: Publish, point the QR to the menu and check the destination
Keep these files together when publishing:
site/
  index.html
  assets/
    style.css
    table.svg
    menu.json
    menu-model.mjs
    menu.mjs
    menu-qr.png
Follow the HTML publishing walkthrough. Open your public HTTPS menu address, refresh it and change a category. Confirm the JSON, stylesheet and illustration load.
Generate a QR code for your own final public menu URL, then update the QR image and the adjacent fallback link together. The sample QR opens this public example. Scan your replacement QR on your phone, check the domain, open the page and read a current dish price. Repeat after changing the URL.
Print the QR with its quiet border intact and enough contrast to scan. Place a readable menu link beside it so guests have another way to open the menu. A URL that stays the same lets you update dishes without reprinting the QR.
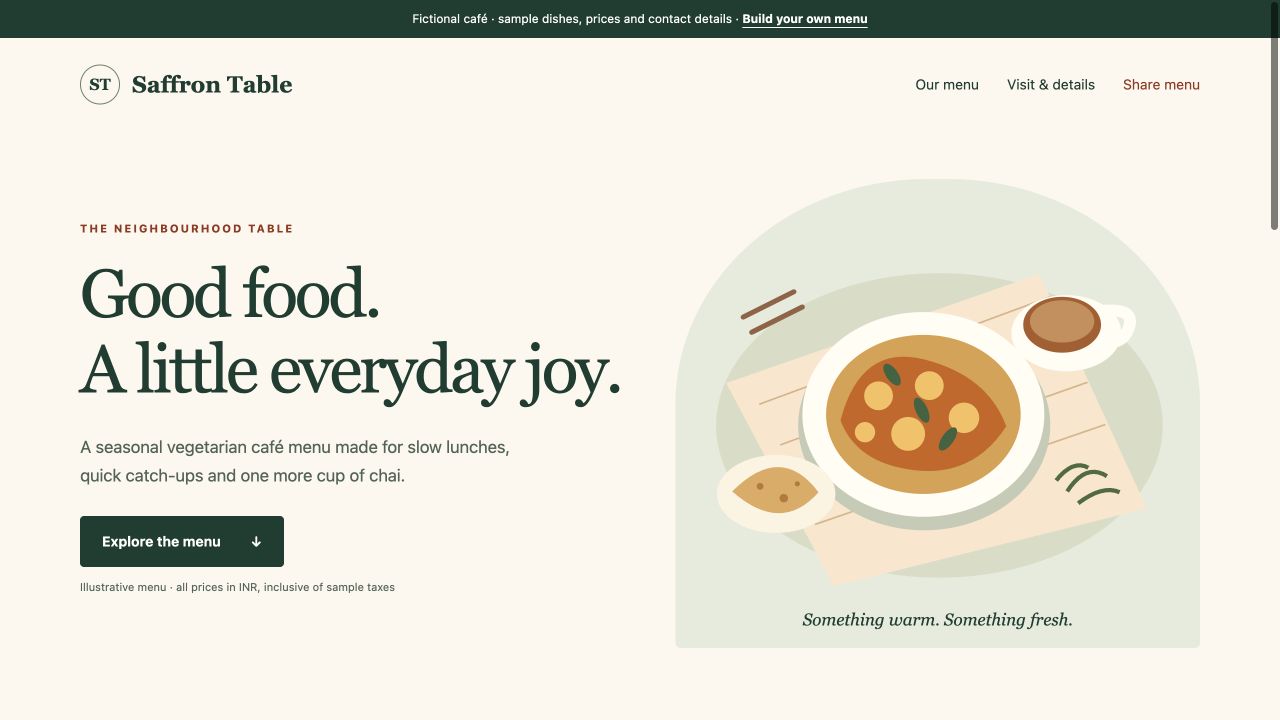
Use the launch checklist to personalize the files and repeat the checks before sharing. The example focuses on browsing dishes, prices and restaurant details. Add an ordering or reservation service only when its complete customer flow is configured and verified.
Find this menu, the freelancer portfolio and the local service example in the free starter pack.
Watch the mobile menu walkthrough
Follow the real browser captures through the menu categories, current sample prices, contact section and QR destination. The 28-second silent walkthrough holds each view for readability.
Recent Posts
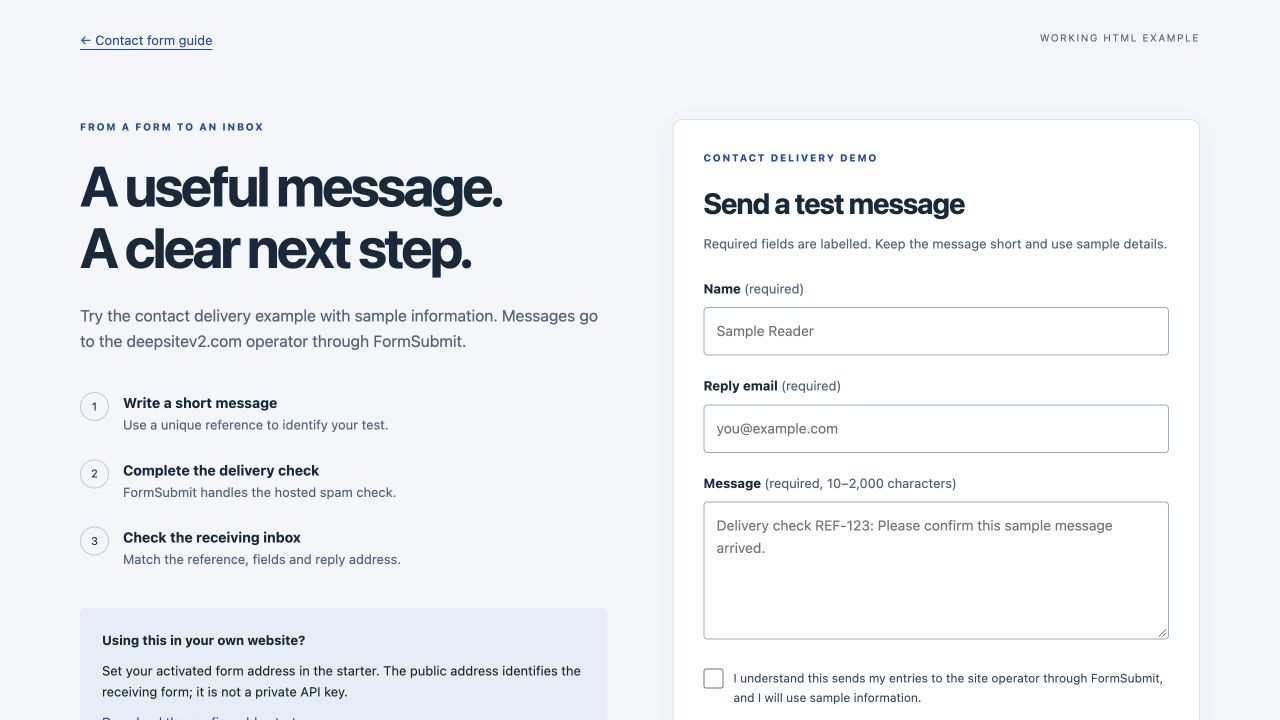
Make a DeepSite Contact Form Send Messages: A Working HTML Setup
Connect a DeepSite HTML contact form to FormSubmit, activate the receiving inbox and verify a real message. Includes validation, spam checks, screenshots and editable starter code.
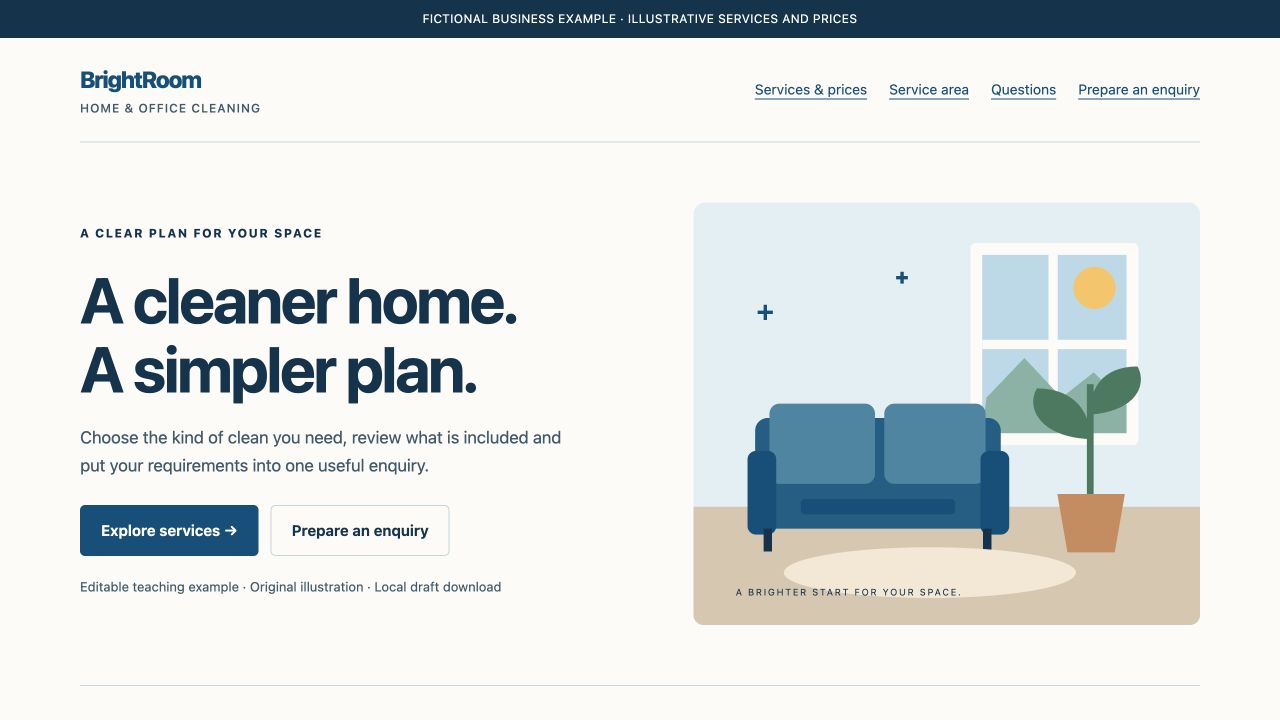
Build a Local Service Website with DeepSite: Services, Prices and Enquiries
Use a focused local-business prompt, explain service scope and pricing, and build a useful enquiry action. Includes an editable cleaning-site example and launch checklist.
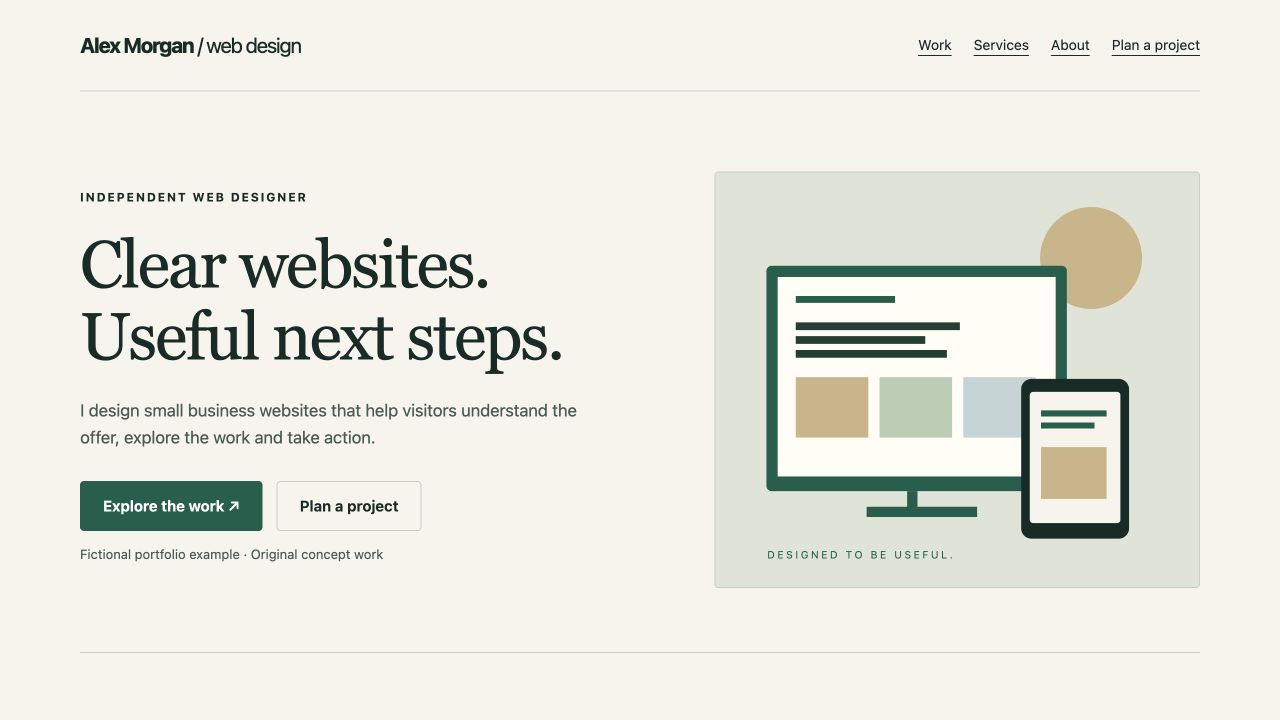
Build a Freelancer Portfolio with DeepSite: Prompt and Editable Example
Use a focused portfolio prompt, explain three projects, refine the mobile layout and give visitors a useful inquiry action. Includes editable code and a free starter pack.