Build a Freelancer Portfolio with DeepSite: Prompt and Editable Example
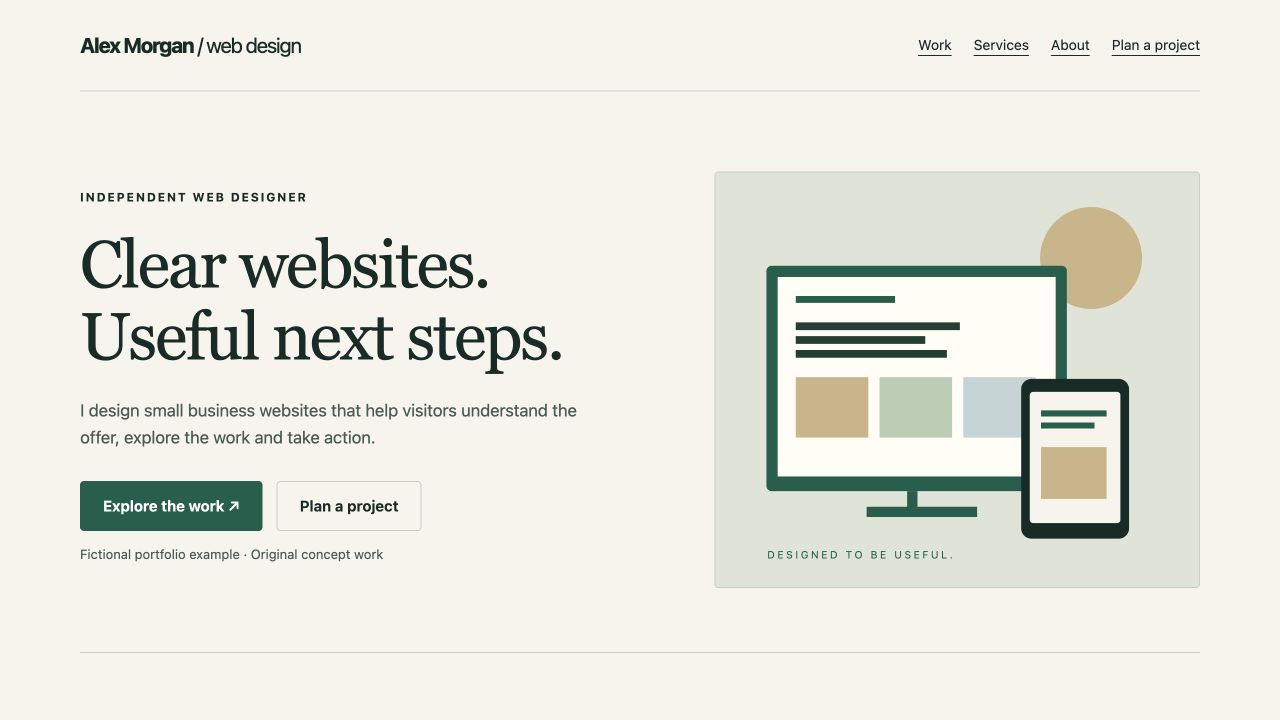
Build a portfolio that helps a potential client answer three questions: What do you do? Can I see relevant work? How do I start a conversation? Use the prompt below in DeepSite, then adapt the editable example to your own work.
Open the portfolio example · Download the starter ZIP · Browse the resource pack
The example is an AI-assisted HTML/CSS/JavaScript build prepared for this guide, with original SVG artwork. Alex Morgan and the three projects are fictional teaching examples. The pack contains the starting brief, two focused revision prompts and the editable files.
Step 1: Give the builder a concrete portfolio brief
Choose the visitor and the action before choosing colors. This example is for a freelance web designer whose potential clients need to review work and describe a project.
Open the DeepSite access guide to choose the current builder entry point. Use the website prompt generator to organize your own details, or copy the complete starting prompt.
The core brief is:
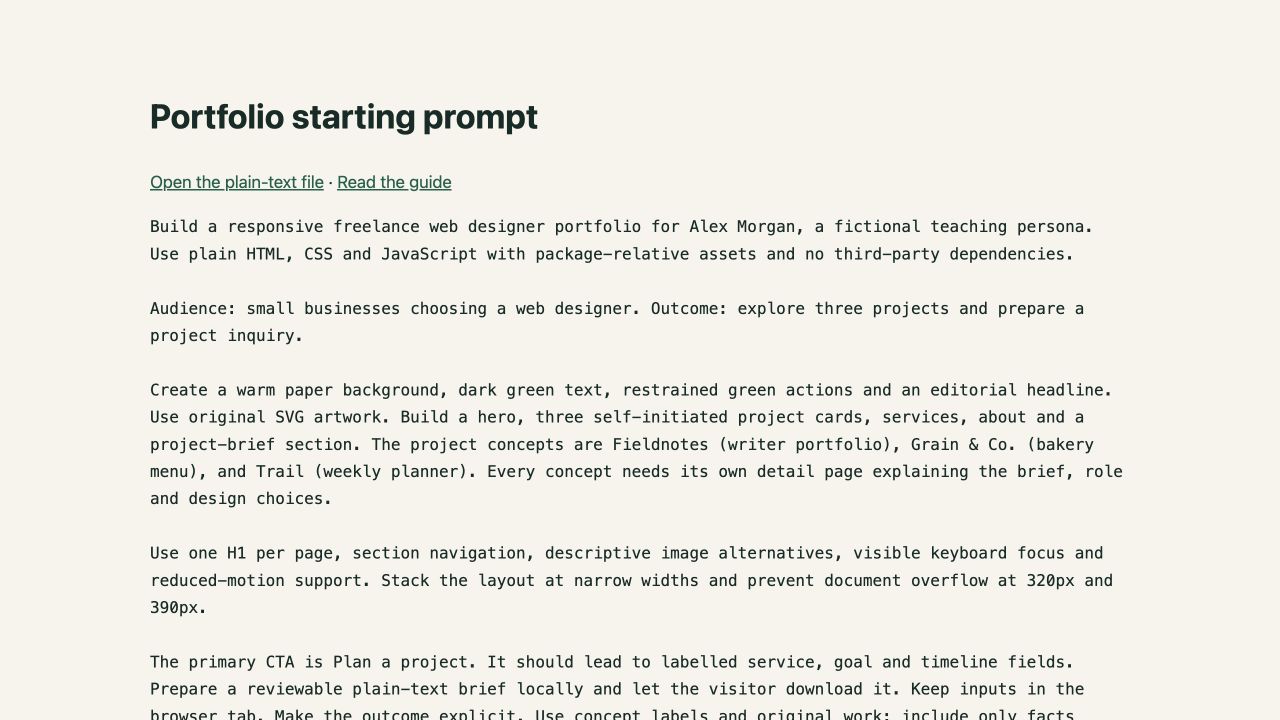
Create a freelance web designer portfolio for Alex Morgan,
a fictional teaching persona. Use plain HTML, CSS and JavaScript.

Audience: small businesses choosing a web designer.
Outcome: review three projects and prepare a project inquiry.

Sections: hero, selected work, services, about and project brief.
Each project needs a preview and a page explaining the brief,
my role and design choices. Label concept projects clearly.

Style: warm paper background, dark green text, restrained actions,
readable typography and original SVG artwork.

Primary CTA: Plan a project. Let the visitor choose a service,
describe a goal, review a plain-text brief and download it locally.

Use relative asset paths, labelled controls, visible keyboard focus,
reduced-motion support and a single-column layout on small screens.
Replace the persona, audience, service and project details before generating your version. Supply your real contact destination when you want visitors to reach you directly.
Step 2: Make the first screen explain your service
The example opens with Clear websites. Useful next steps. The supporting sentence names the service and visitor outcome. The two actions lead to selected work and the project brief.
For your version, write one specific sentence: “I build [type of website] for [audience] so visitors can [useful action].” Replace broad claims with work you actually offer. Put the work link and contact action within easy reach.
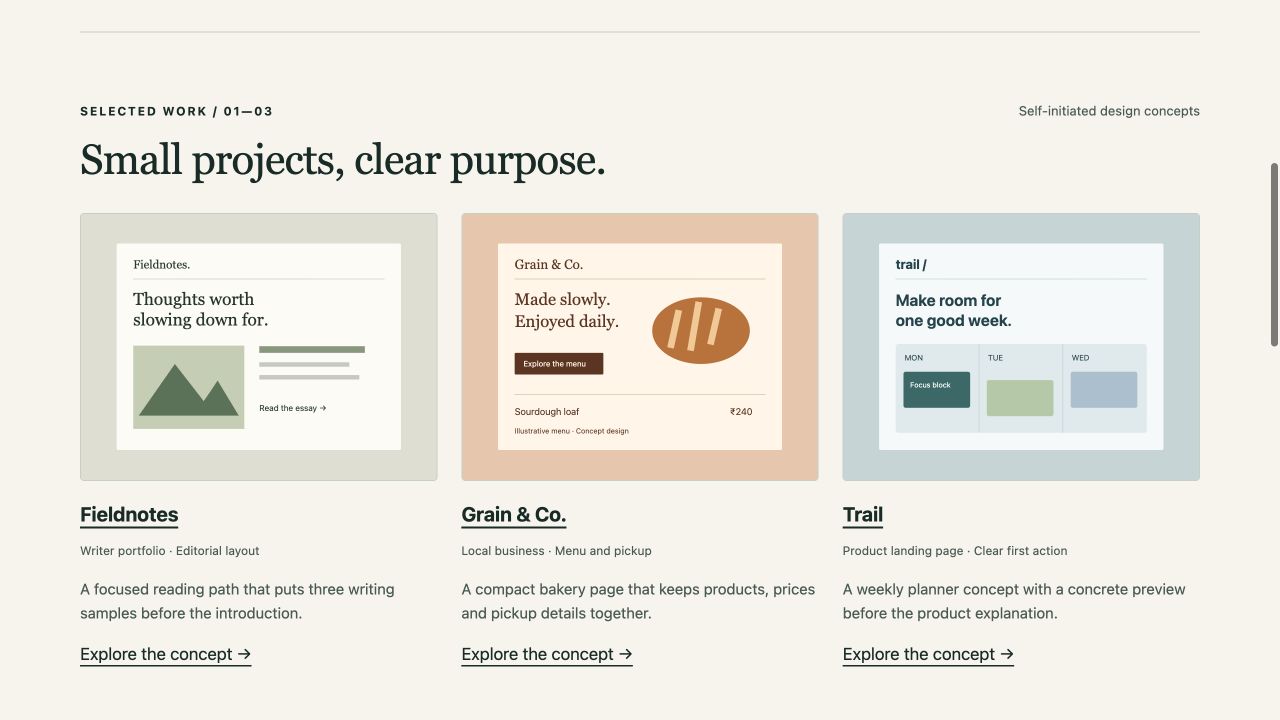
Open Explore the work. The three cards lead to a writer portfolio, a bakery page and a weekly planner concept. Each card gives the project name, type and purpose before asking the visitor to open it.
Step 3: Explain your contribution on each project page
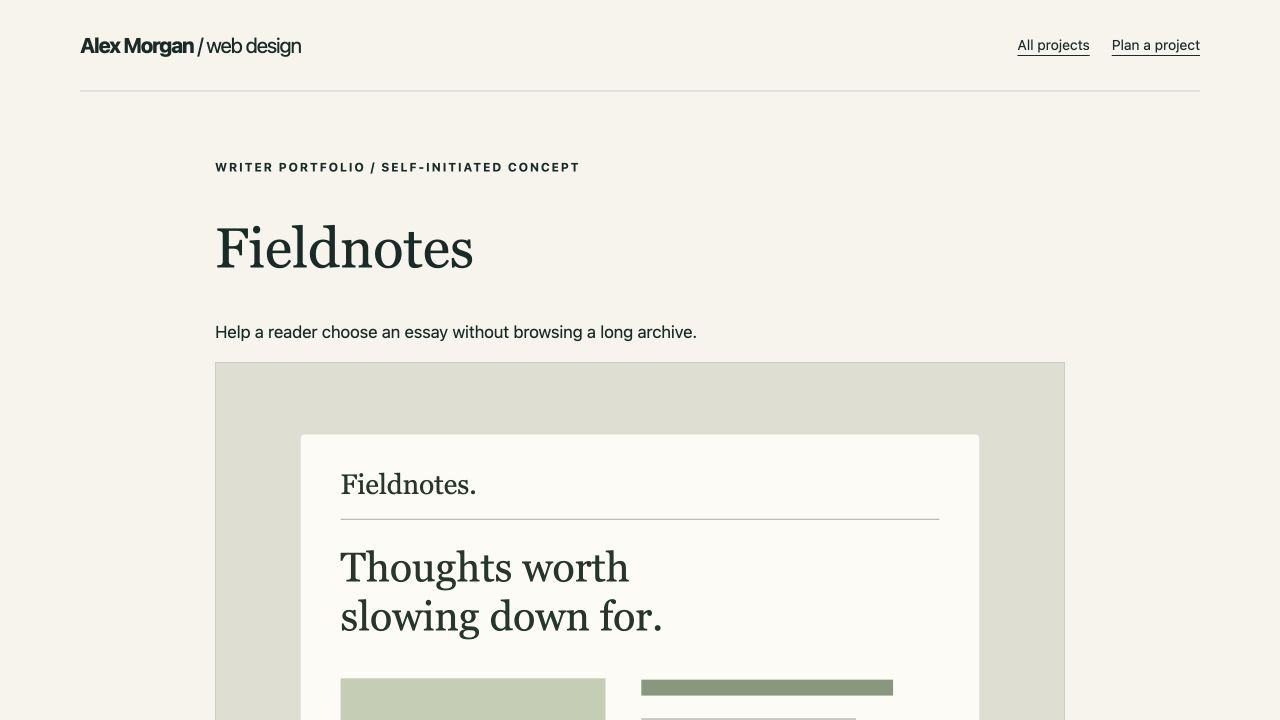
Open Fieldnotes from the work section. Its detail page follows a reusable structure:
- The brief: what the page should help its visitor do.
- My role: the part of the work the portfolio owner contributed.
- Design choices: specific decisions that support the brief.
- The intended user journey: the sequence the design supports.
Use the same structure for your own work. Add a live link, a permissioned screenshot and an actual result when available. For self-initiated work, keep the concept label and explain the problem you chose to solve. A clearly explained concept gives readers something useful to assess.
The example's case-study actions return to all work or lead straight to Plan a project. Keep that path available on every project page.
Step 4: Improve one part with each revision
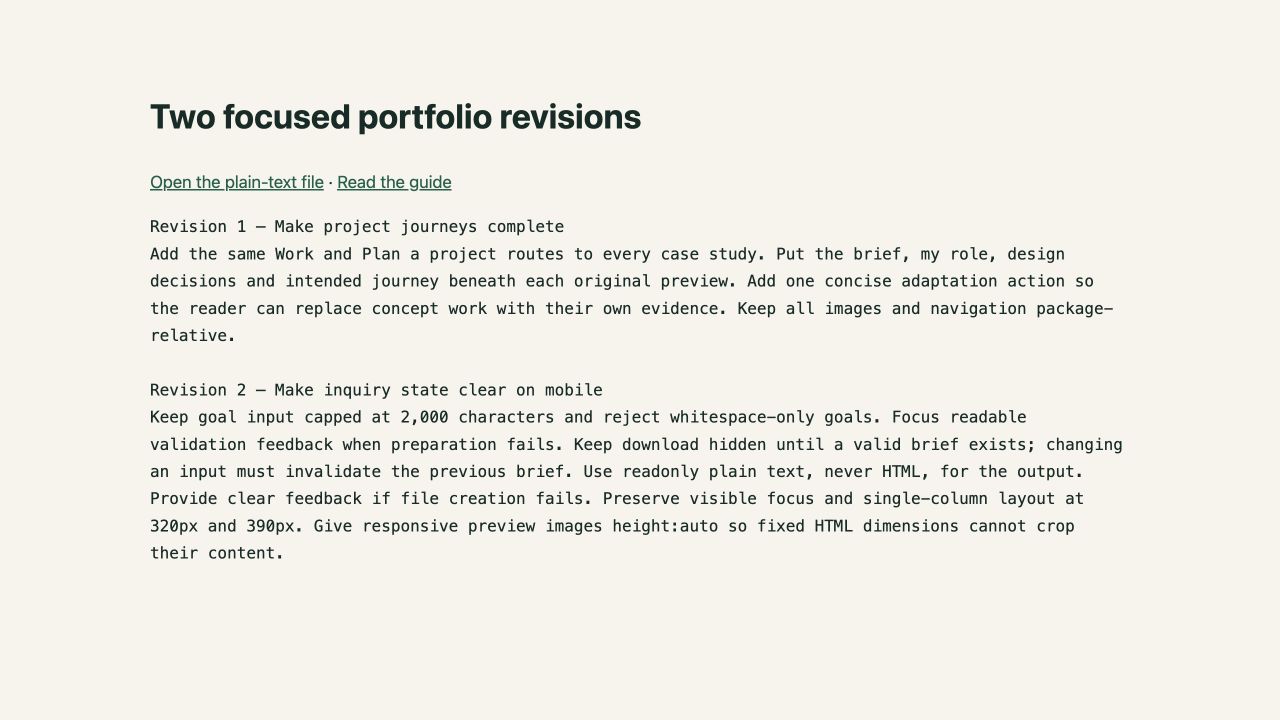
Use the two saved revision prompts to refine the draft in small passes.
The first revision completes the project journey: consistent navigation, clear contribution, design decisions and a next action. The second improves the inquiry state and mobile behavior: readable validation, a reviewable text output, a download that appears after preparation, and responsive image sizing.
A useful mobile revision is:
On screens 320px and 390px wide, stack the sections and keep all
controls inside the page. Give responsive preview images height:auto
so fixed HTML dimensions cannot crop their content. Preserve visible
keyboard focus. Keep the existing desktop structure and page copy.
Review the result after each change. For images, check the whole preview rather than only whether the image loaded. For buttons, complete the action rather than judging its appearance.
Step 5: Give the contact action a clear outcome
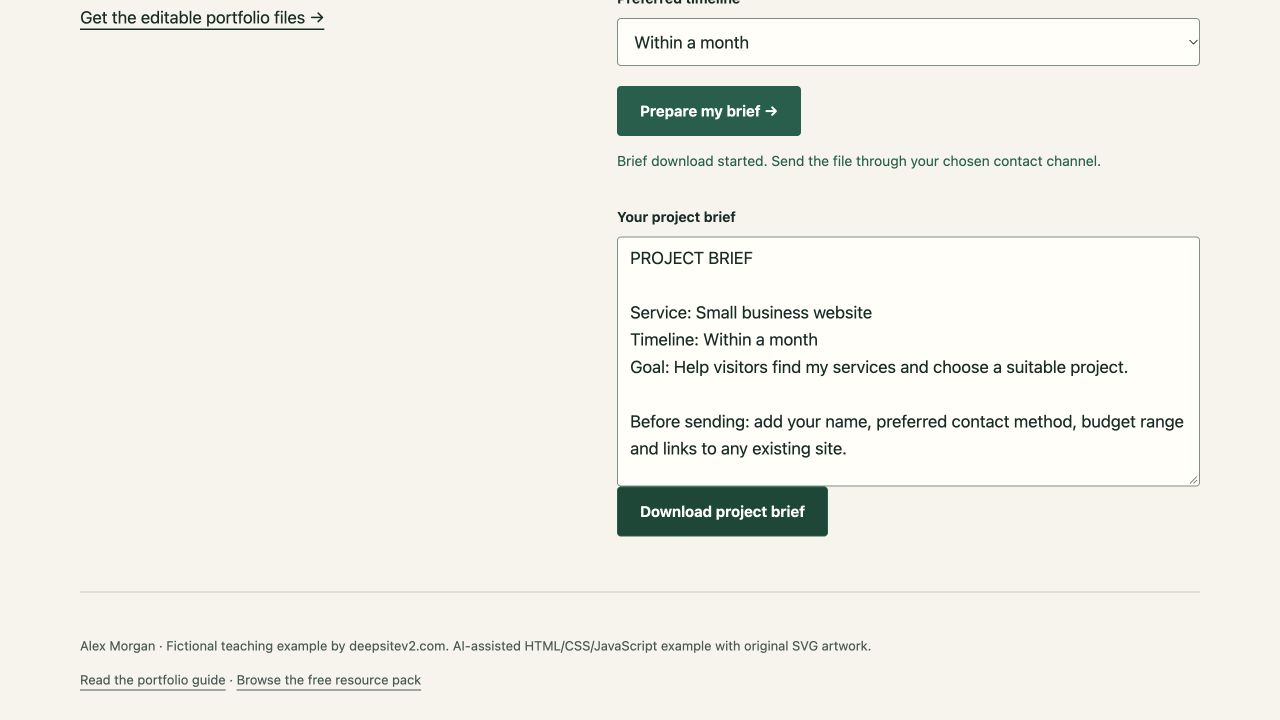
Select Plan a project, choose a service and timeline, then describe what visitors should be able to do. Select Prepare my brief. Review the text and select Download project brief to save project-brief.txt.
The example keeps those answers inside the browser tab and prepares a file for the visitor to send through their chosen contact channel. Editing an answer clears the previous result so the next download matches the revised brief.
For your own live business portfolio, choose the contact path you can support:
- Email link: use your real email address and make the action say that it opens email. The visitor sends the message from their email app.
- Brief download: keep this example's local preparation flow and explain where the visitor should send the completed brief.
- Contact form service or backend: configure the destination and complete a real send-and-receive check before inviting inquiries.
Keep the action's wording aligned with what happens. This makes the next step clear to both you and the visitor.
Step 6: Review mobile layout, then publish the package
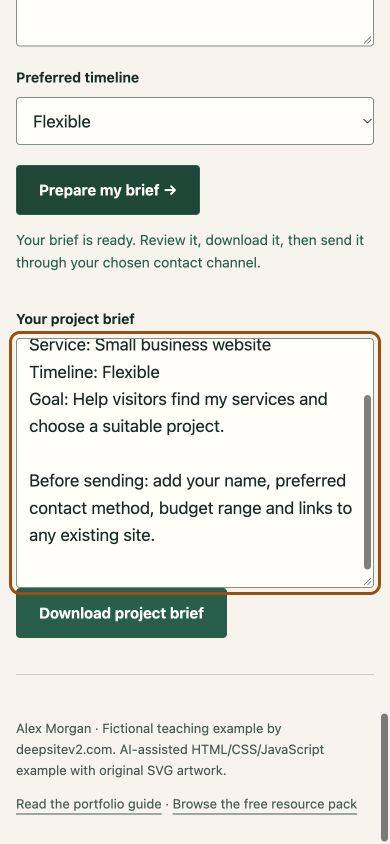
Open the page at 320px and 390px widths. Read the service sentence, open each project, return to the portfolio and prepare a brief. Confirm that text fits, artwork retains its proportions and controls remain easy to use. Move through the links and form with the keyboard to check visible focus.
Extract the starter ZIP and serve its site folder over HTTP for local preview. From that folder, one option is:
python3 -m http.server 8080
Open http://localhost:8080. This example uses JavaScript modules, which should be served through HTTP or HTTPS; MDN explains the module loading requirements.
Follow the HTML publishing guide to keep the asset folders intact and publish the page. Repeat the project, refresh and brief-download checks from the public HTTPS address. Then open it on your phone.
Before publishing your own portfolio, follow the personalization checklist: replace the sample identity, add your own projects and contact route, set the page title and description, and choose index settings for your production site.
Watch the portfolio walkthrough
Follow the real browser captures from the opening page to a case study and the prepared inquiry brief. The silent walkthrough holds each view for readability.
Open the walkthrough video · Read the walkthrough transcript
What should you personalize first?
Your service sentence and projects. Start there so the portfolio reflects work you want to do. Then choose one clear contact action. Use the free resource pack to keep the prompt, revisions, source files and launch checklist together.
For a maintained sending route, follow the contact form delivery guide. Configure your own endpoint and verify a unique test message in the receiving inbox. This portfolio example continues to prepare a local brief for download.
Recent Posts
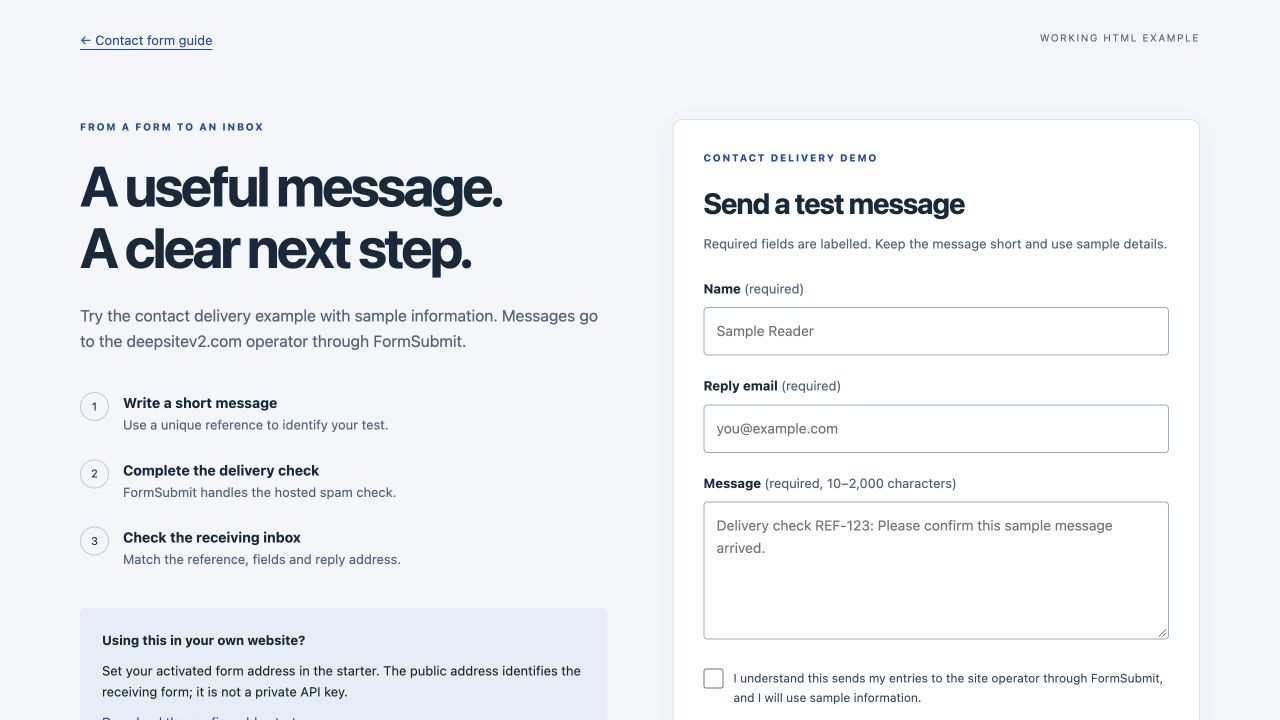
Make a DeepSite Contact Form Send Messages: A Working HTML Setup
Connect a DeepSite HTML contact form to FormSubmit, activate the receiving inbox and verify a real message. Includes validation, spam checks, screenshots and editable starter code.
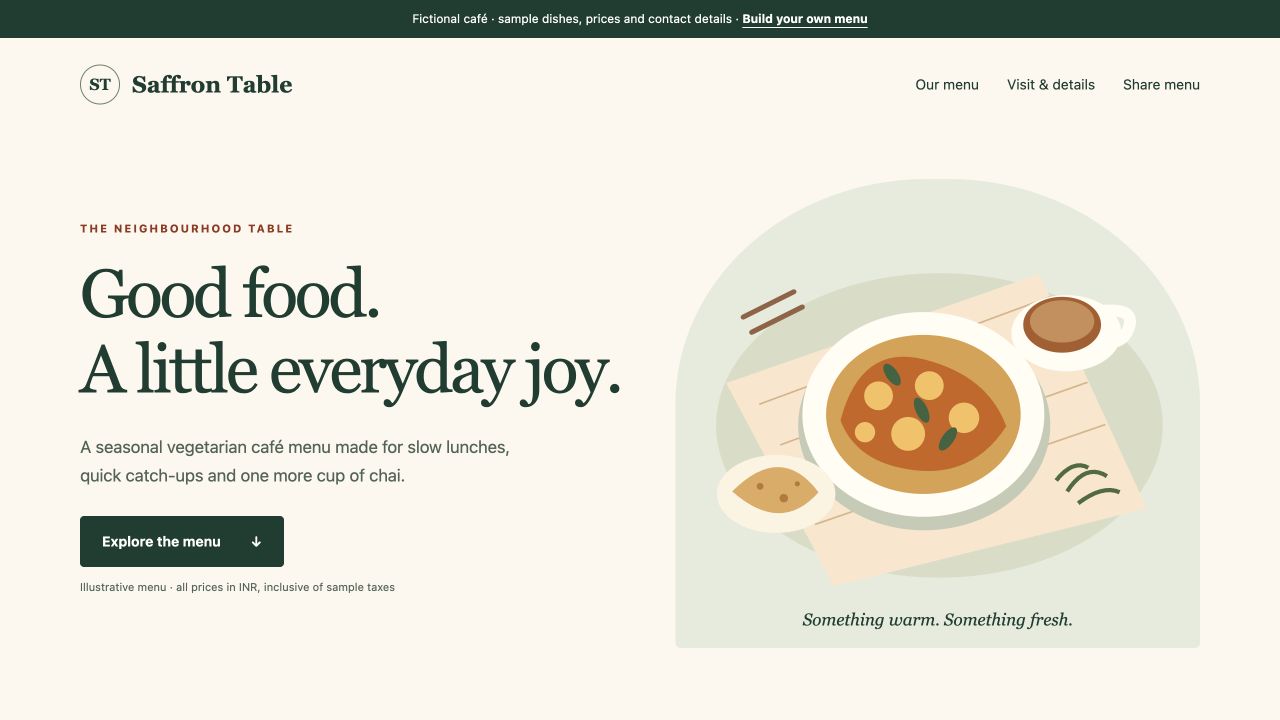
Create a Restaurant Menu Website with DeepSite: Prices, Categories and QR
Build a mobile restaurant menu with editable prices, accessible category buttons and a QR link. Includes a focused prompt, a fictional café example and downloadable code.
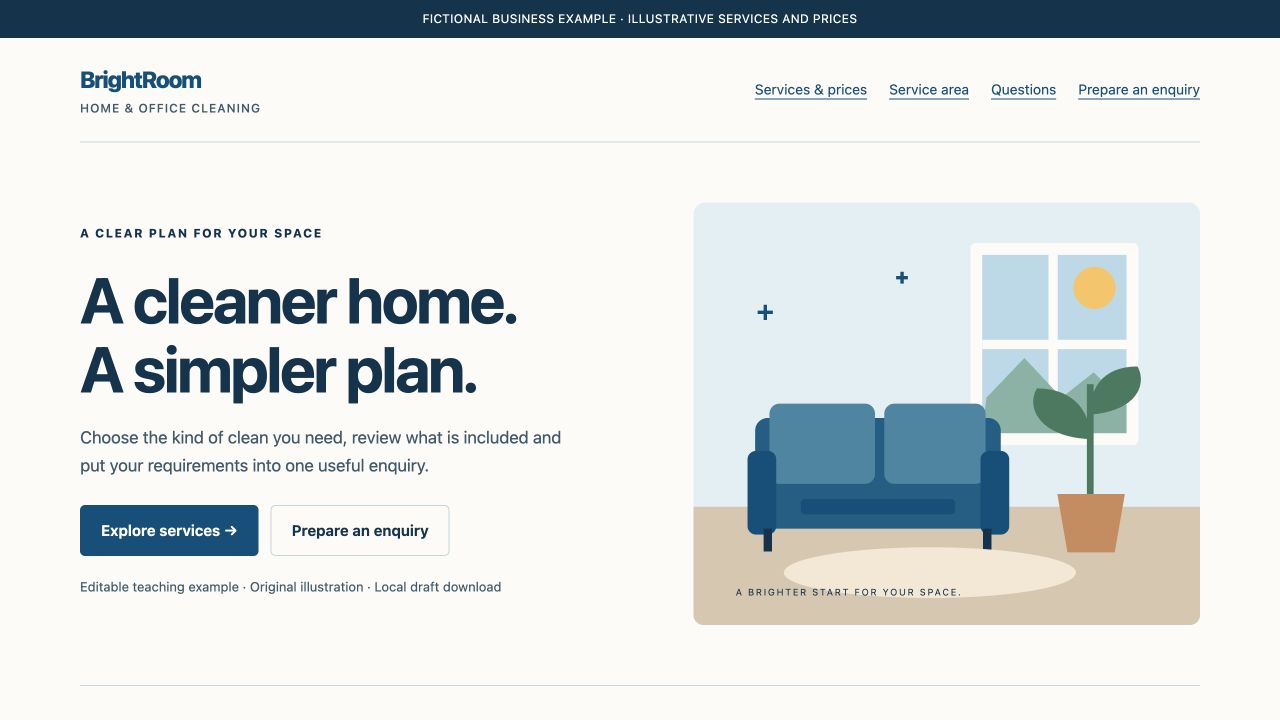
Build a Local Service Website with DeepSite: Services, Prices and Enquiries
Use a focused local-business prompt, explain service scope and pricing, and build a useful enquiry action. Includes an editable cleaning-site example and launch checklist.