Make a DeepSite Contact Form Send Messages: A Working HTML Setup
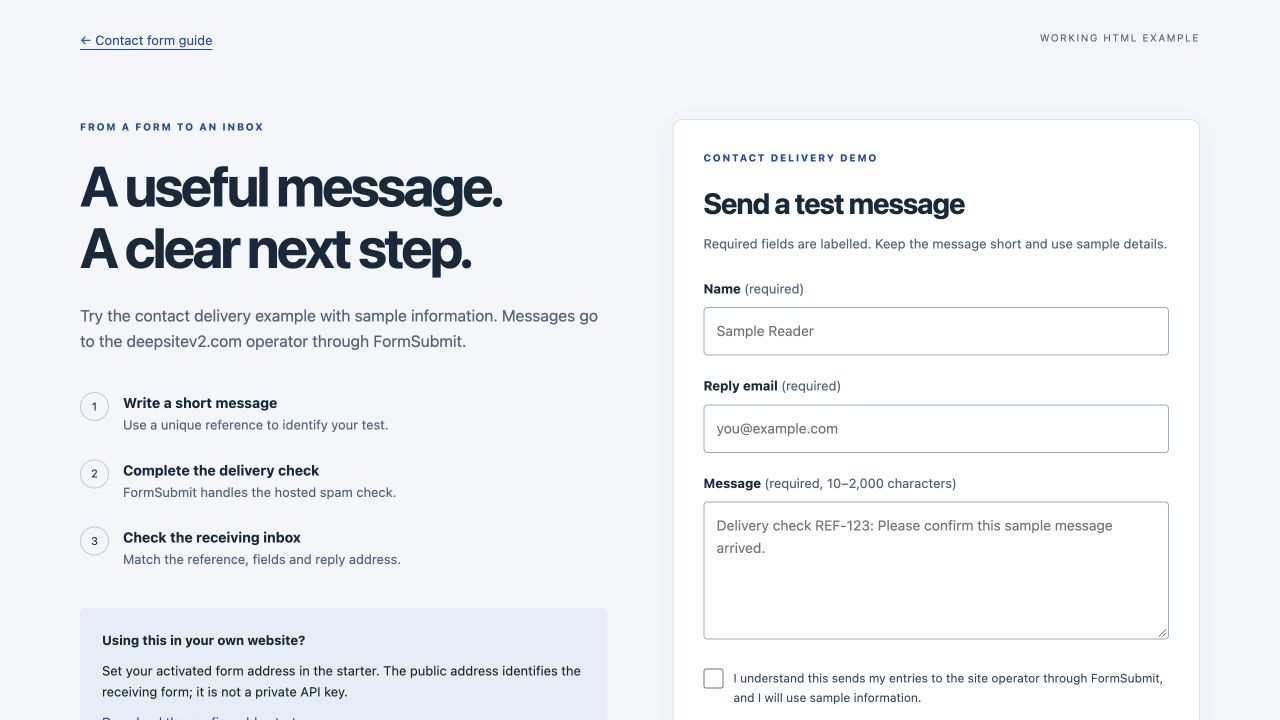
A contact form needs a delivery route as well as fields and a button. For a static DeepSite HTML website, a hosted form endpoint can receive the submission and email it to your inbox.
This walkthrough uses FormSubmit: your page sends a native HTML POST to its hosted backend, and the provider handles delivery and its spam-check step. You activate an inbox you control, use a masked form address, then verify a uniquely labelled message in that inbox.
Open the contact delivery example · Download the configurable starter · Get the complete prompt
The example is a locally prepared, AI-assisted HTML/CSS/JavaScript build. Its public demo sends sample messages to the deepsitev2.com operator. The downloadable starter uses YOUR_FORM_ID and a setup guard so you connect your own inbox before sending.
Step 1: Ask for a delivery flow, not just a form layout
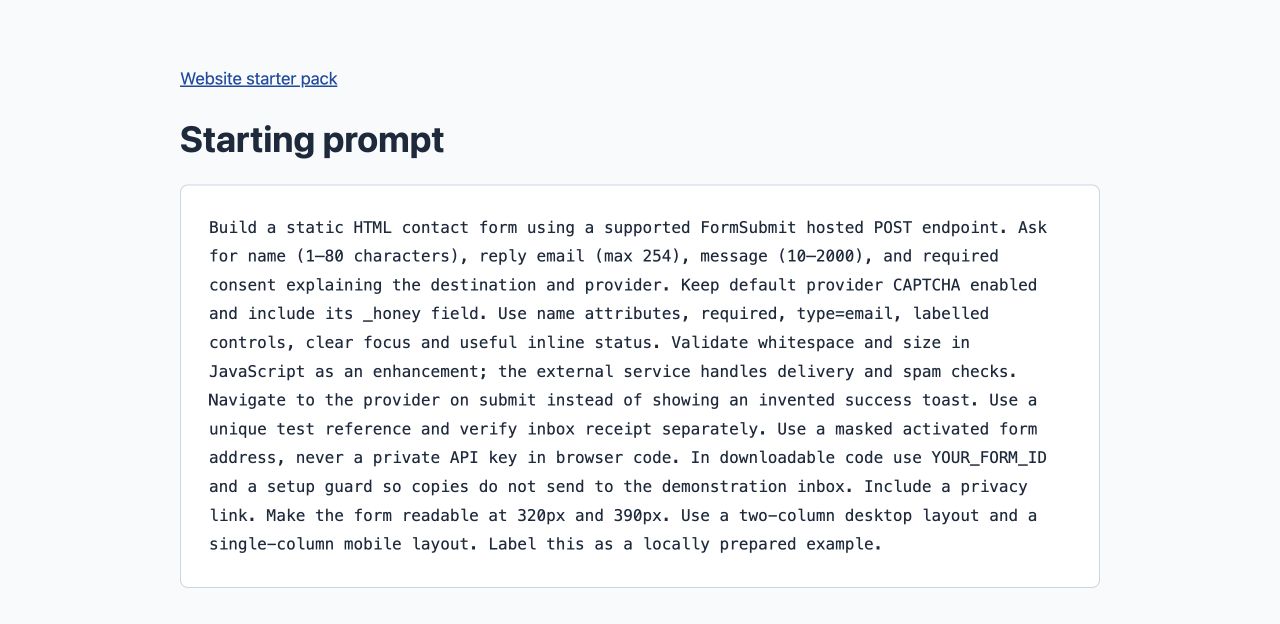
Use the DeepSite access guide to open the current builder. Start with a brief that names the delivery service and the outcome:
Build a static HTML contact form using FormSubmit's hosted POST.
Include labelled name, reply email and message fields.
Use name attributes, required fields and useful length limits.
Explain the destination and require confirmation before sending.

Keep the provider's default CAPTCHA and add its honeypot field.
Use my activated masked form address as the action.
Navigate to the provider's delivery check on submission.
Keep private API credentials out of the browser.

Make it readable at 320px and 390px with visible keyboard focus.
Verify a unique test reference in the receiving inbox.
Use this HTML workflow when your export contains static files. A framework project with its own server route should follow that backend's deployment and secret-management requirements. Choose one maintained delivery route and document its behavior.
Step 2: Activate your inbox and set the masked endpoint
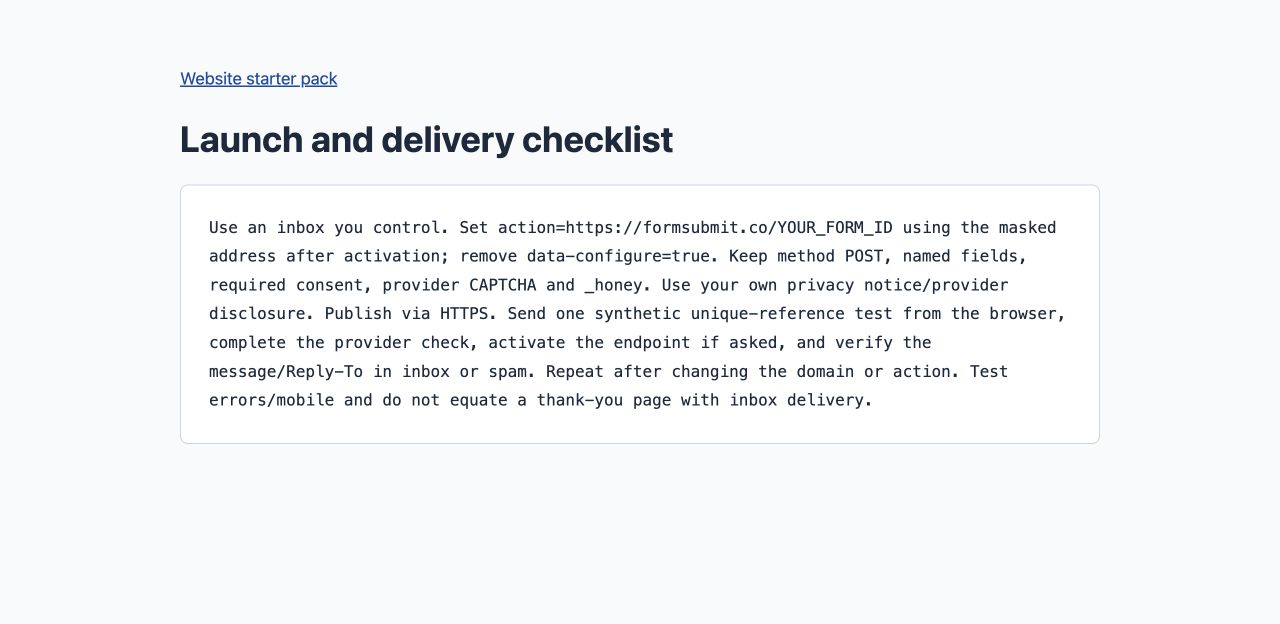
Follow FormSubmit's setup instructions using an inbox you control. The first submission triggers an activation email. Open that email and activate the form.
The activation email also supplies a random-like form identifier. Put that address in your form's action. FormSubmit calls this its invisible email feature: the identifier points to the receiving form while keeping the inbox address out of your page source.
<form action="https://formsubmit.co/YOUR_FORM_ID" method="POST">
  <label for="reply-email">Reply email</label>
  <input id="reply-email" name="email" type="email" required>

  <label for="message">Message</label>
  <textarea id="message" name="message" required></textarea>

  <button type="submit">Continue to delivery check</button>
</form>
In the starter, replace YOUR_FORM_ID with your activated identifier and remove data-configure="true" from the form. Keep method="POST" and the field name attributes. The script's setup guard gives you a configuration reminder until you remove it.
The form identifier is a public submission address. Keep actual email API keys, SMTP passwords and other private credentials in a server environment when using a service that requires them.
Step 3: Validate the message and preserve spam protection
The example asks for a name of up to 80 characters, a valid reply email of up to 254 characters and a message between 10 and 2,000 characters. Browser constraints provide immediate feedback; the JavaScript enhancement also checks whitespace, lengths and required confirmation.
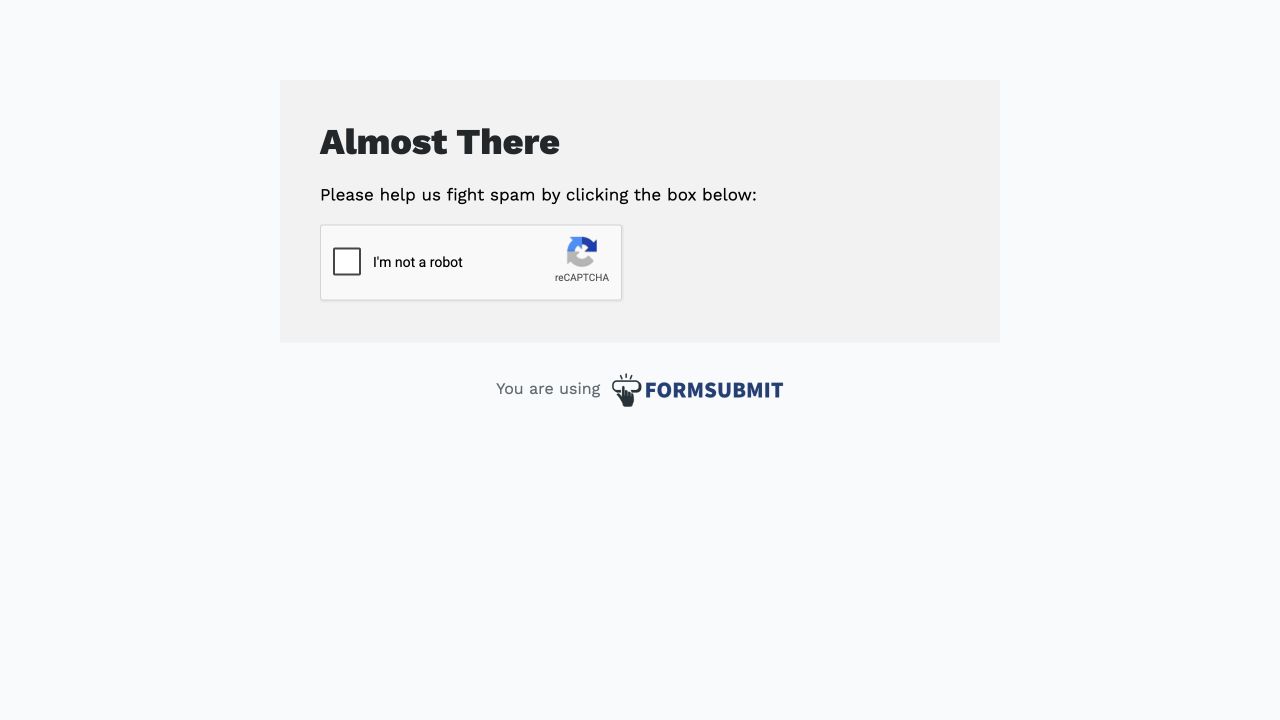
Keep FormSubmit's default CAPTCHA enabled. Include its documented _honey field as another spam signal. The provider checks its own delivery and abuse rules; client-side checks help visitors complete the form and can be bypassed by direct requests. For stricter business validation, choose a backend that enforces your rules on the server.
Explain who receives the submission and which provider processes it. Link your appropriate privacy notice and the provider policy, collect only what the enquiry needs and use sample information for tests.
The button says Continue to delivery check because the next step belongs to the provider. Keep feedback tied to the actual stage: opening the provider, completing its check, submitting the message and verifying receipt are separate outcomes.
Step 4: Publish and send through the real browser flow
Extract the starter, configure your endpoint, then publish the site folder and its assets using the HTML deployment walkthrough. Preview it over HTTP or HTTPS so its module script loads.
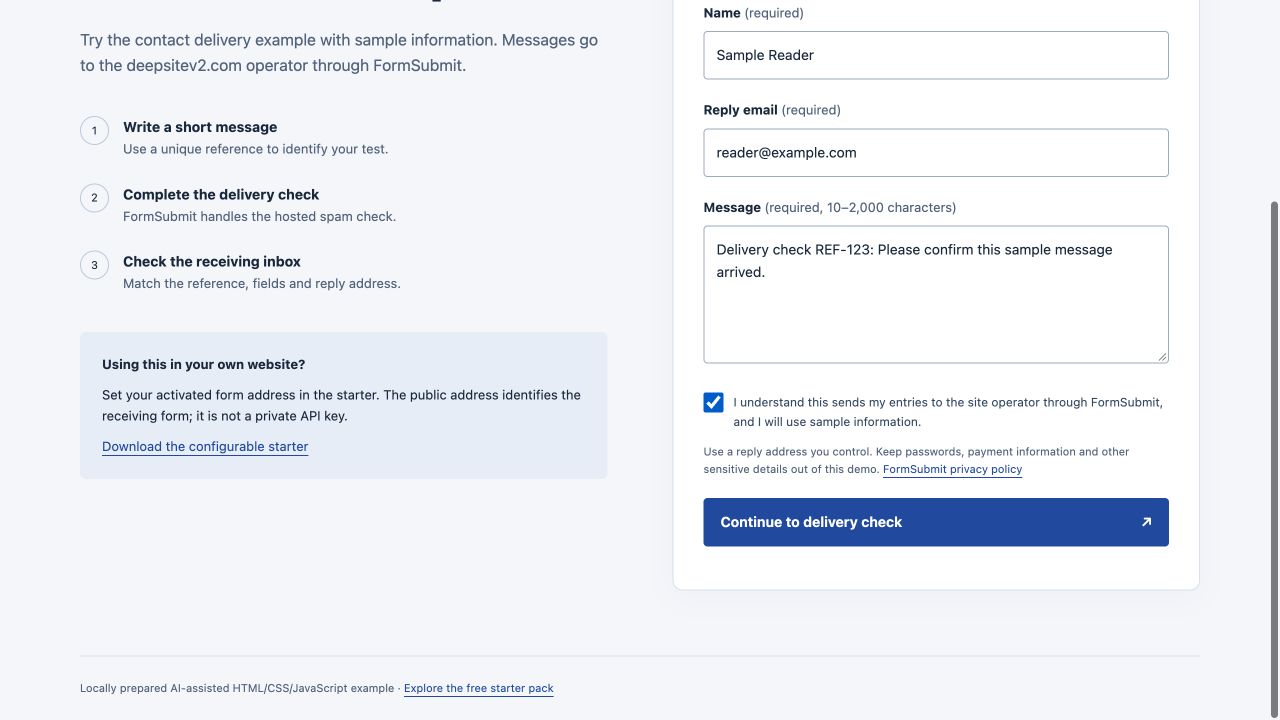
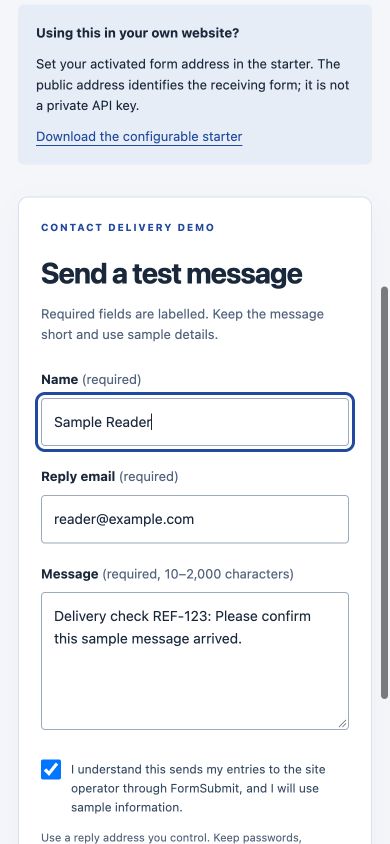
Open the public HTTPS address. Use a reply inbox you control and a unique message such as:
Delivery check REF-123:
Please confirm this sample message arrived with its reply address.
Complete the required fields and confirmation, select Continue to delivery check, then complete the provider's spam check and submission step. At 320px and 390px widths, check that the message, confirmation and button remain usable. Try a blank name and an invalid email as separate validation checks.
Step 5: Verify inbox delivery and keep a repeatable check
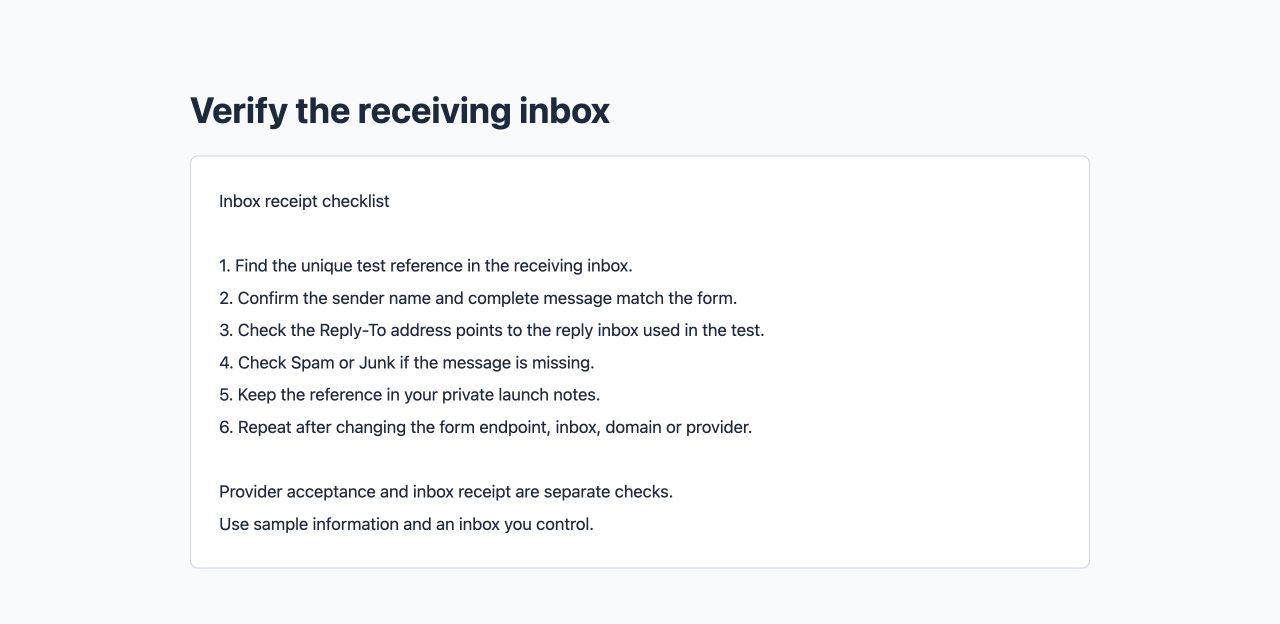
In the receiving inbox, find the unique reference. Confirm that the name, message and reply address match the form entries. Open the email's reply composer and check its recipient if your workflow depends on replies. Check Spam or Junk if the message is missing.
A provider confirmation page confirms that submission stage. The matching email in the inbox confirms receipt. Record the reference privately so a future test has a known comparison. Repeat the send-and-receive check after changing the form action, receiving inbox, domain or delivery service.
If your DeepSite contact form is not working, inspect the stage that failed:
- The button stays on the page: complete the required fields, read the validation message and check the starter's setup guard.
- The provider requests activation: activate the receiving inbox, confirm the endpoint and send a fresh test from the public page.
- The provider rejects the request: check the action address, POST method, spam-check result and provider response.
- The provider accepts but email is missing: inspect Spam/Junk, the configured inbox and provider guidance. Search for the unique reference before retrying.
- The reply goes to the wrong address: check the field is named
emailand the received message's Reply-To header.
Use FormSubmit's documentation for activation, field options, spam controls and masked addresses. Keep the delivery checklist with your project.
Connect this to a portfolio or service website
The portfolio starter downloads a project brief, and the local service starter downloads an enquiry draft. Keep those useful local actions, then link to your configured contact page and tell visitors what to send. Change the wording to Send an enquiry only when you have connected and verified the sending route.
For a restaurant menu, use the real restaurant's contact details or an enquiry route it maintains. Keep booking and ordering actions aligned with the service that actually handles them.
The free starter pack includes the form code, starting prompt, revision prompts and launch checklist.
Recent Posts
Create a Restaurant Menu Website with DeepSite: Prices, Categories and QR
Build a mobile restaurant menu with editable prices, accessible category buttons and a QR link. Includes a focused prompt, a fictional café example and downloadable code.
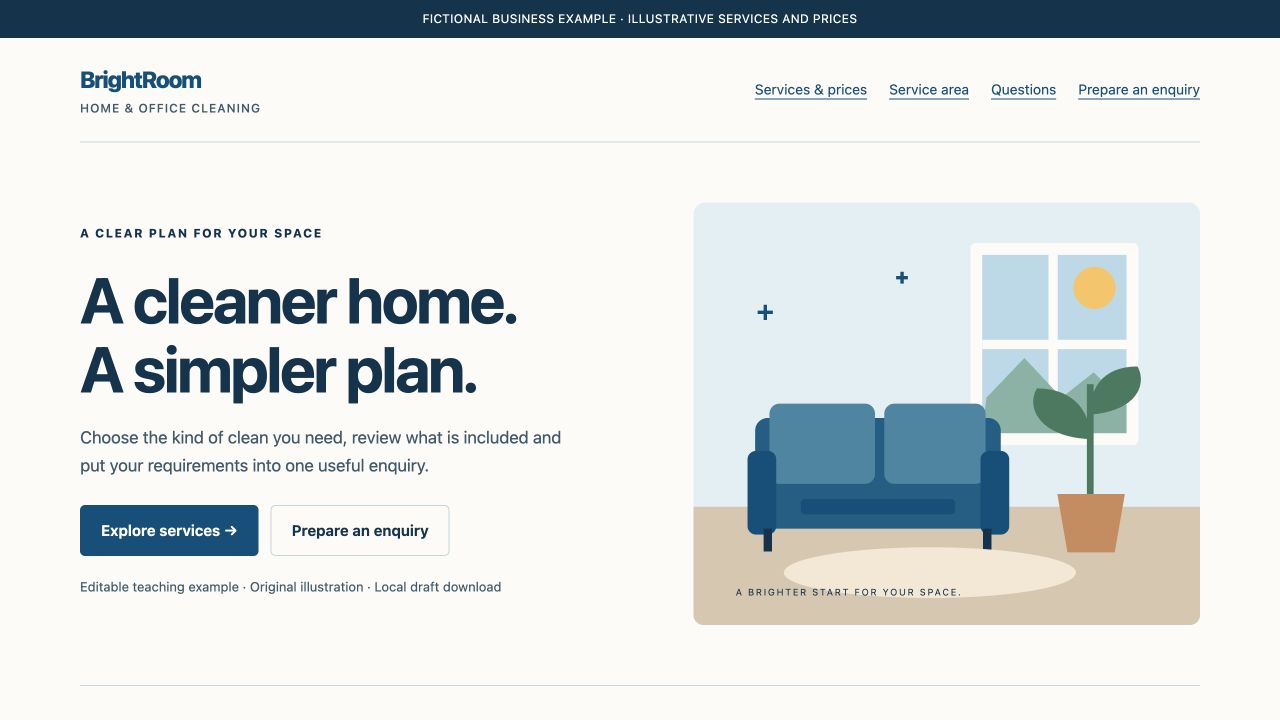
Build a Local Service Website with DeepSite: Services, Prices and Enquiries
Use a focused local-business prompt, explain service scope and pricing, and build a useful enquiry action. Includes an editable cleaning-site example and launch checklist.
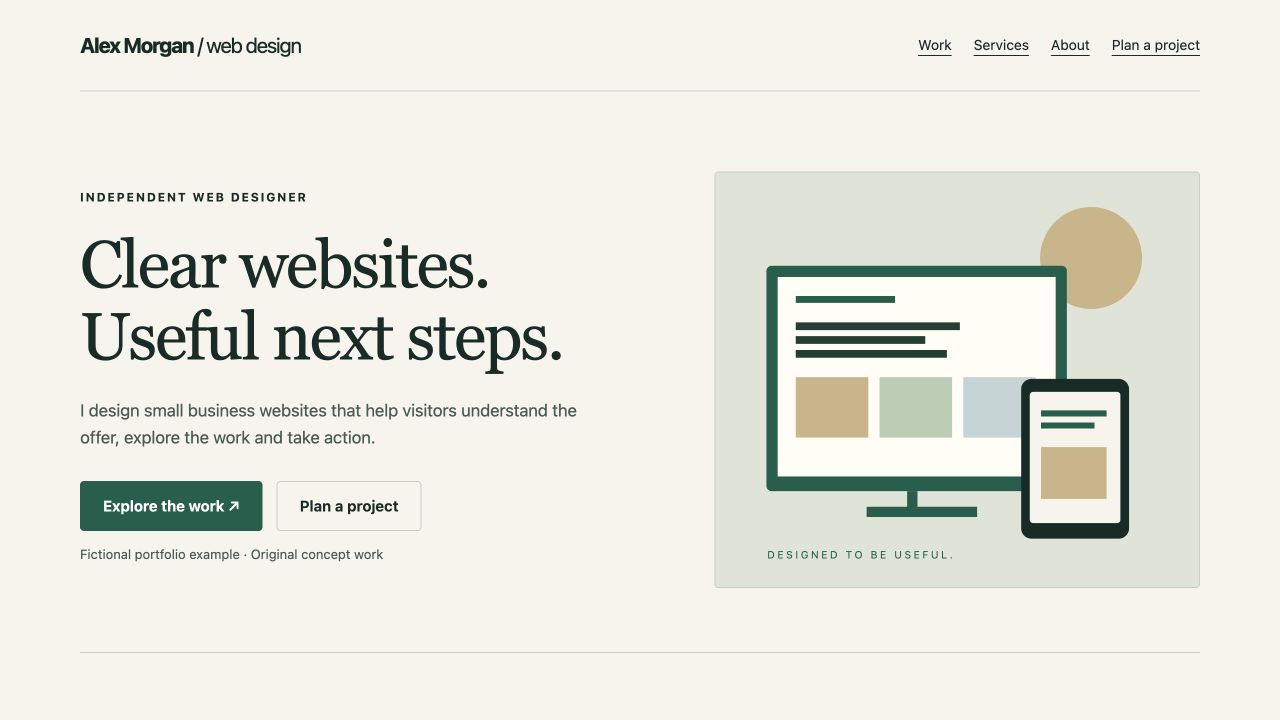
Build a Freelancer Portfolio with DeepSite: Prompt and Editable Example
Use a focused portfolio prompt, explain three projects, refine the mobile layout and give visitors a useful inquiry action. Includes editable code and a free starter pack.