How to Enable GitHub Branch Switching in Lovable?
I'll show you how to enable GitHub branch switching in your Lovable account and explain why this feature is useful.
Enable branch switching
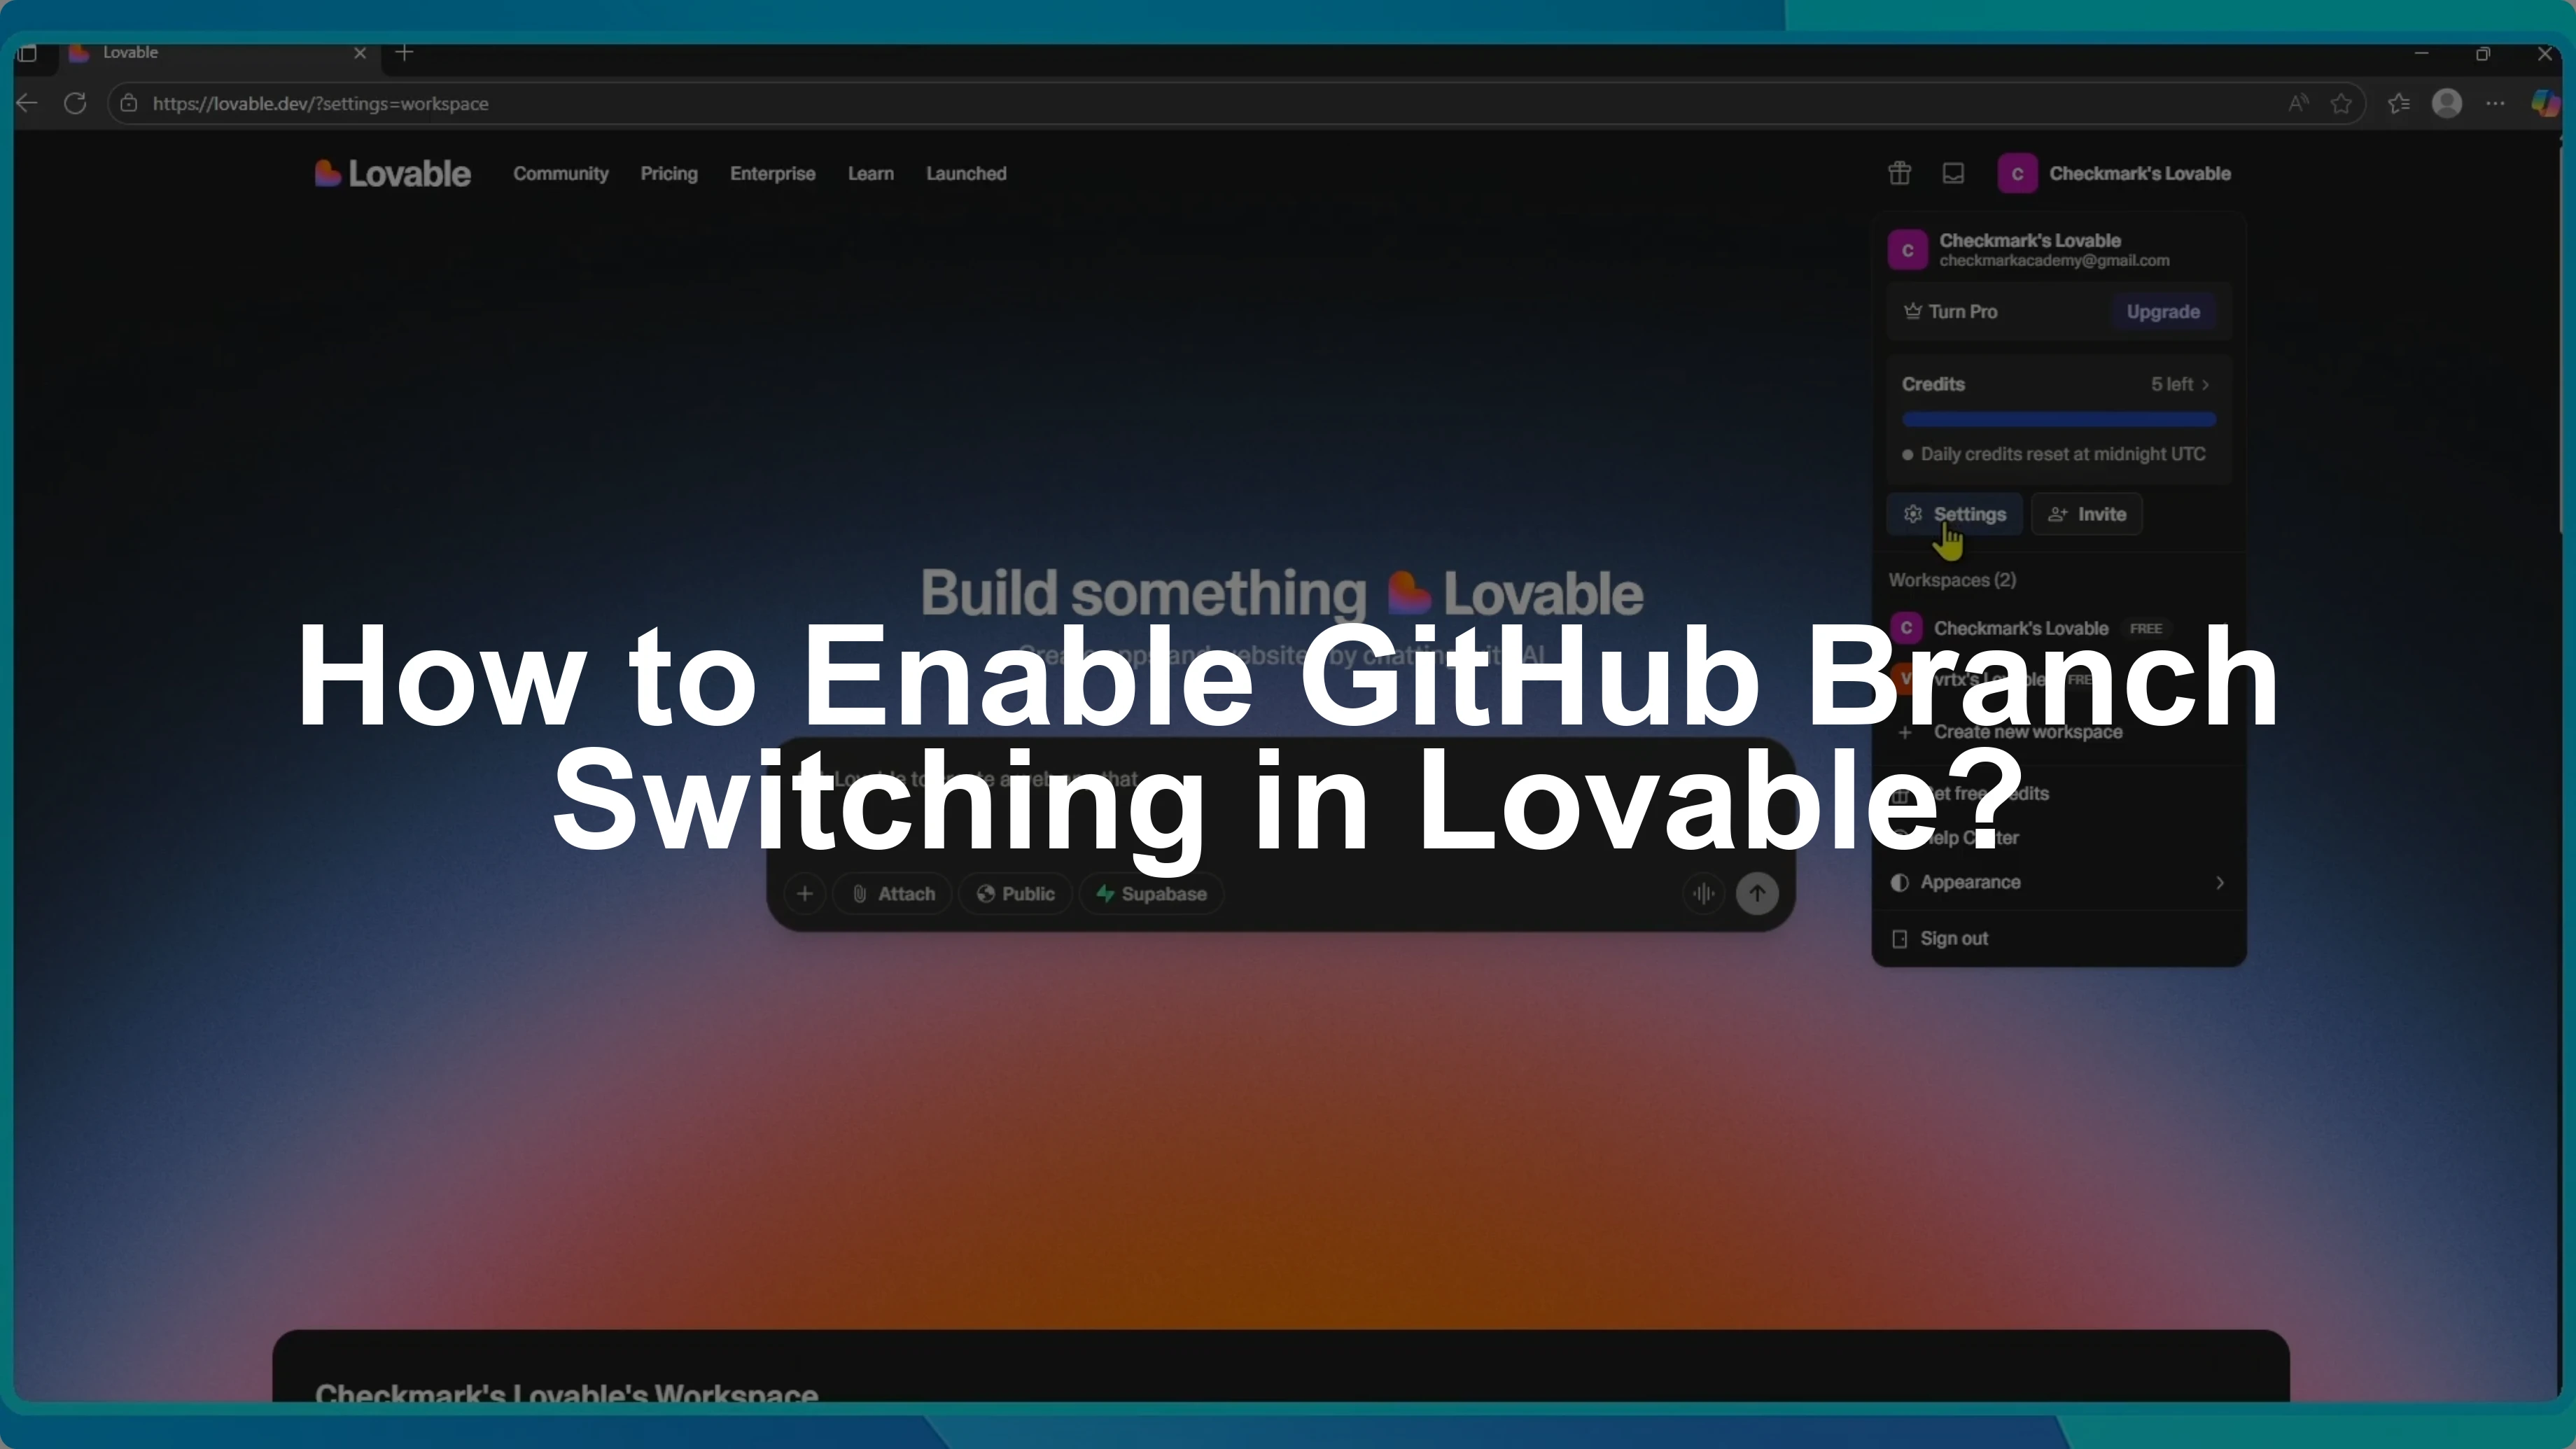
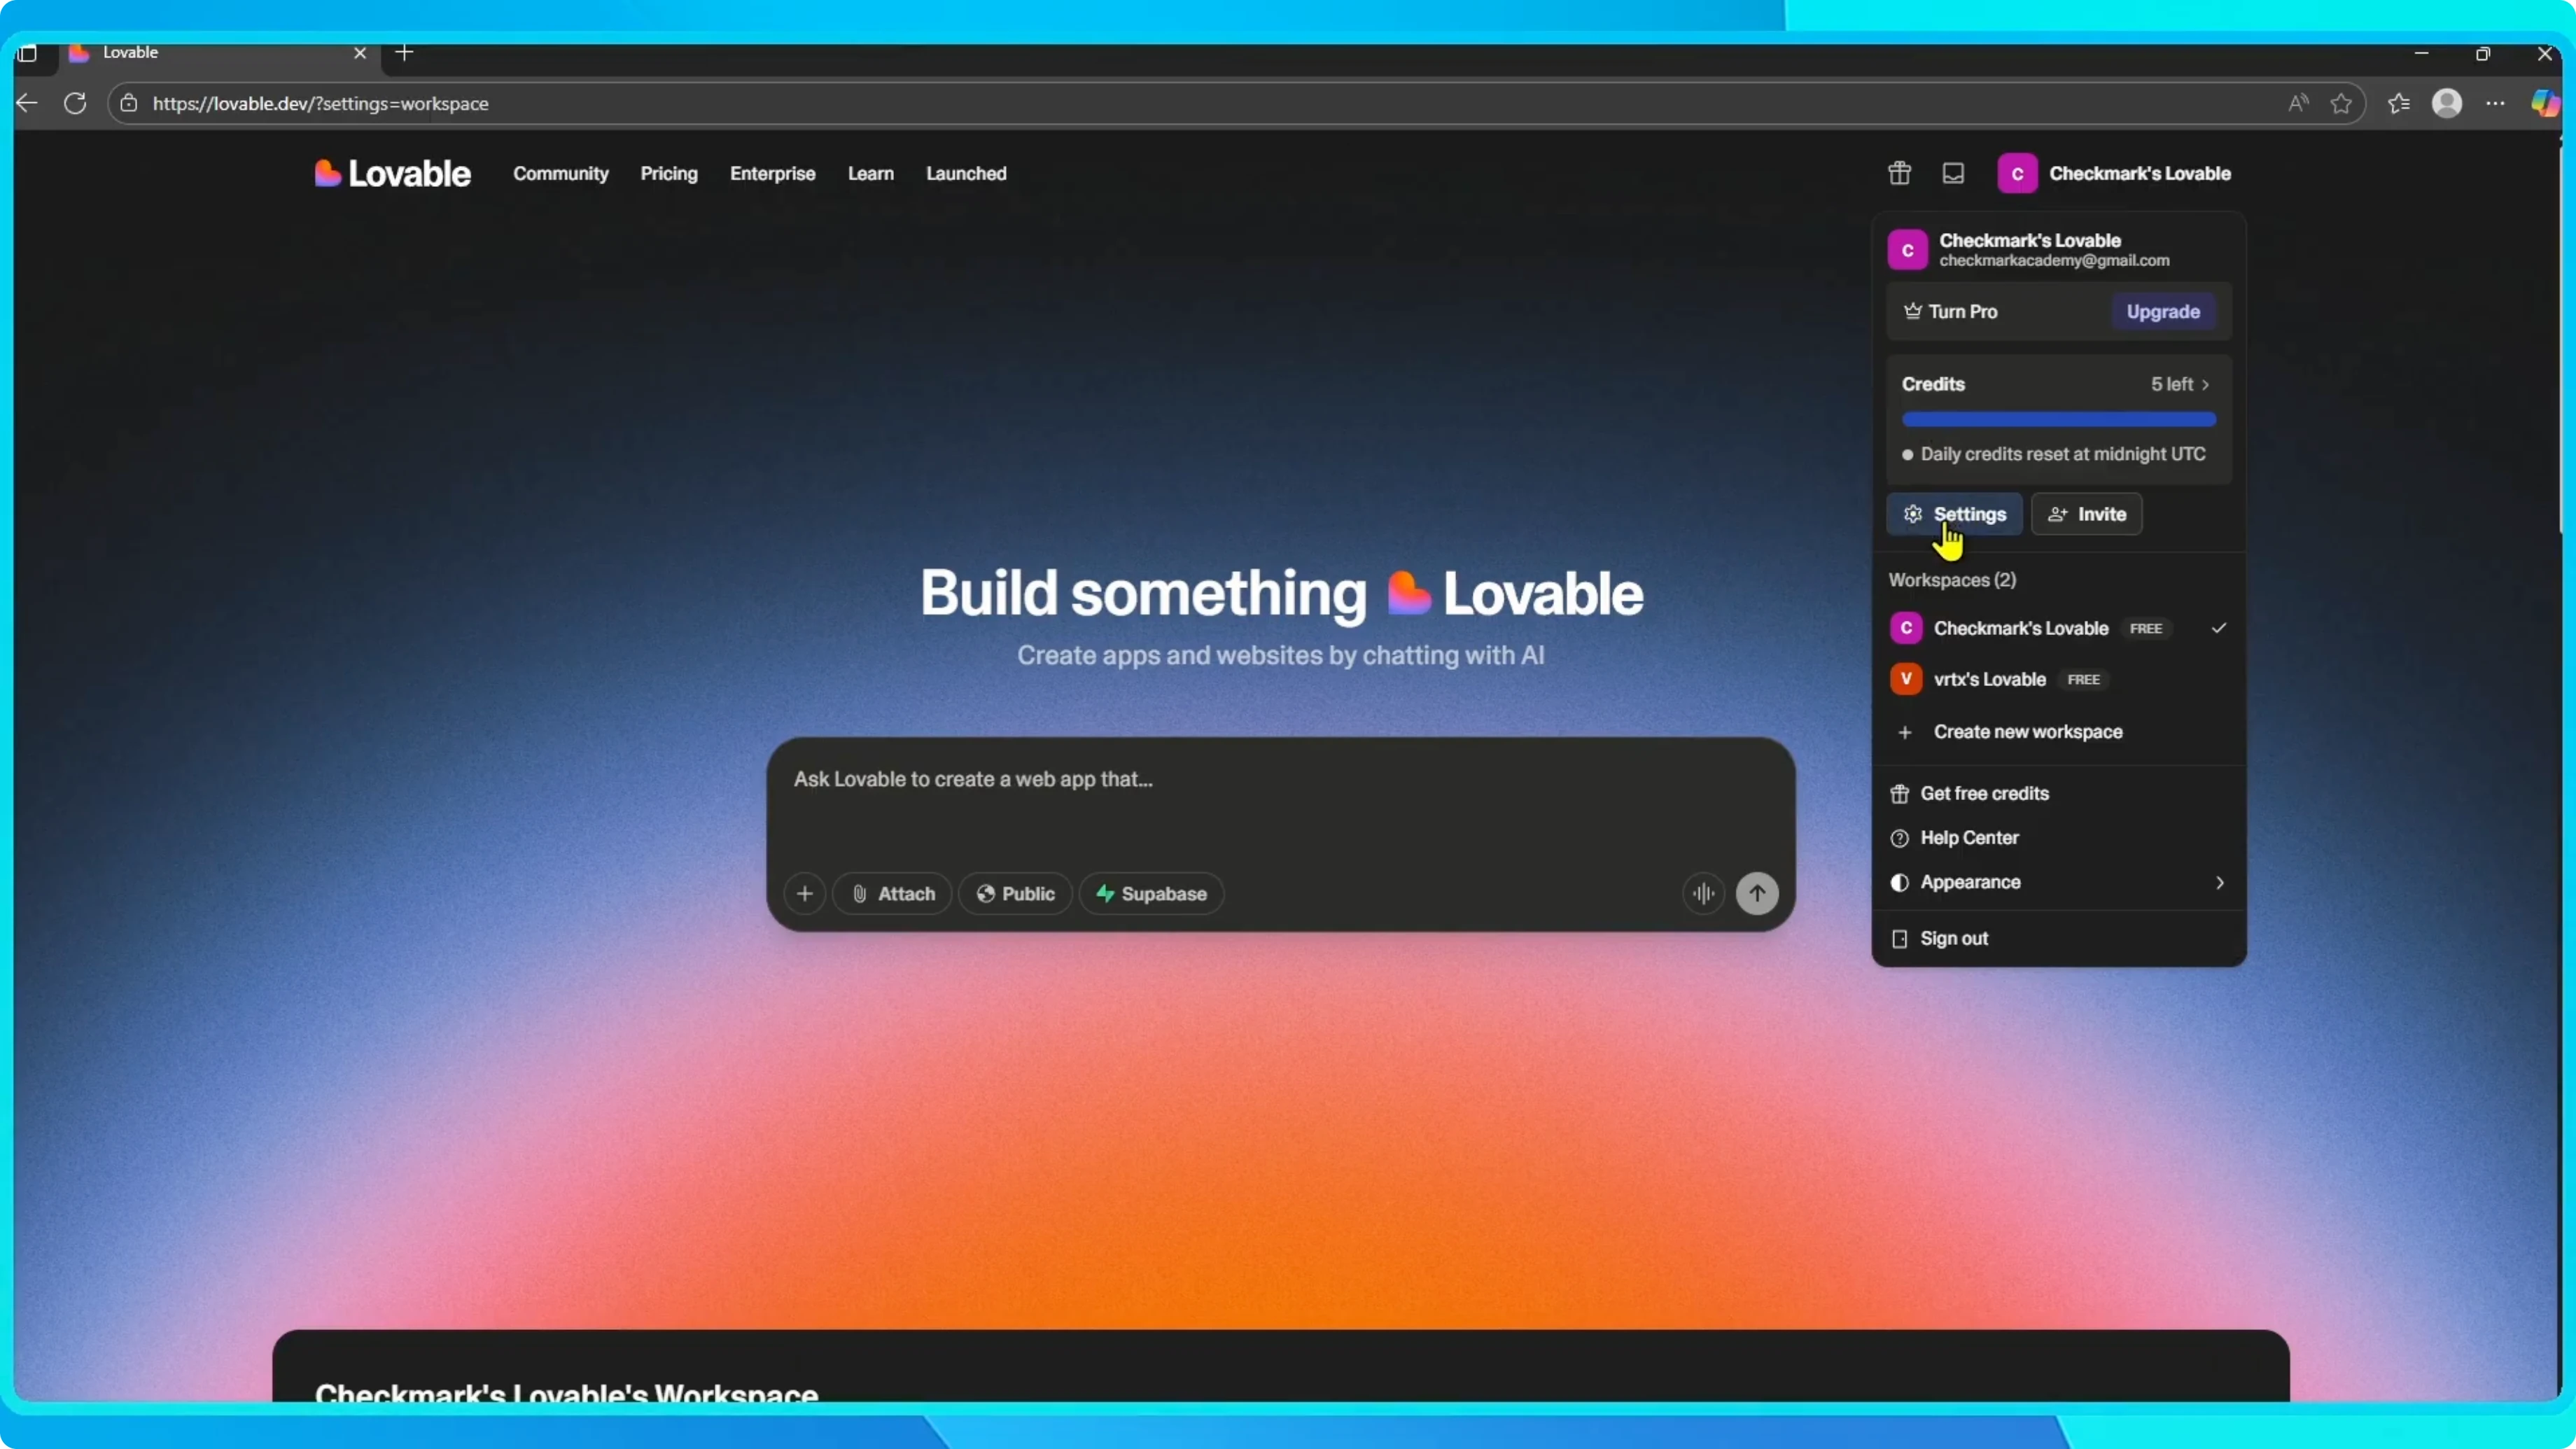
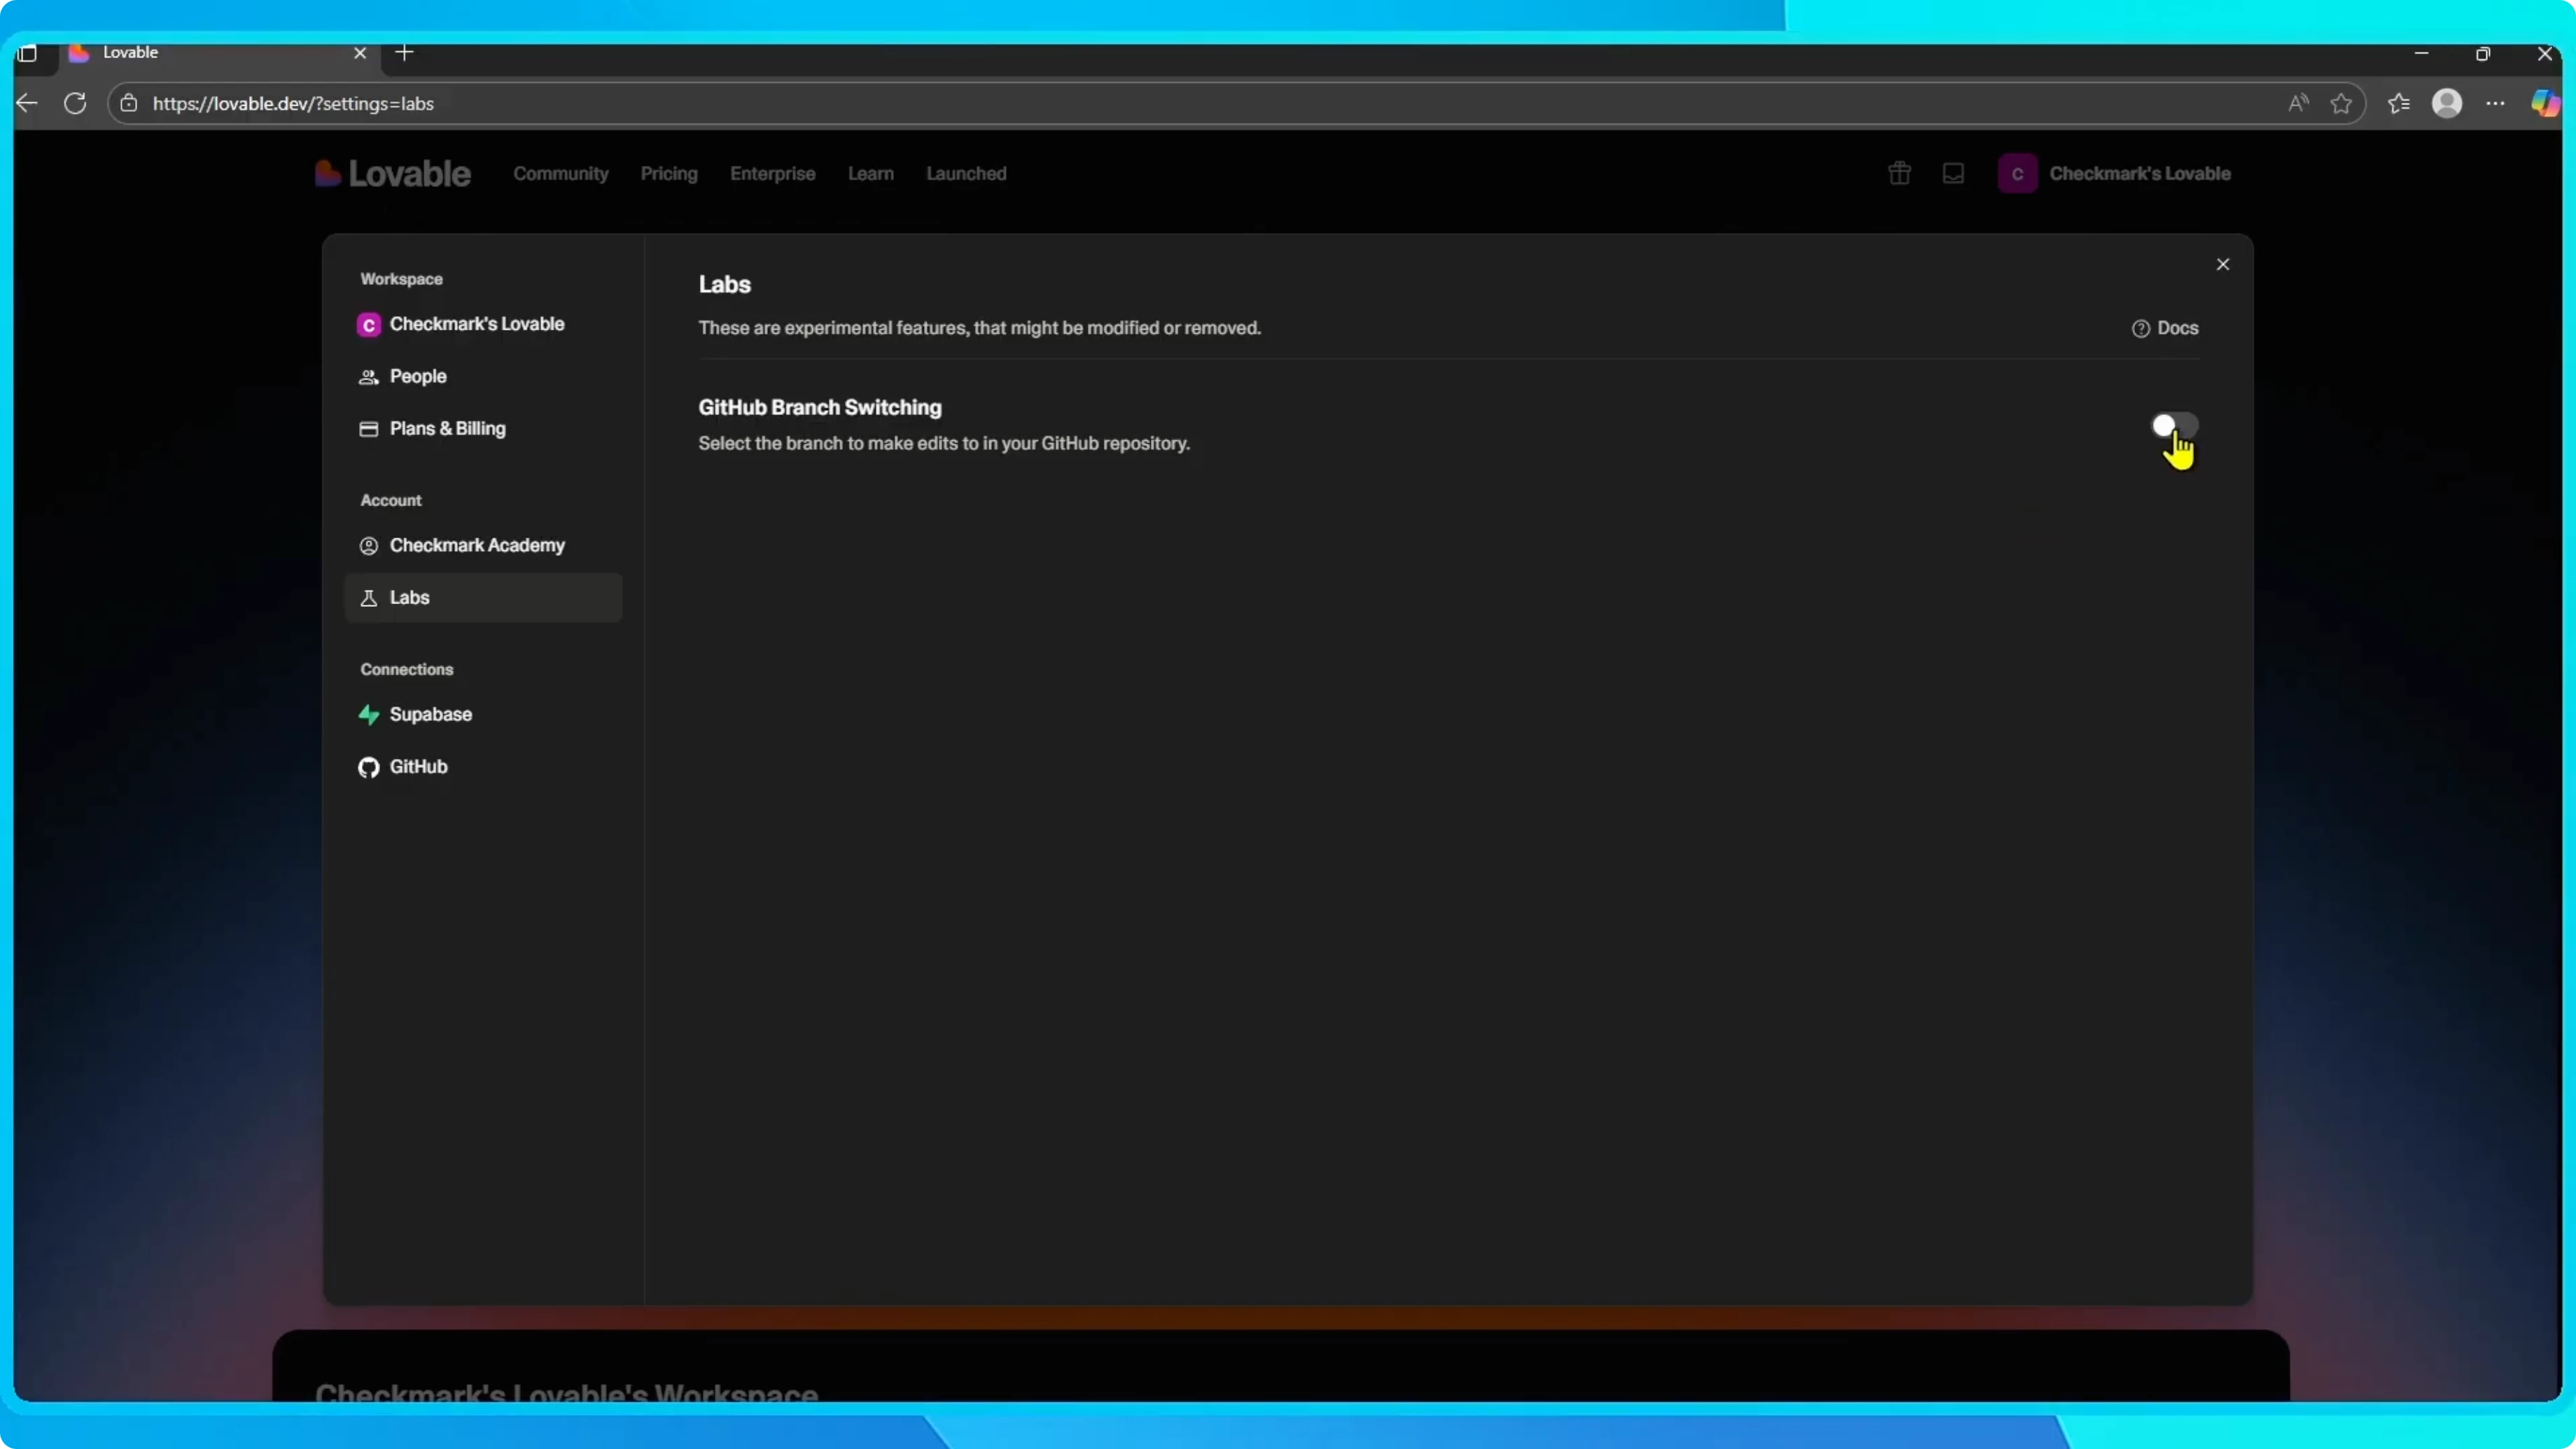
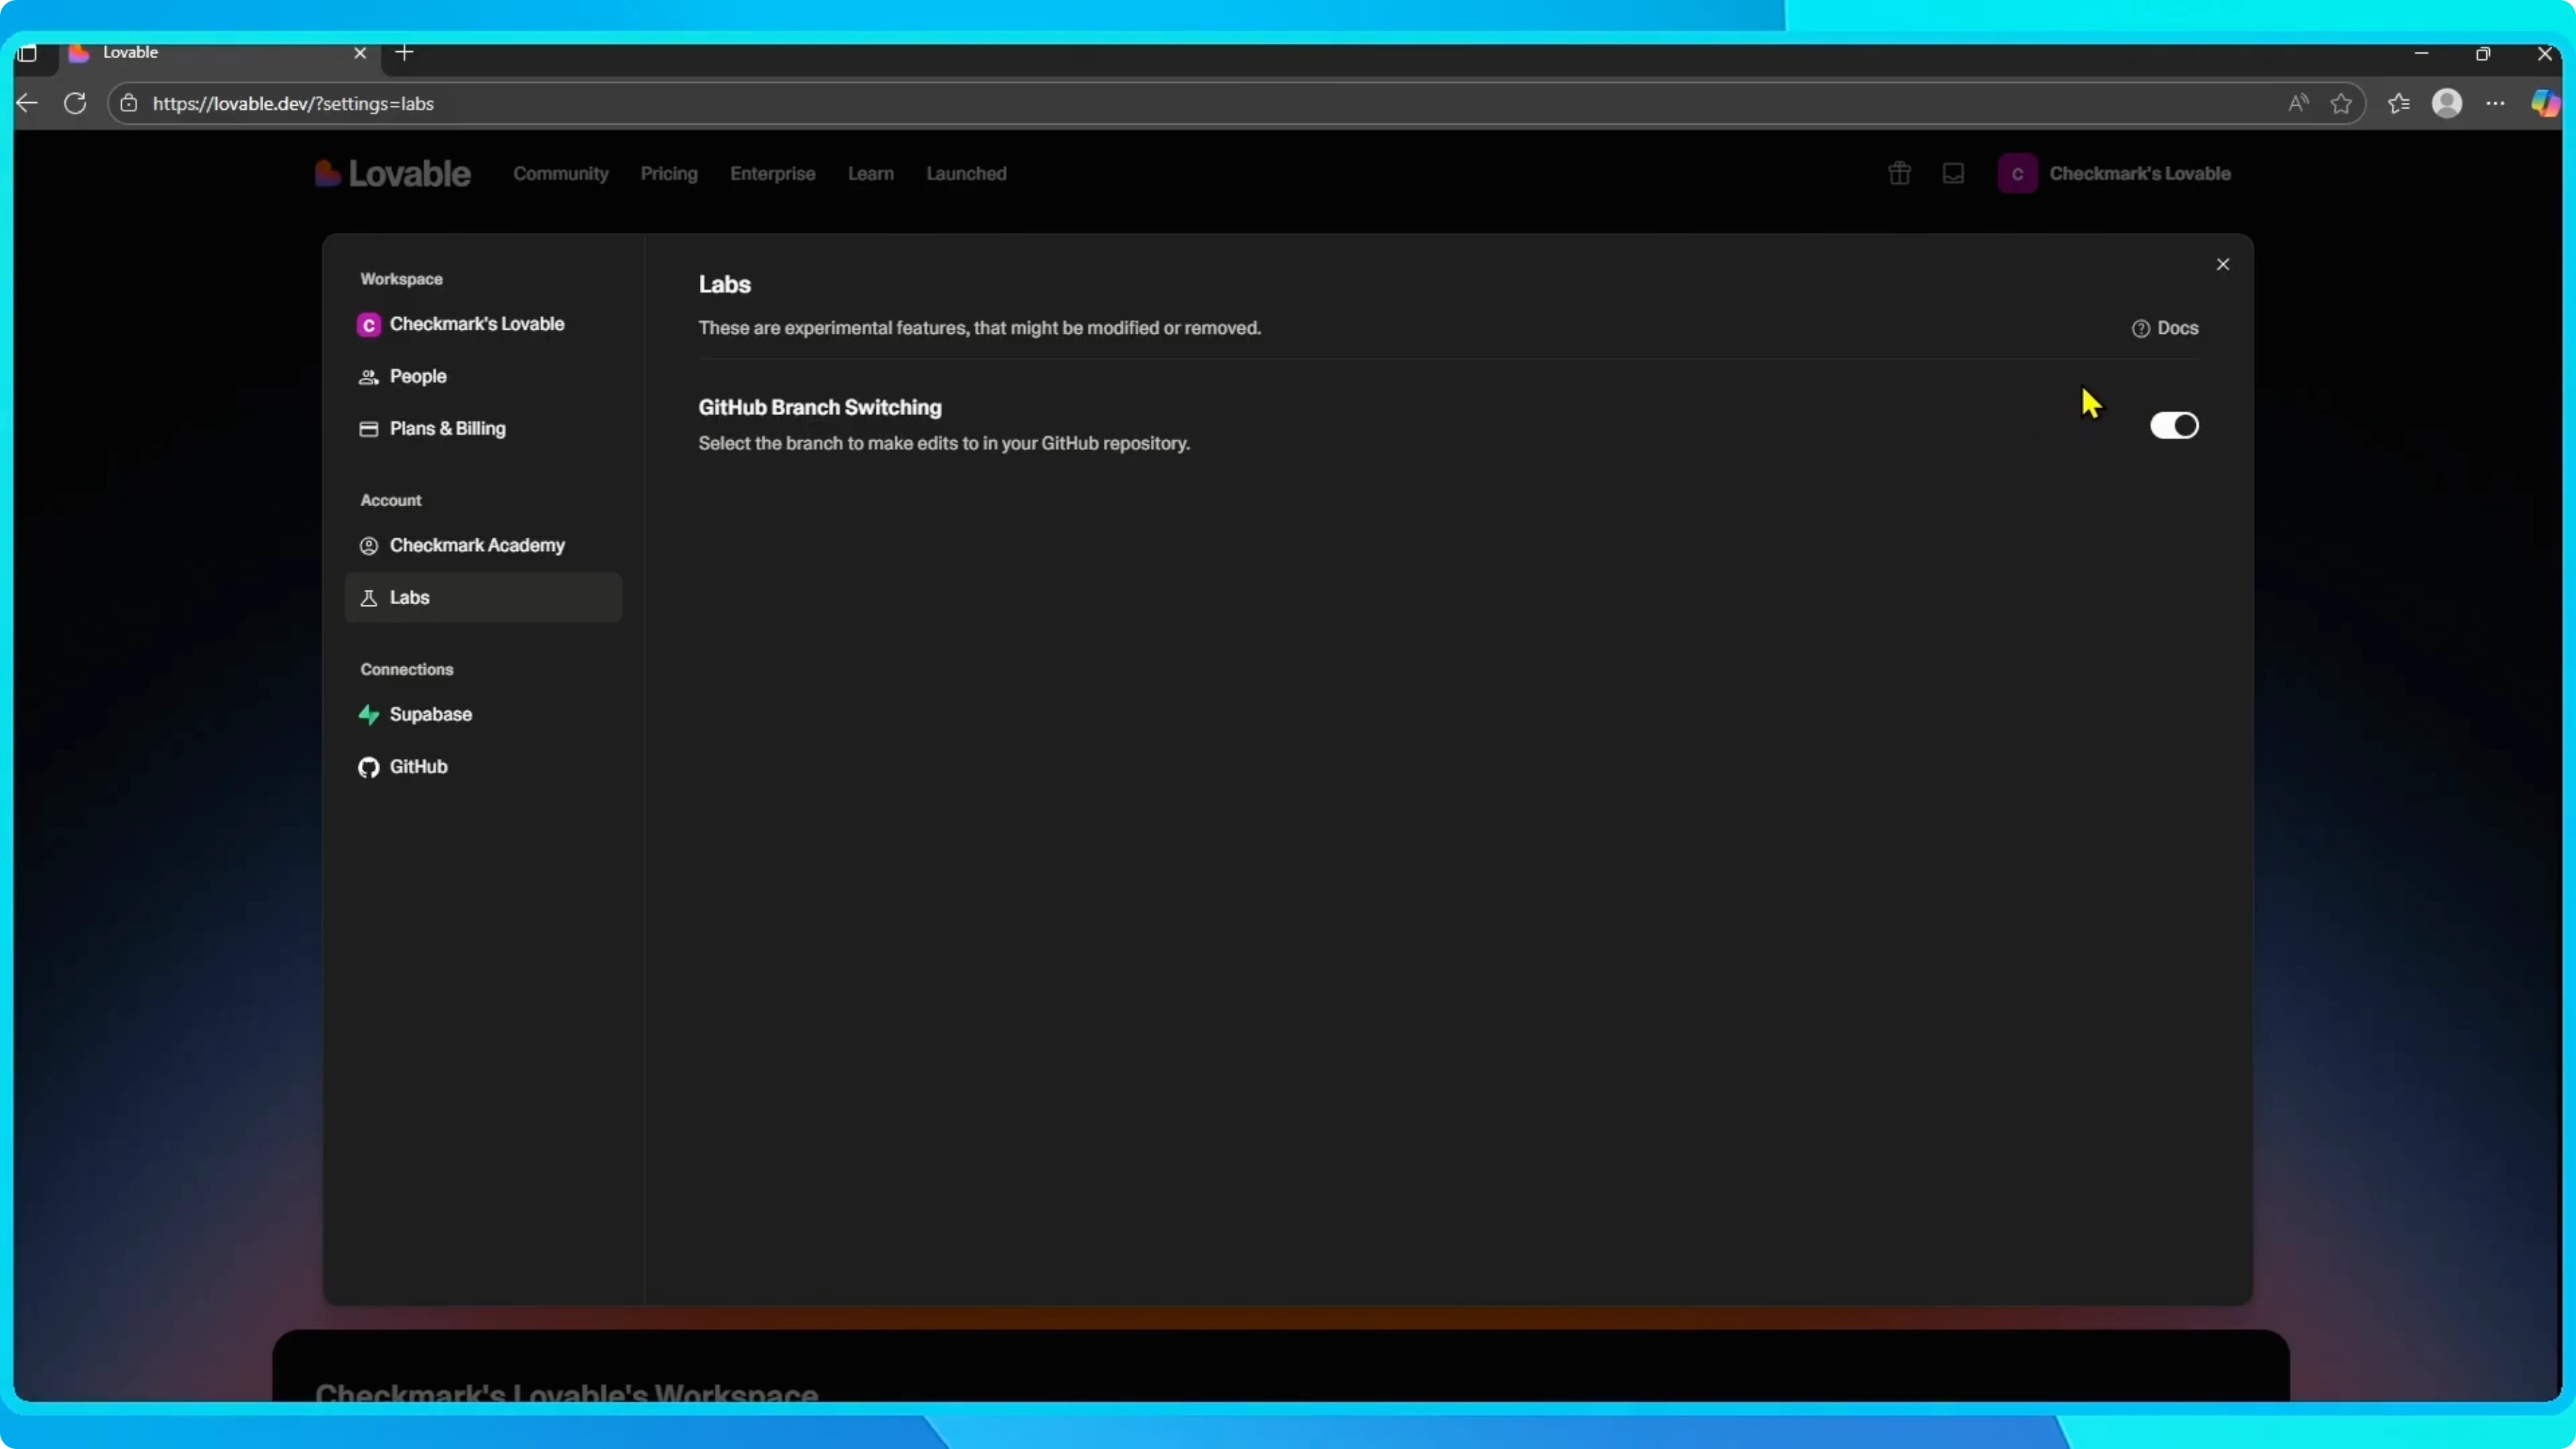
Once you're signed in, go to the top right corner and click your account name. From the menu, select Settings. On the left-hand side under Account, click Labs.

Here you'll see an option called GitHub Branch Switching. Toggle it on.
Read More: Enable Disable Autofill Google Chrome
Why enable it
Why should you enable this? By default, Lovable connects to the main branch of your GitHub repository. If you work with multiple branches, for example, one for testing, one for development, and one for production, branch switching lets you choose exactly which branch to edit.


This makes it easier to collaborate with a team, experiment with new changes, or keep your main branch stable while you try something new.
Read More: Enable Auto Download Pdf Google Chrome
Read More: Disable Enable Autoplay Sound Chrome
Final thoughts
That's it. That's how you turn on GitHub branch switching in Lovable and why it's a good idea to use it if you work with GitHub.