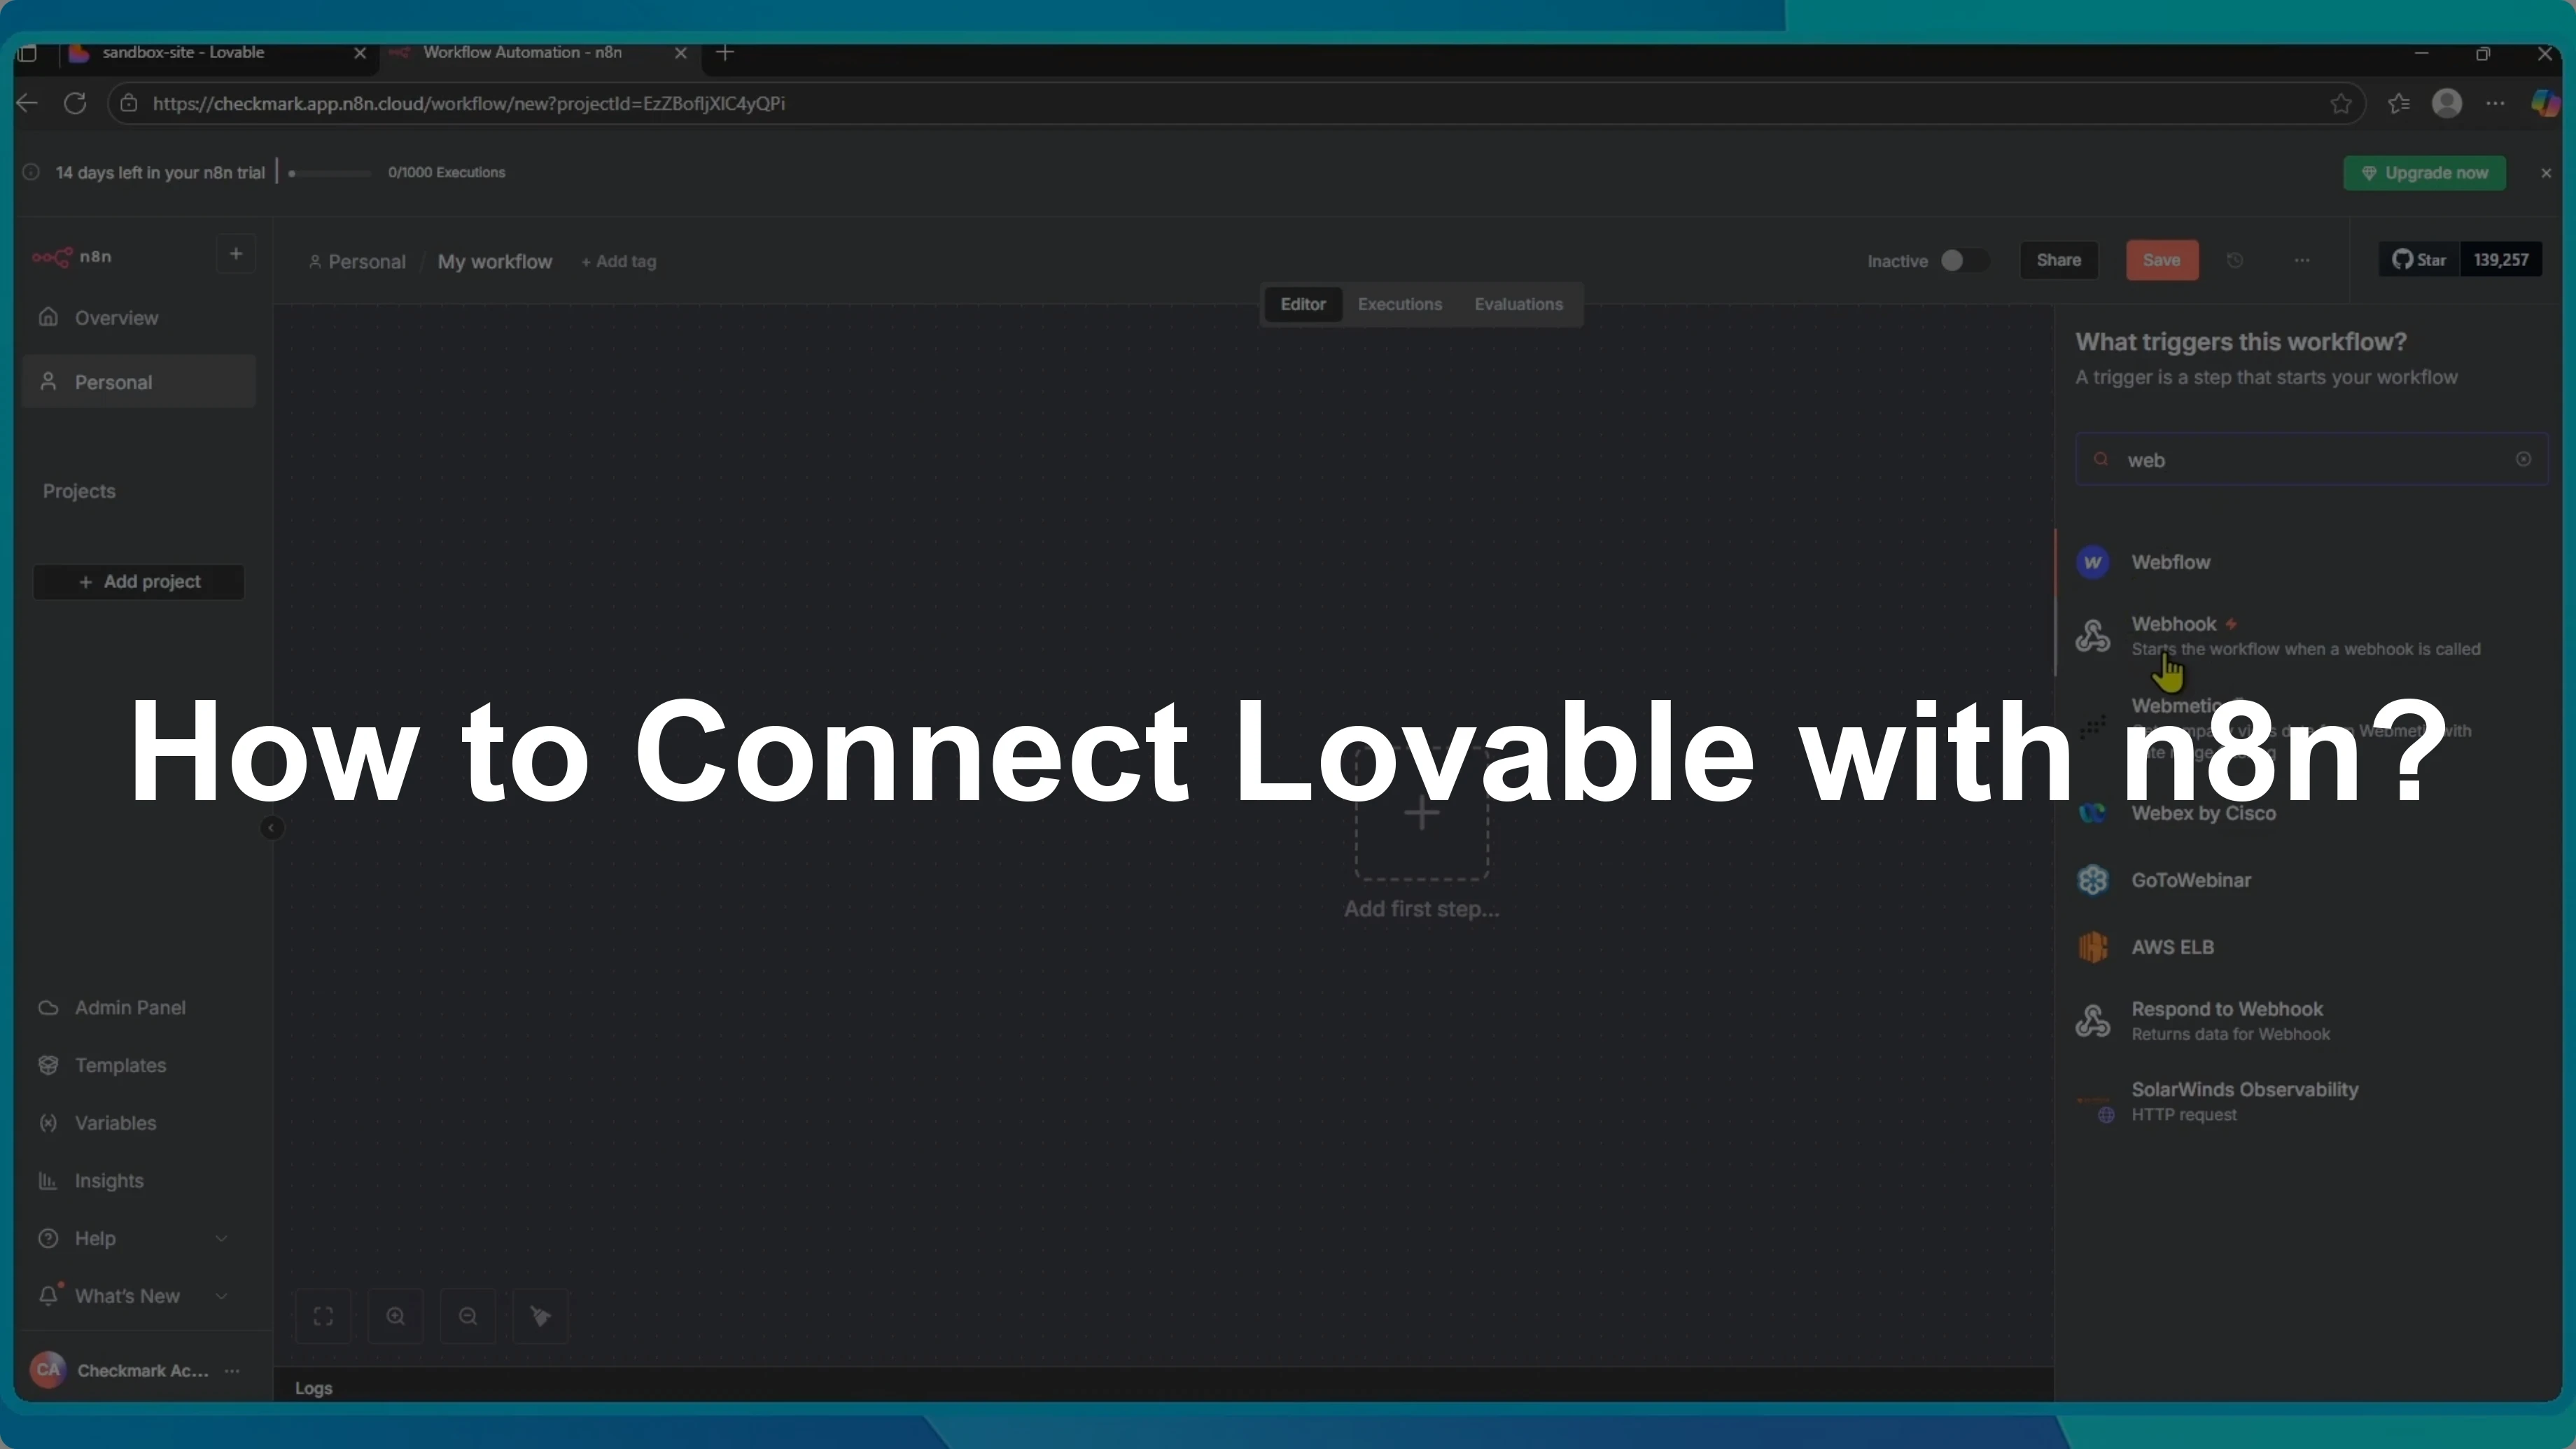
How to Add a Custom Domain in Lovable?
I will show you how to add a custom domain to your Lovable project. First, open the project you want to connect.
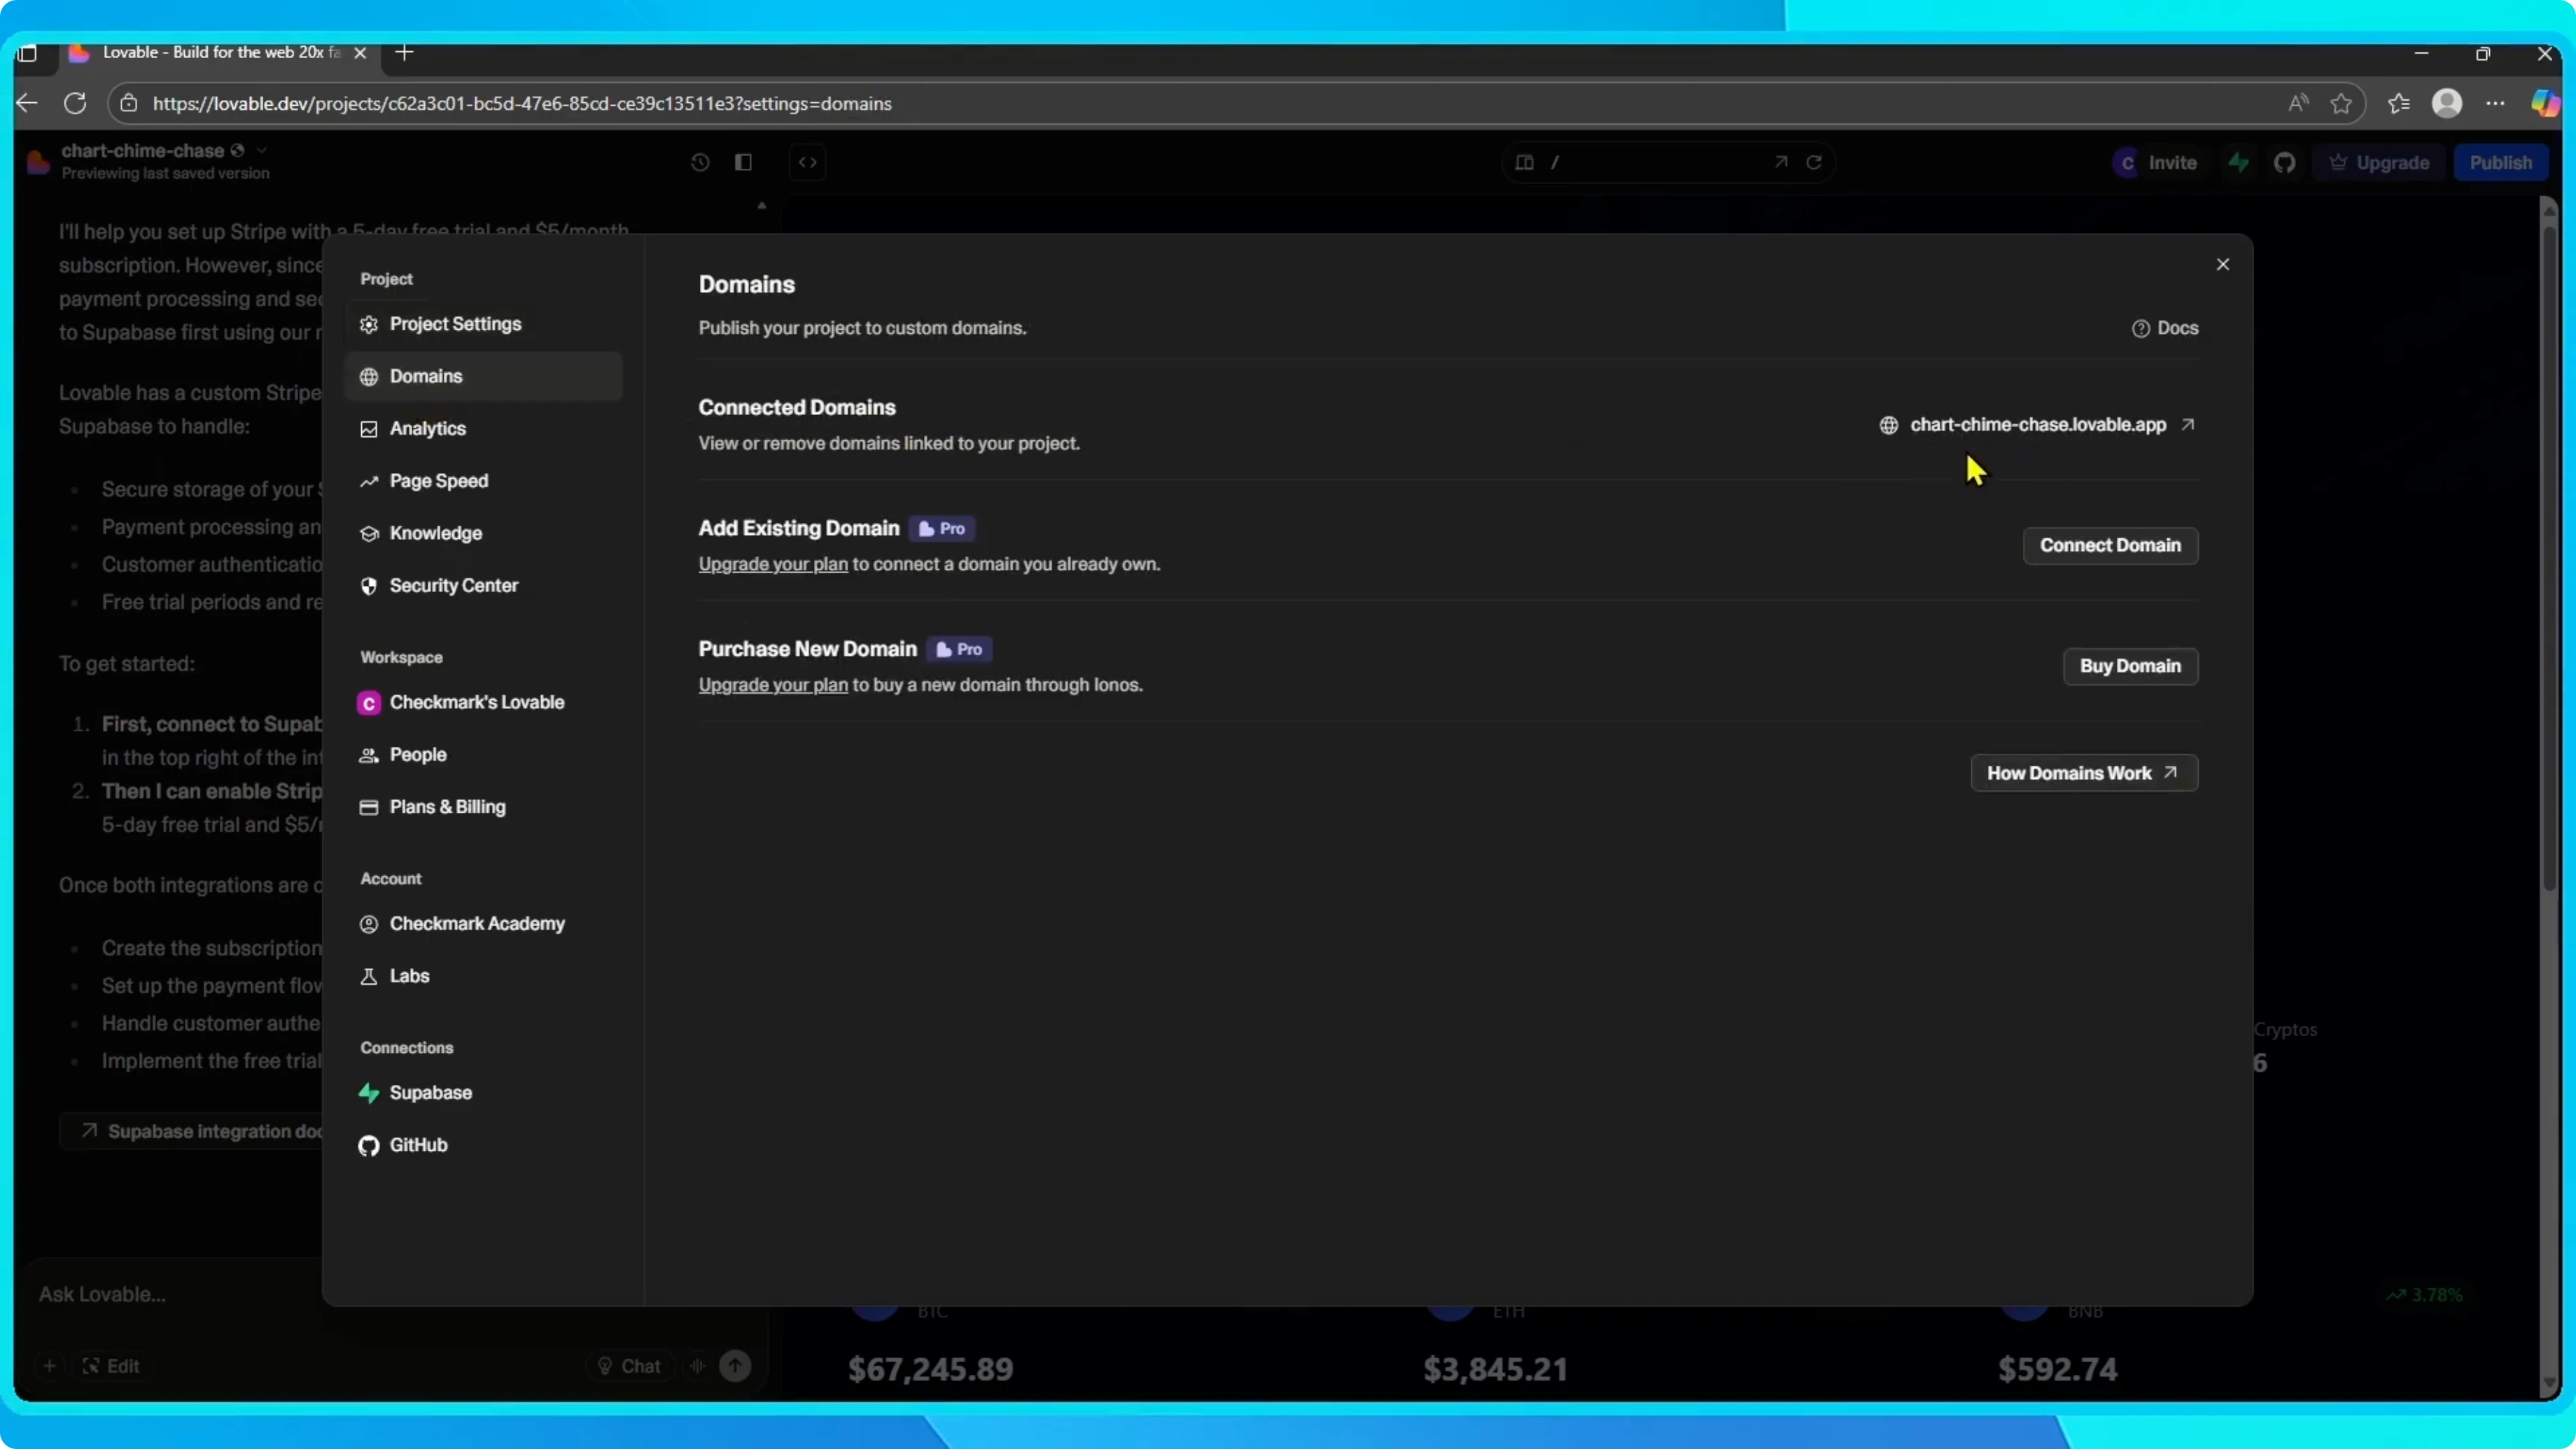
Open settings
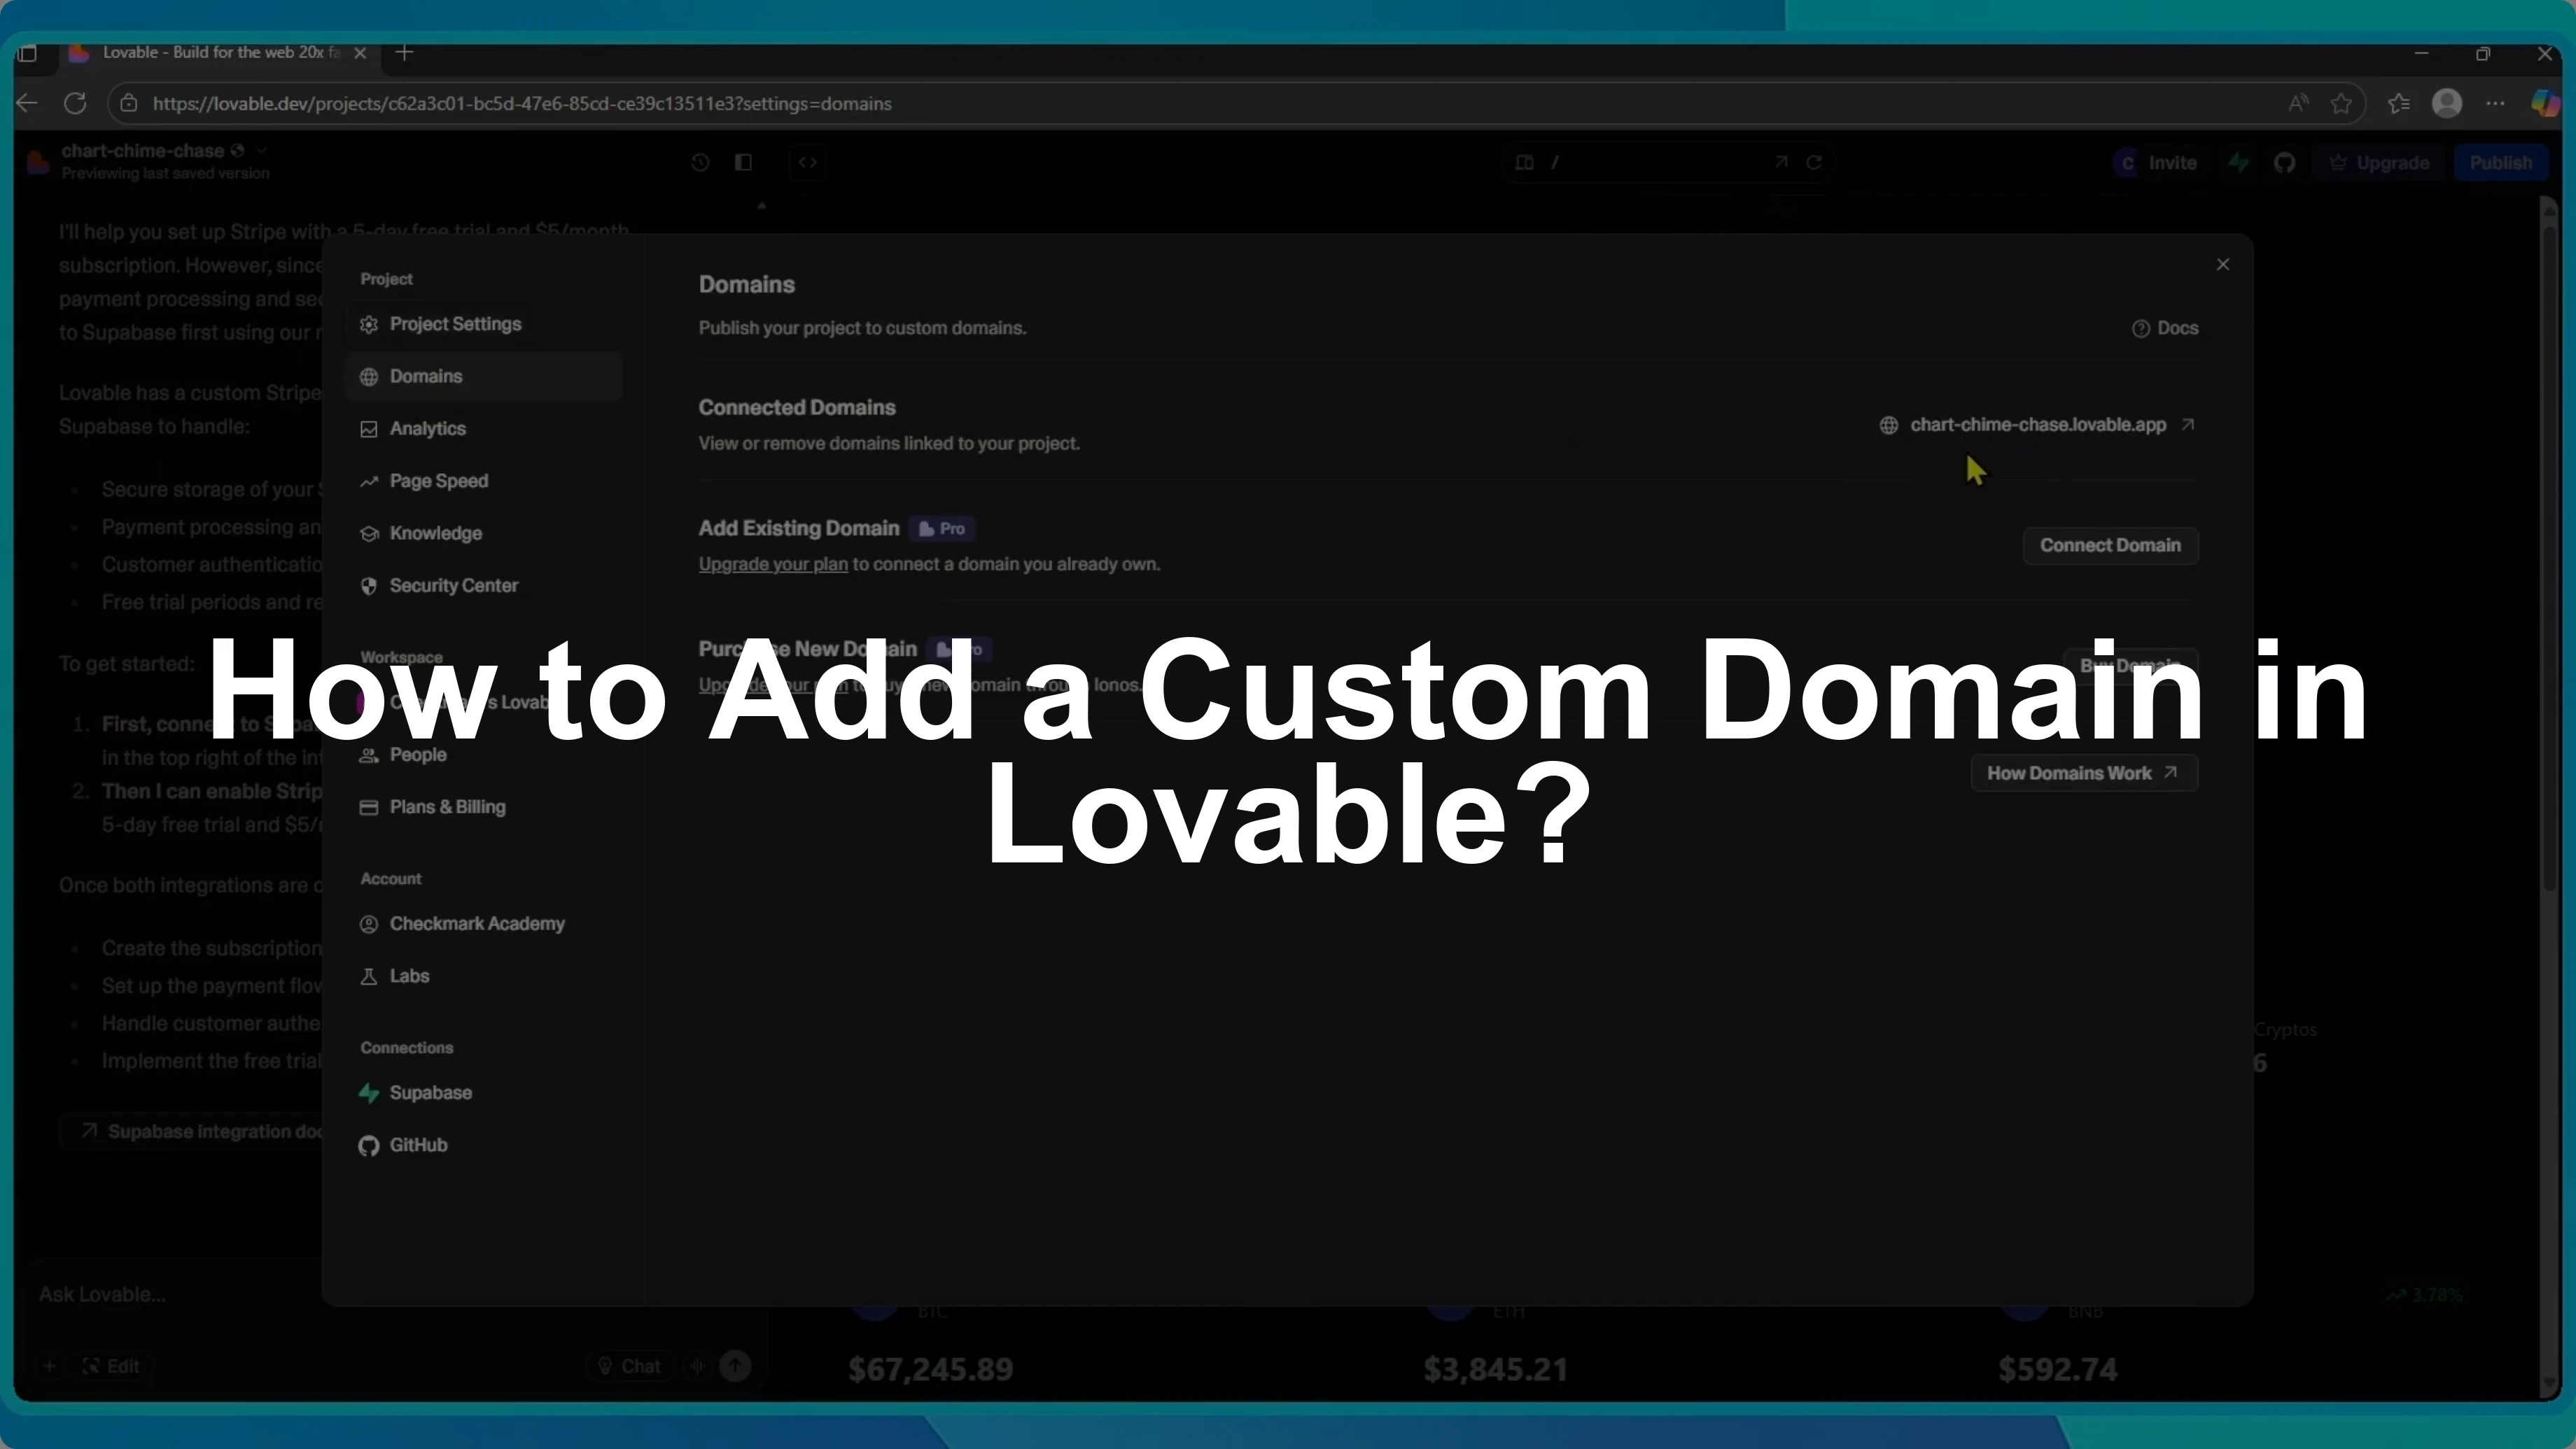
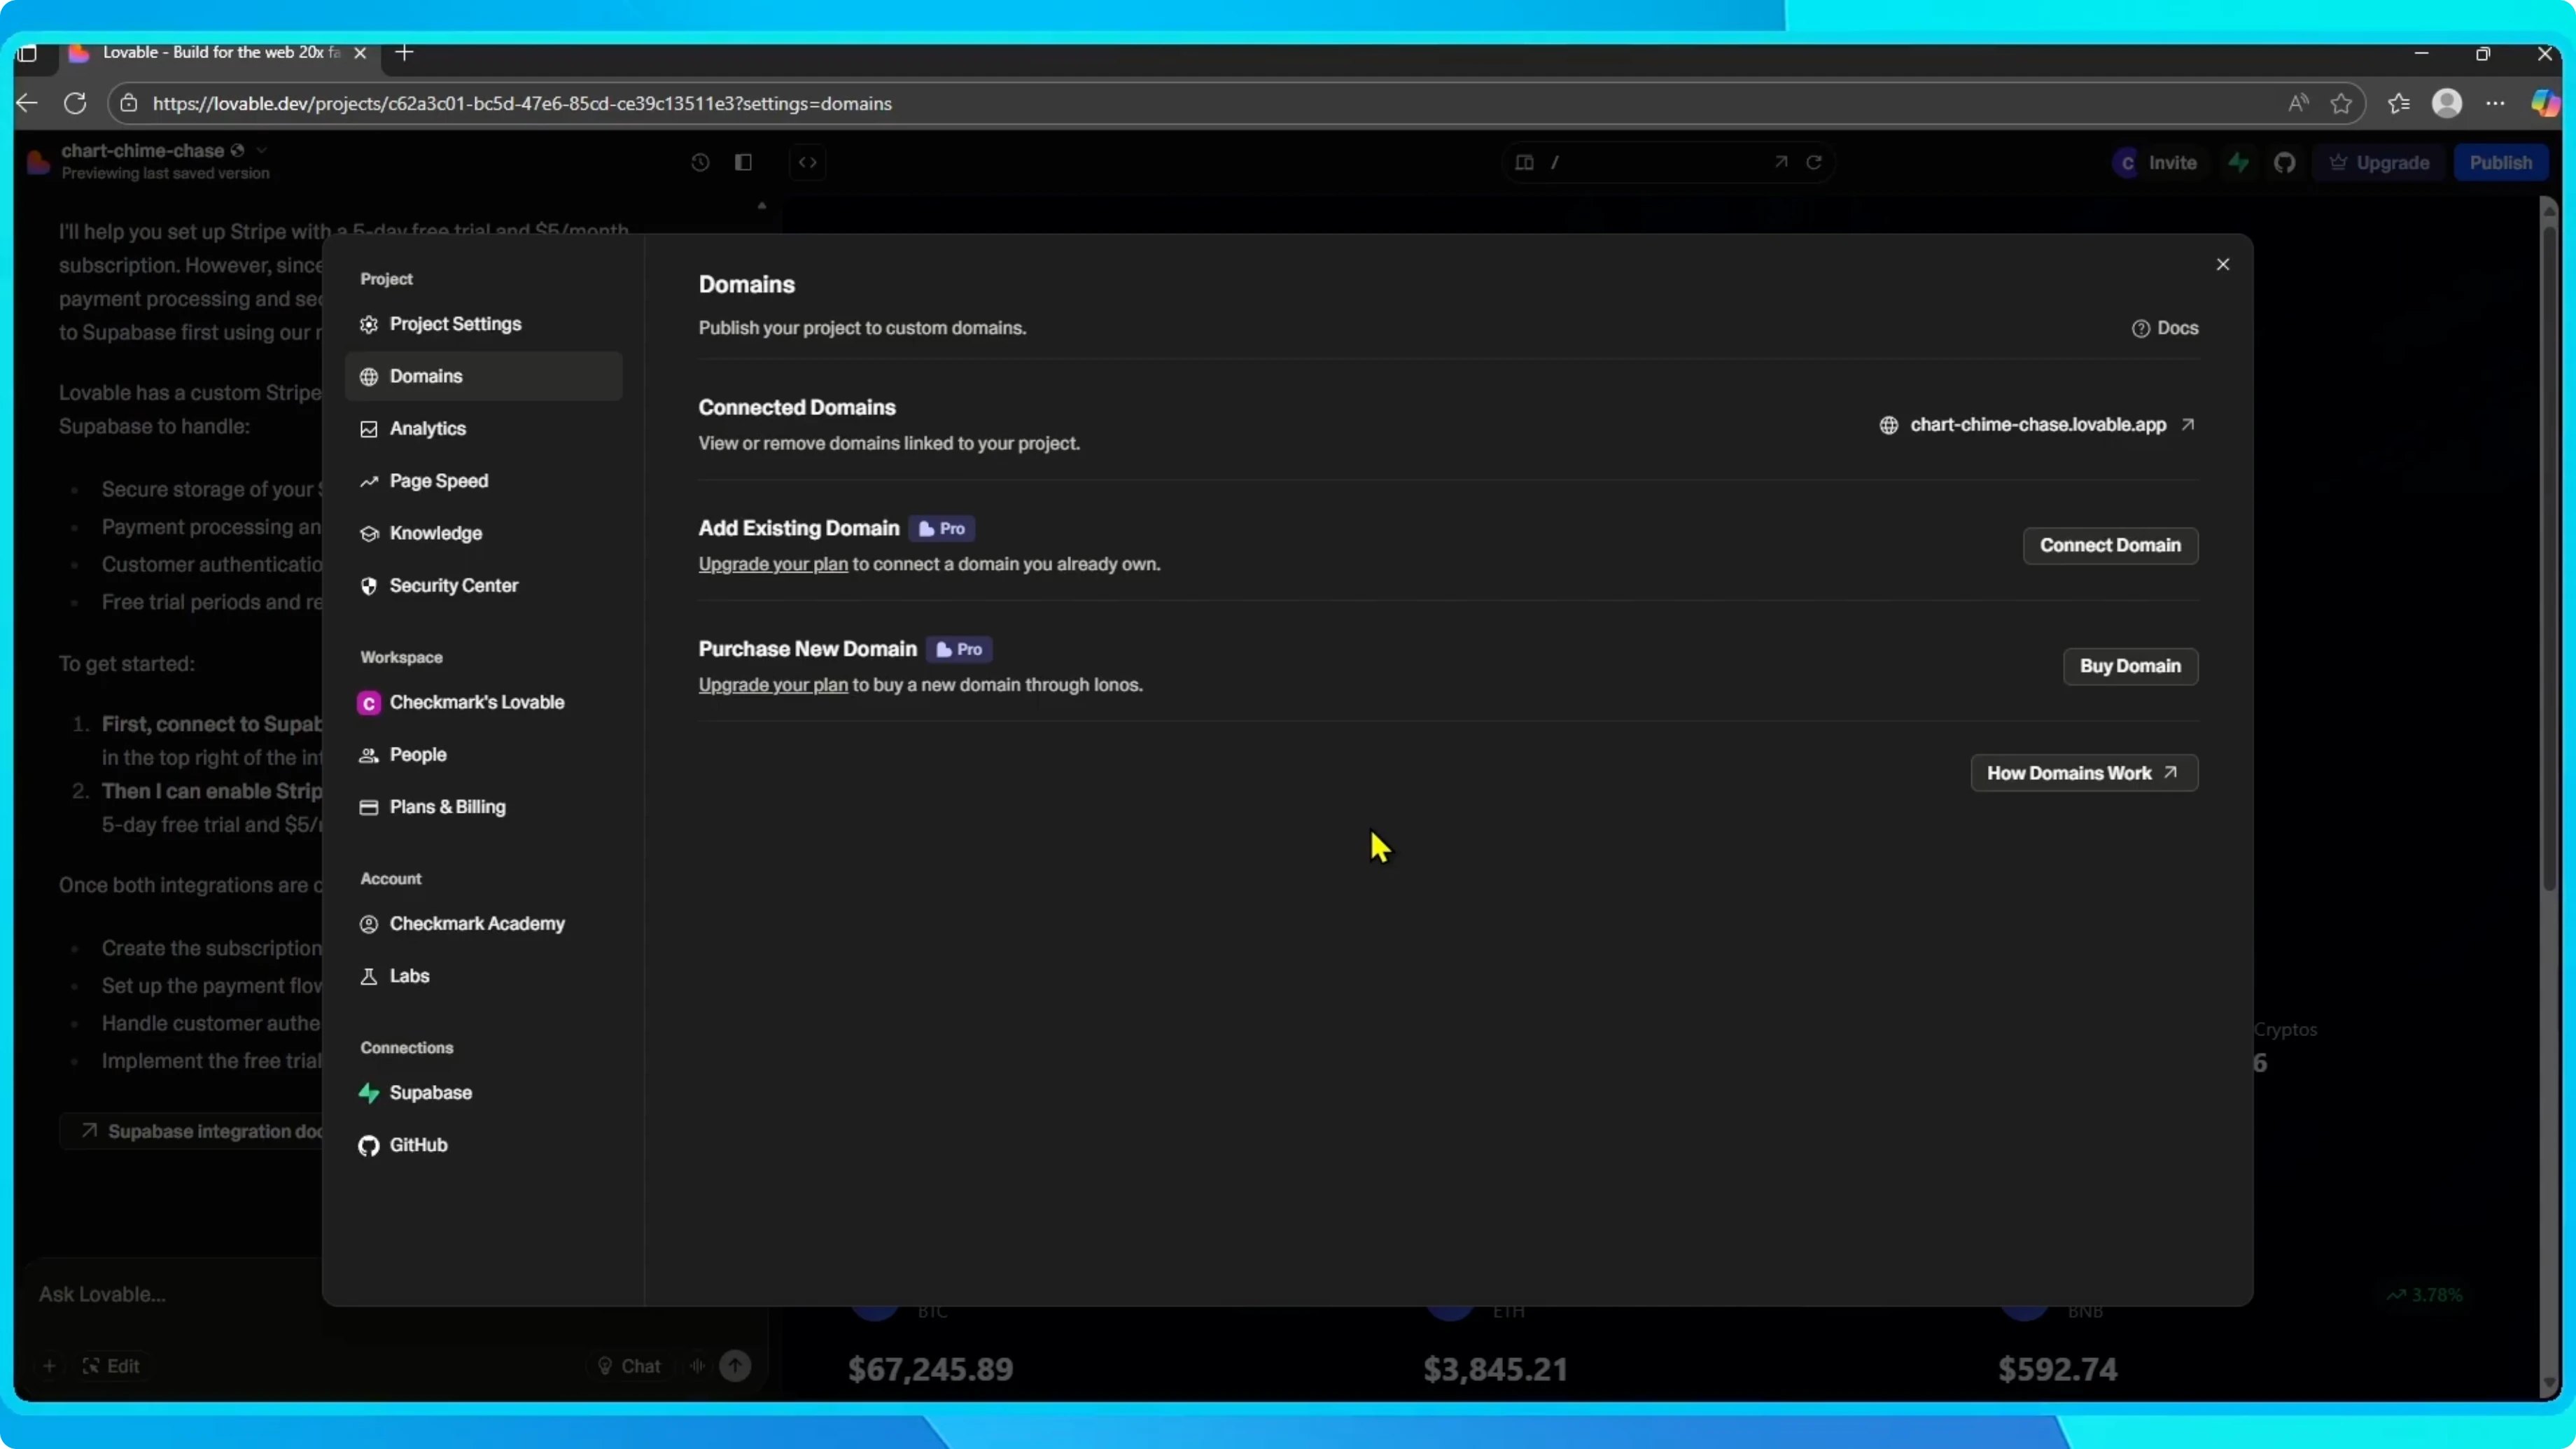
At the top left, click the project name, then select Settings. In Settings, go to the Domains tab.
Choose a domain option
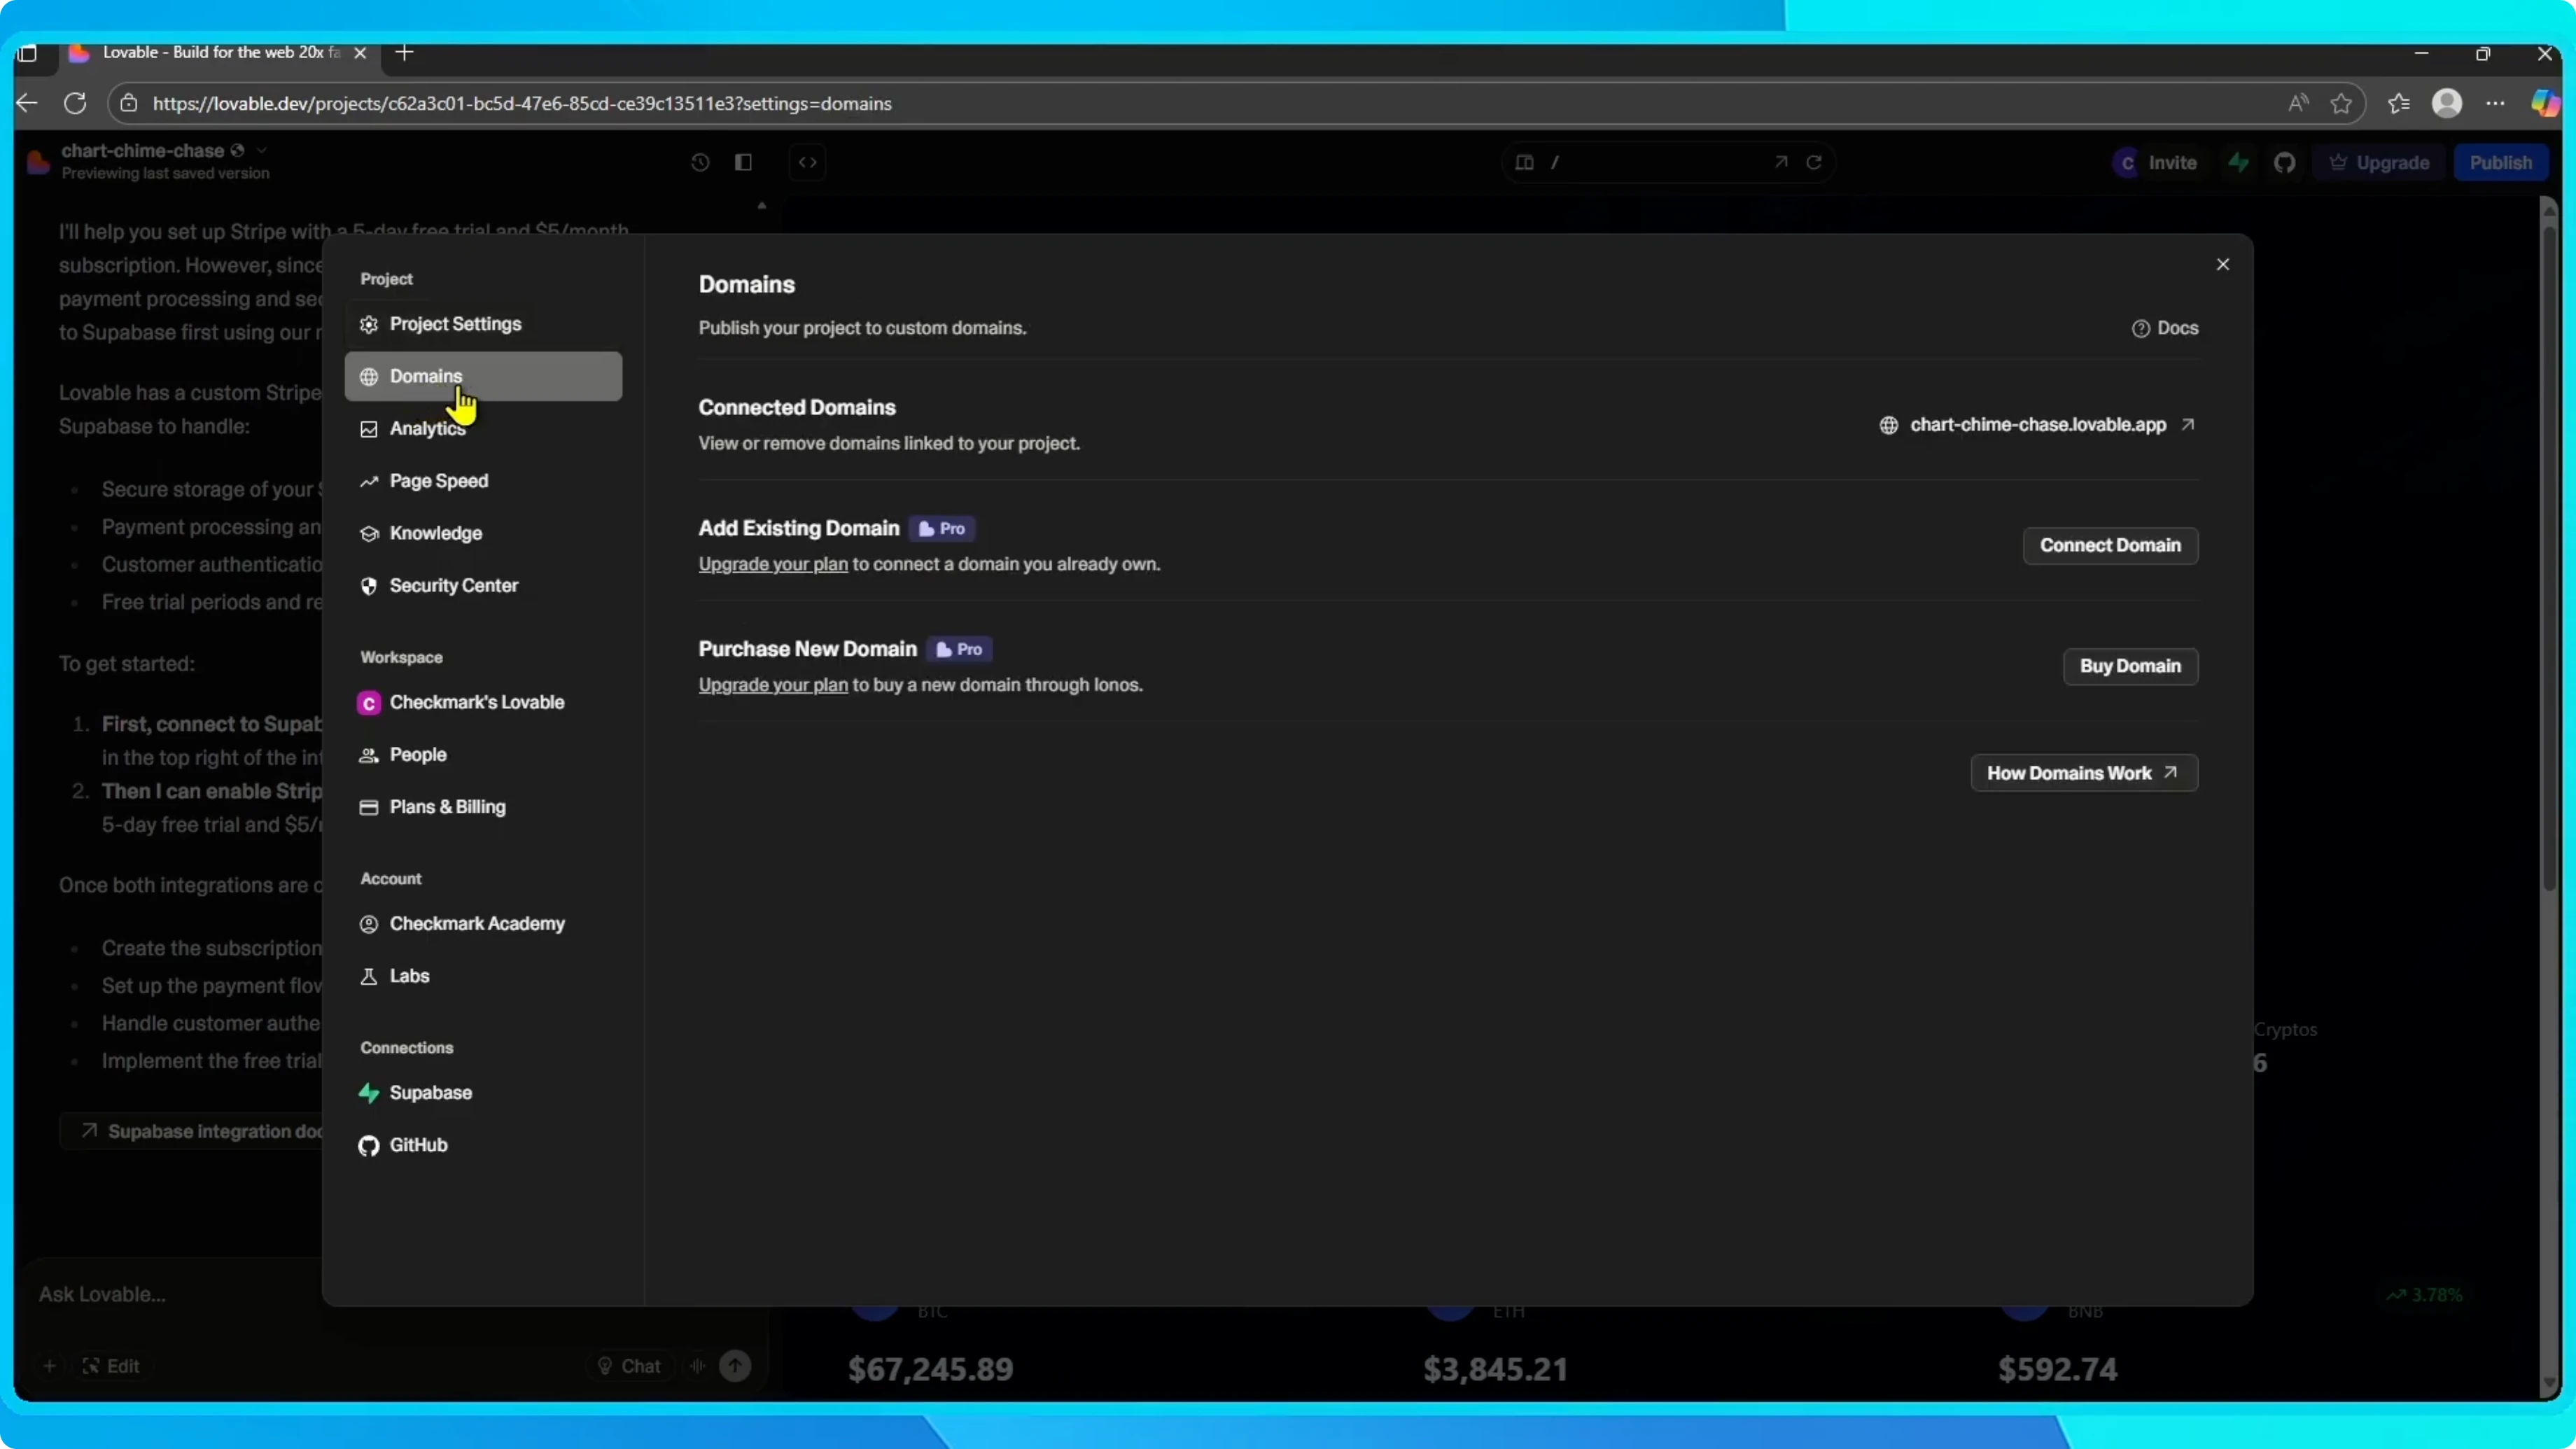
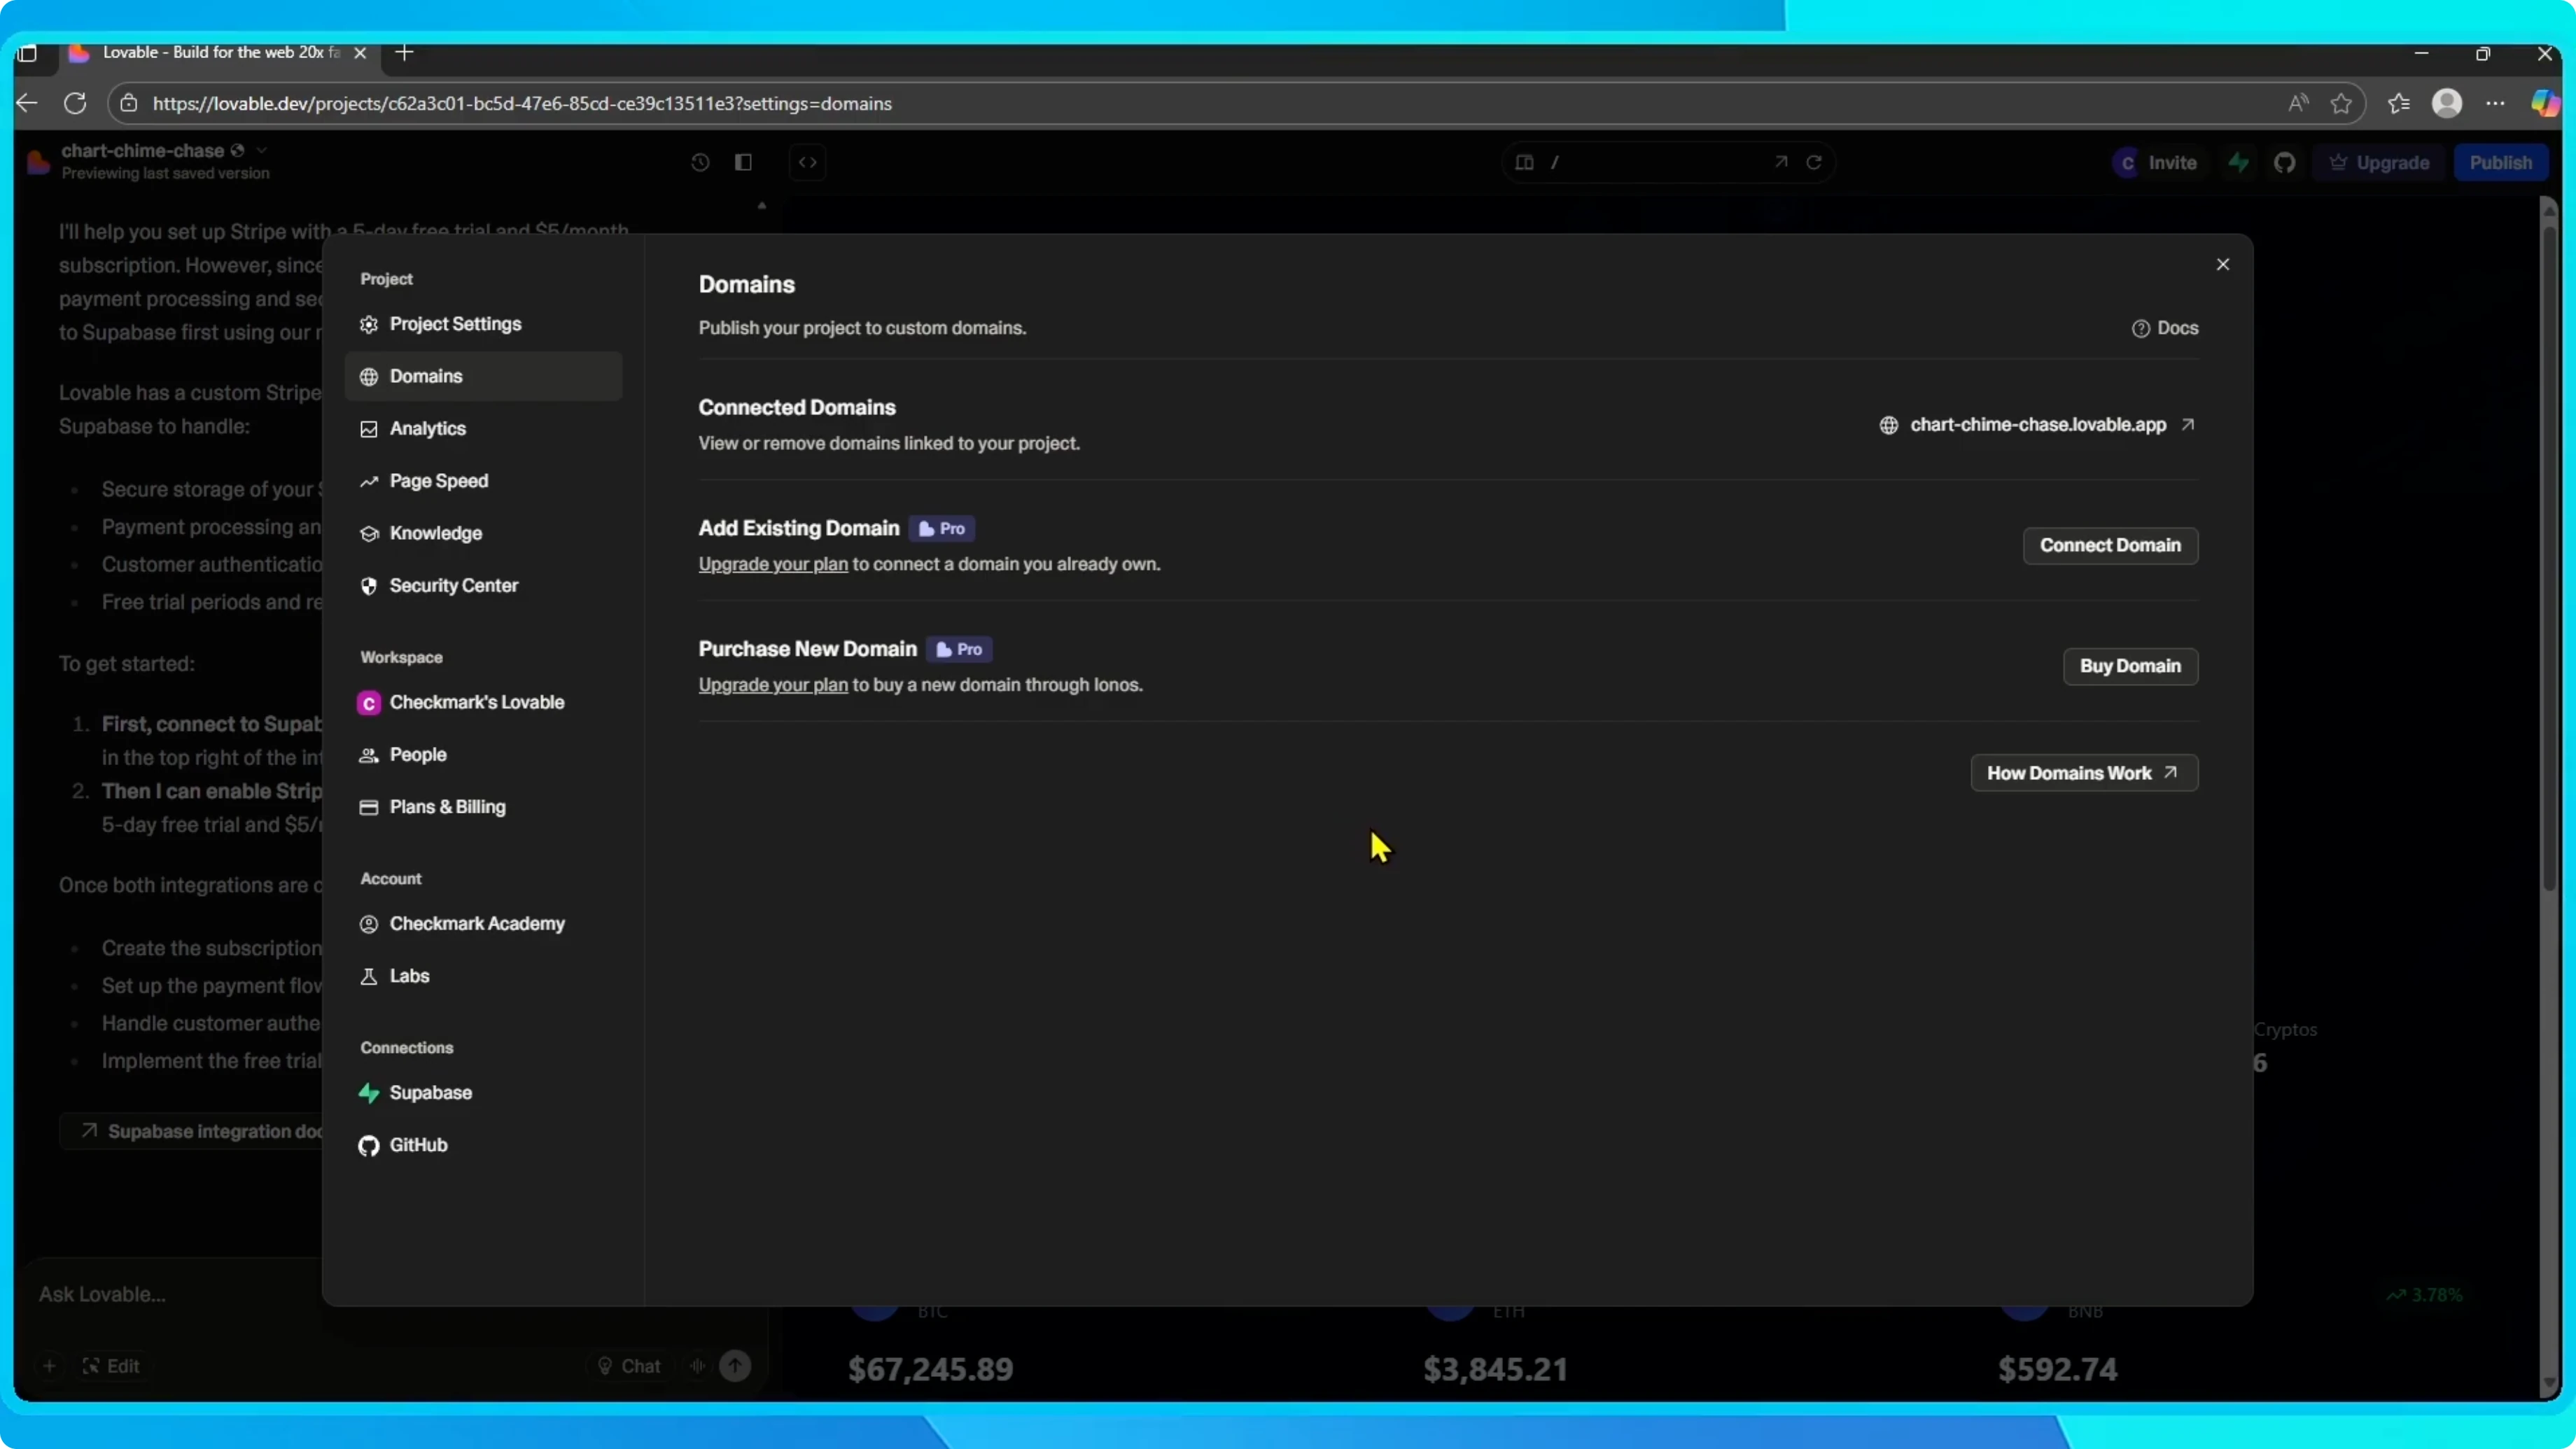
Here you will see two options. You can connect an existing domain you already own. Or you can purchase a new one directly through Lovable.
Read More: Add Custom Search Engine Google Chrome
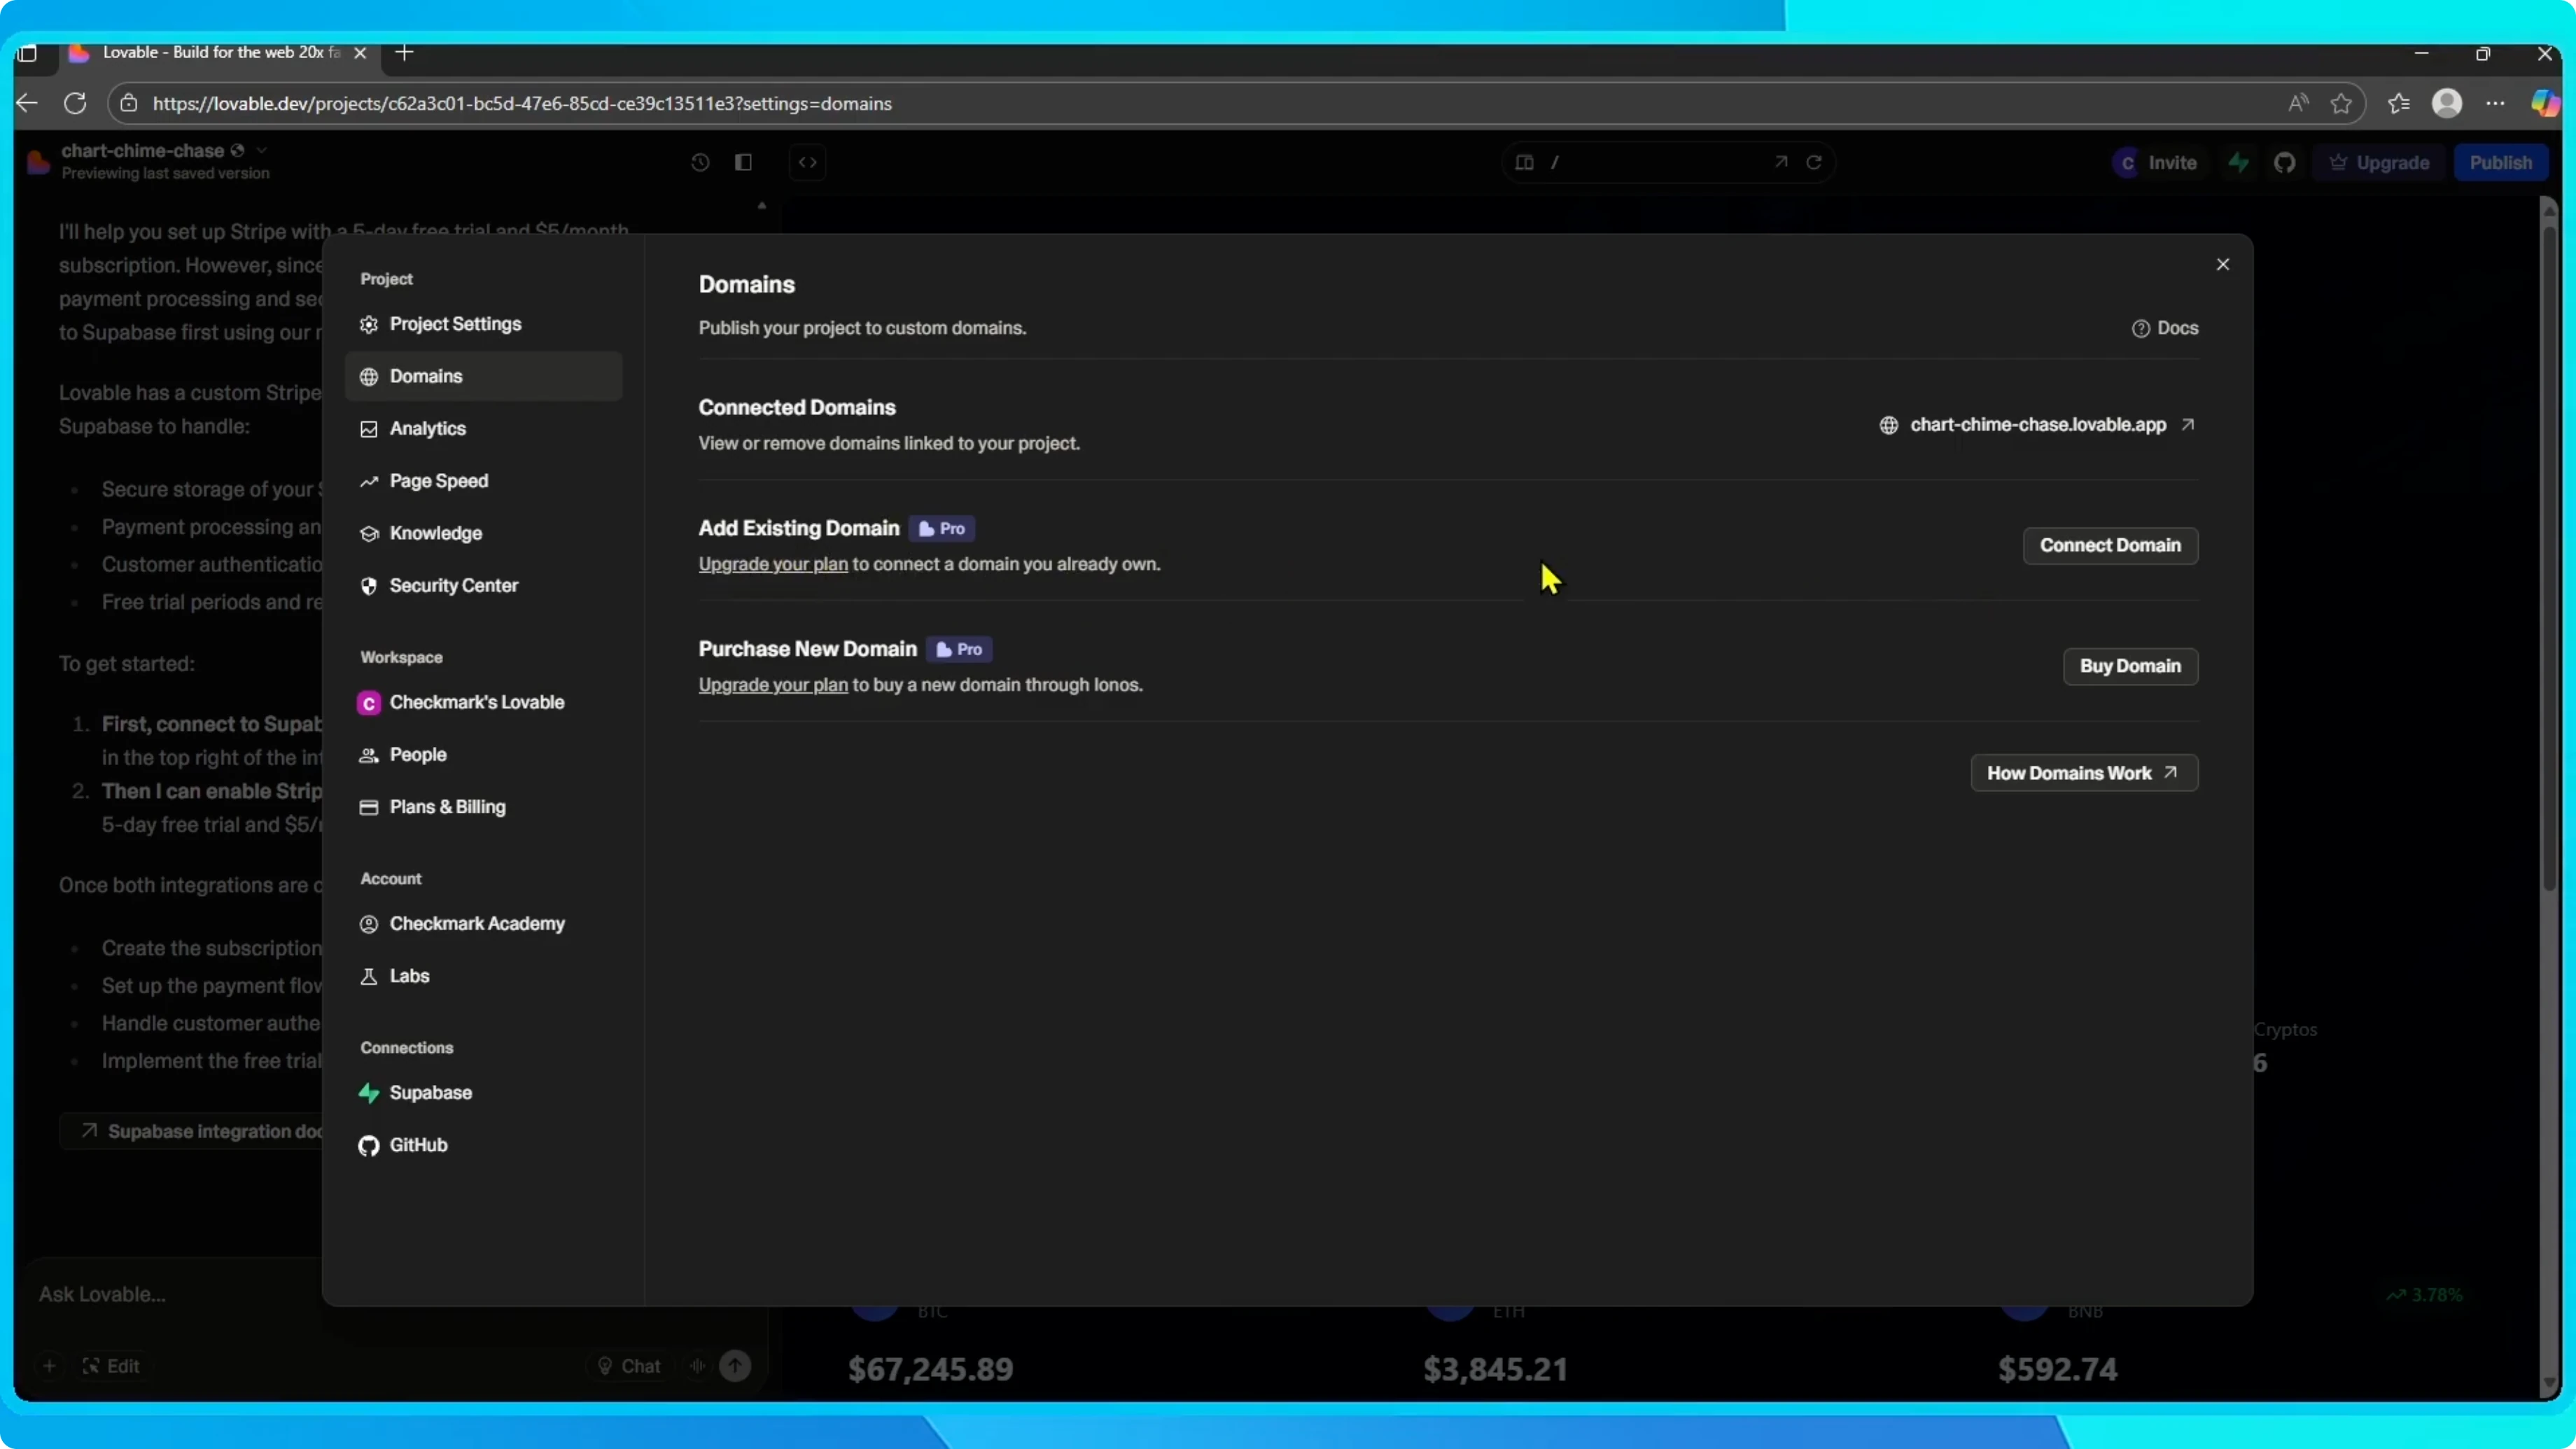
Connect an existing domain
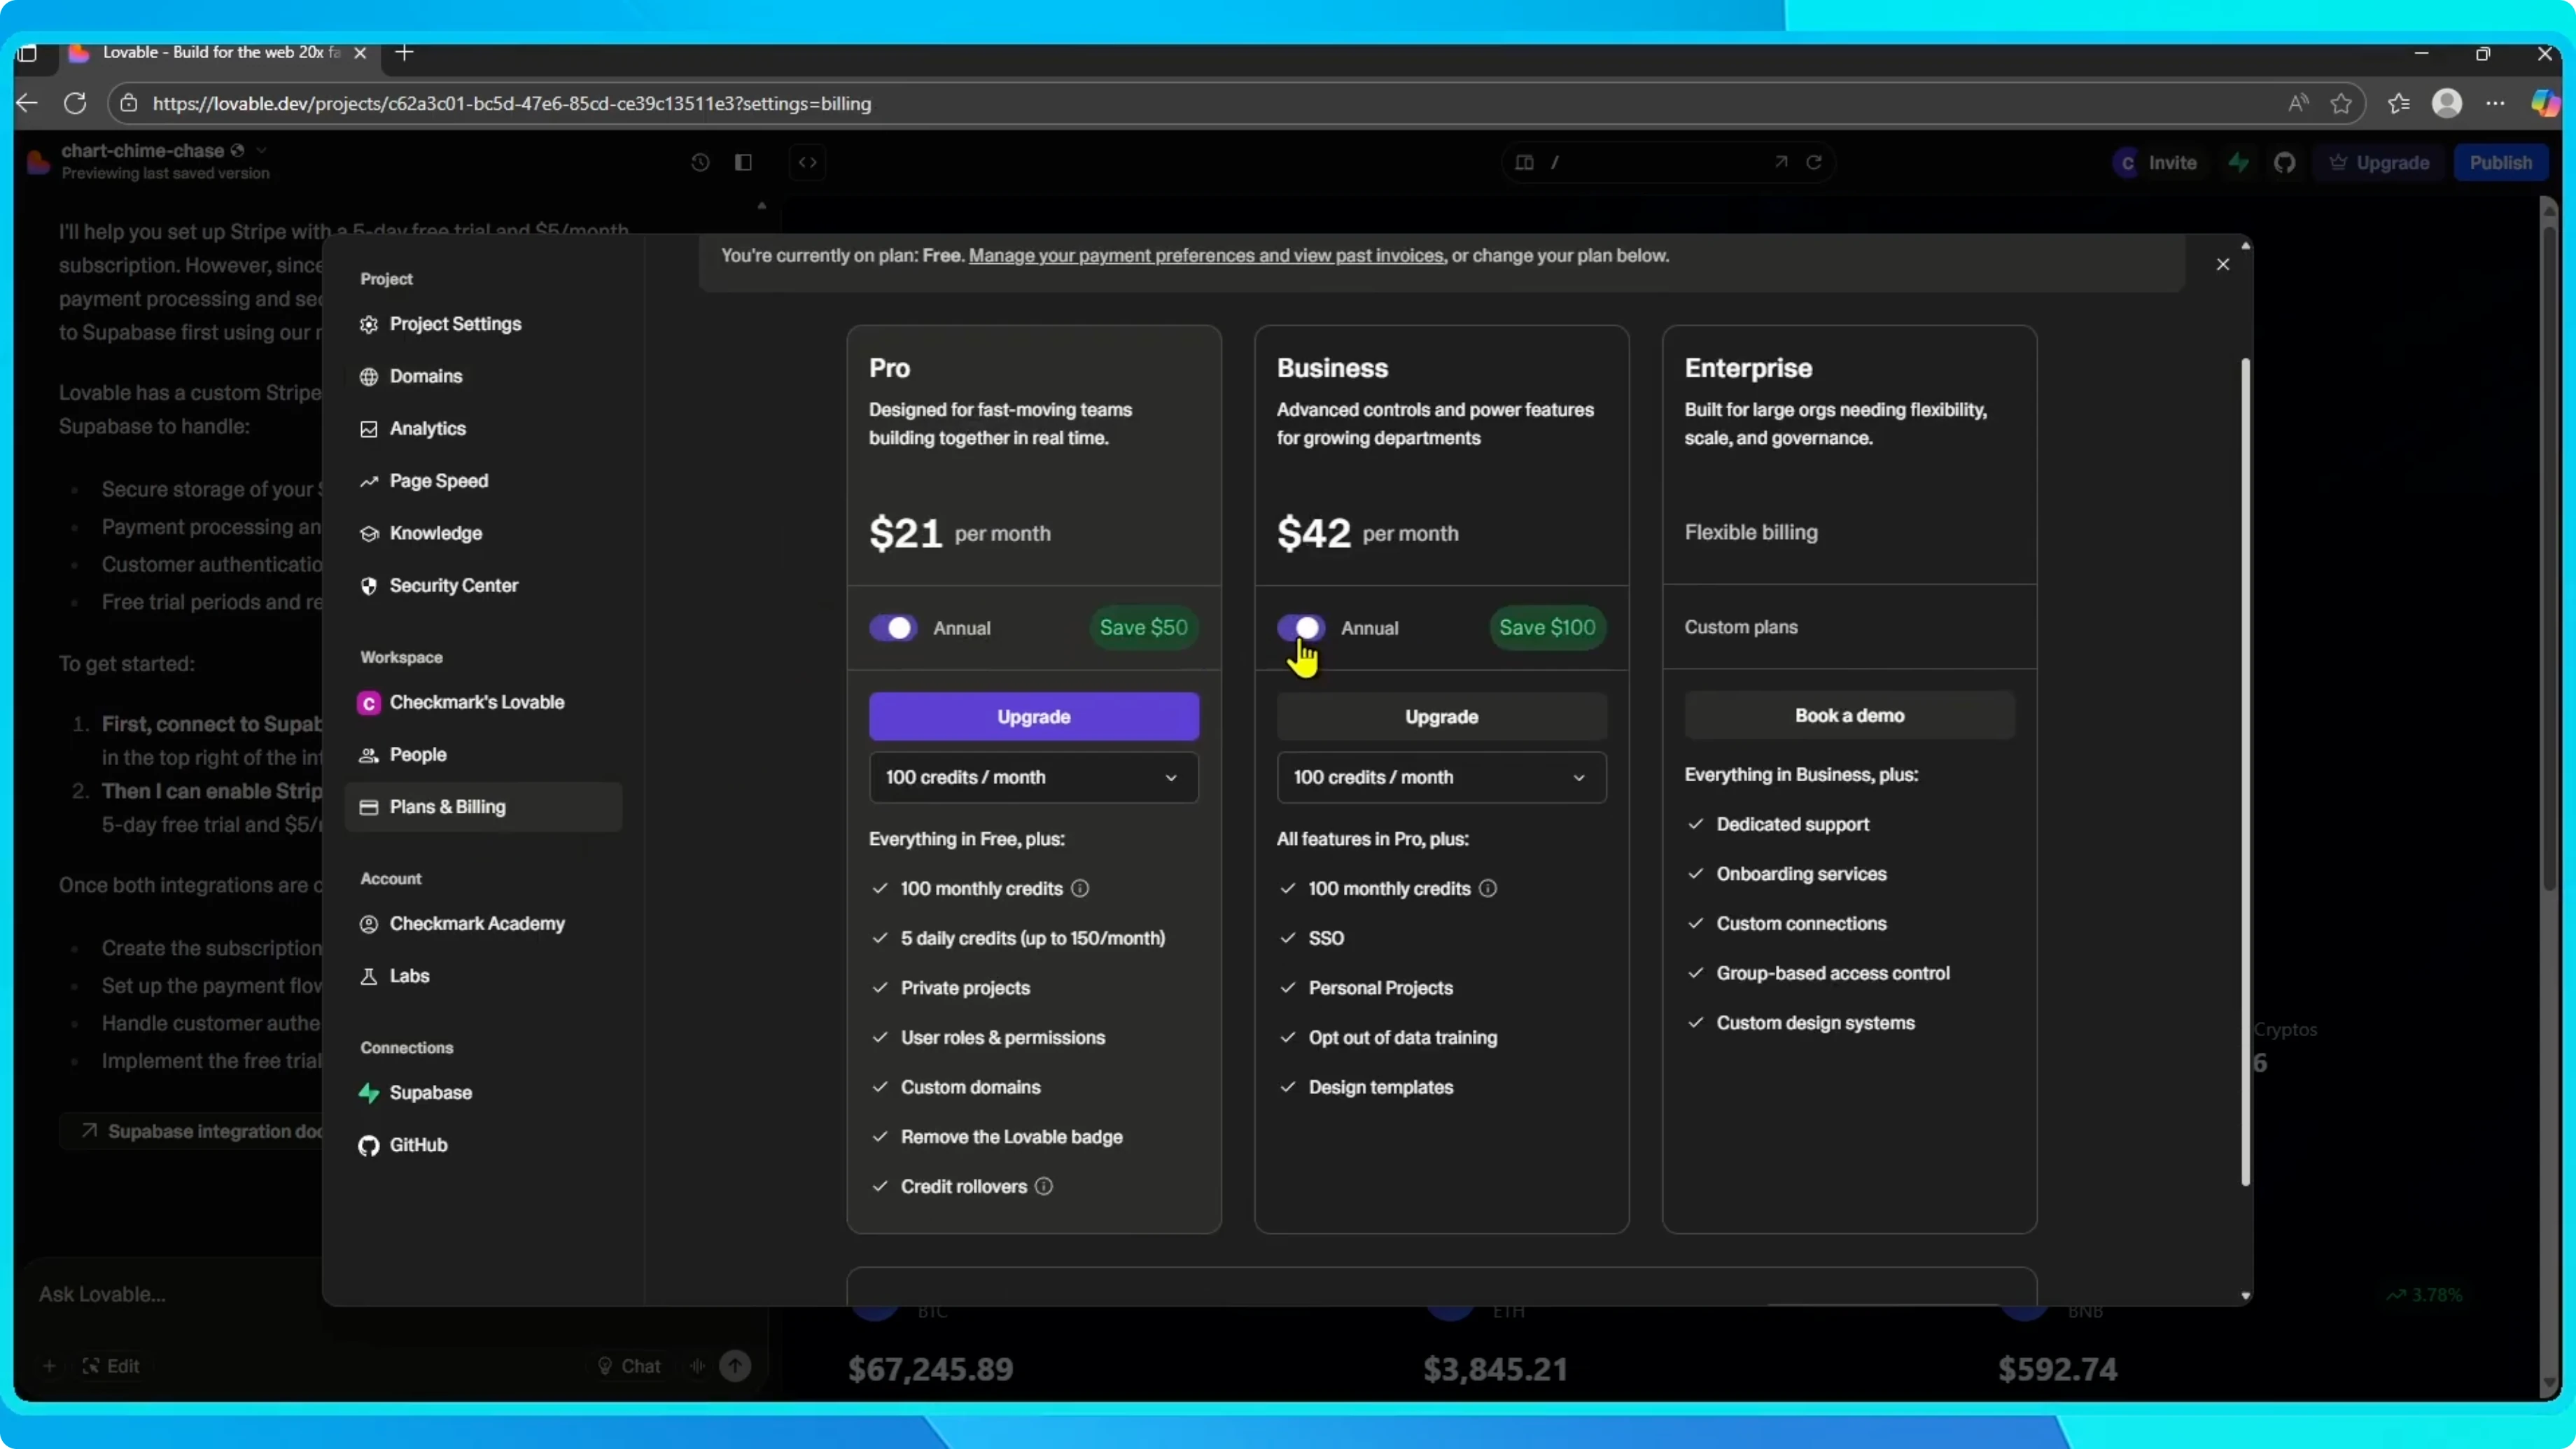
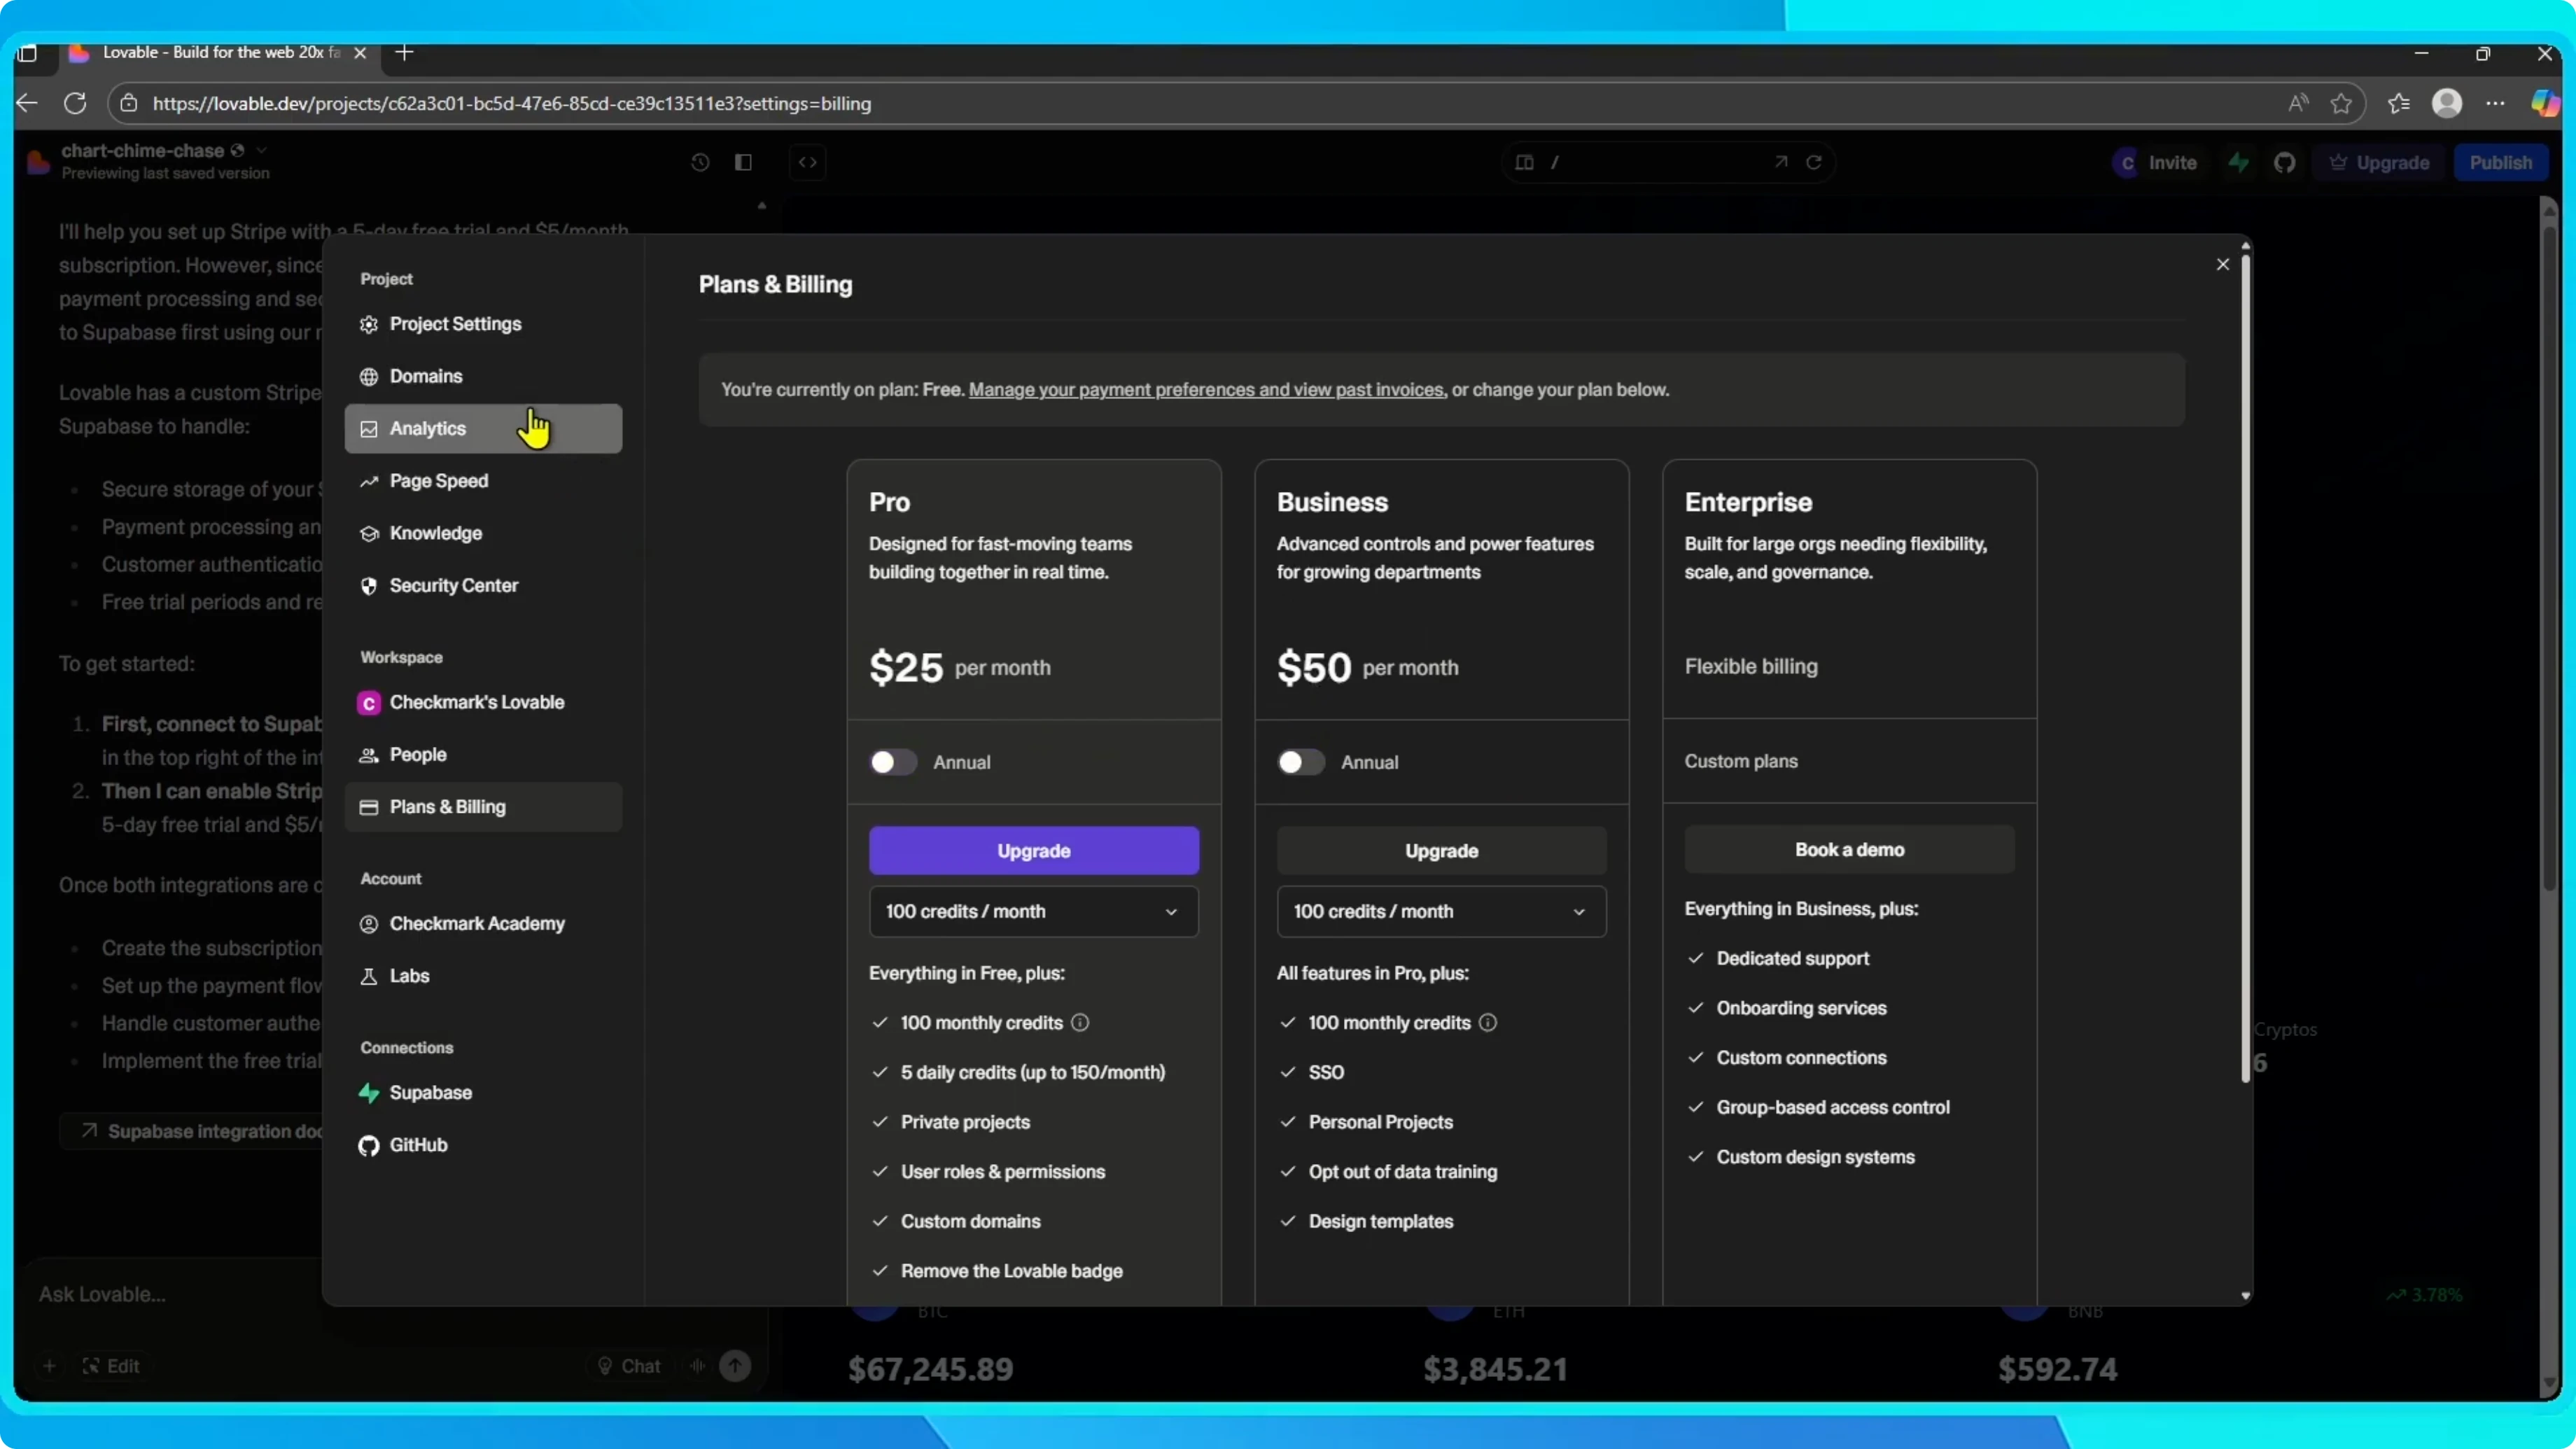
Click Connect domain. Upgrade to the Pro or Business plan to enable this feature.

You can view the pricing and features on this page and choose between monthly or annual billing. Once you have upgraded, you will be able to enter your custom domain and complete the connection process.

If you are also updating your branding, see how to add a logo in Lovable.
Buy a domain through Lovable
If you do not already have a domain, choose the buy domain option to register one directly and link it instantly to your project.
Read More: Add Adblock Google Chrome
Finish up
Your Lovable app is now connected to a custom domain, making it more professional and easier to share.
Final thoughts
Connecting a custom domain in Lovable takes only a few steps. Choose to connect an existing domain or buy a new one, upgrade if needed, and complete the link. Your project will look more polished and easier for people to find.