How Nano Banana 2 Transforms Frontend and Asset Design?
Nano Banana 2 has officially launched and it is a pretty big deal. I covered the original Nano Banana model and also Nano Banana Pro when I got early access to it. Both of those were great, but Nano Banana 2 is on a completely different level.
For those who don't know, Nano Banana is the community name for Google's image generation models within the Gemini ecosystem. The original was based on Gemini 2.5 Flash and Nano Banana Pro was based on Gemini 3 Pro. Nano Banana 2 is the next generation of this and it is a huge step up from both.
It is faster and cheaper than the Pro-based version while being almost as good in quality and in some cases even better for certain tasks. It is not just an image generation model anymore. It is genuinely an asset creation pipeline.
You can use it to generate UI components, icons, banners, product mockups, full design systems, and even edit existing images with high precision. You can integrate it directly into your coding workflow with tools like Verdant, Kilo Code, and Kilo CLI, which makes it actually useful for developers and not just designers. For context on my workflow and testing approach, see About.
How Nano Banana 2 Transforms Frontend and Asset Design?
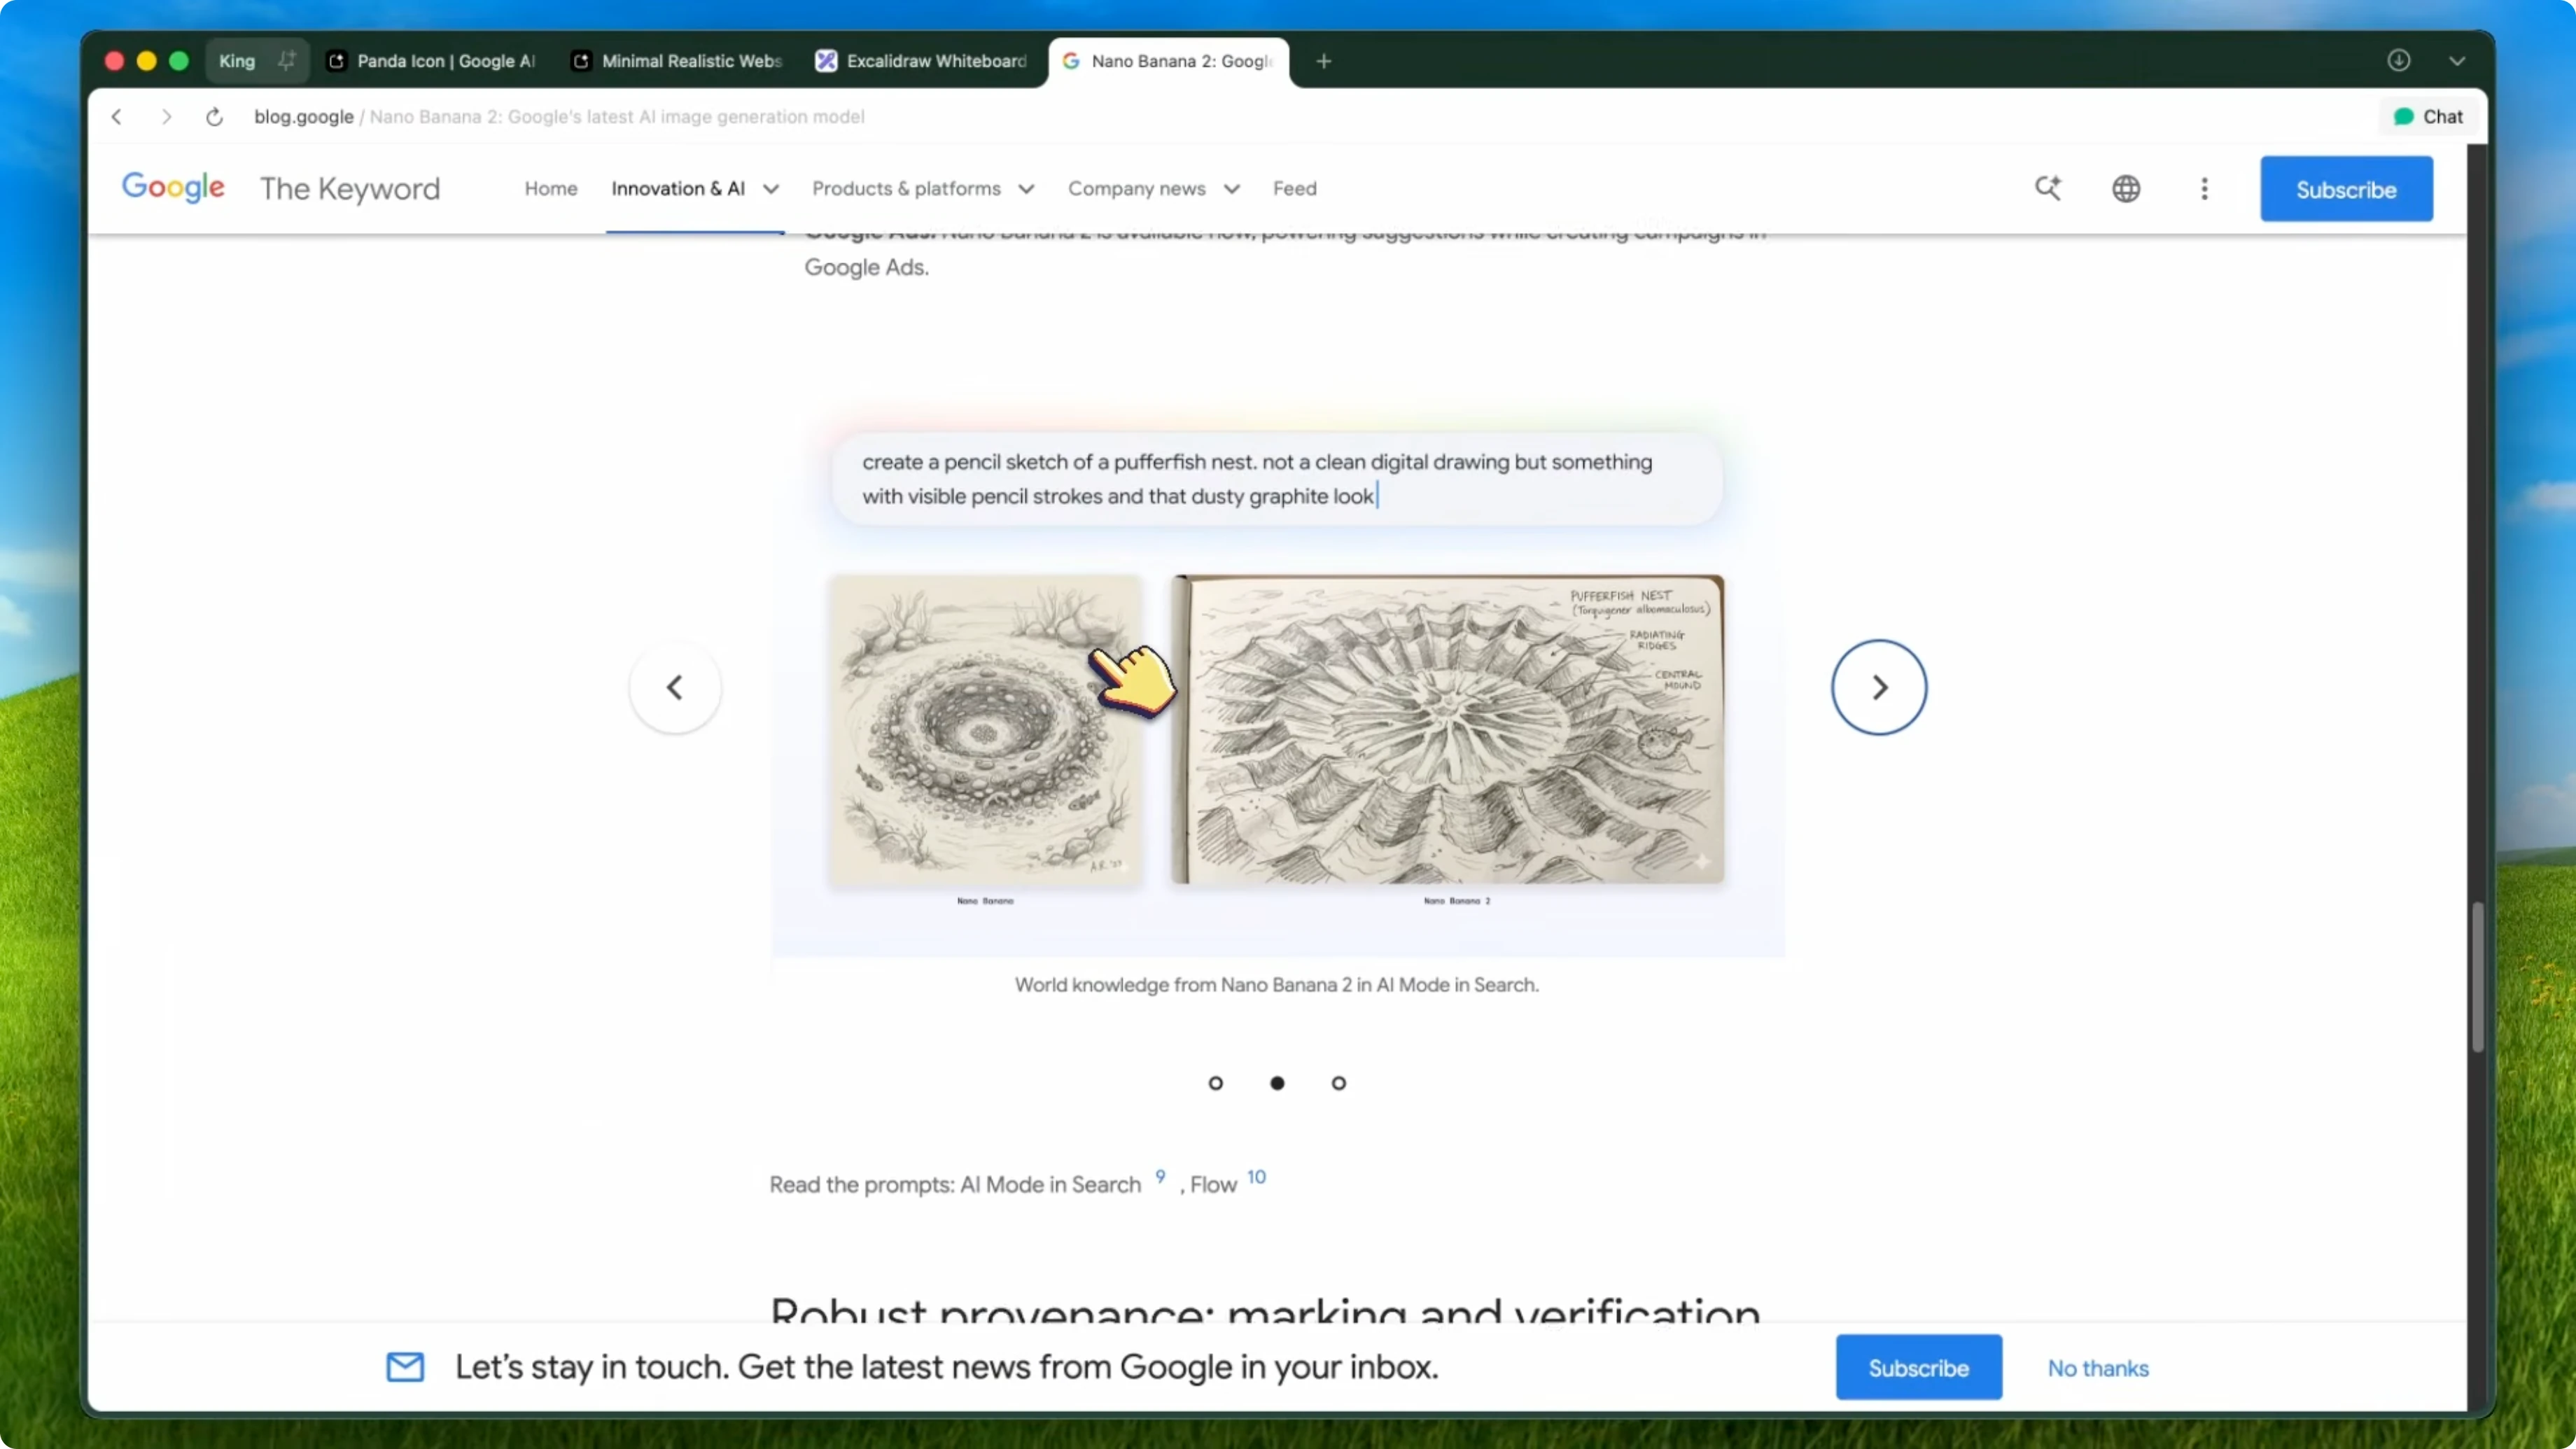
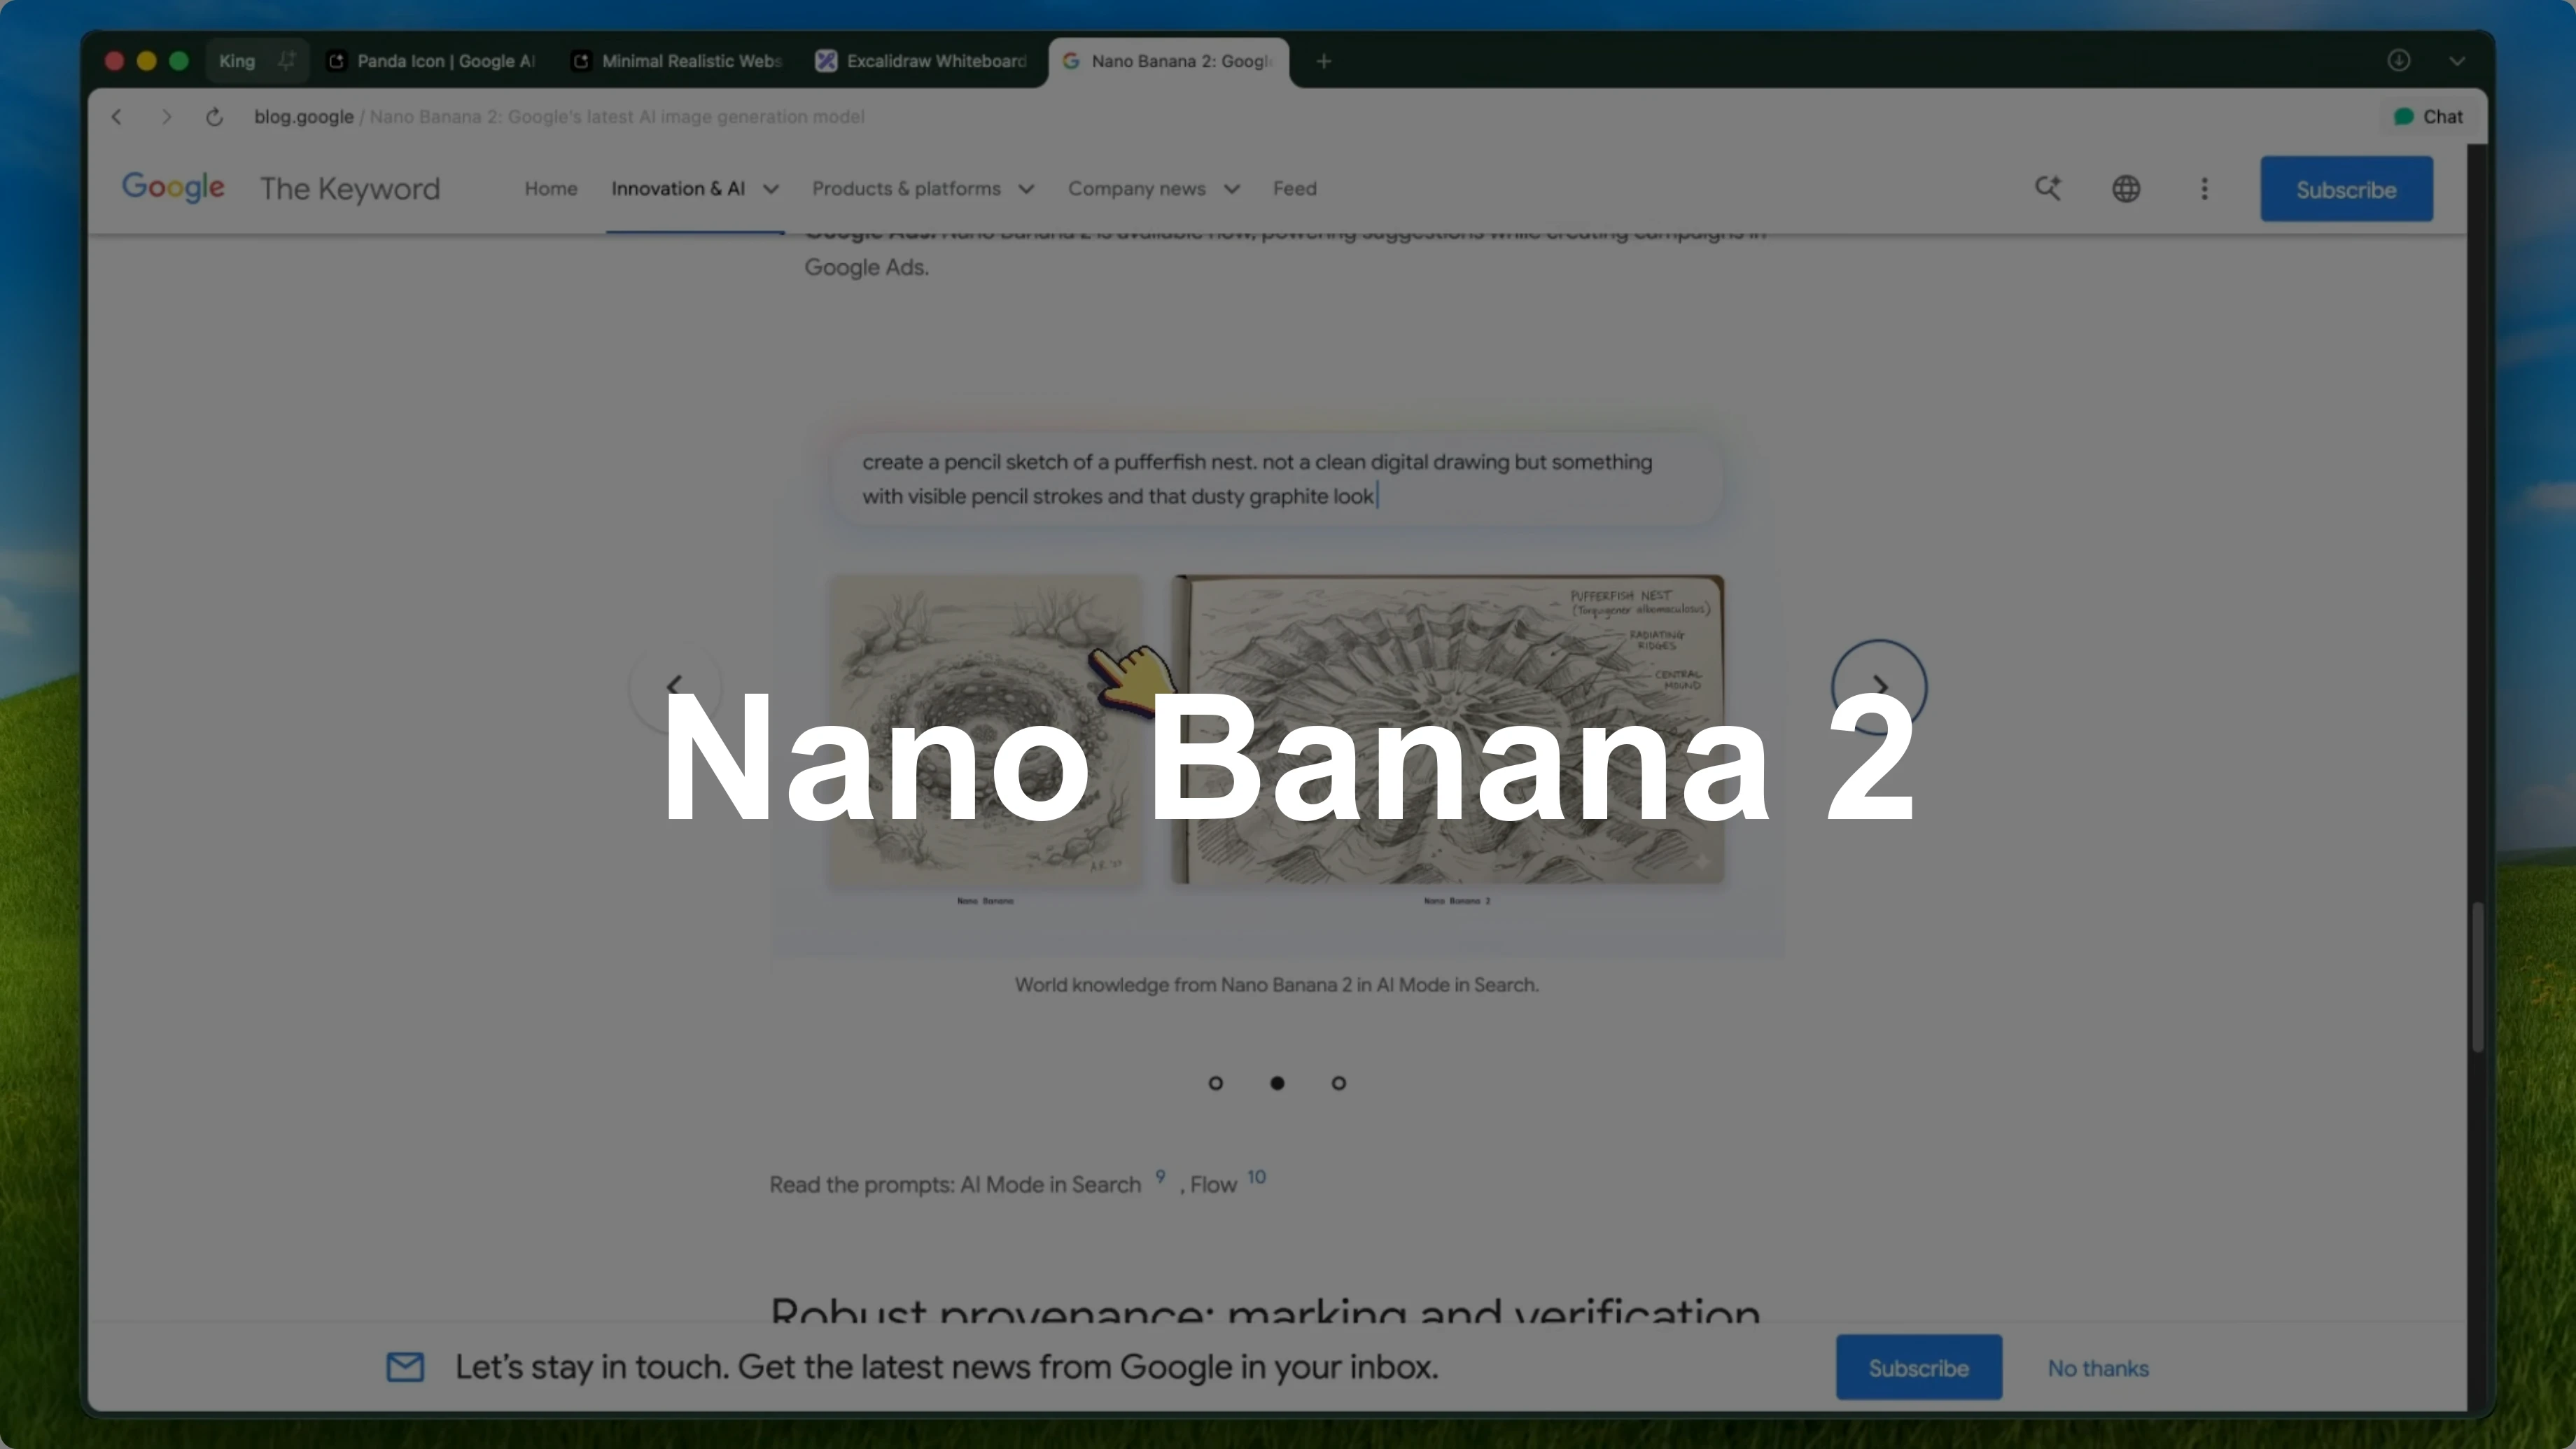
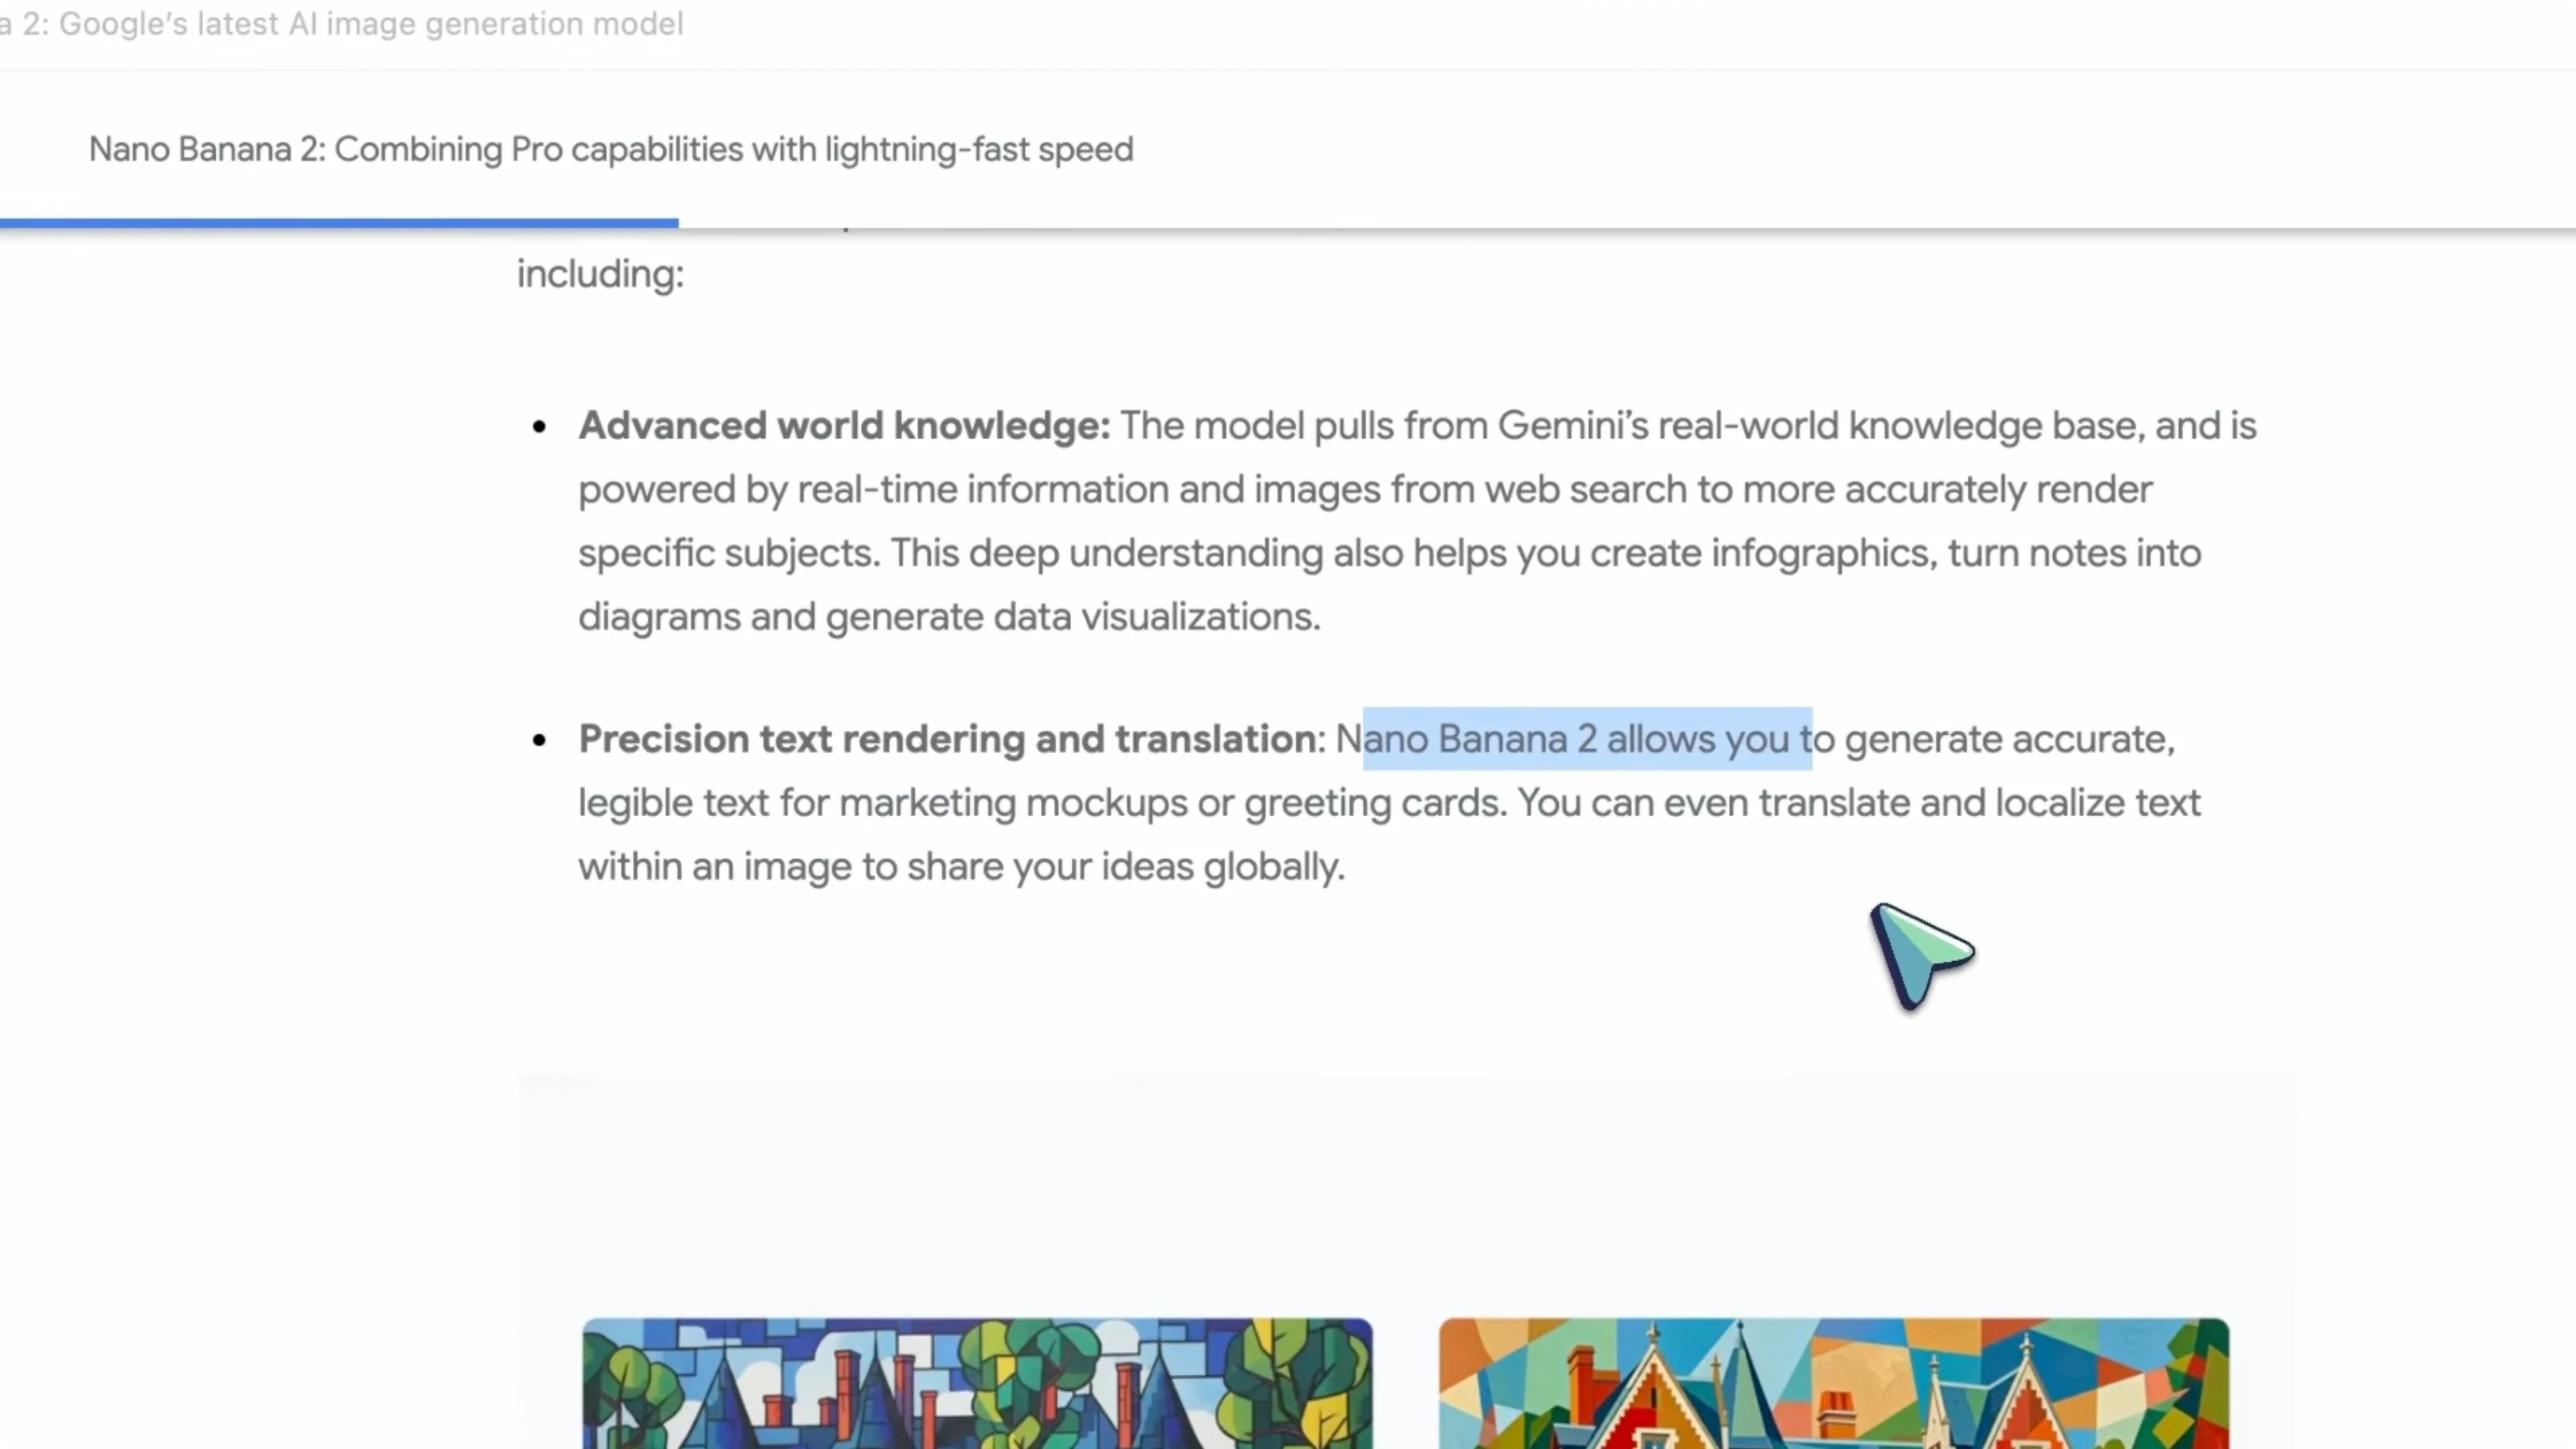
Text rendering
The biggest improvement is in text rendering. If you used the original Nano Banana, you know that text was always a weak point. It could handle short words, but anything longer would get blurry or weird.
Nano Banana 2 has fixed this significantly. I tested it with full sentences, code snippets, images, and even UI text, and it handles them really well. It is not perfect, but it is the best I have seen from any model in this price range.
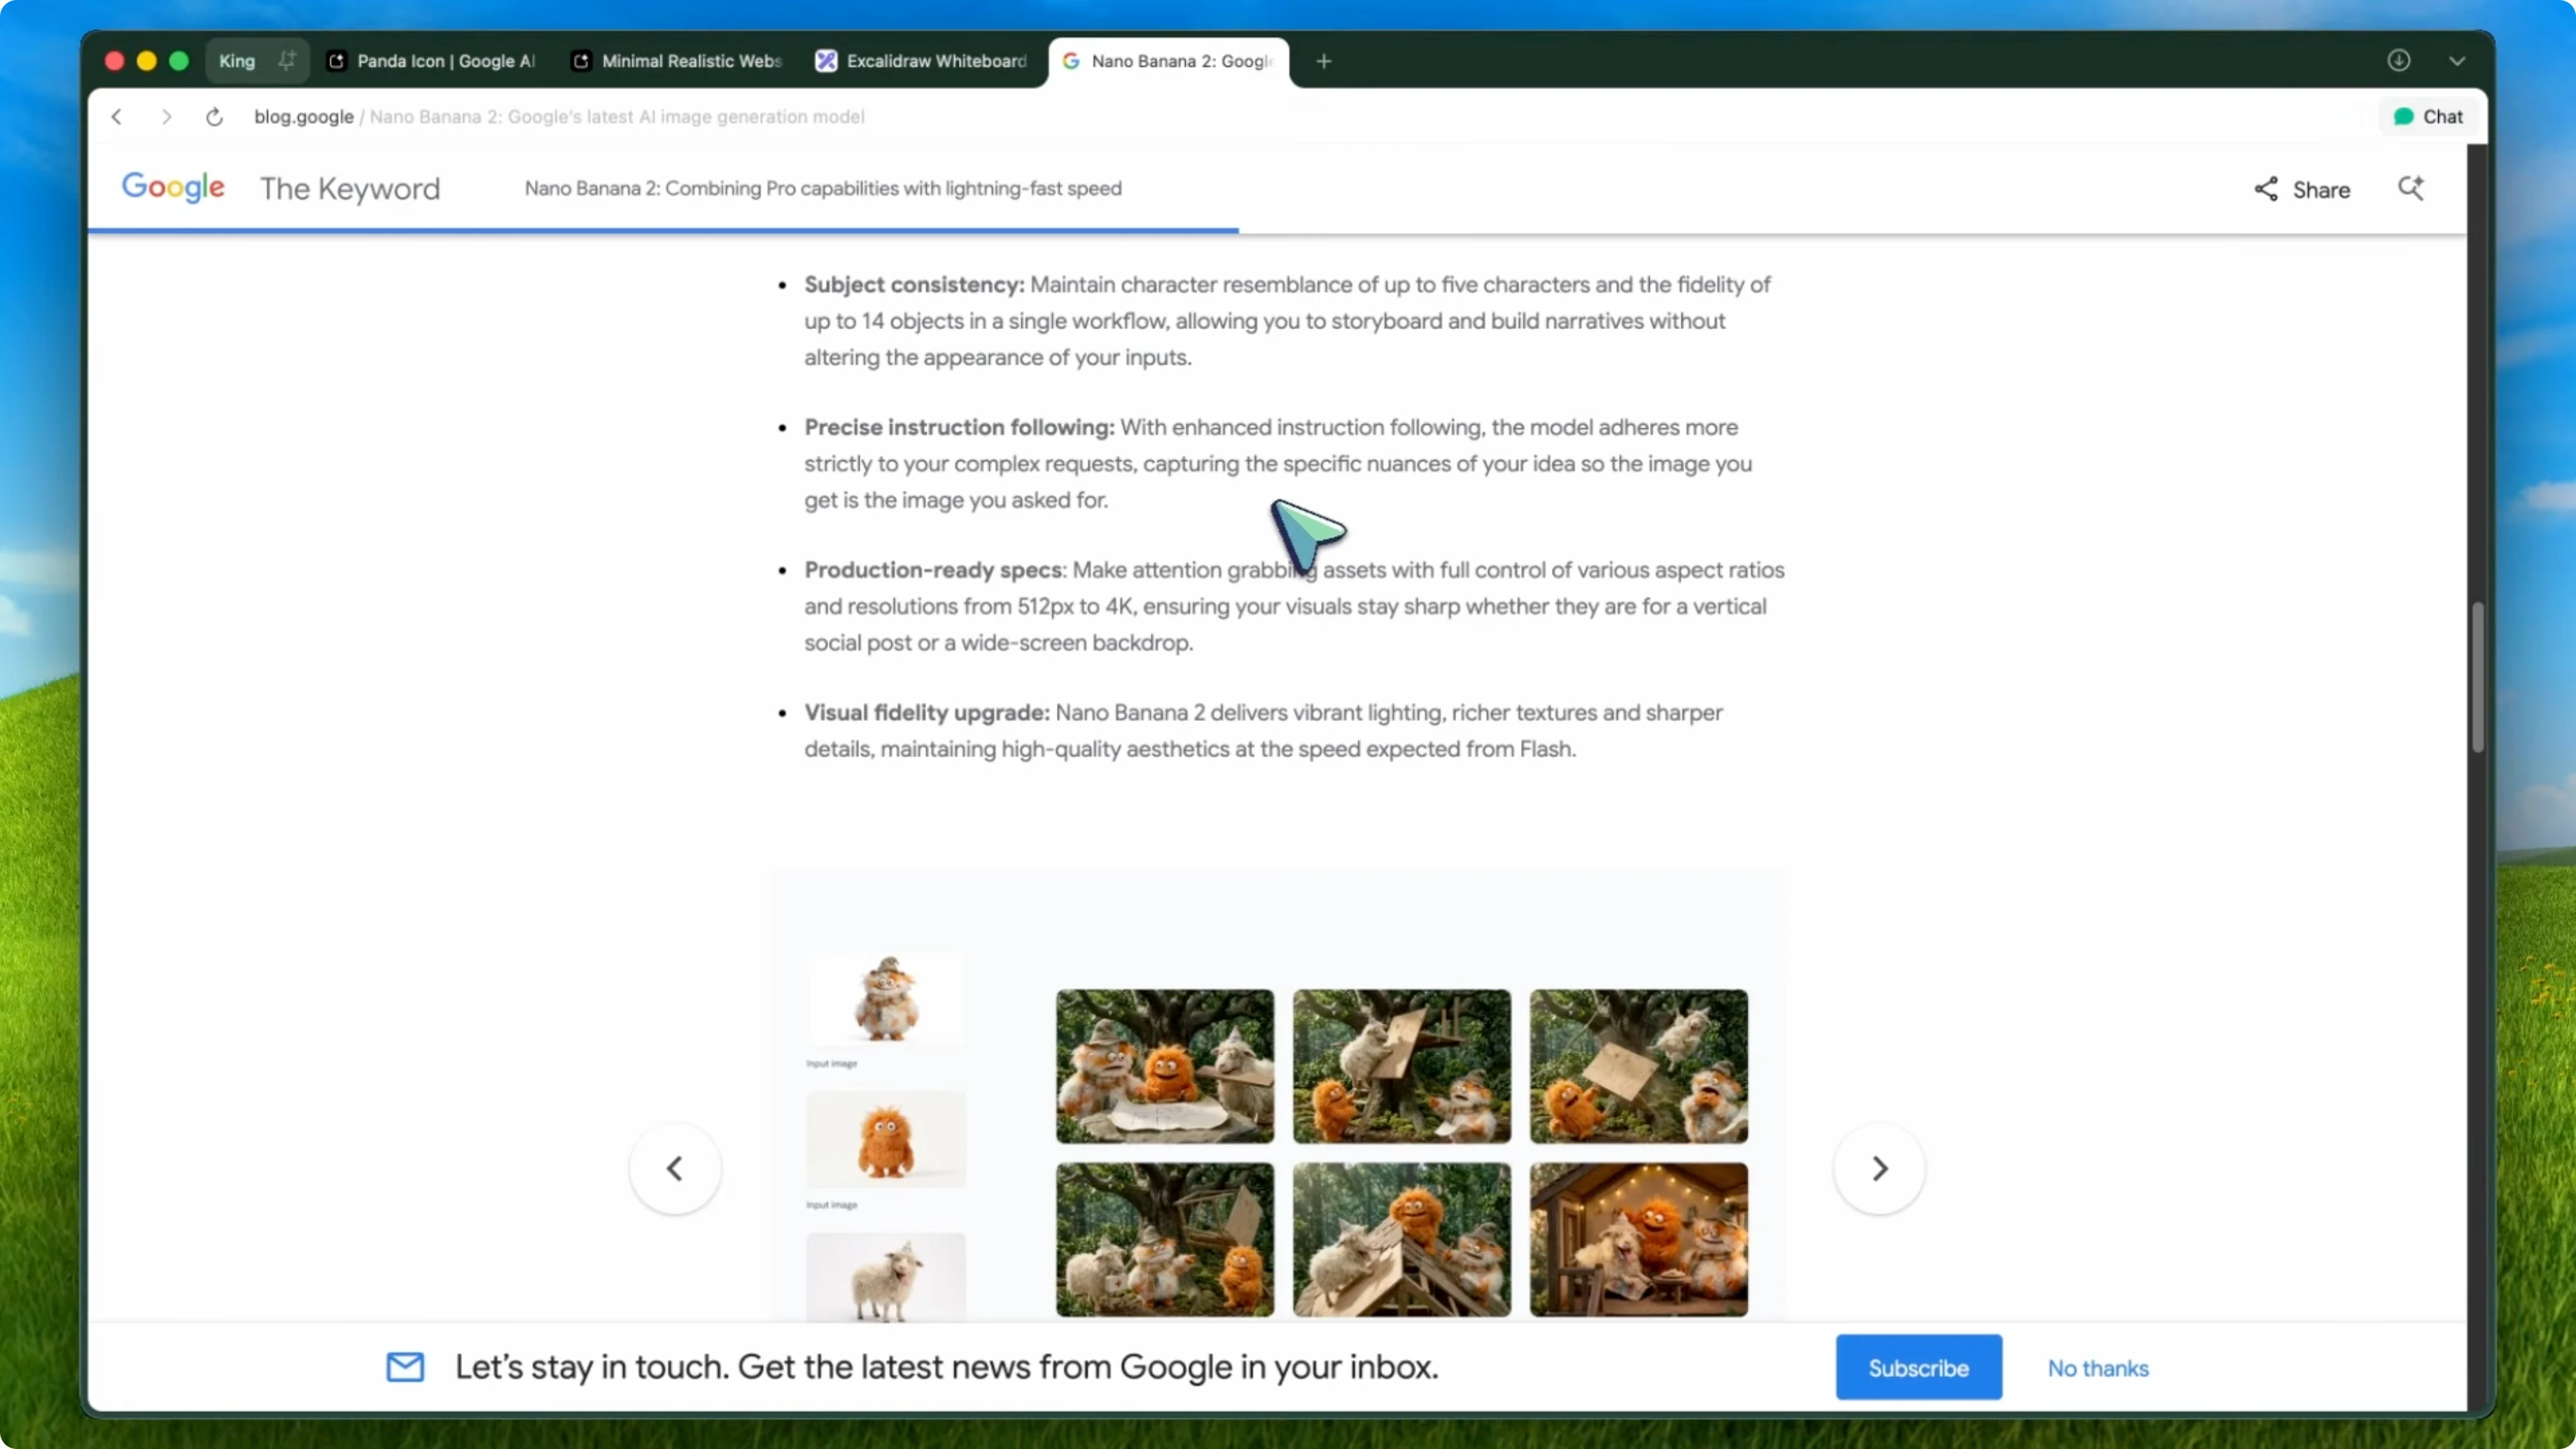
Character consistency
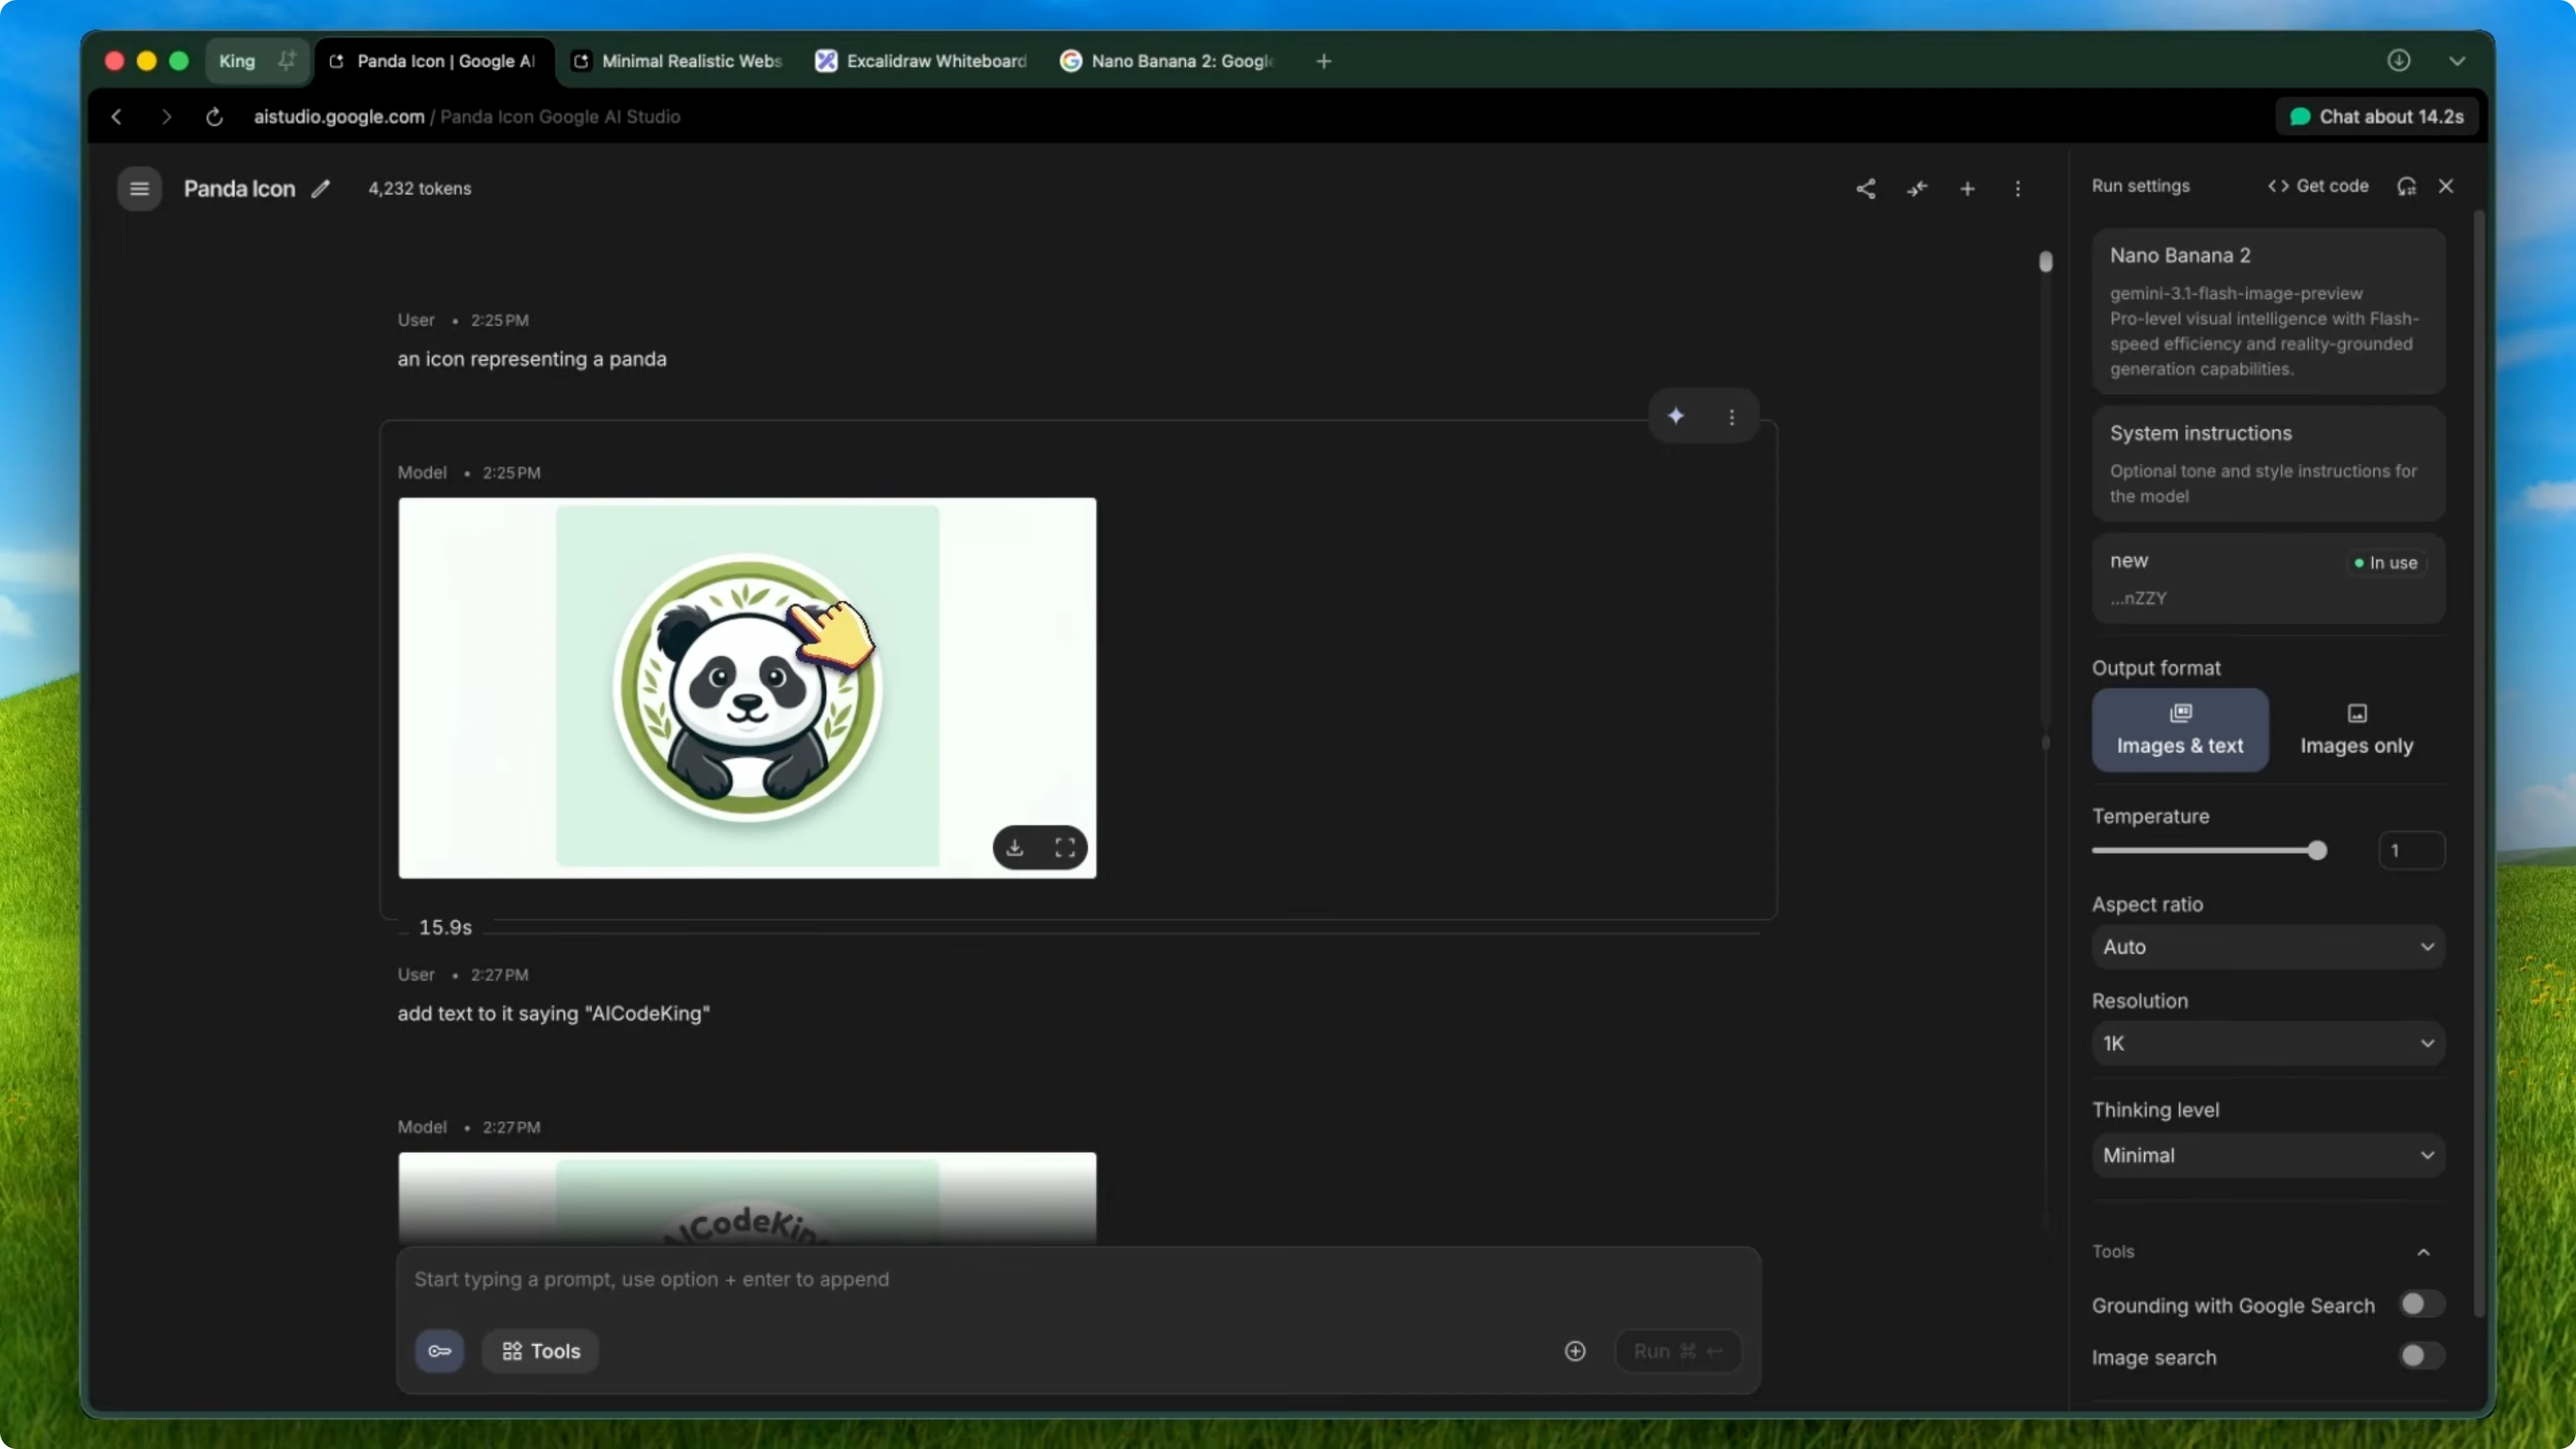
Character consistency has also gotten a huge upgrade. I tried generating the same character across five different scenes, and it kept the look almost identical. The face, the clothing, the proportions, everything stayed consistent.
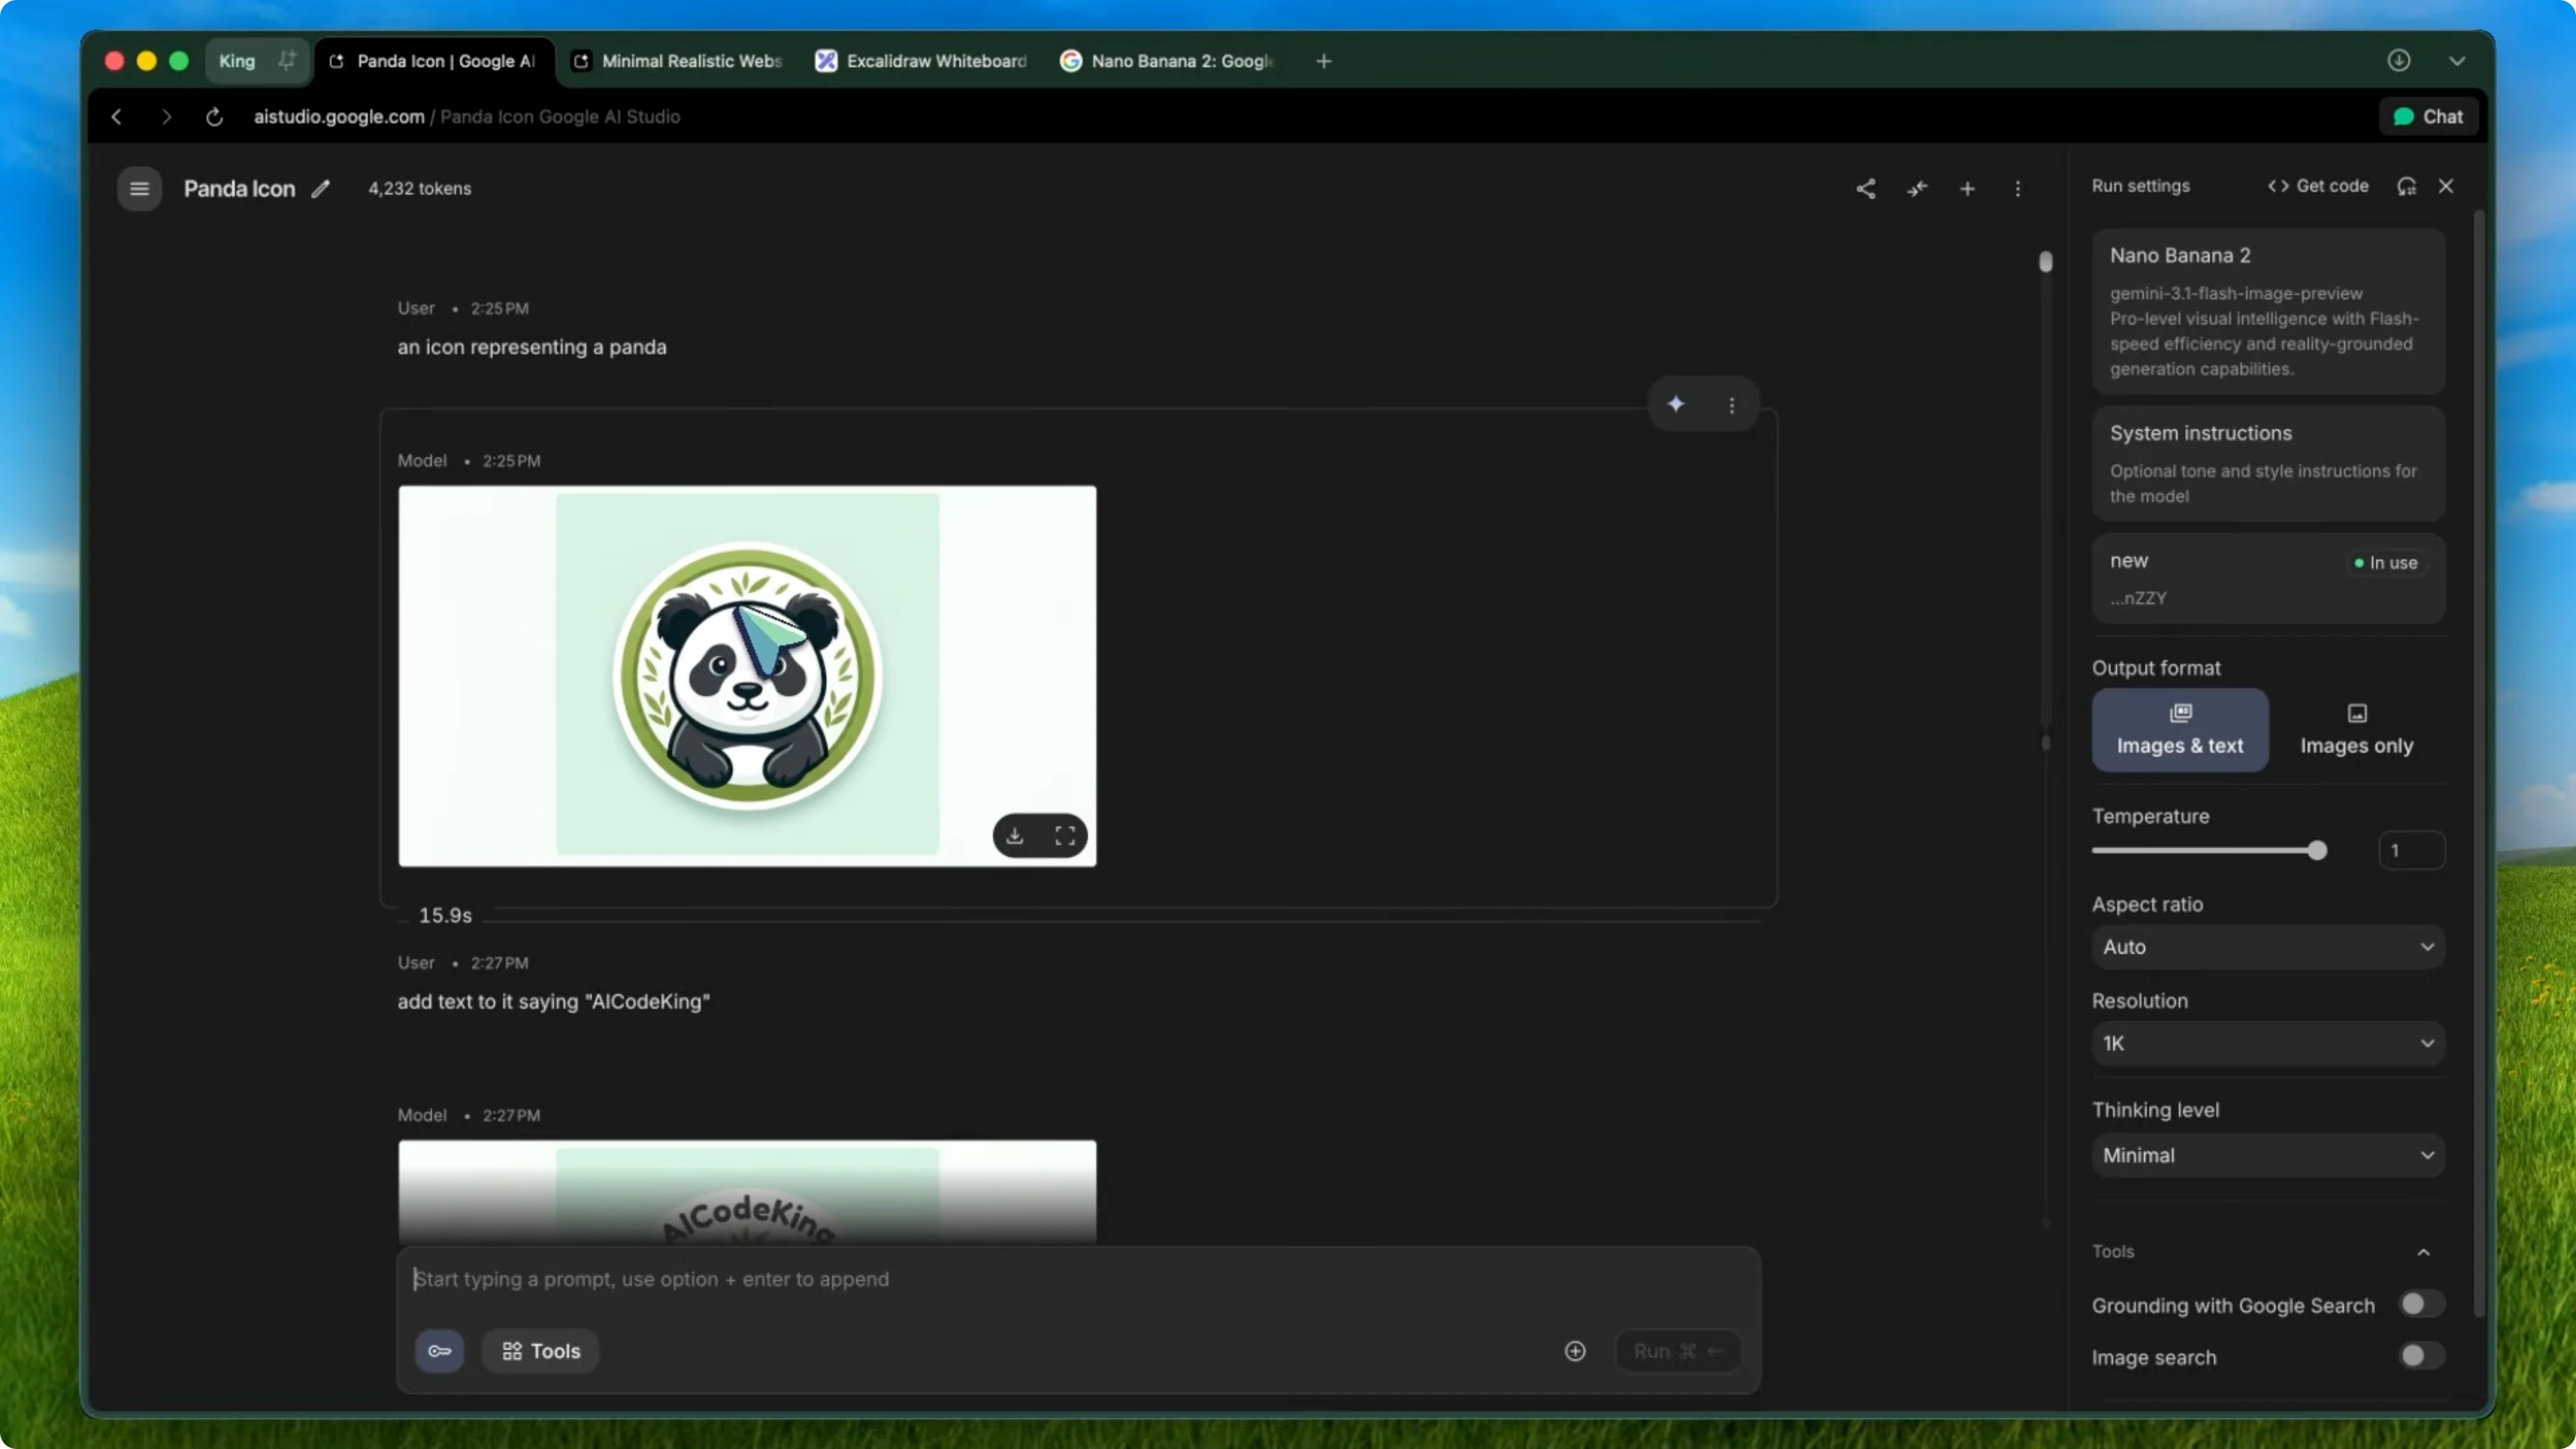
This is something that even the Pro model struggled with sometimes. Seeing it work this well on a Flash-based model is impressive.
Editing power
The editing capabilities are where it really shines. You can upload any image, describe what you want changed in natural language, and it just does it. I tested removing objects, changing backgrounds, restyling entire scenes, and converting hand-drawn sketches into polished designs.

The speed is also incredible. Most edits come back in under 10 seconds, which is way faster than the original Nano Banana.
Speed and fusion
Multi-image fusion is still here, and it is even better. You can combine elements from multiple images into one cohesive output. I used this to place product mockups into real environments and the results looked natural enough to use in actual marketing materials.
Developer workflow with Nano Banana 2
Sketch to polished mockup
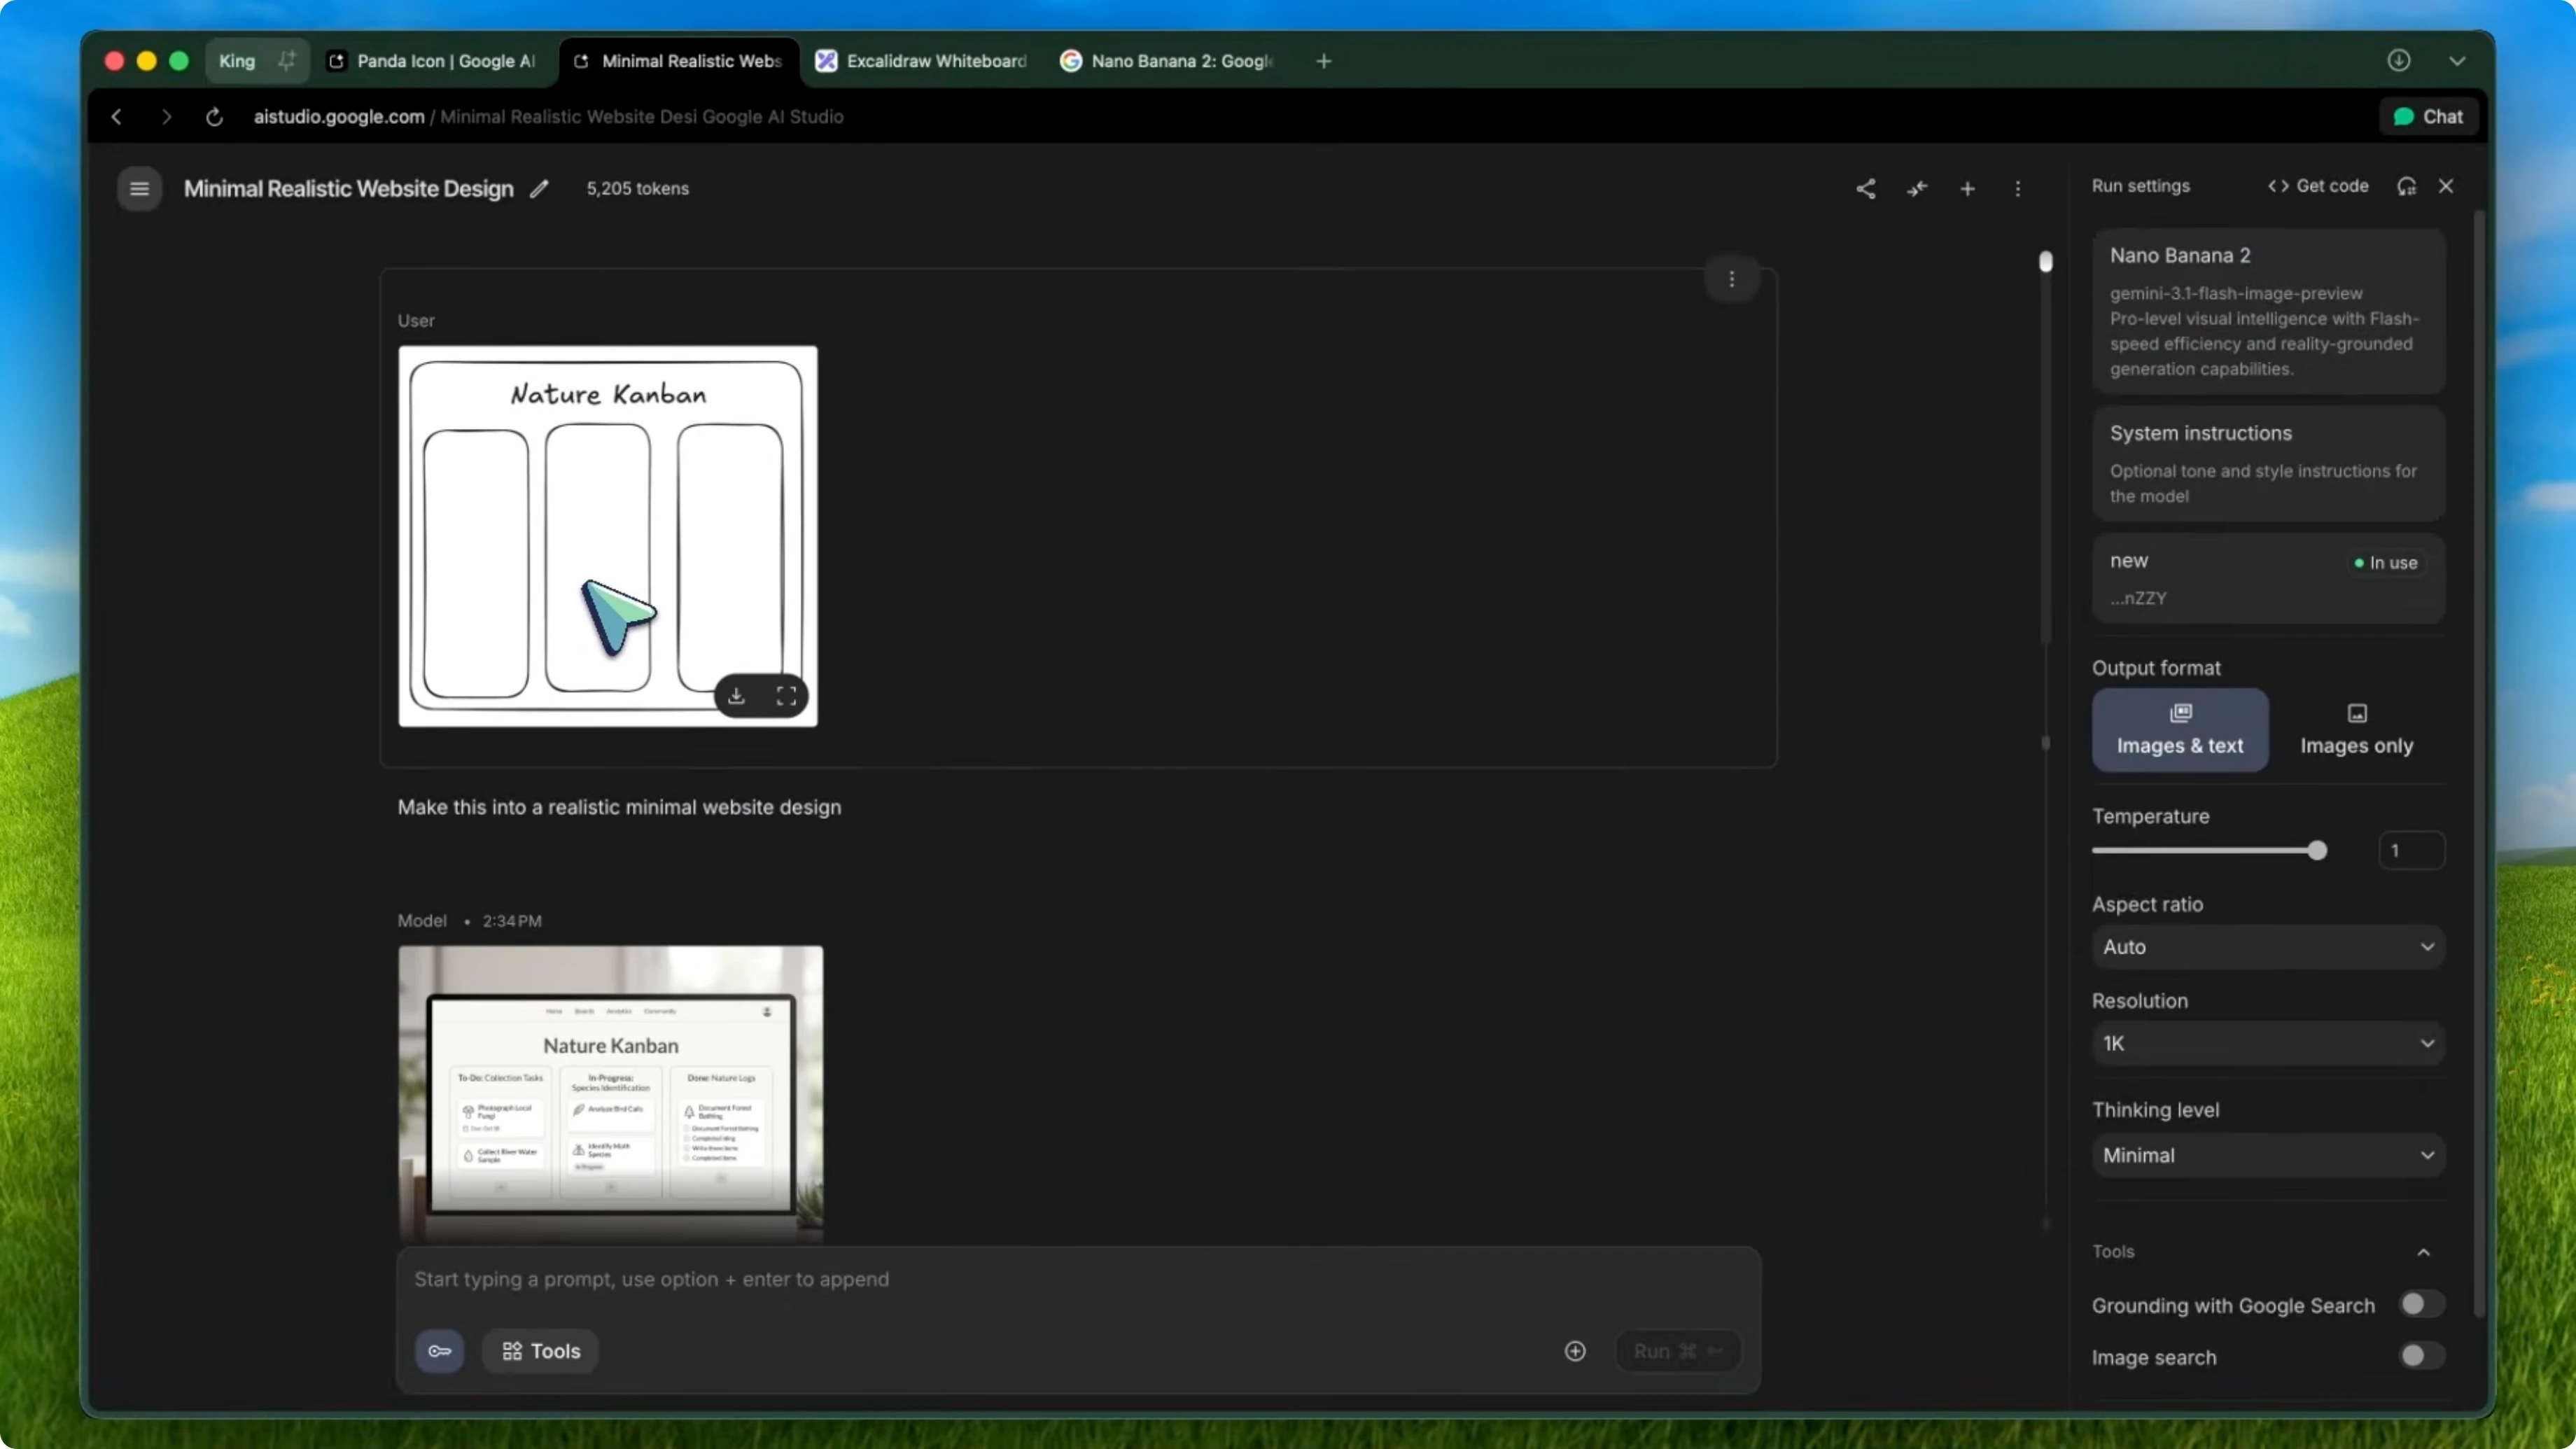
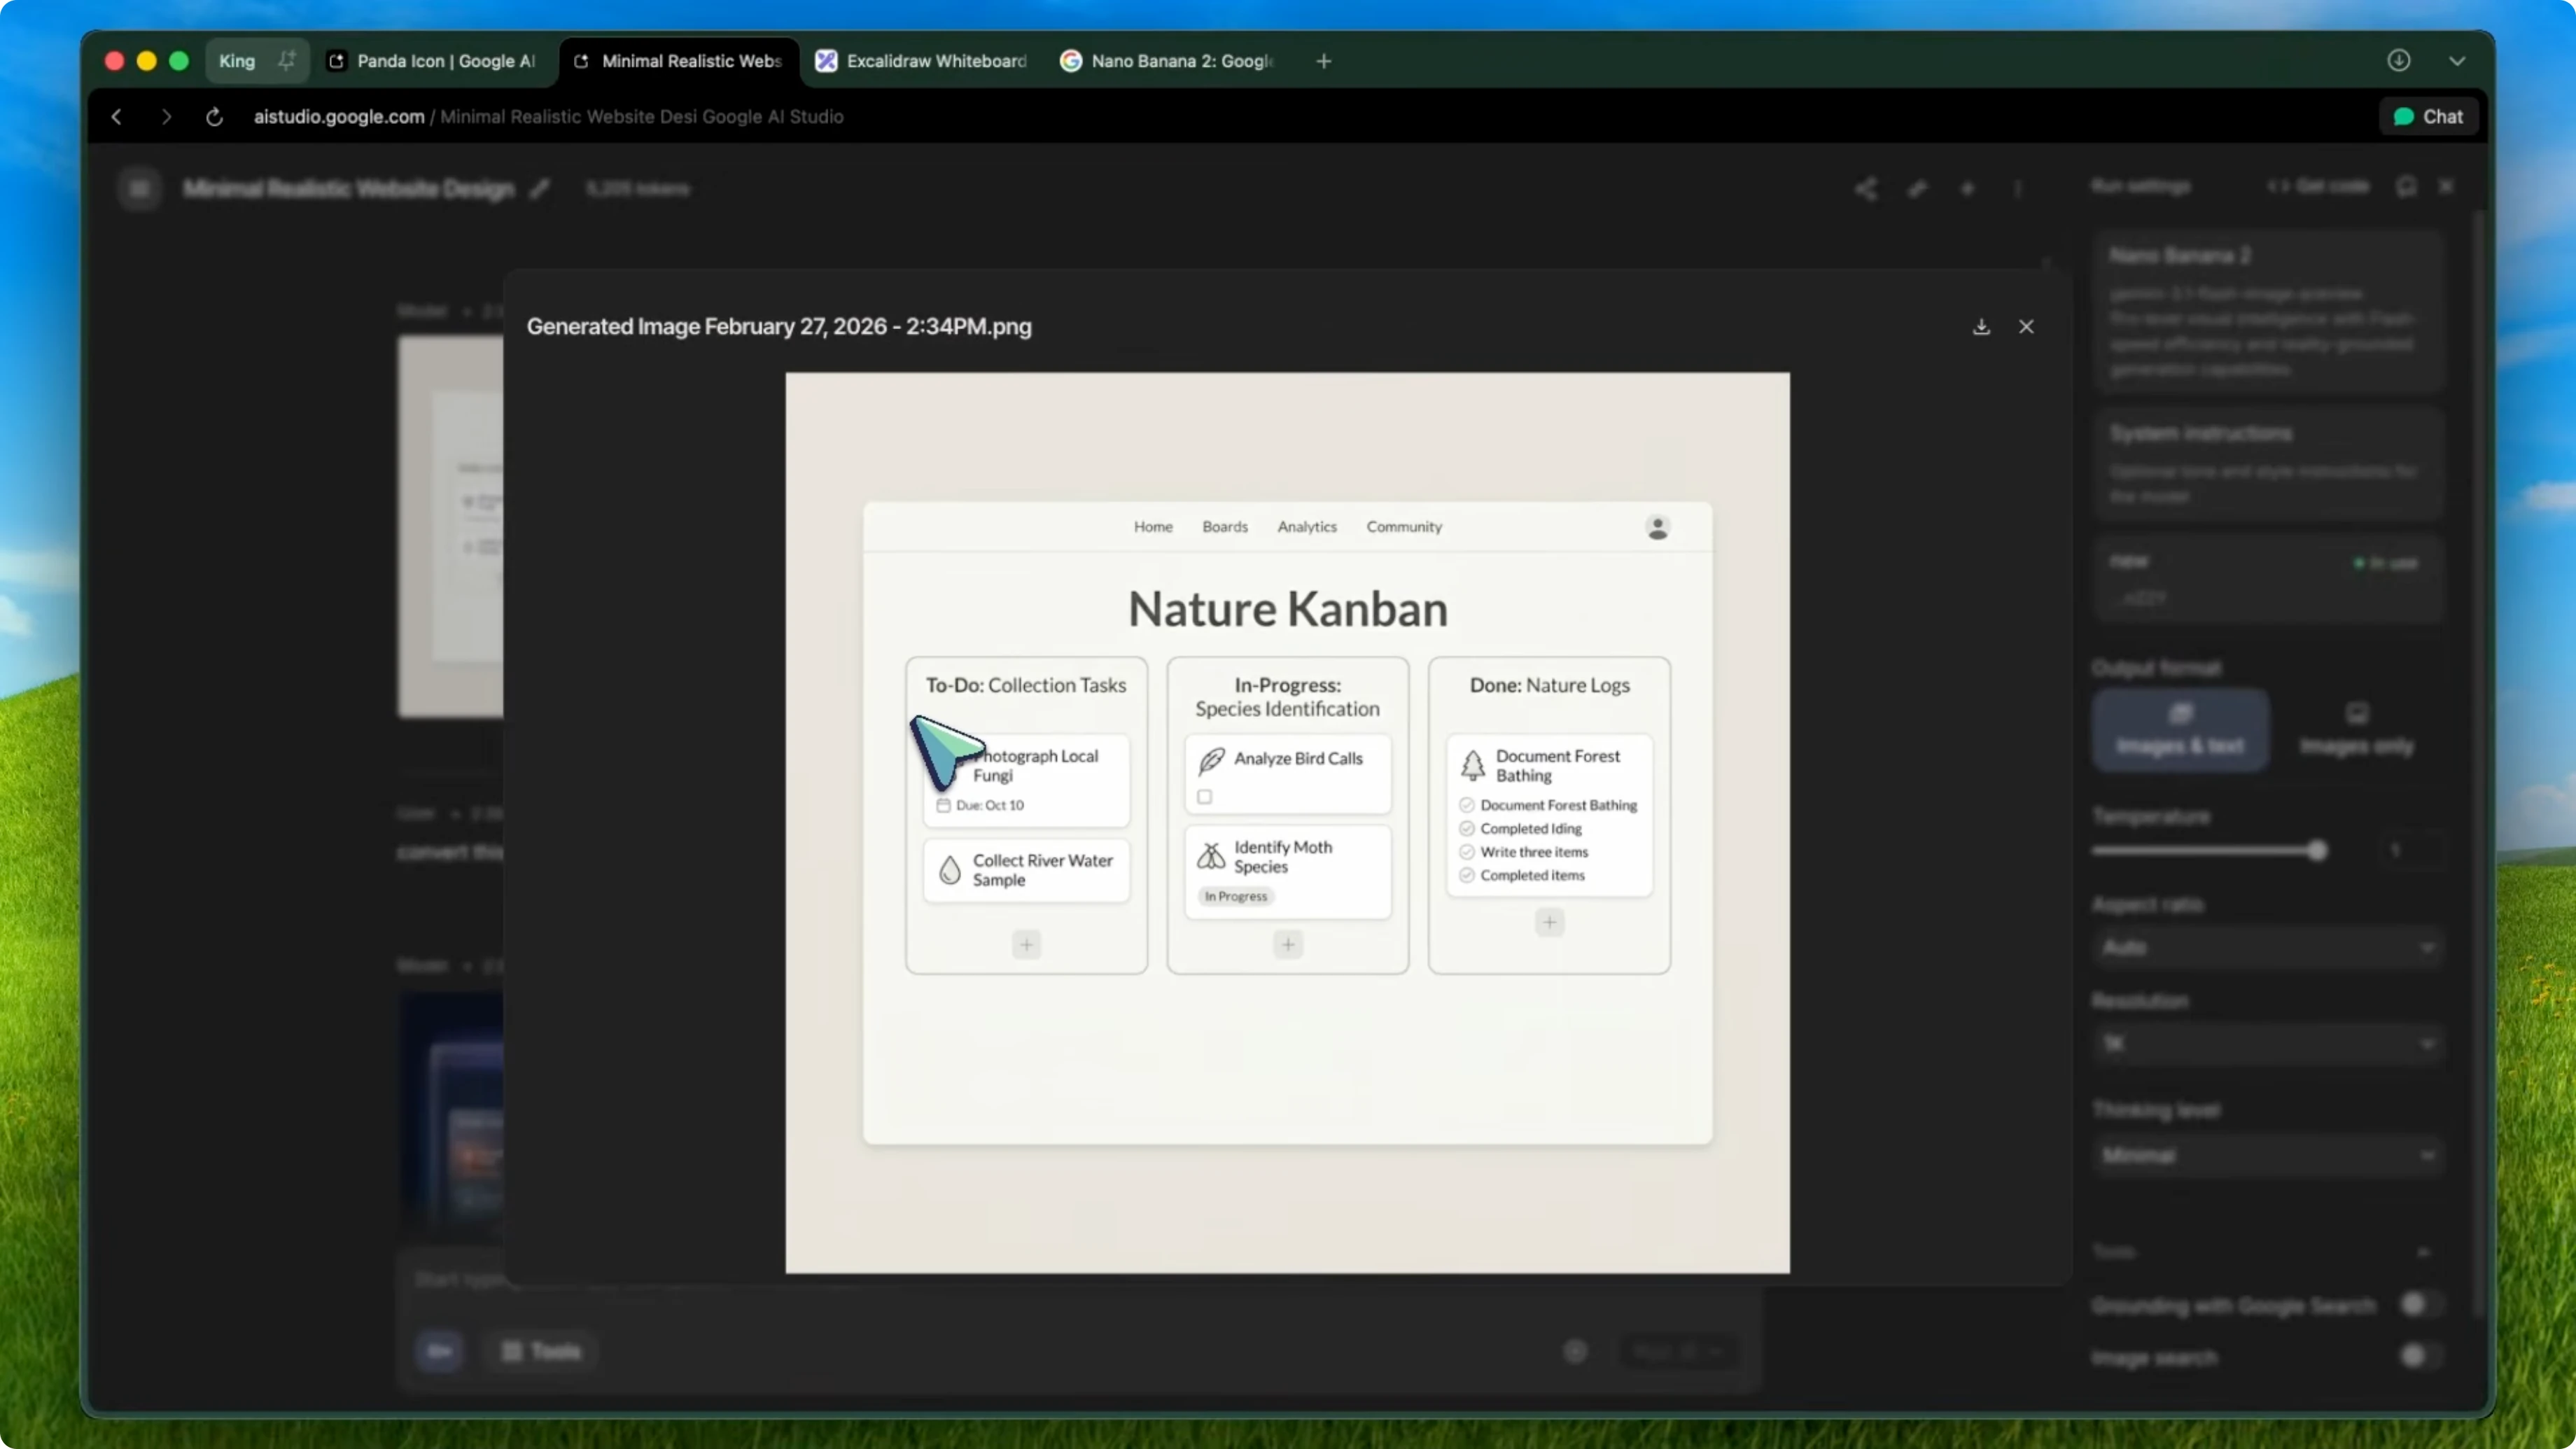
Go to Excalidraw or any whiteboard tool and sketch out a rough mockup of what you want. It does not need to be pretty, just boxes, labels, and a basic layout. This is the same workflow as the Nano Banana UI designer approach, but now with the upgraded model.
Send that mockup to Nano Banana 2 through Google AI Studio. Use a prompt like convert this UI mockup into a modern dark themed design with glass morphism effects and subtle gradients. In about 15 seconds, you get back a polished design that actually looks professional.
Example prompt:
convert this UI mockup into a modern dark themed design with glass morphism effects and subtle gradients
Generate and edit inside VS Code
If you are using the Kilo Code VS Code extension, it has the experimental image generation tool built in. Enable it in the settings and connect it to the Gemini Image Gen API. You can generate and edit images directly from within VS Code while coding.

If you are in the middle of building something and you realize you need an icon or a banner, you do not have to leave your editor. Tell Kilo Code to generate it using the image gen tool and it creates the image and saves it right in your project directory. You can also use it to edit existing images, like modernizing a design or changing the color scheme.
From assets to components
After you have your generated assets, drop them into your project. Use either Kilo Code or Kilo CLI to build around them.
Reference the image and say something like clone this design into a React component with Tailwind CSS. Because both Kilo Code and Kilo CLI support multimodal models, they can see the image and understand the layout, colors, and spacing, then write the code to match.
You go from a rough sketch to a polished UI component in maybe 2 or 3 minutes. That is pretty awesome.
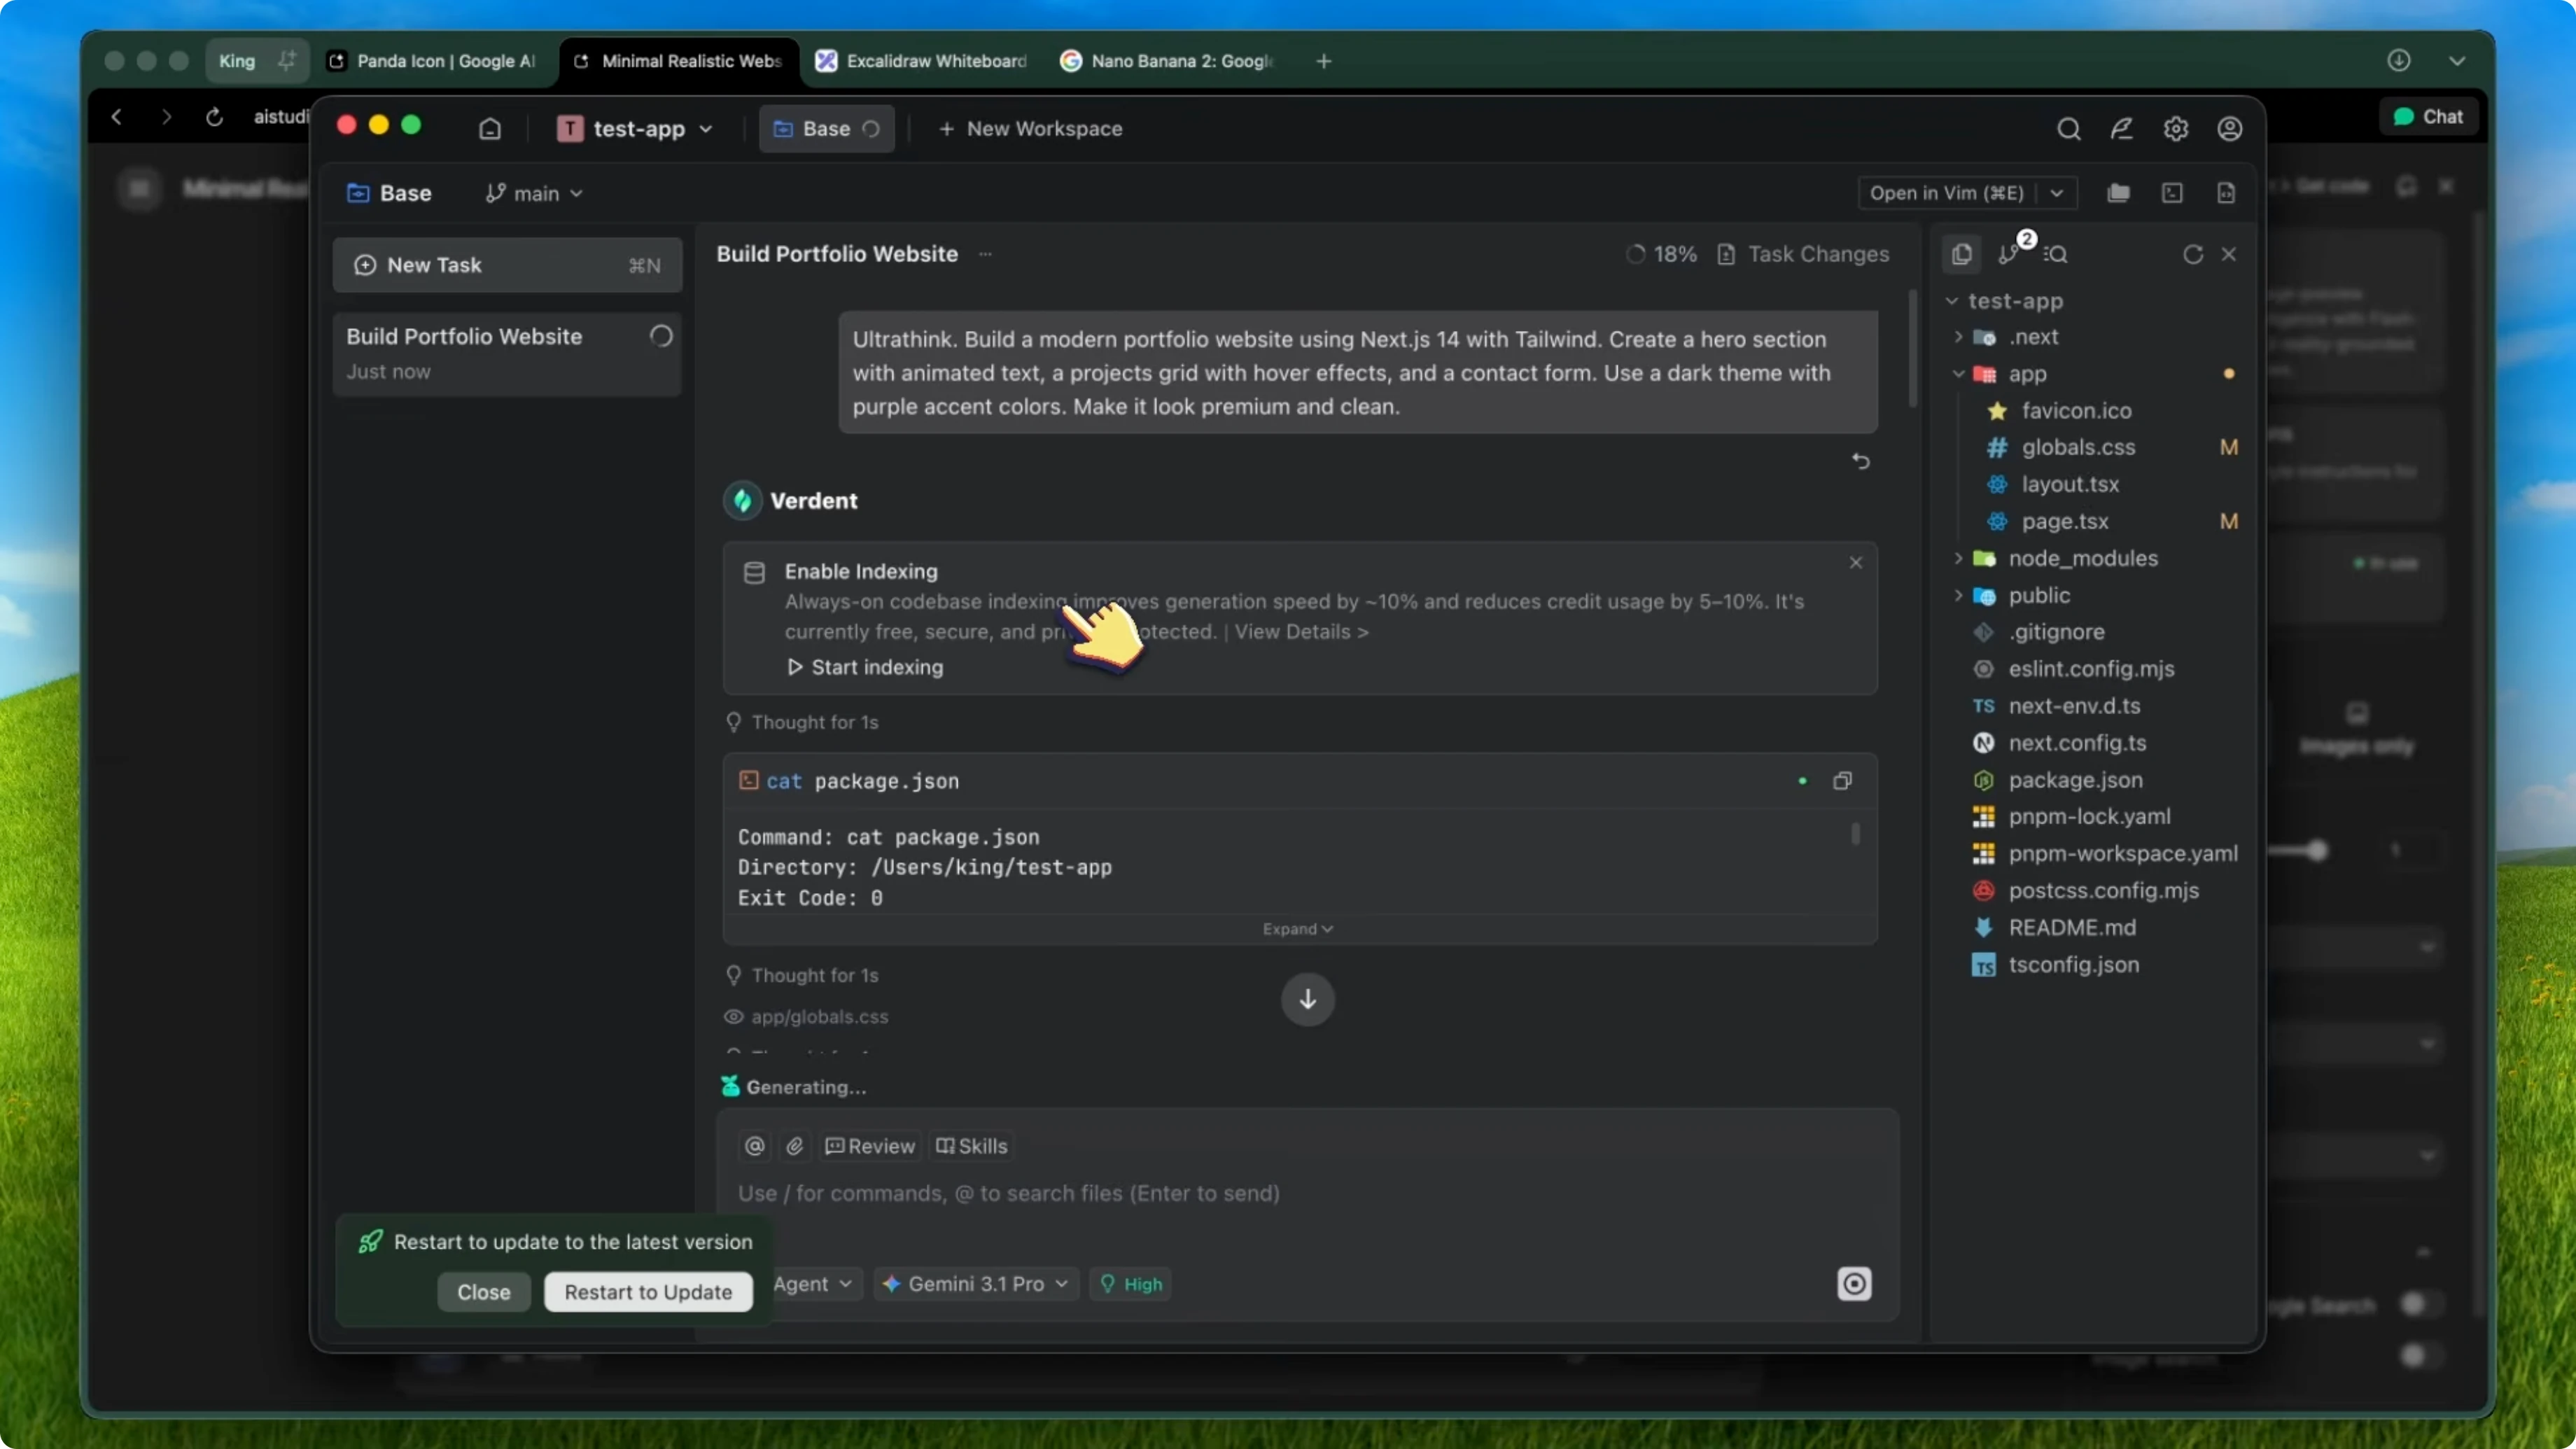
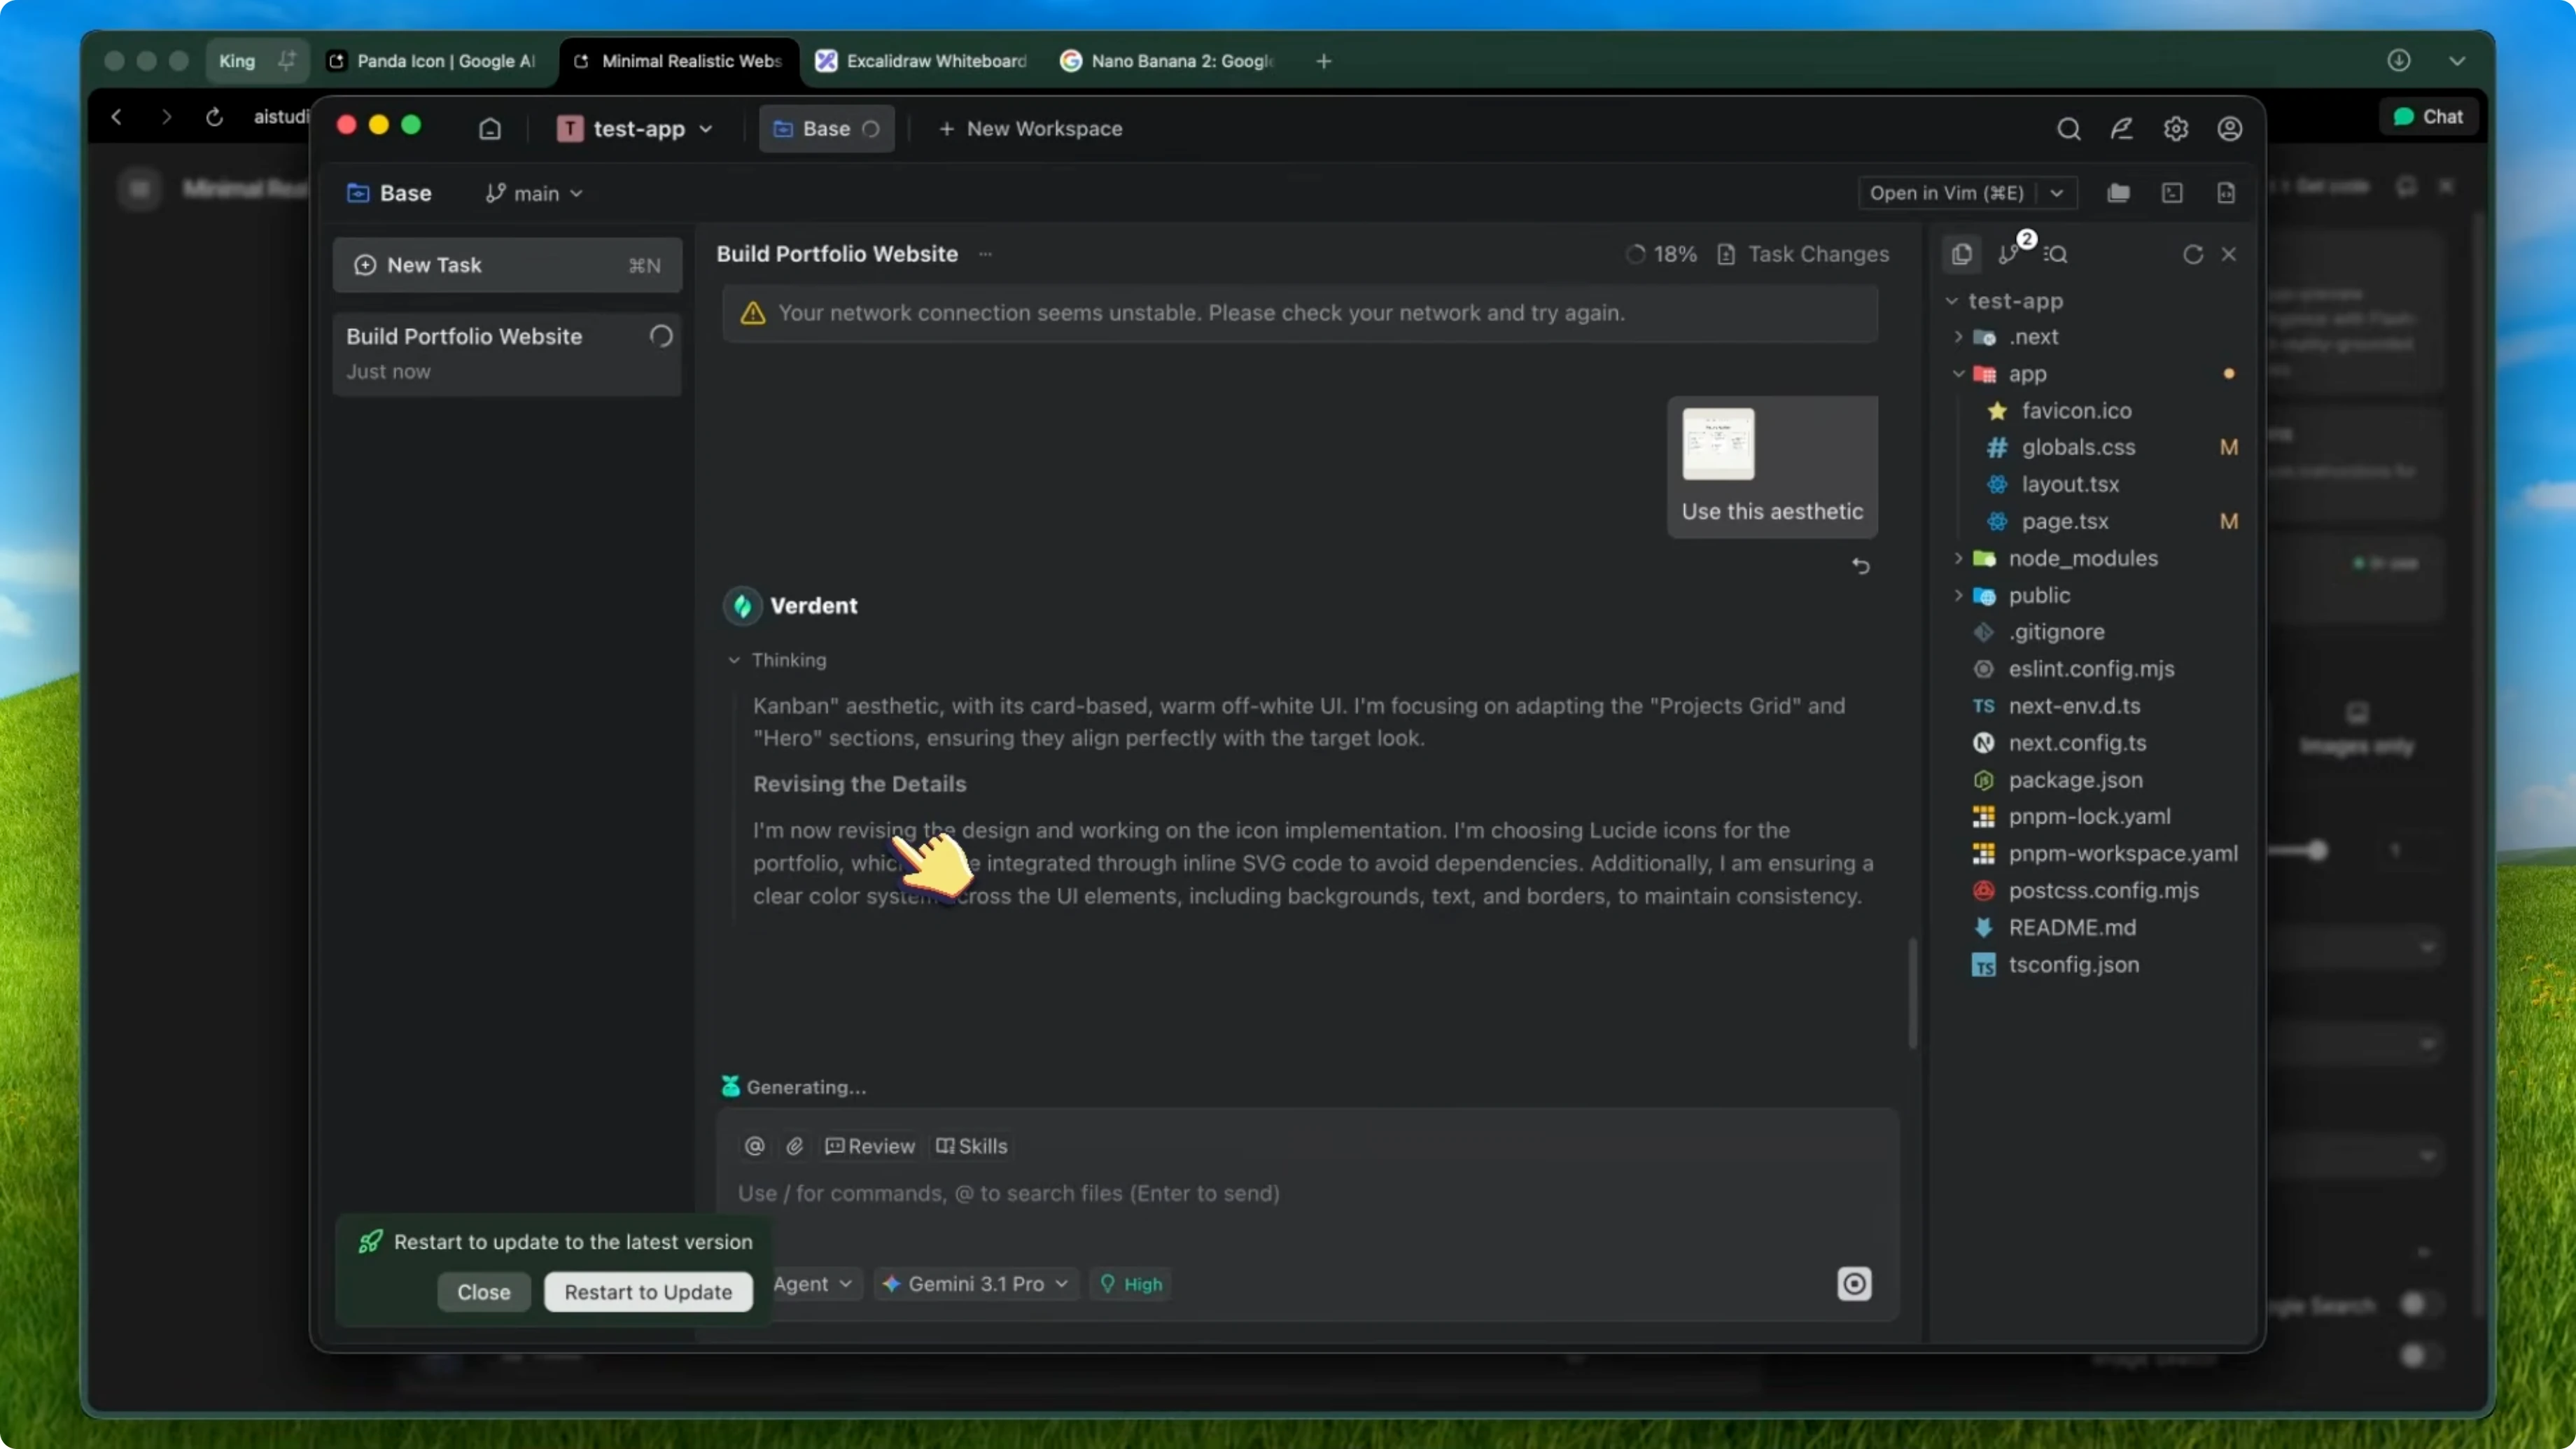
Parallel build with Verdant
If you want to take this even further, pair it with Verdant. Verdant is the AI coding agent that lets you run multiple agents in parallel with isolated git work trees. It is one of the best tools for professional development workflows.
First generate all your assets using Nano Banana 2 through AI Studio or Kilo’s image gen tool. Generate a hero banner, feature icons, backgrounds, and whatever you need. Keep the same style prompt so everything looks cohesive and save them all into an assets folder.
Open Verdant and spin up multiple agents at the same time. Have one agent build the frontend with Next.js and Tailwind using the generated images from the assets folder. At the same time, have another agent set up the backend API routes with Supabase or your preferred stack, and because they are in separate work trees there are no conflicts.
Both agents work simultaneously and then you just merge the work trees when they are done. You can go from generated assets to a fully functional page with a working backend in under 10 minutes. That normally takes a designer and a developer at least a full day.
The images are not random stock photos. They are consistent, they match your design system, and they get built into your app by agents that can actually see and understand the designs. For site updates and more resources, visit Deepsitev2.
Setup guide
Kilo Code quick start
Install the VS Code extension from the marketplace. In the experimental settings, enable the image generation option. It will ask for your OpenRouter API key or your Gemini API key.
You can use the free tier on OpenRouter with rate limits or the Gemini free API which has really generous limits. You also get $20 in free credits when you sign up.
Environment variables:
export OPENROUTER_API_KEY=your_openrouter_key
export GEMINI_API_KEY=your_gemini_key
Kilo CLI
If you prefer the terminal, install Kilo CLI from npm. It does not have the image gen tool, but it works great for the coding side of things with multimodal model support.
Install:
npm install -g kilo-cli
Verdant model selection
In Verdant, select a multimodal model like Gemini 3 Pro or Claude 4.5 Opus so the agents can see your generated images and code around them. You can also swap models depending on the task.
Google AI Studio for images
For the image generation itself, you can use Google AI Studio directly if you just want to play around. It is free and the limits are generous. The API pricing is also really cheap at about 2 cents per image, which is even cheaper than the original Nano Banana.
Limitations
The model still struggles with very fine text at small sizes. If you need pixel-perfect text in your generated images, you are probably still better off adding that in code.
Character consistency is much better, but it is not flawless. Over many generations, you might notice small drift in details.
Very complex scenes with many elements can sometimes get a bit muddled. It is not competing with Midjourney for fine art. It is competing with the workflow of I need an asset for my app and I need it now, and for that use case it wins by a lot.
Final thoughts
For the price and the speed, this is the best image generation model I have used for development workflows. The combination of Nano Banana 2 for generating your assets, Kilo Code for in-editor image generation and coding, Kilo CLI for terminal-based development, and Verdant for parallel agent orchestration speeds up how quickly you can ship polished products. I have been using this workflow for about a week now and I do not think I am going back to the old way of searching for stock images or waiting for a designer.
If you want help implementing this workflow in your stack, reach out via Contact.
Recent Posts
![How To Fix Your Connection Is Not Private In Google Chrome [2026 Guide]](/how-to-fix-your-connection-is-not-private-in-google-chrome-2026-guide.webp)
How To Fix Your Connection Is Not Private In Google Chrome [2026 Guide]
How To Fix Your Connection Is Not Private In Google Chrome [2026 Guide]
![How To Access Extension in Google Chrome [2026 Guide]](/how-to-access-extension-in-google-chrome-2026-guide.webp)
How To Access Extension in Google Chrome [2026 Guide]
How To Access Extension in Google Chrome [2026 Guide]
![How To Change Google Chrome Background [2026 Guide]](/how-to-change-google-chrome-background-2026-guide.webp)
How To Change Google Chrome Background [2026 Guide]
How To Change Google Chrome Background [2026 Guide]